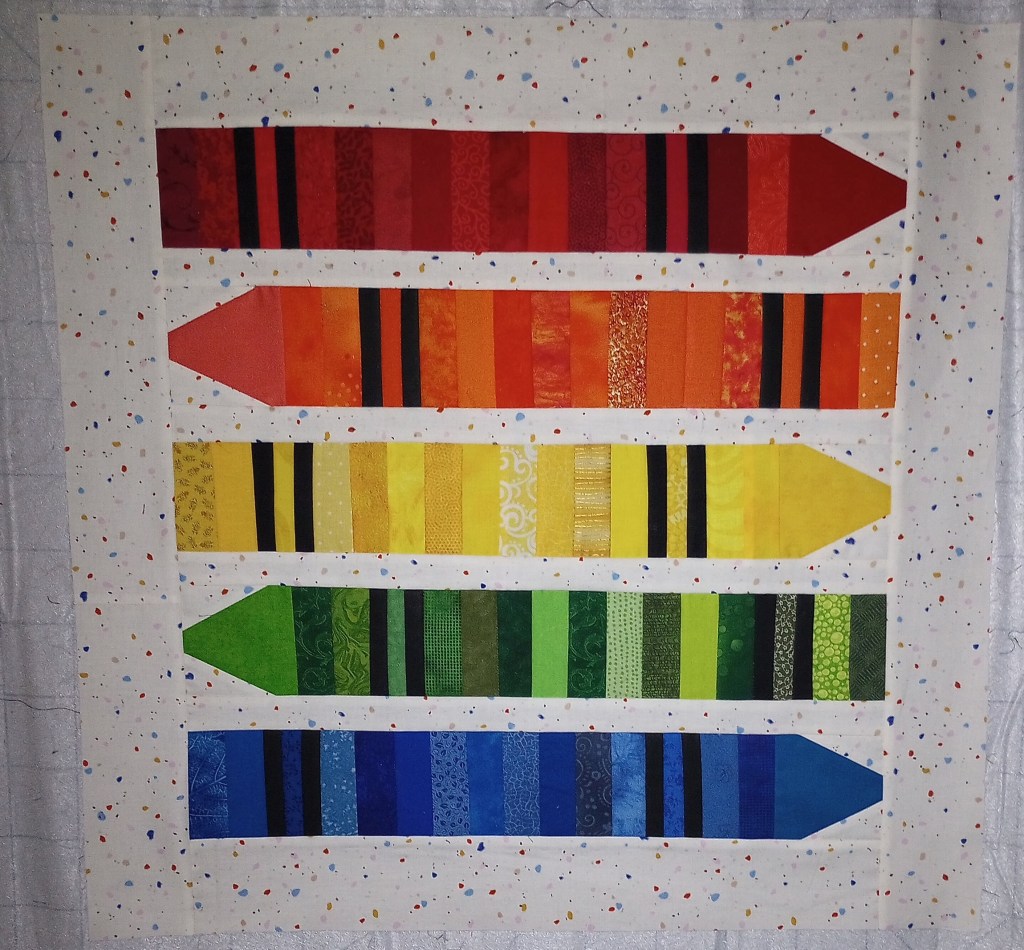
Last night, a brilliant idea struck me like a box of craft supplies falling off a shelf: I decided to graph it out so it would finish at 24″ while also trying to focus on the new season of The Voice—because, if I’m not sewing, I’m thinking about sewing! So, there I was, meticulously trimming some strings to 1 1/2″ x 3 1/2″, while listening to the contestants. I finished about the same time the show did.
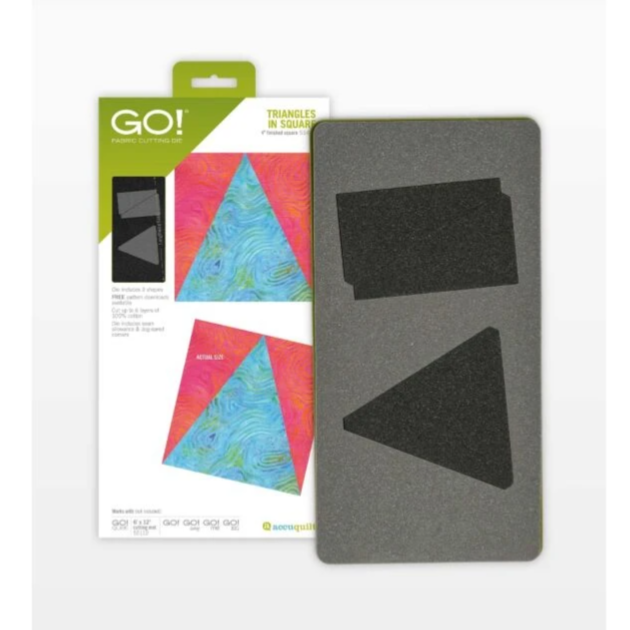
My Accuquilt Go! Big Cutter doesn’t get used as much as I want, but it’s great for blocks like the Triangle in a Square. I have dies for both the 4″ and 6″ finished size blocks and I was anxious to try it to make the top of the crayons.
After testing a few pieces today, I was happiest trimming the units so they measured 3 1/2″ square.
1/2″ off each side
1/4″ off the bottom
3/4″ off the top
Size: 24″ x 24″
I had some errands to run today but managed to get it pieced. I like how it turned out so I think I’ll try a kid size quilt to go with it. My plan is to use the 6″ die (trimmed to 5 1/2″ squares) for the crayon tops and, cut some colored scraps into 2 1/2″ x 5 1/2″ pieces to make the crayons.
It’s probably going to require 6 or 7 crayons instead of 5. I’m not quite sure about the length either. They’ll have to wait until I have a bit of time in front of the TV again and finish up another project or ten. 🙂
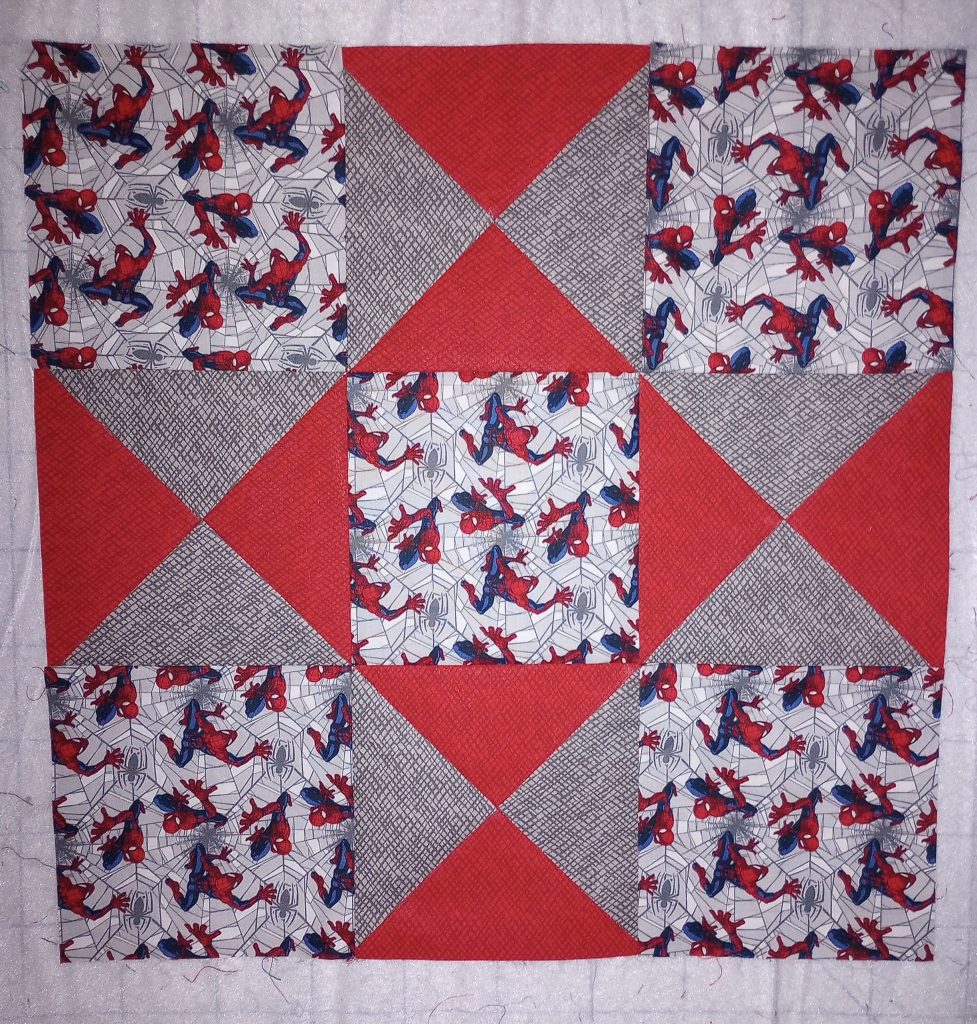
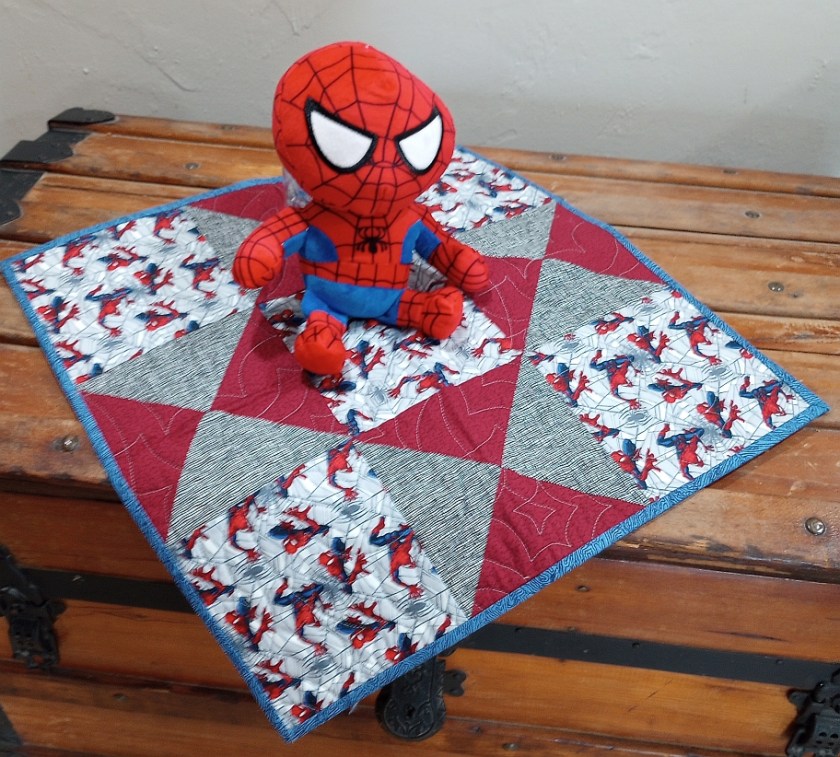
Here are the simple instructions to create the Huggable Spiderman quilt top. This is not meant to be a formal pattern and it’s intended for quilters with basic quilting knowledge. I’m sharing it here so you can make one too if you want without having to calculate the math.
Cutting instructions:
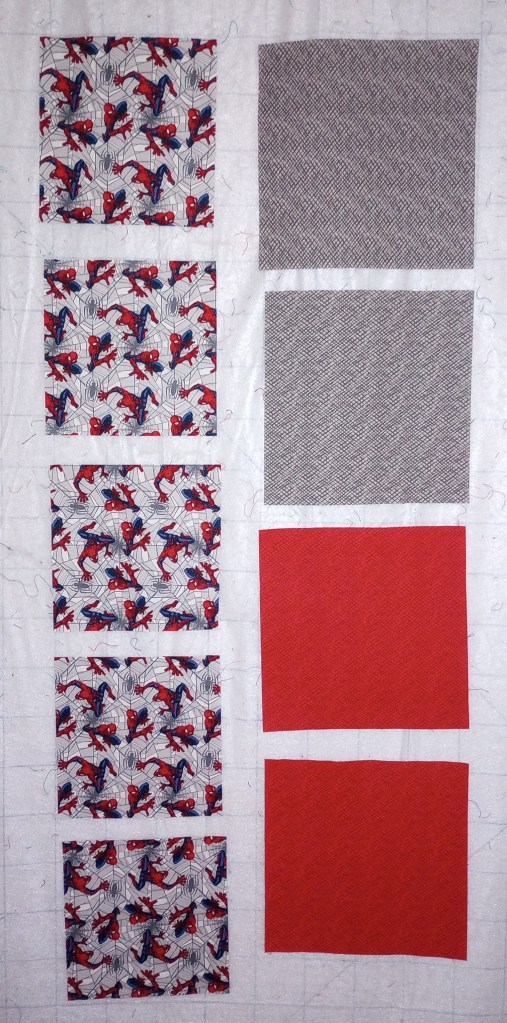
Fabric A (focus print) – 5 squares at 6 1/2″
Fabric B (1st coordinate) – 2 squares at 8″
Fabric C (2nd coordinate) – 2 squares at 8″
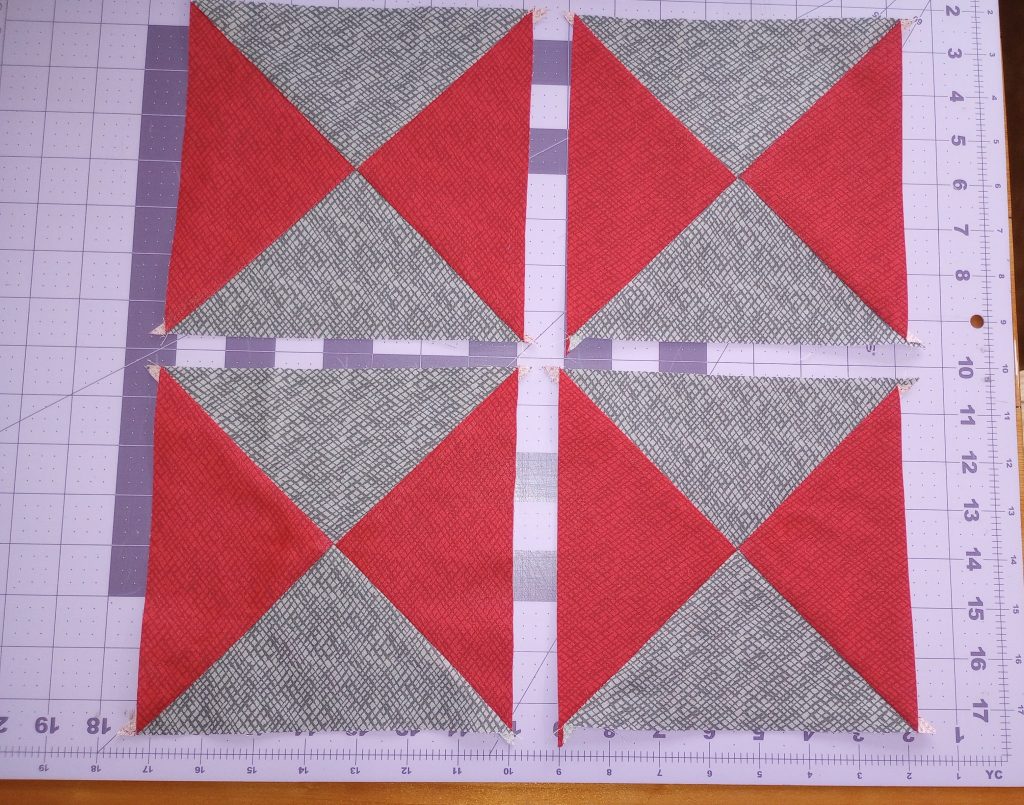
The following YouTube tutorial demonstrates how to create the Hourglass block. Beginning with oversized 8″ squares makes it a bit easier to trim down to the 6 1/2″ square at the end.
In the video, she demonstrates making 2 different pairs of blocks. For this quilt, we’ll be making 2 identical pairs.
Stop when you get to 7:00 minute time mark. (Do not set them them together into a block as she demonstrates further along in the video.)
The video is easier to understand, but here are some photos of the process for reference. If you are viewing the post on your phone, you may need to click on each photo and enlarge it.
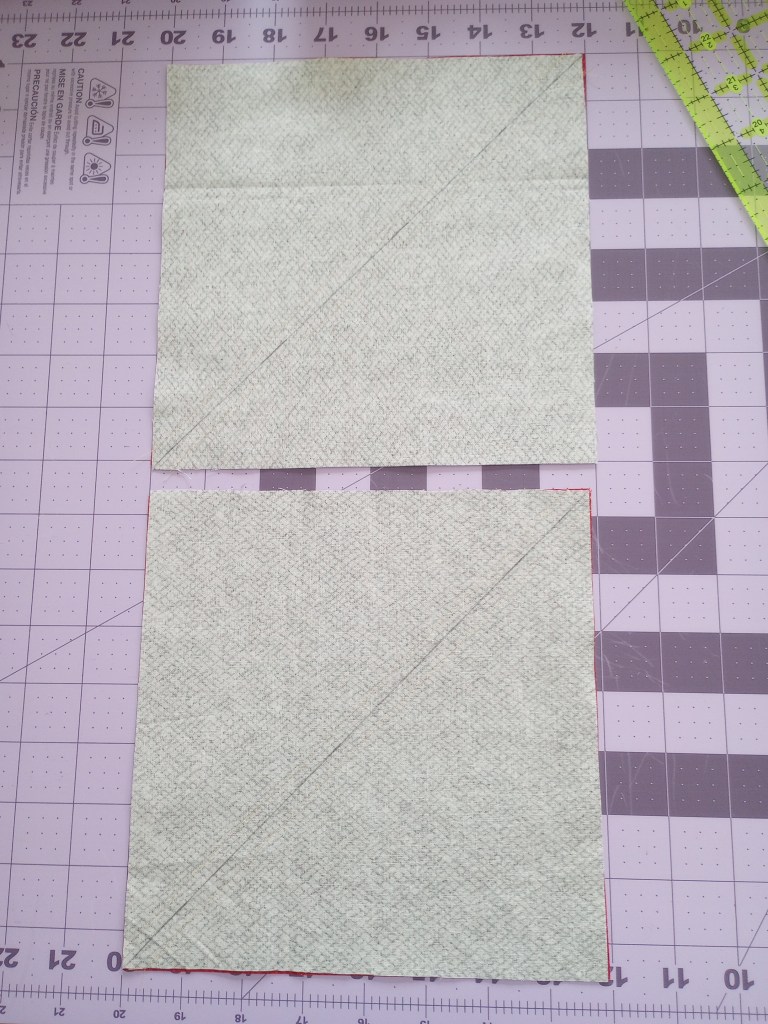
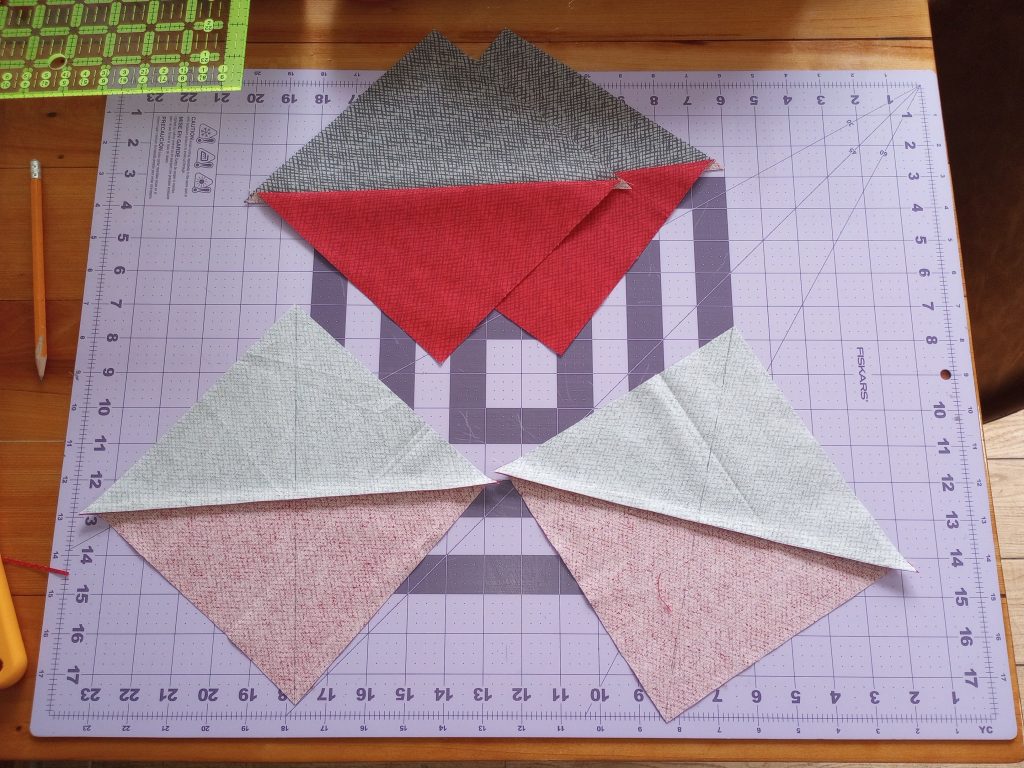
Begin by laying the coordinate fabric B’s on top of the fabric C’s with the right sides together.
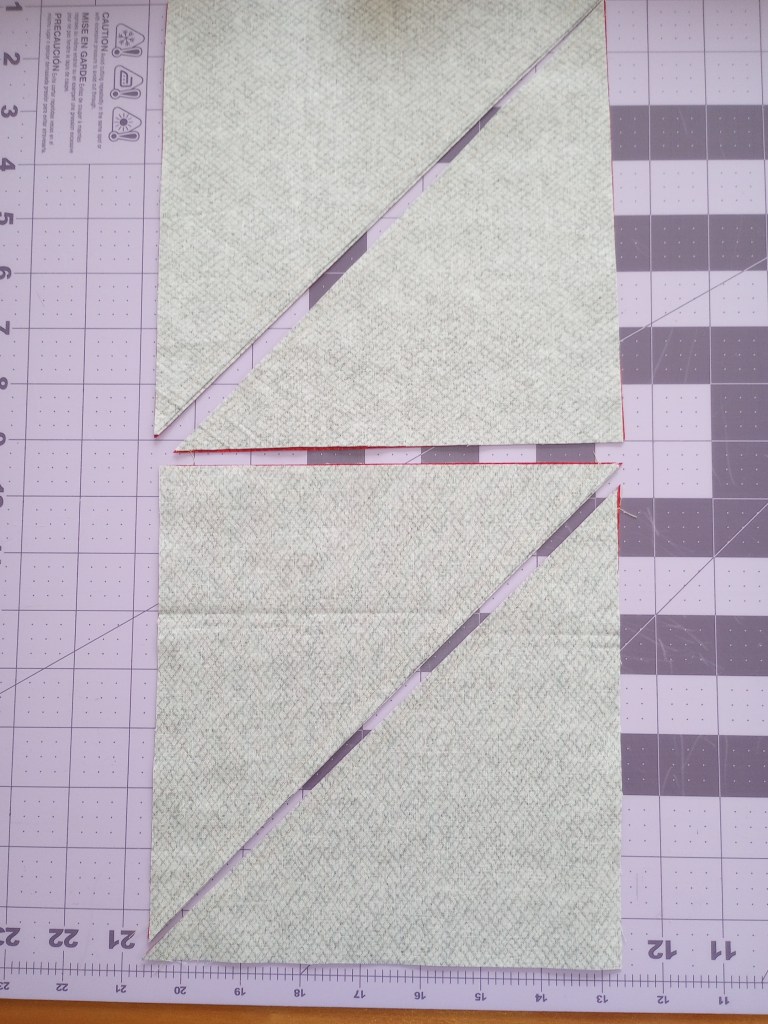
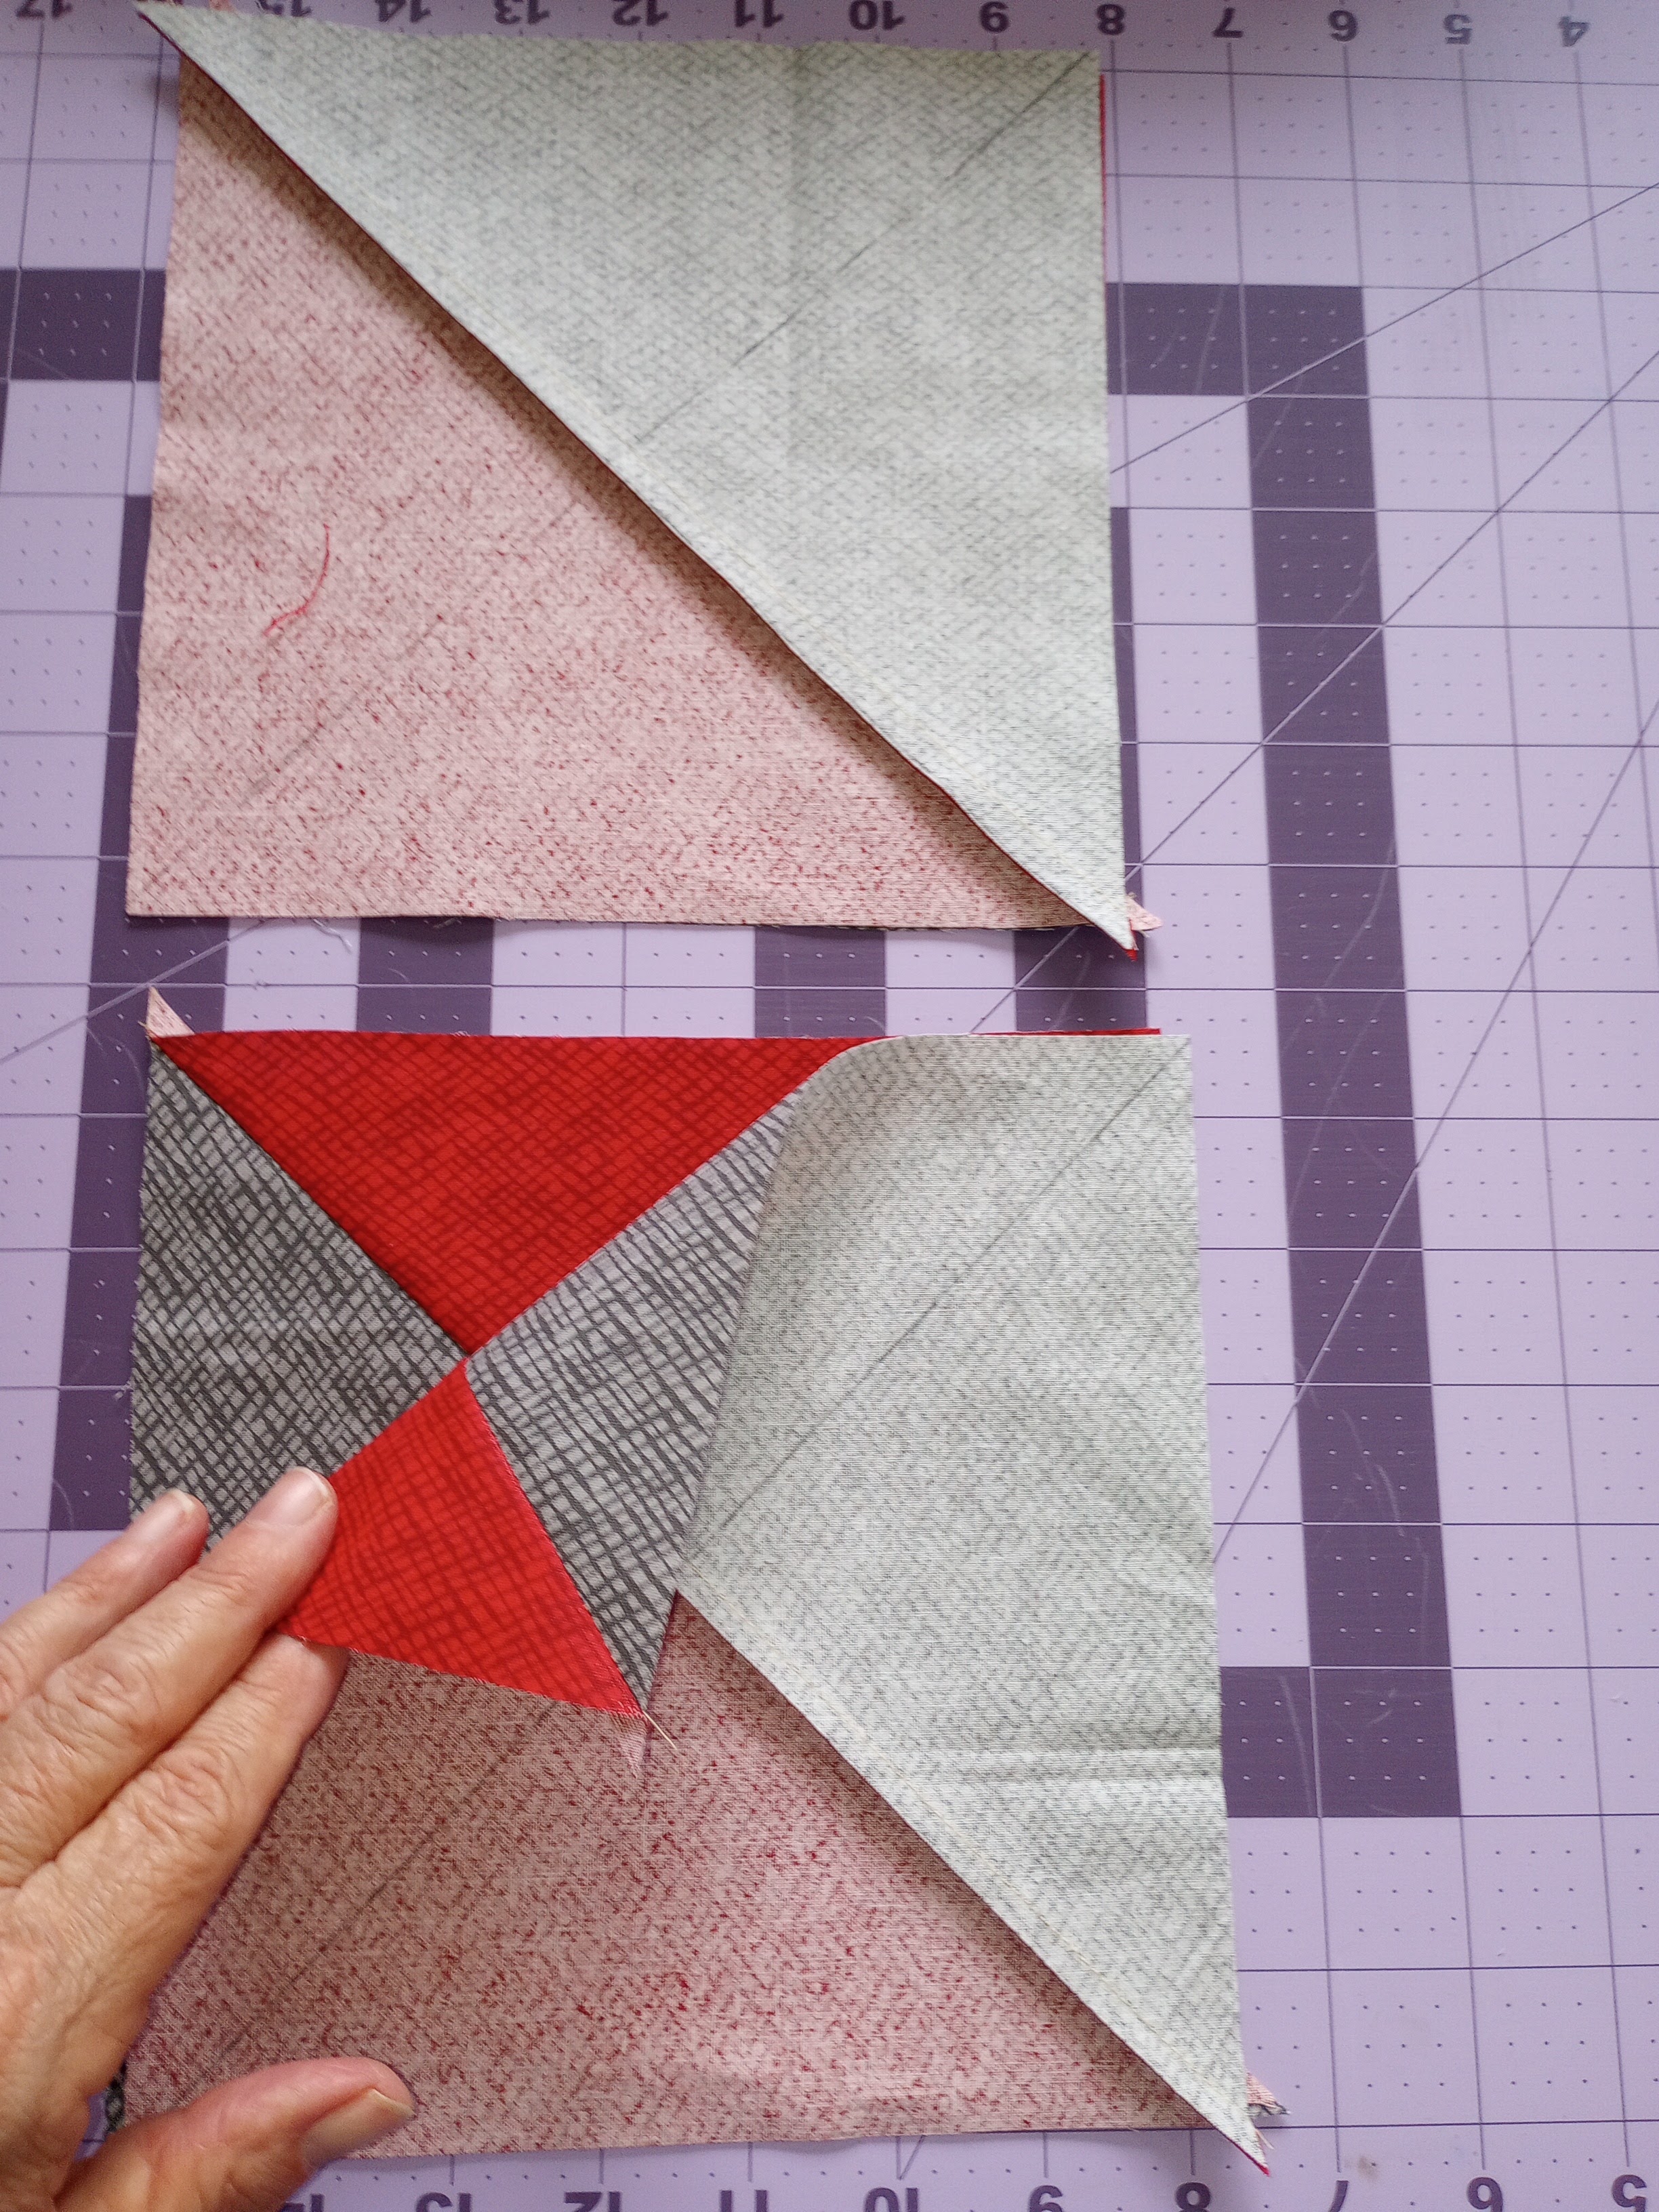
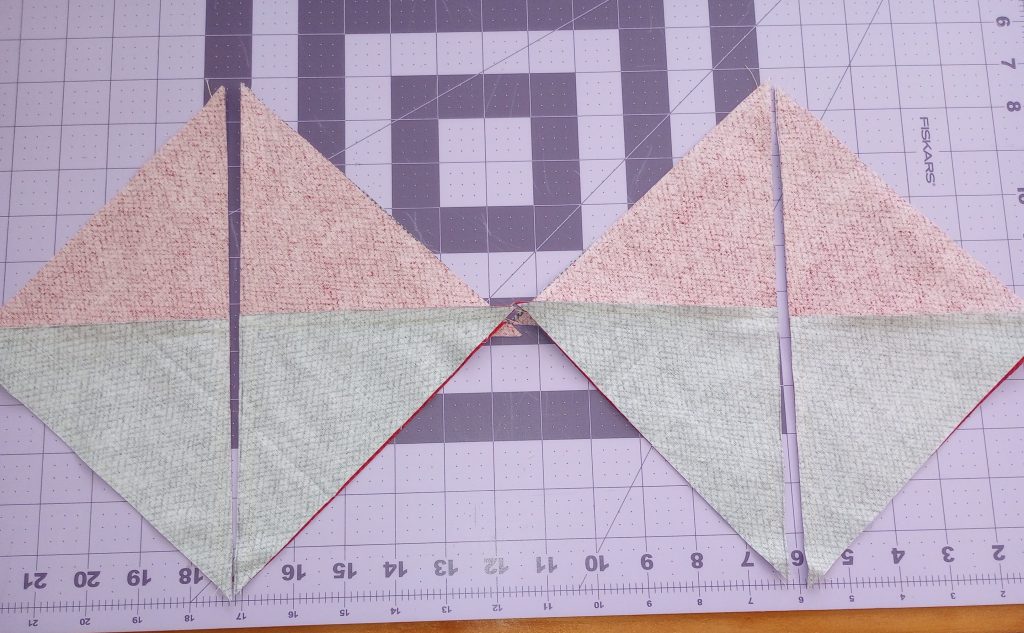
Draw a diagonal line and stitch 1/4″ away from both sides of the line.Cut on the drawn lines between the lines of stitching.Press all 4 triangle units to the darker sideSet two triangles aside and draw a diagonal line on the wrong side of the remaining two units.
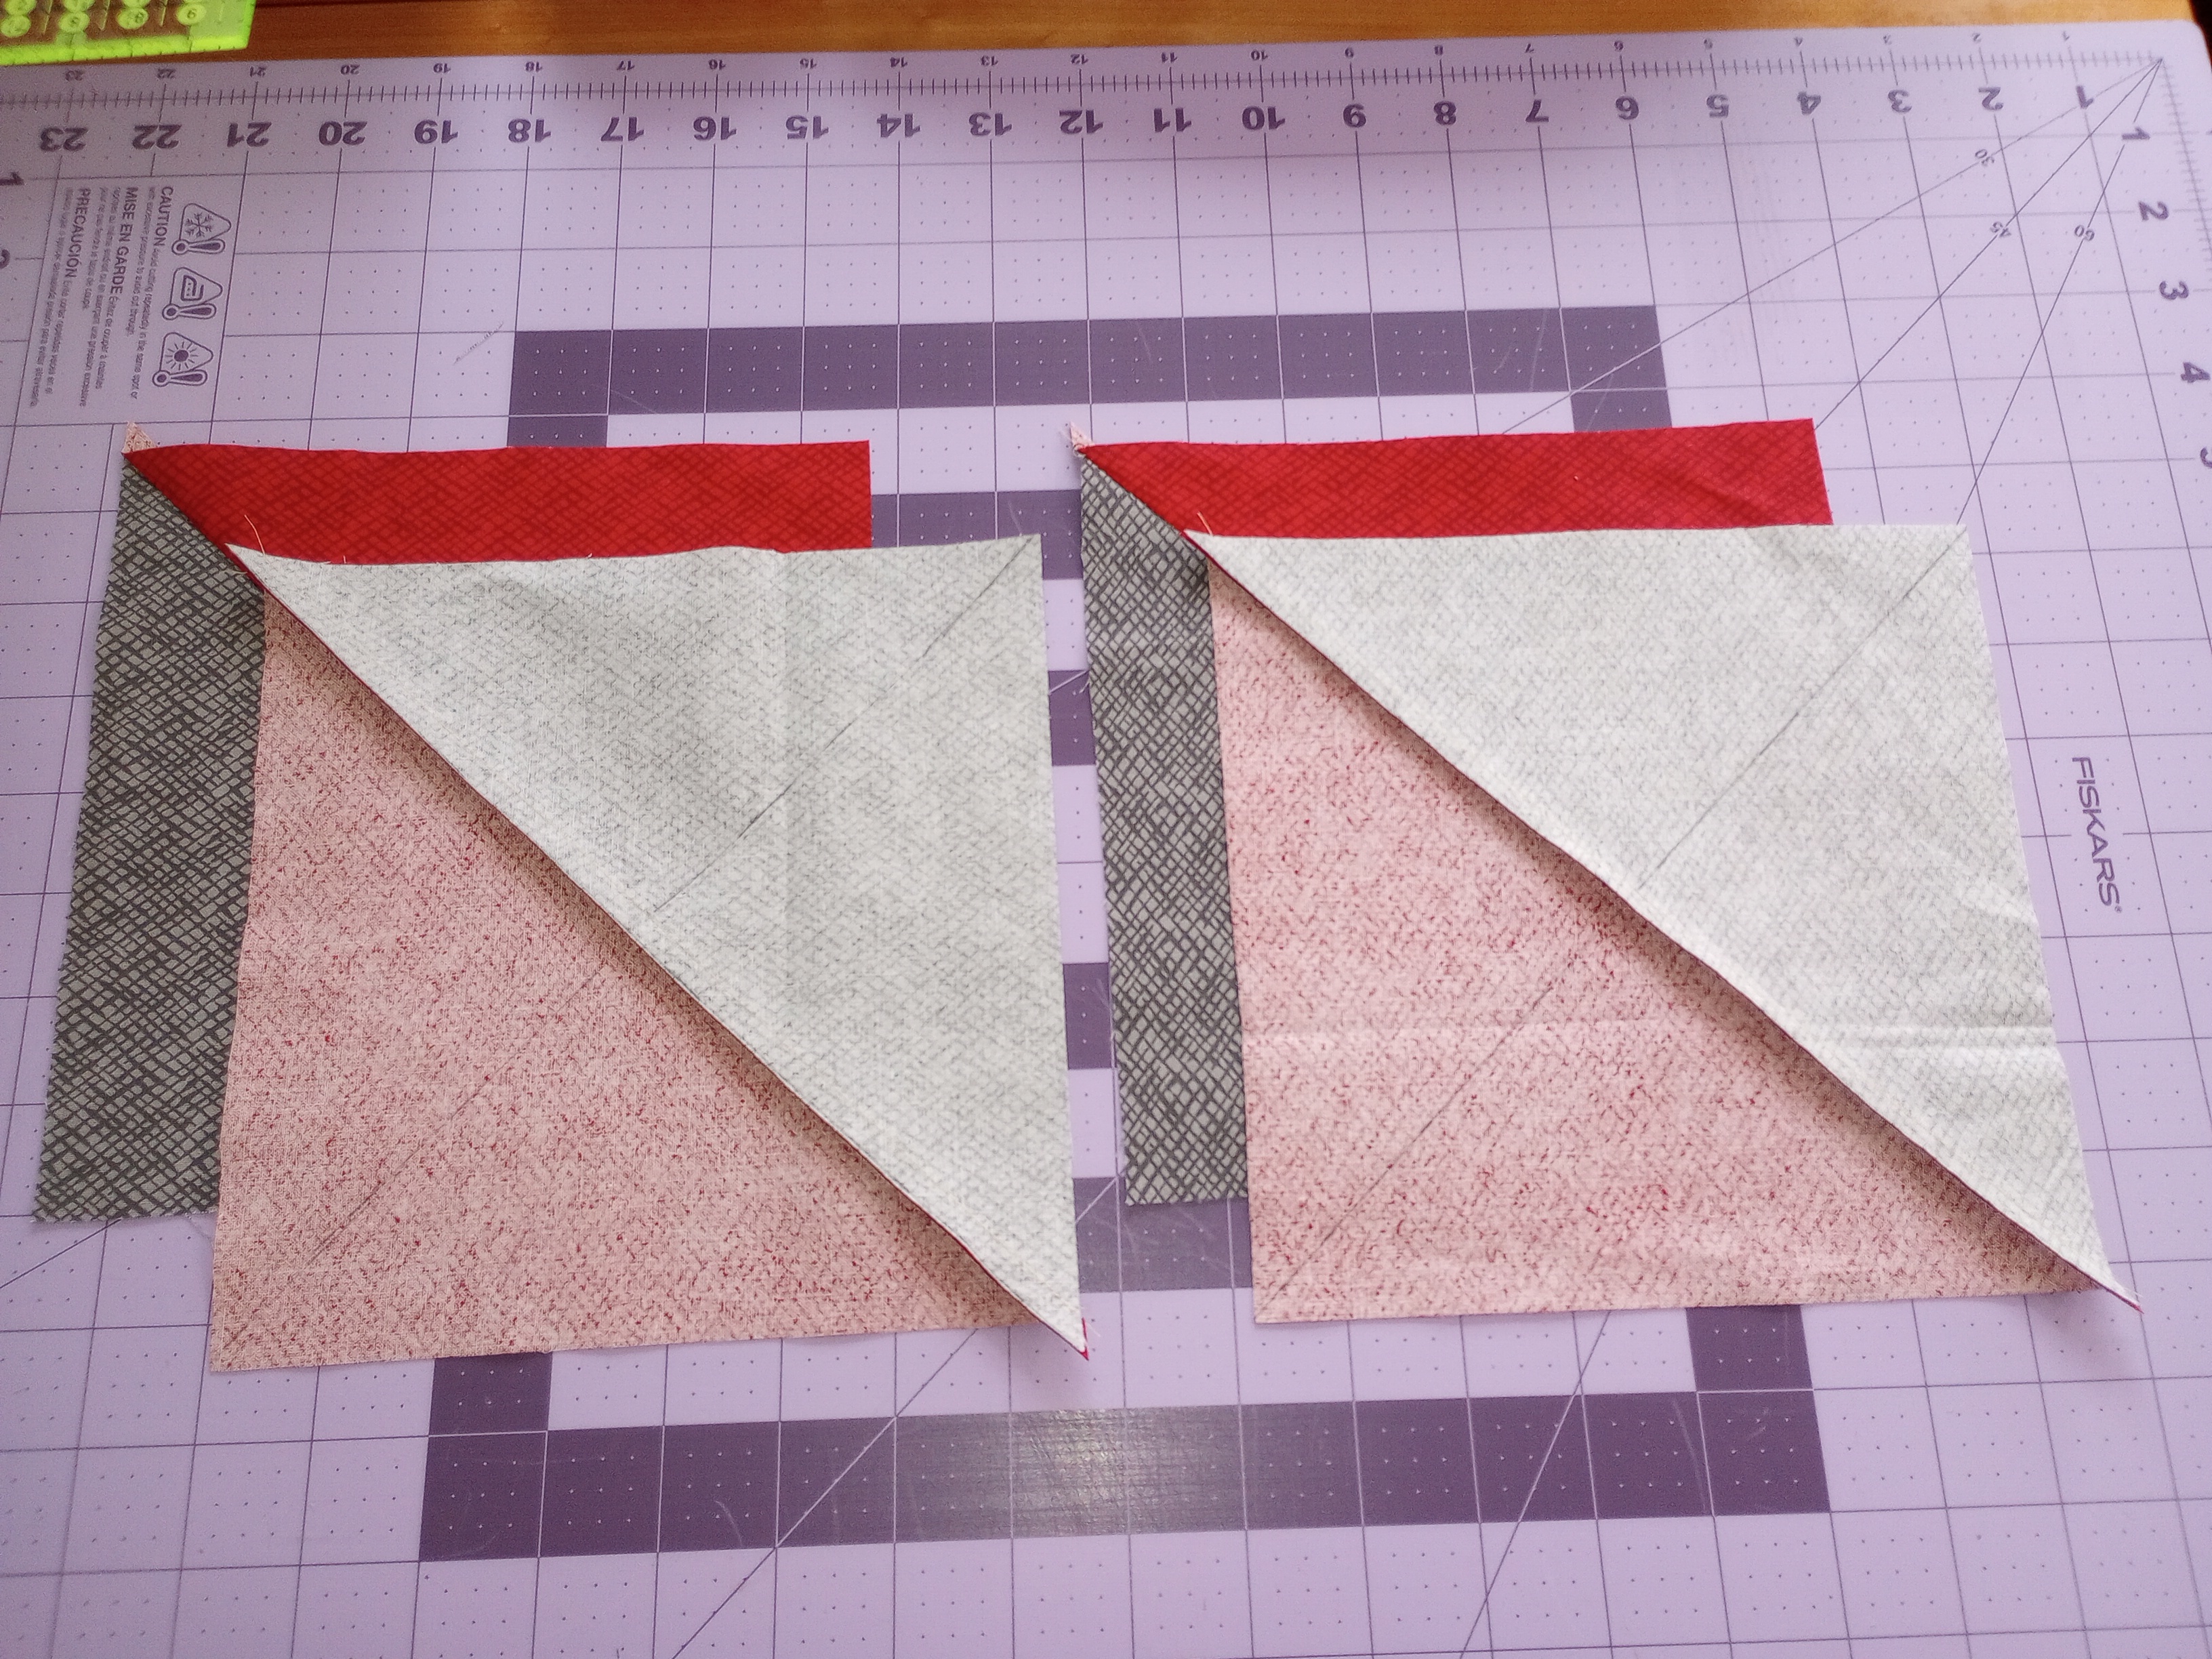
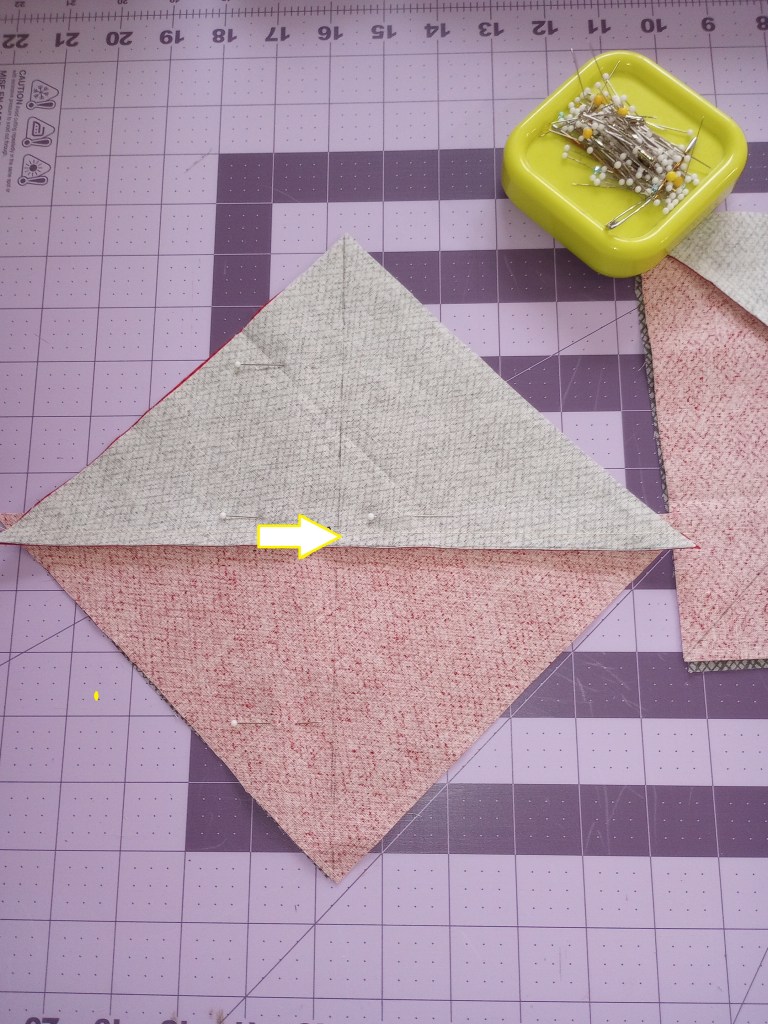
Pair the triangles with the drawn lines on top of the triangles that were set aside in the previous step, right sides together. Rotate if needed so the red is face down on the grey fabric – and the grey is face down on the red fabric.
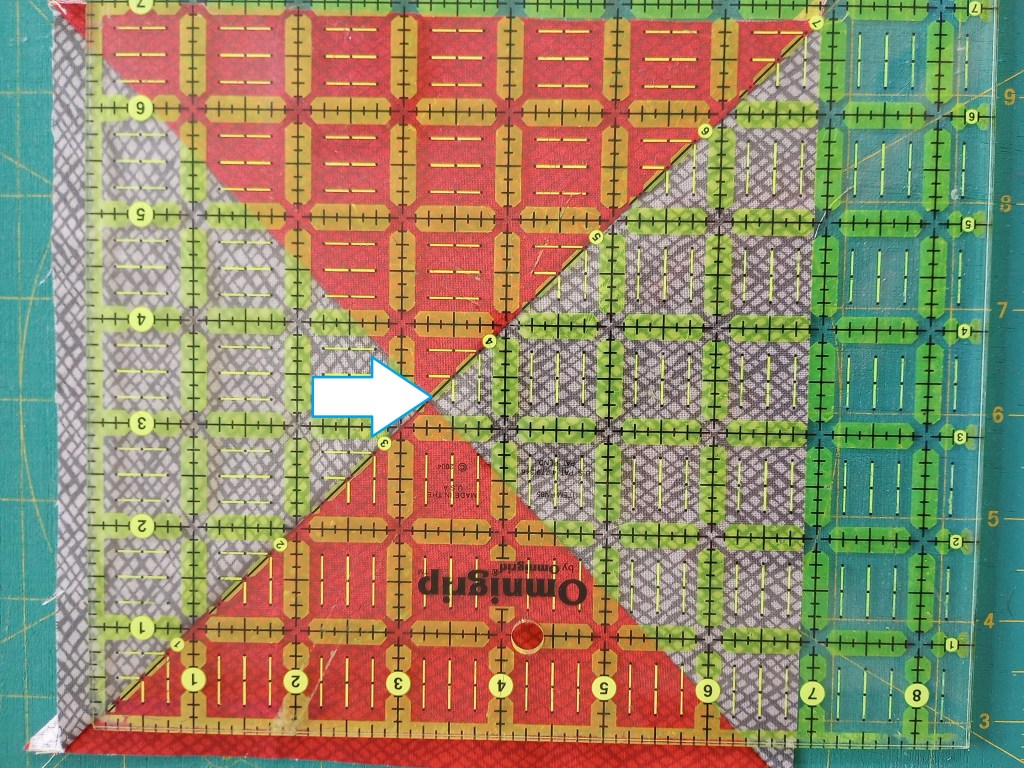
The seams should nest. If not, check that the seam allowance on all four triangles is ironed to the darker fabric (in this example they’re ironed toward the red.)
Stitch 1/4″ away from both sides of the drawn line for each pair of triangles. It’s important to ensure the seams are nested as you stitch across them at the middle of the unit. (See the arrow in the above photo.) This will be the center of your hourglass block.
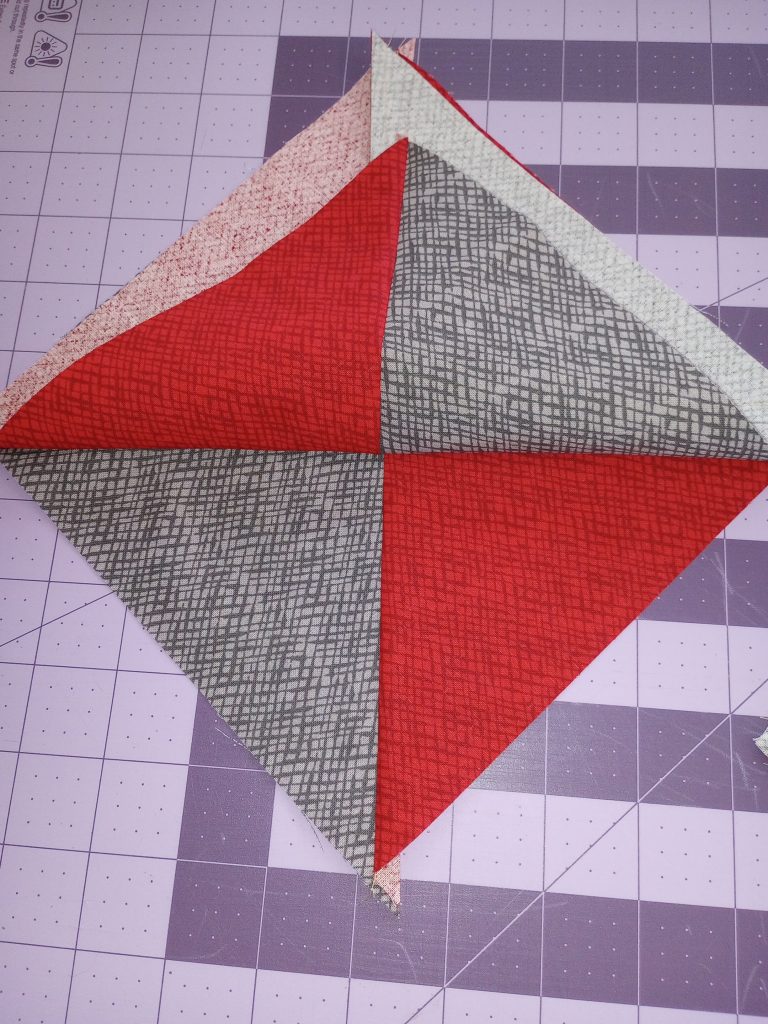
After stitching, check both units to make sure your seams nested well where they meet in the center. If not, this is the time to use your seam ripper and re-stitch the seams.
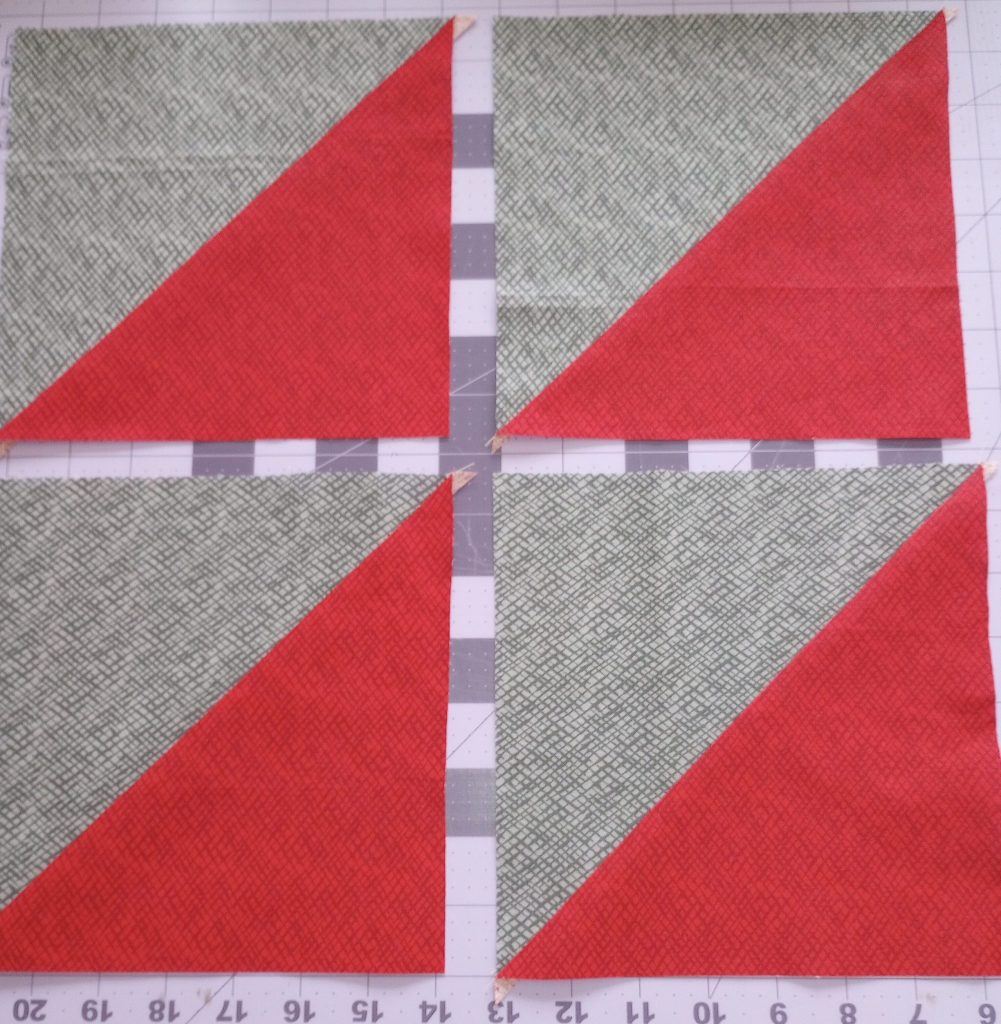
Once you’re happy with your seams, cut the units apart on the drawn lines (between the two lines of stitching) and press open.
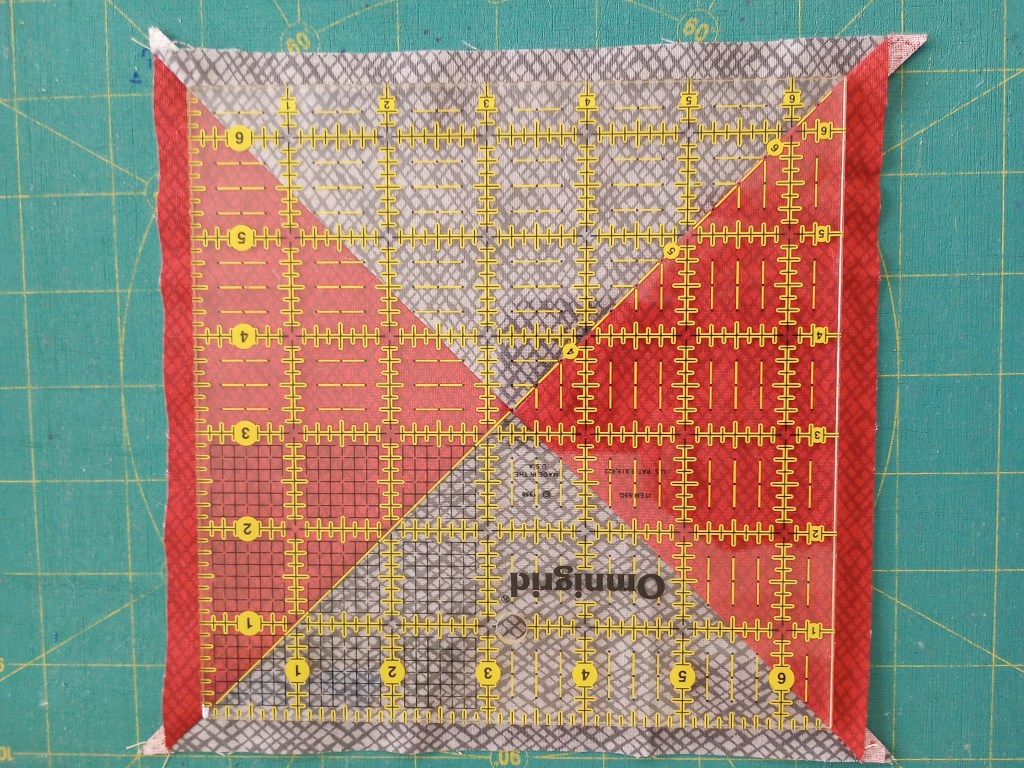
Trim the blocks to 6 1/2″. Use a 6 1/2″ ruler if you own one to trim the blocks. A larger ruler will also work. Begin by lining up the 45 degree line on the ruler along the seam line. Slide the 45 line along the block until the 3 1/4″ mark falls in the center. Trim all four sides of the block lining up the 45 degree line on the seam and the 3 1/4″ measurement at the center of the block each time.
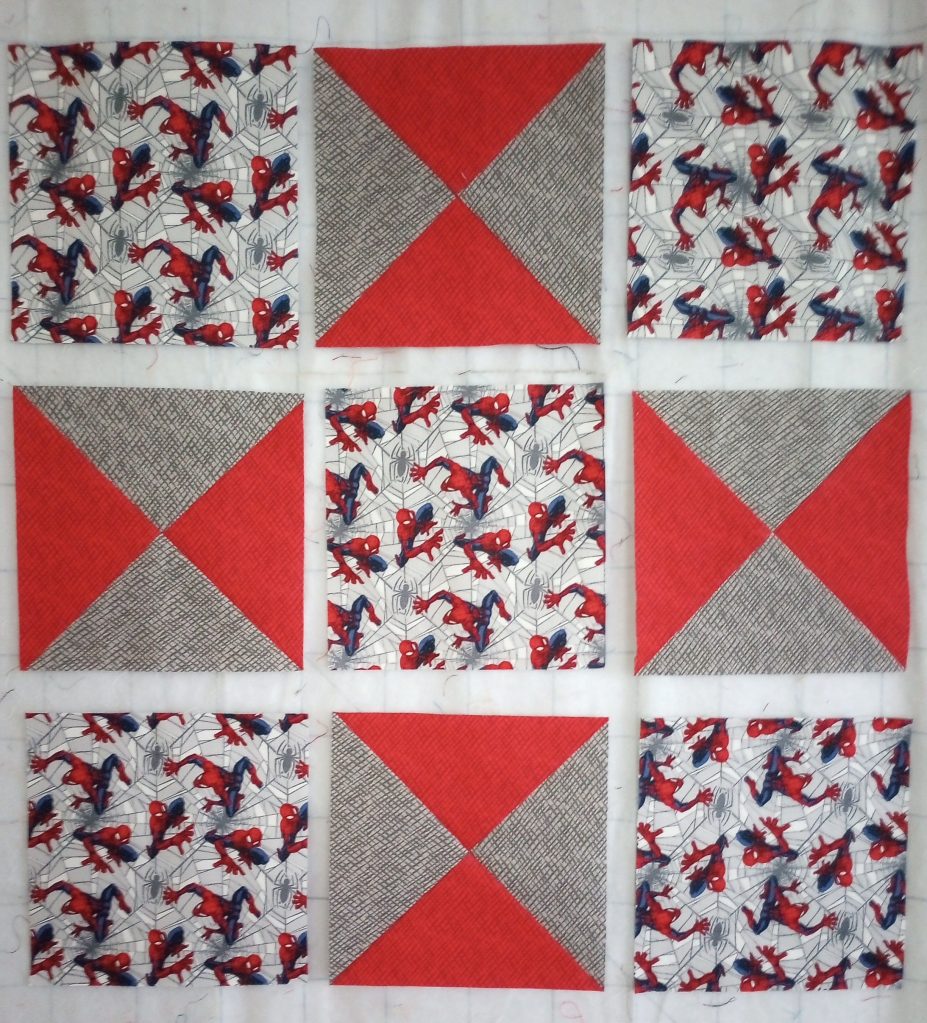
Lay out the 9 blocks as shown or rotate the hourglass blocks if you prefer a different look. Sew the blocks into rows pressing toward the focus fabric squares. Then sew the rows into the finished top.
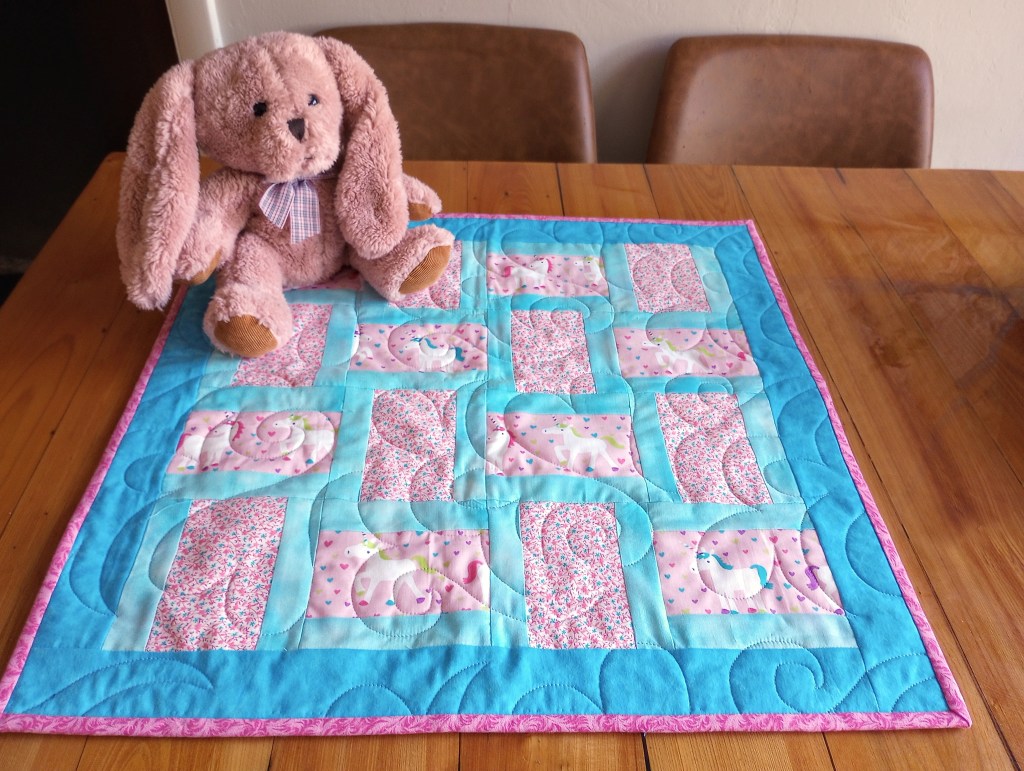
The little quilt finishes at 18″ square and works well with the size Spiderman I chose to use with them. If you use a larger stuffy or prefer a slightly bigger top, simply add a 2″ finished border.
I thought I’d explain a bit more about the critter problem. The stuffed animal kind, not the iguanas that like to invade my yard… that’s a whole ‘nother subject.
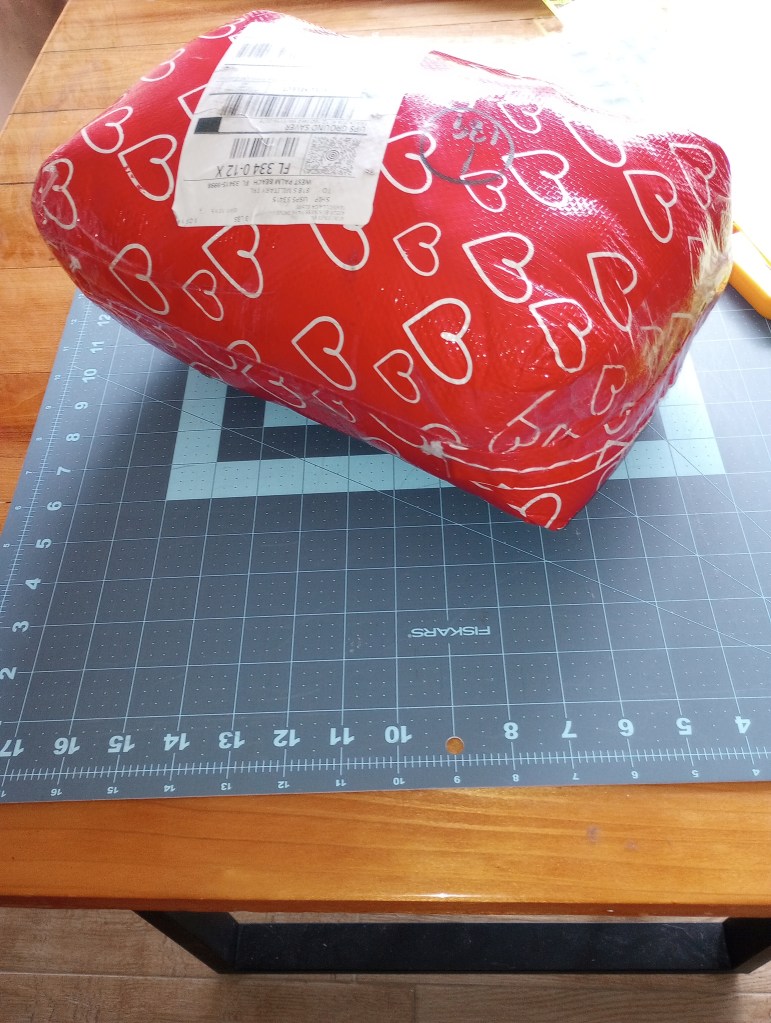
When I order them, I get 9 or 10 at a time and they come in a vacuum sealed package about the size of a basketball. (For reference, that’s only an 18″ x 24″ mat.)
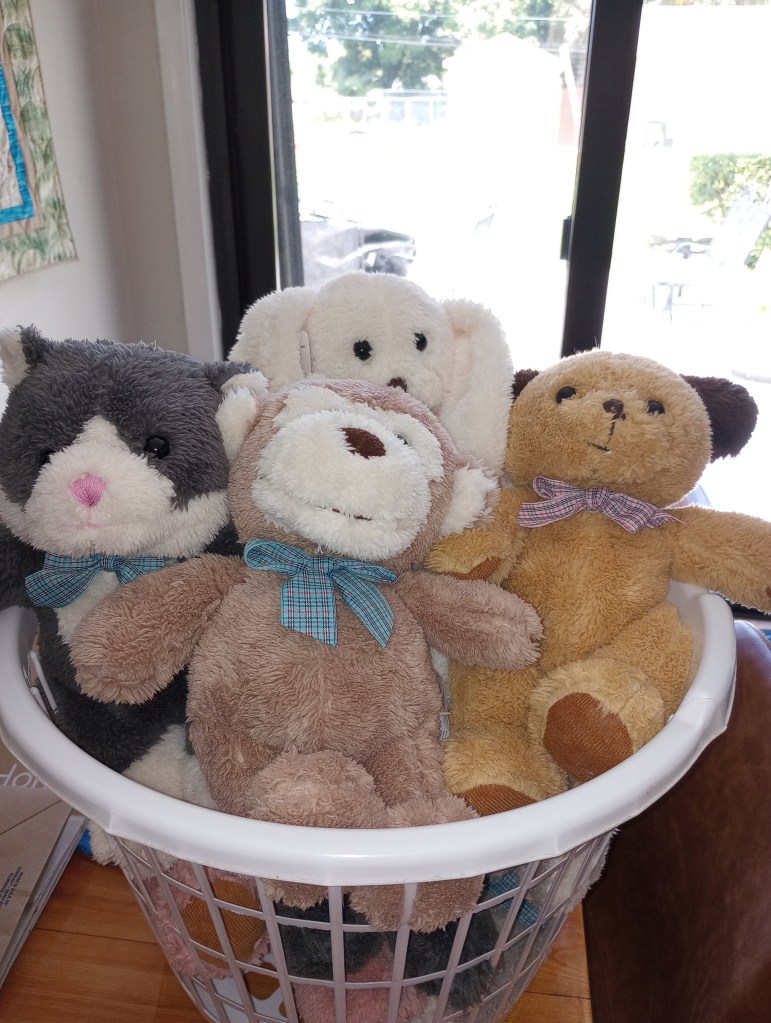
A quick 10 minute toss in the dryer and they fluff back up. You can see they now overflow a laundry basket.
Notice how one stuffed animal from that original basketball size package now takes up the same amount of space as it once did combined with nine others in vacuum sealed packaging.
The error in judgement is all mine. I didn’t anticipate that more than one or two people might also donate stuffed animals. And, if they did, that I would have to store them for longer than a couple of weeks. The next request is for a December donation so that three weeks turned into three months – and that’s where the problem lies. It’s not the little quilts, it’s the stuffed animals donated with them.
That’s why I’m now considering vacuum sealing the stuffed animals that get donated. I’ll have to figure out how to tag them so I can pair them up again with their little quilt for donation… possibly just take a quick photo. I’m not sure it’ll work but I think I have to at least buy a few bags and give it a try. Oh, and an attachment to work with my Dyson vacuum. Always something, right?
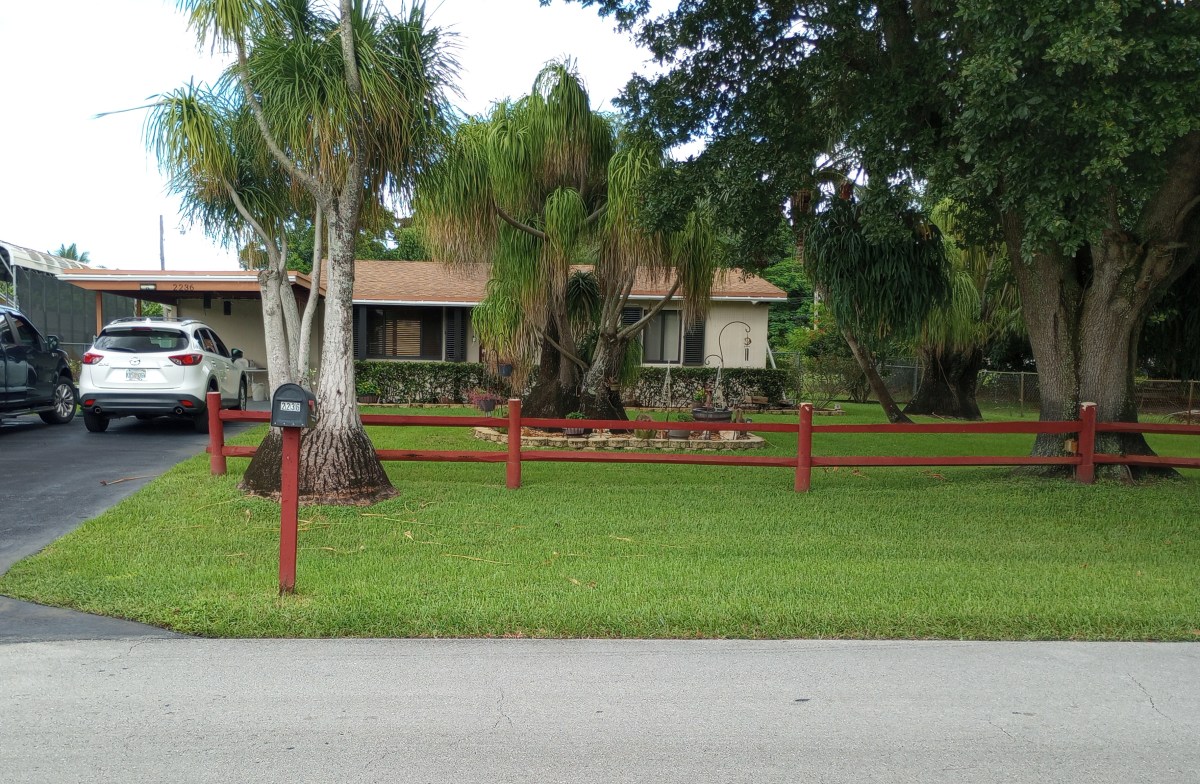
I love my home and have no desire whatsoever to own a larger one. I’m sure when it was built is was considered average. By today’s standard it’s small, very small. I used to live on an acre and a quarter but this home is on a 1/2 acre lot and that feels just right.
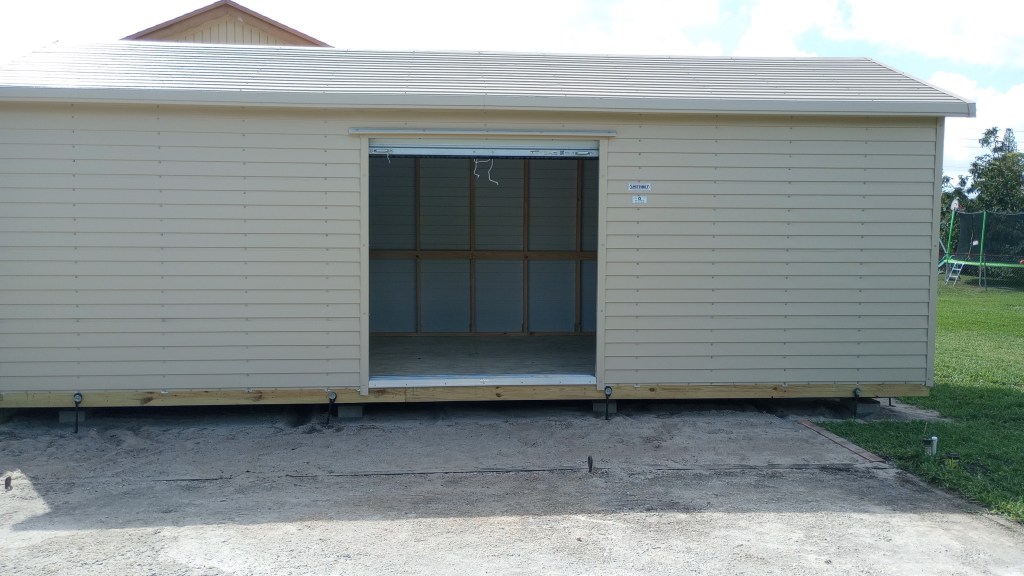
We have a 20 x 30 garage that’s never had a vehicle in it (it’s used for tools, storage, and a man cave). Last year we added a 12 x 20 storage shed for holiday decorations. 🙂 I could easily store things temporarily in either of them but they’re not air conditioned and that would likely be a problem.
I have donation quilts stacked on the bed in our guest room / home office and that’s okay for now. My husband doesn’t complain but, I’m sure he doesn’t want to see them stacked up in every corner of the house any more than I’d want to see his tools there.
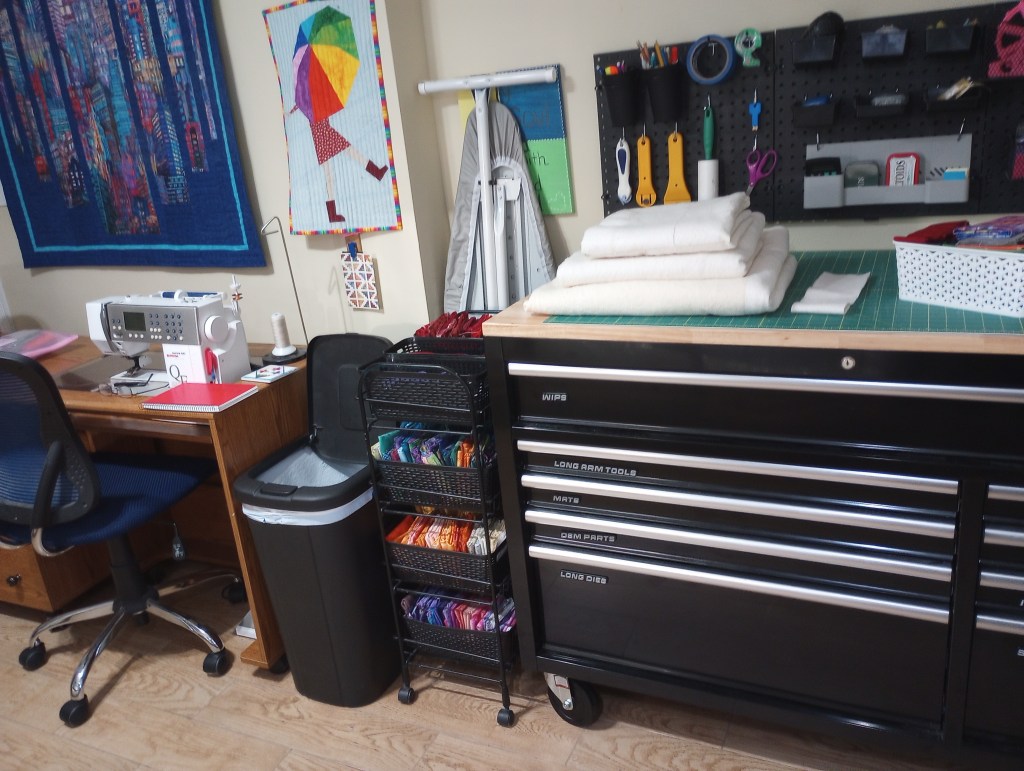
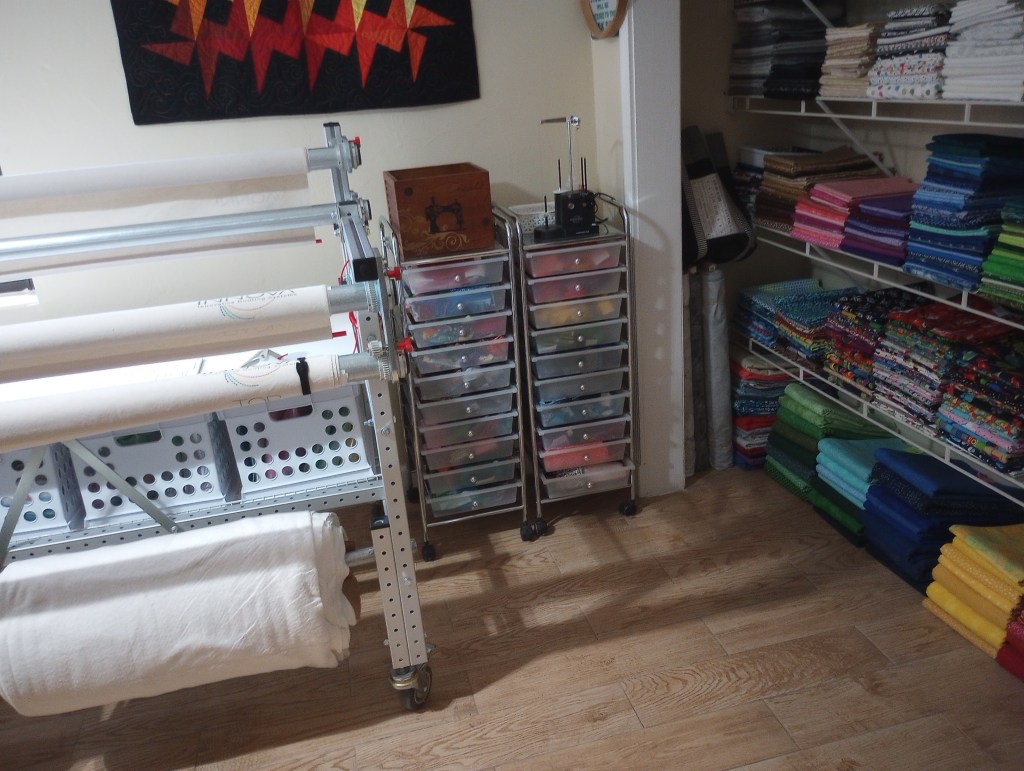
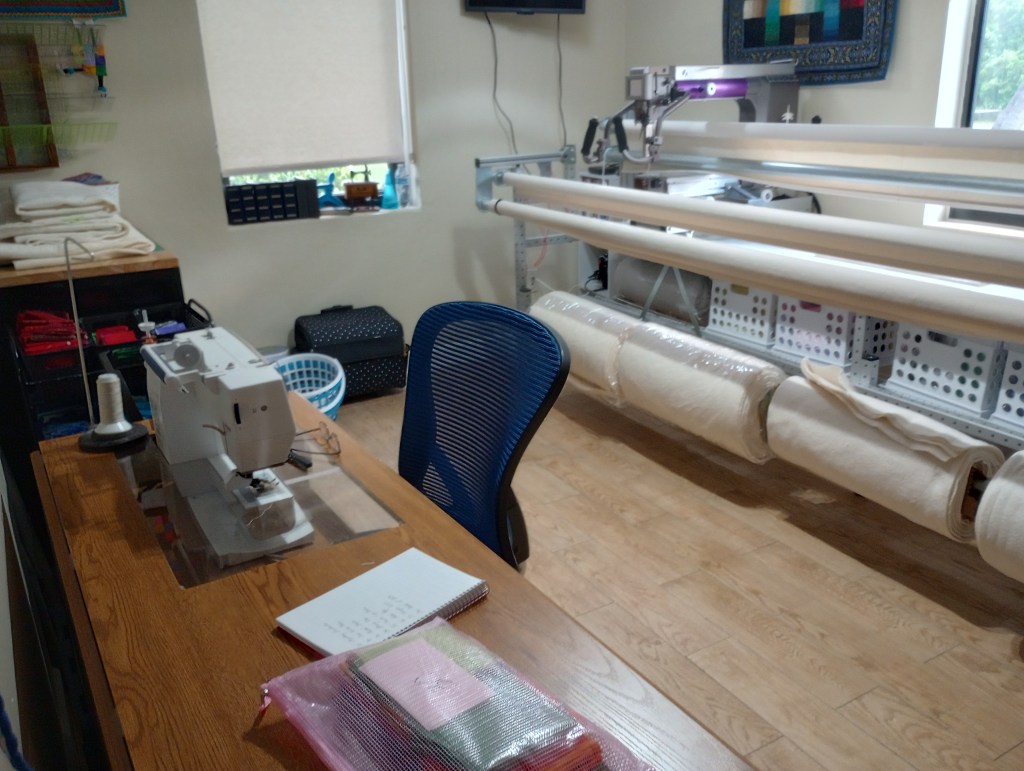
I’ve shared photos of my sewing room in the past but I’ll share a few again so my friends will understand my dilemma. I’ve asked a couple of people to please slow down a bit and don’t go crazy buying fabric for them. We’ll likely to have enough to donate for the rest of the year by the end of this month.
So, what’s wrong with collecting more in anticipation of the next request? I suppose I need to show you.
I try to keep my sewing room as organized and neat as humanly possible but, it doesn’t leave any space for things to pile up for months.
I can move things to the table on the back of my long arm when I need to use my cutting table.
And, when I want to quilt, I reverse the process and move it all back to cutting table. It’s extra work but not too bad for just the next week or two. I’m in trouble after that.
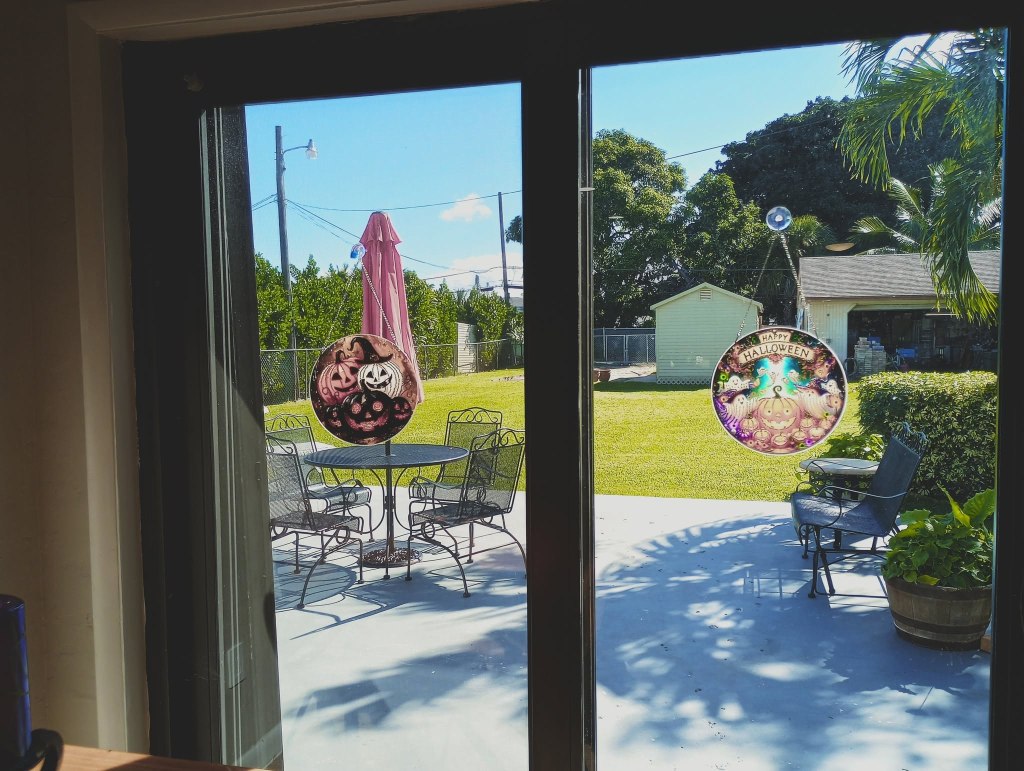
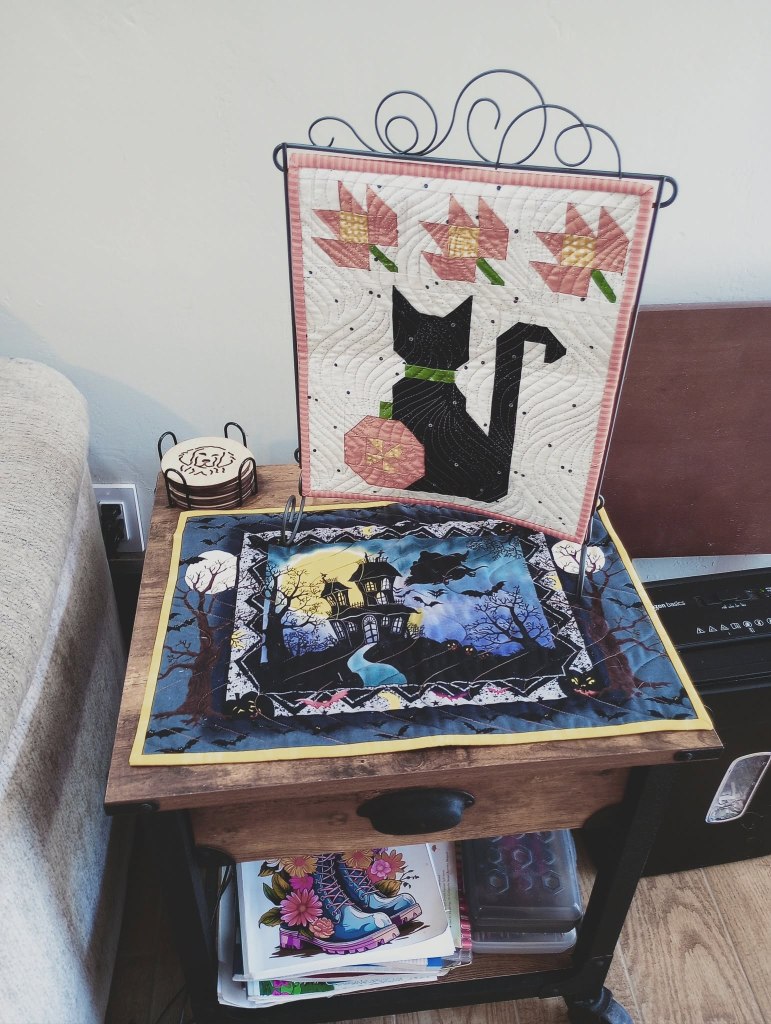
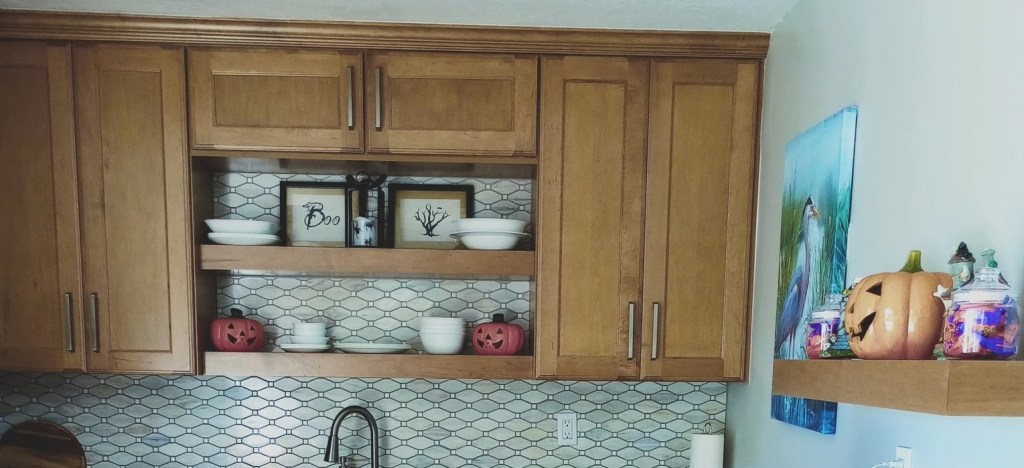
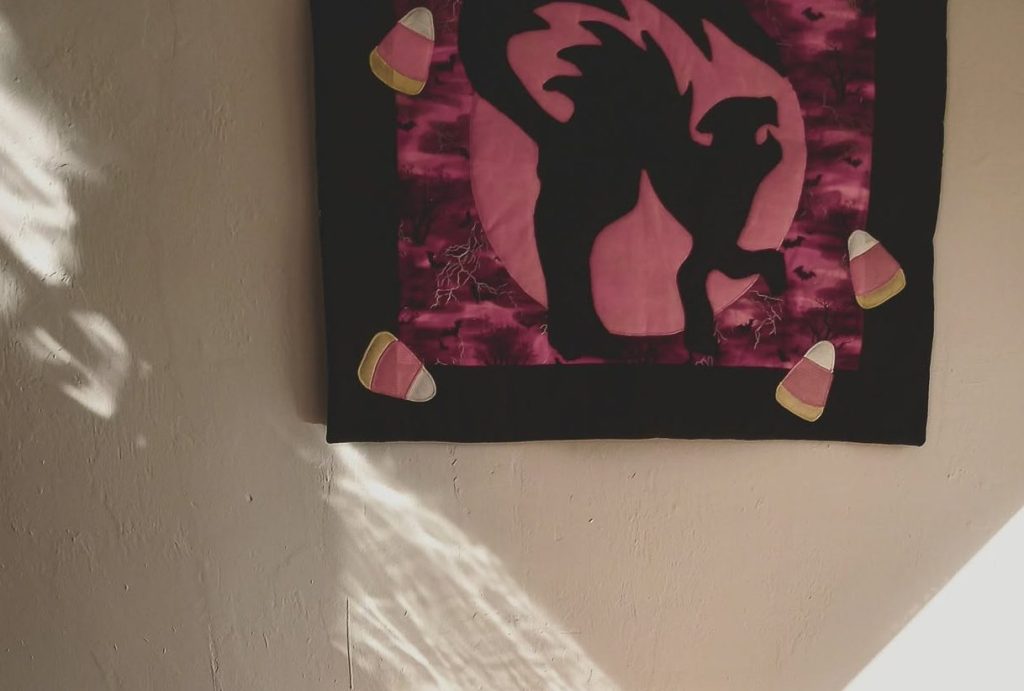
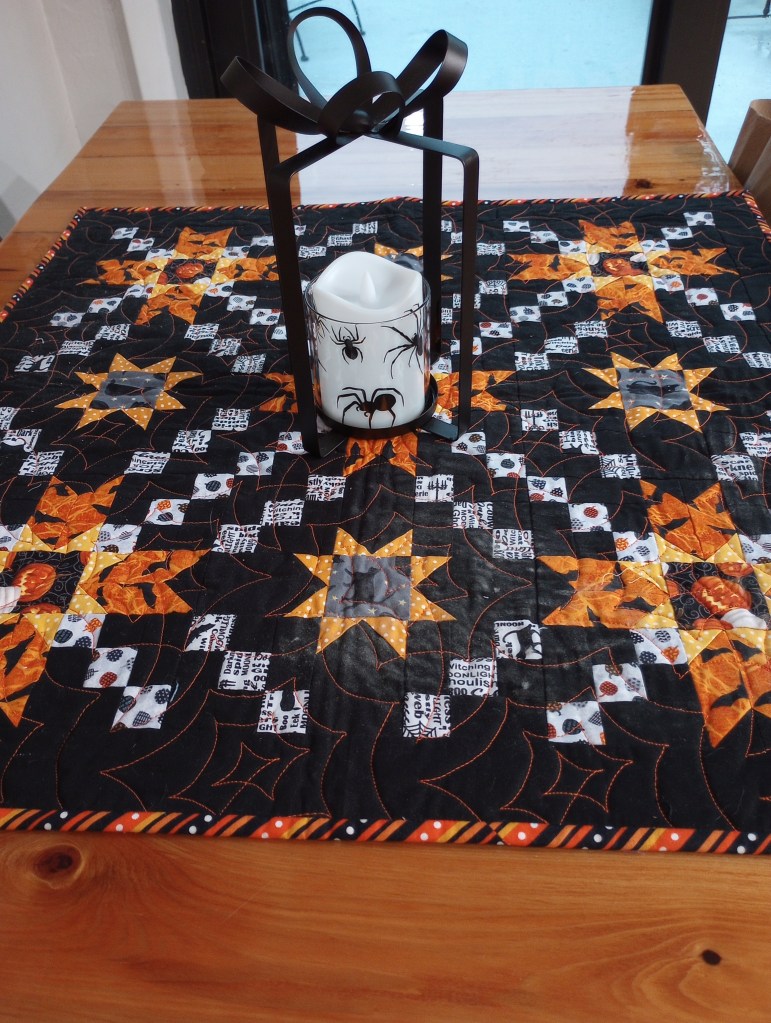
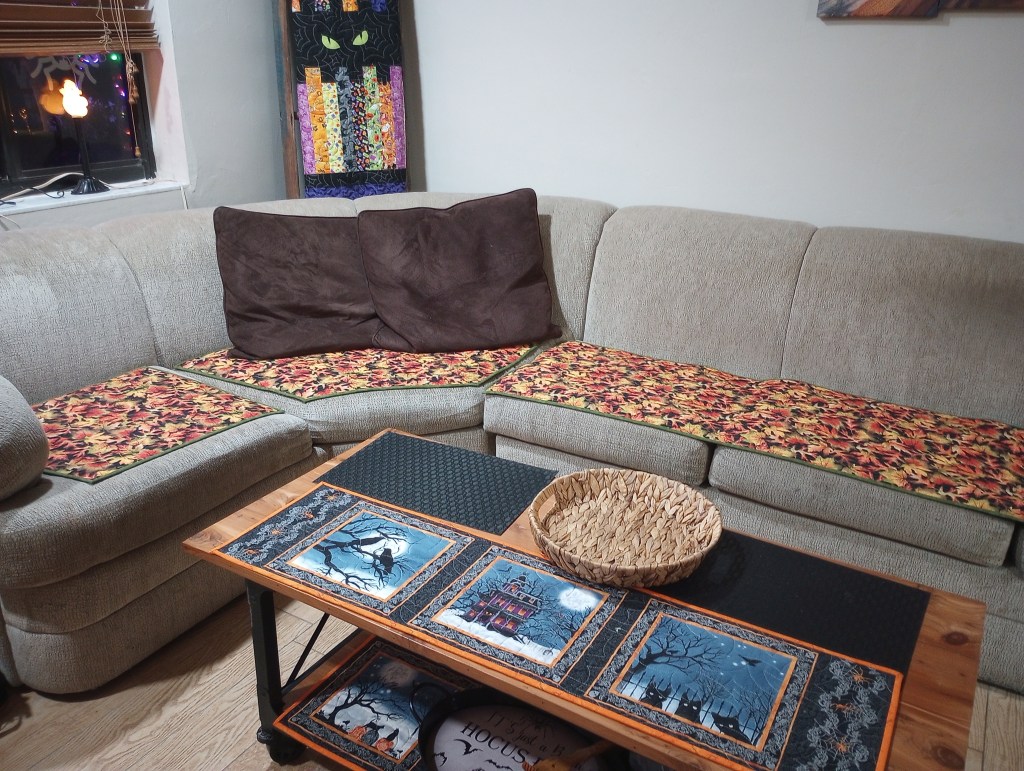
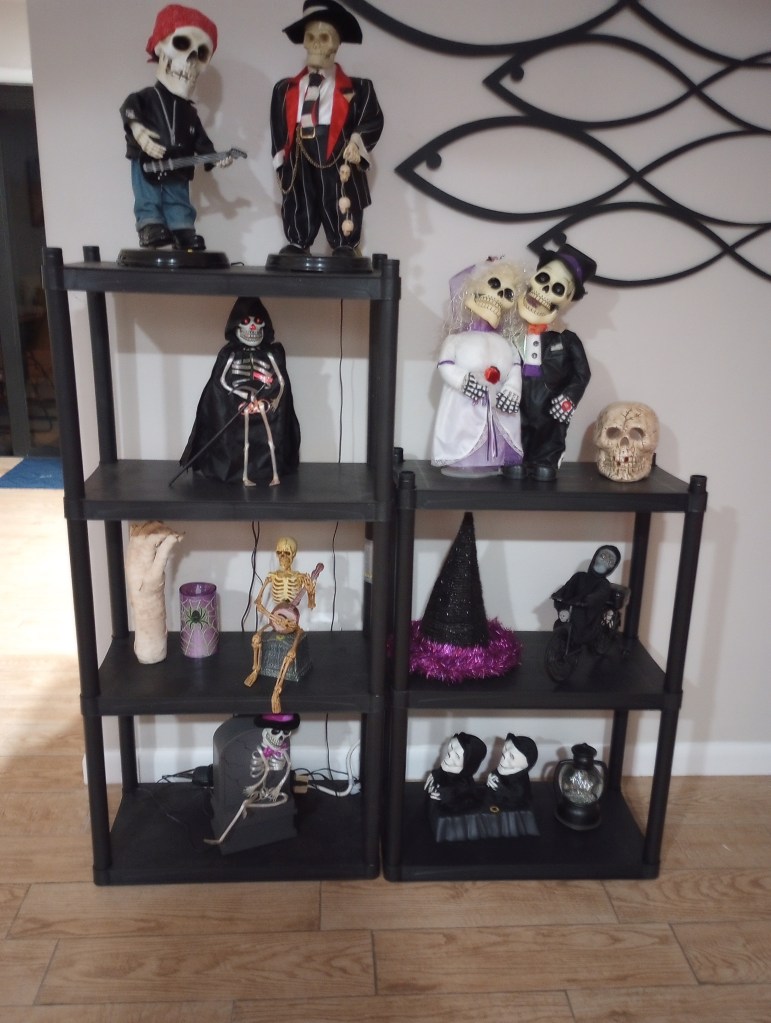
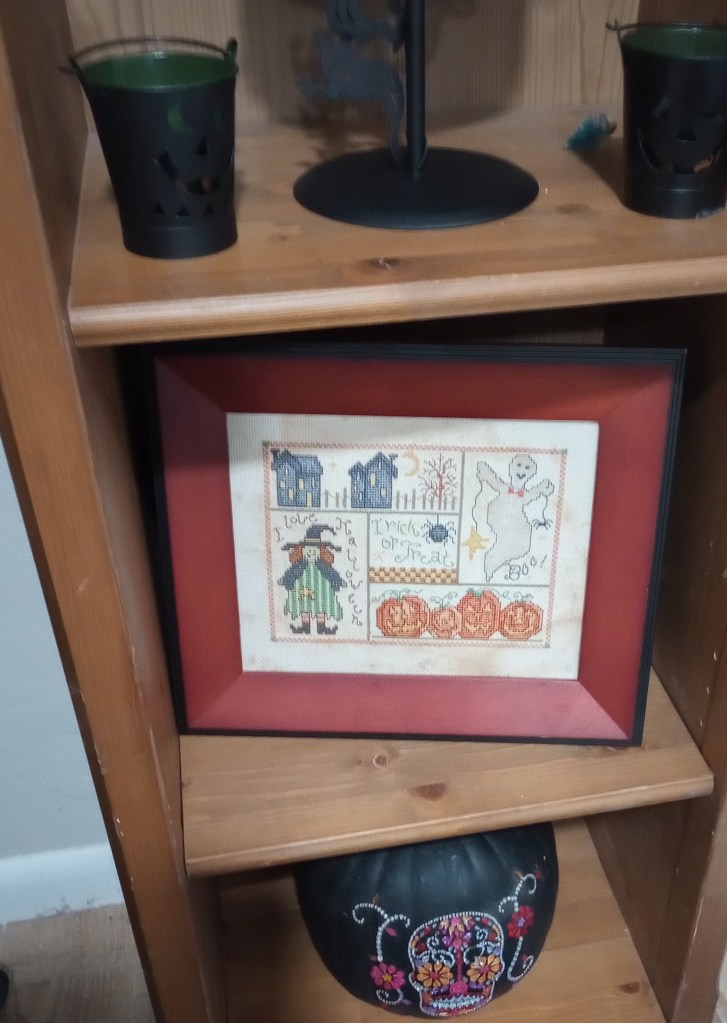
Here’s what the inside of my house starts to look like in October…
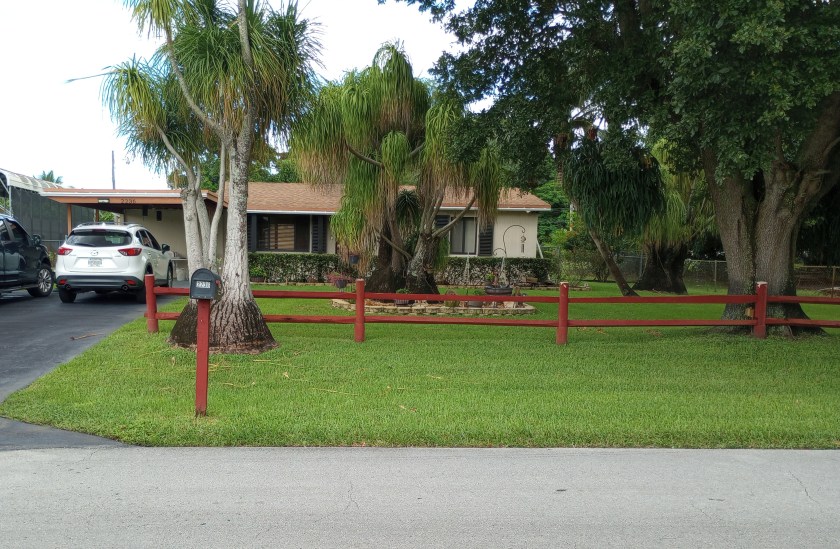
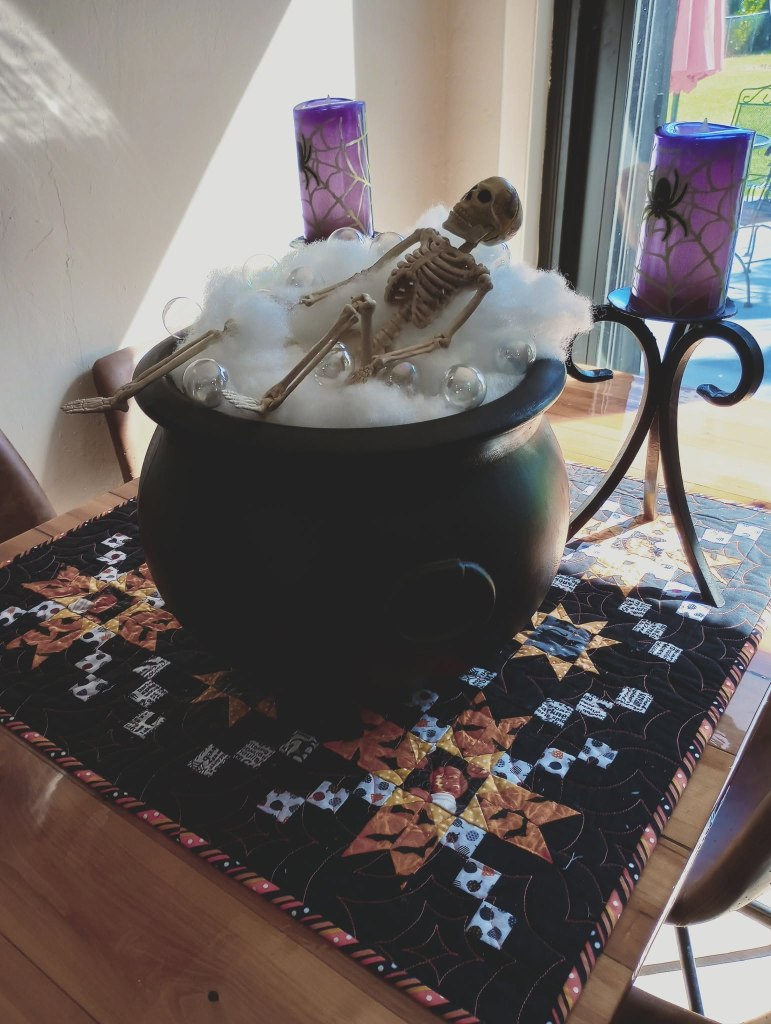
Yesterday I shared photos of the outside of our house during Halloween. This is little bit of the inside. Not as much for Thanksgiving but Christmas?… let’s just say I’ve had a few years to quilt, craft, and accumulate cherished keepsakes.
The reason for showing these photos is so you can see that all items that are normally on walls or flat surfaces are relocated from October until January so we can enjoy decorating for the holidays. They’re typically stored in one or two bins within my sewing room. Where the little Halloween village is, that’s normally a pantry .
I would have considered concealing items under my bed because it’s waterbed on a platform. We may be the last couple in the county to own one, but we both love it! At the moment, that’s where three 9-yard bolts of batting I was able to buy during a sale last month are hiding. I go through a lot of batting so couldn’t turn down a decent sale. Interestingly, it was my husband who offered the brilliant idea after I spent a few sleepless nights worrying about where I would store them! 🙂
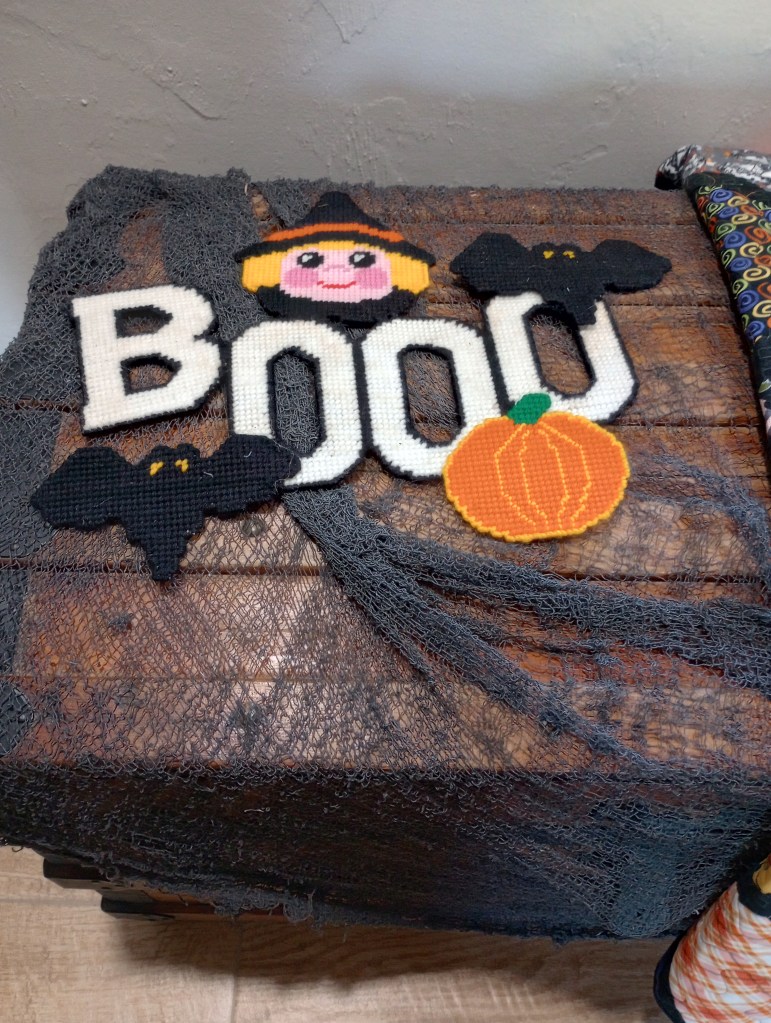
The bed in my guest room/home office features a trundle with a built-in drawer designed for a second twin mattress. I use the drawer as storage for my holiday quilts. Additionally, the antique humpback trunk (showcased in some of my photographs and adorned with a “boo” decoration in a Halloween photo above) contains my first quilt, a couple of treasured hand-quilted wall hangings made by my mother, an antique quilt, and a couple of other quilts I’m not yet ready to part with.
So why am I sharing all of this? To show that I’ve optimized all of my available storage space to its fullest extent. To explain why I keep repeating “I just don’t have room” so you’ll understand that I’m being honest and sincere.
Your little quilt wrapped around a stuffed animal doesn’t look as though it would take up much room. And, it doesn’t… until it’s quickly been joined by 40 others.
Our guild made the tough decision to relinquish storage, and now it’s up to all of us to adjust to the unintended consequences.
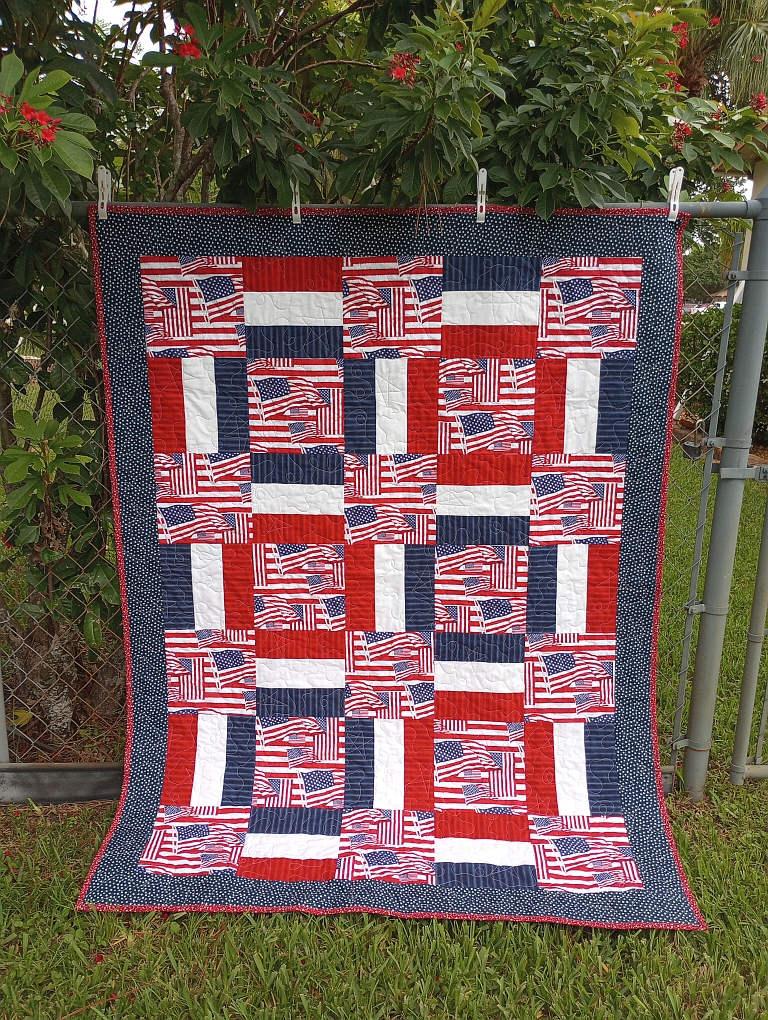
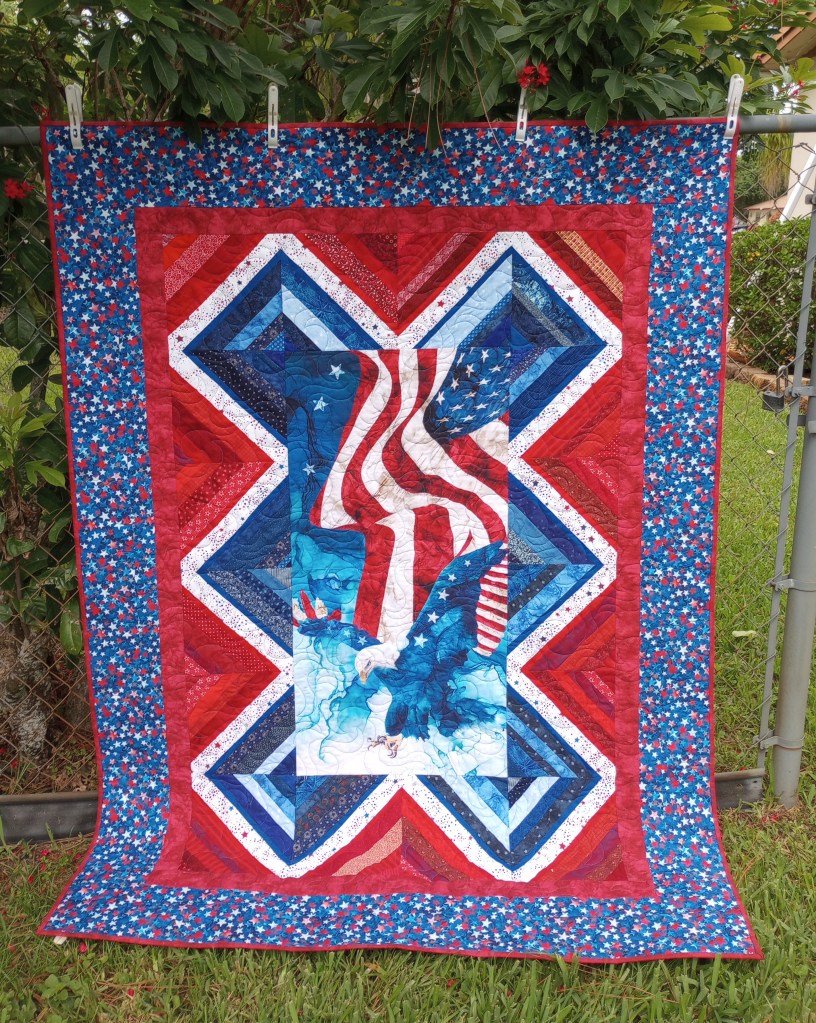
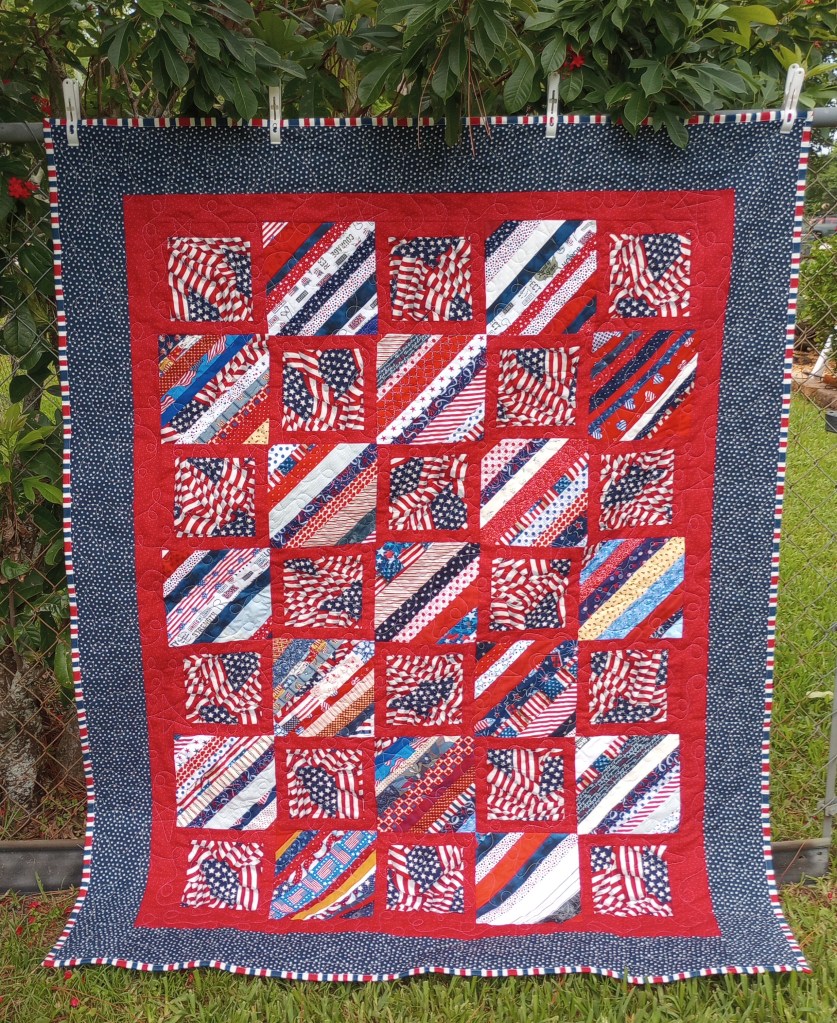
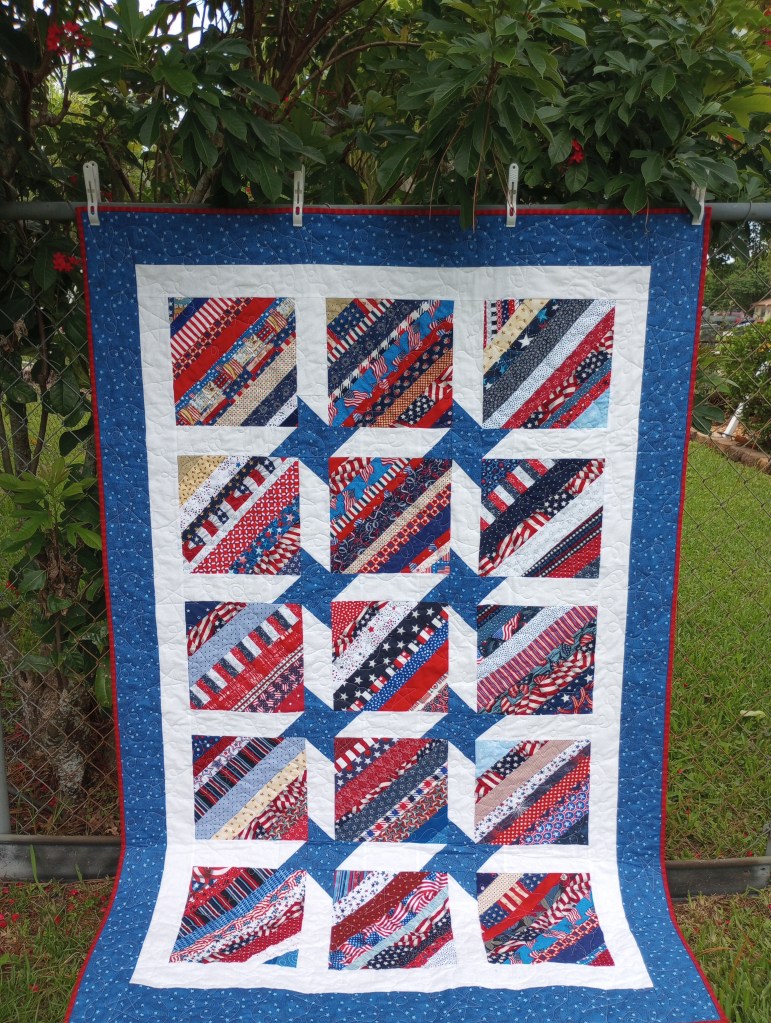
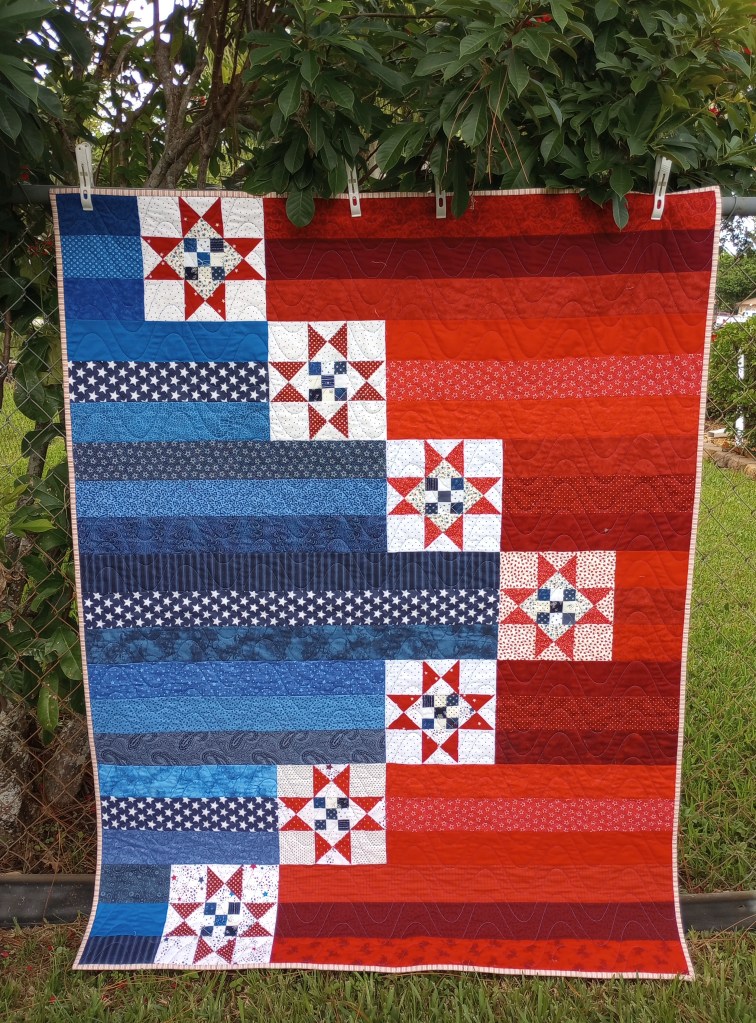
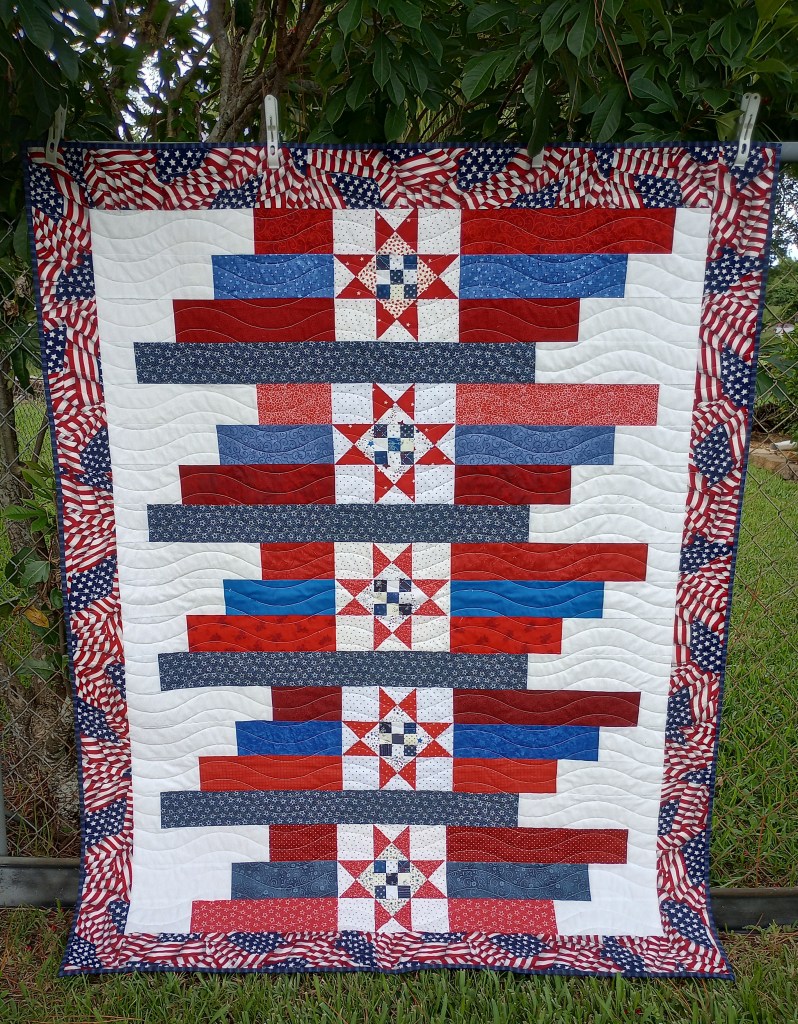
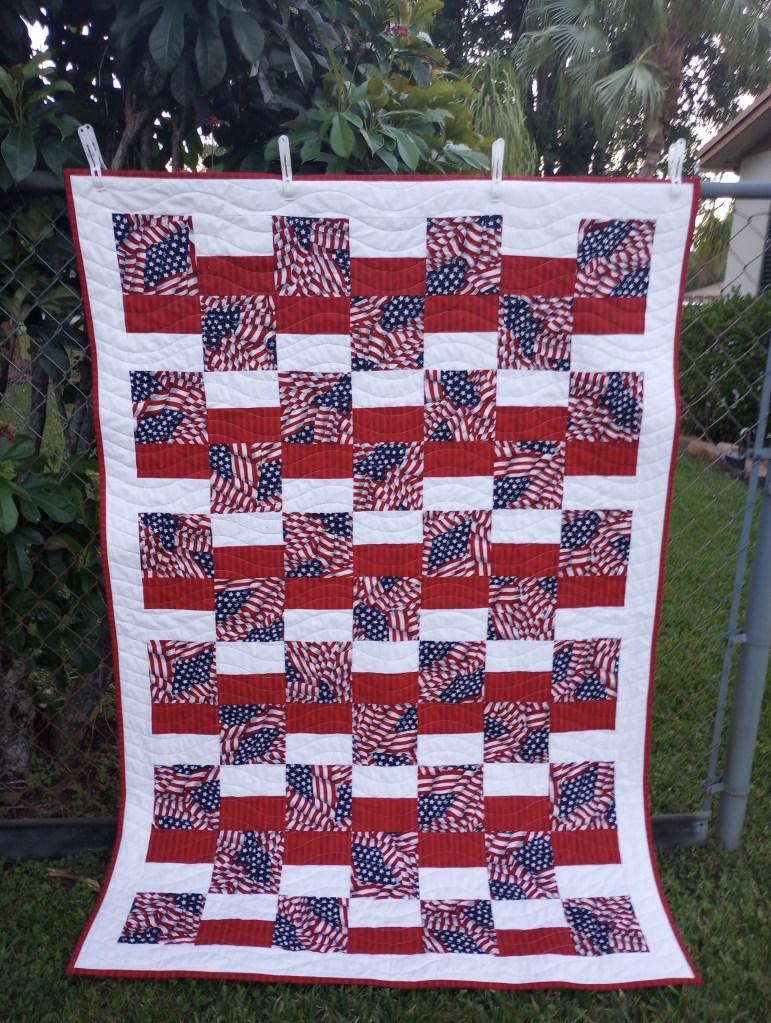
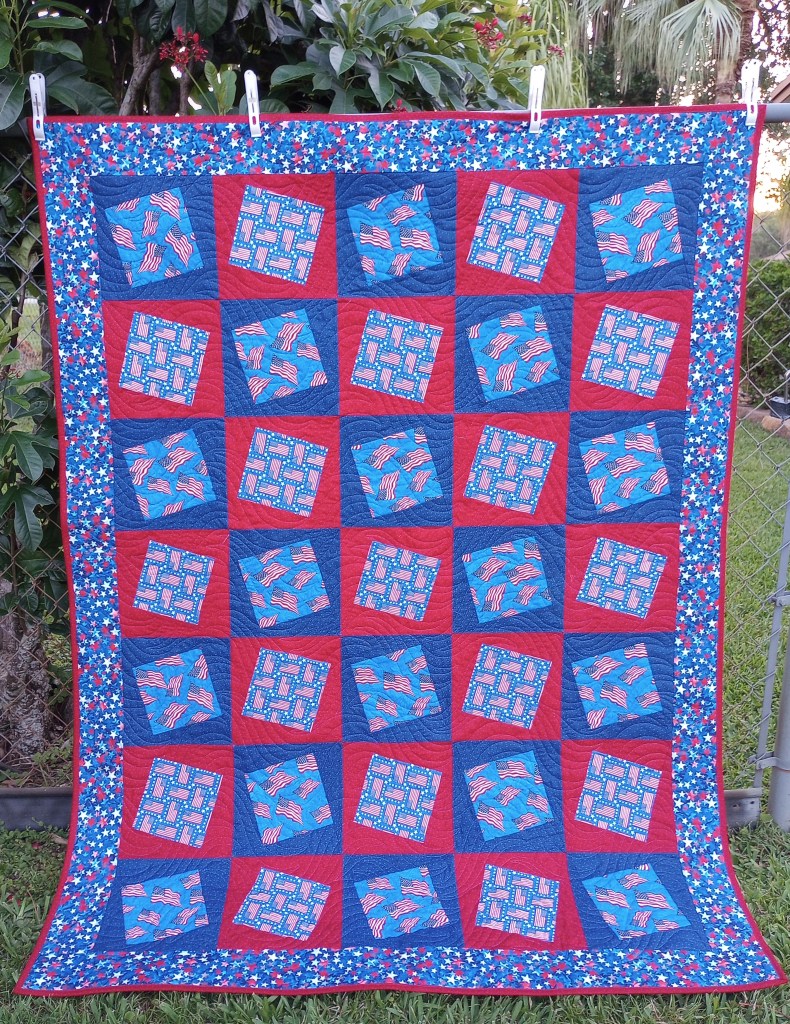
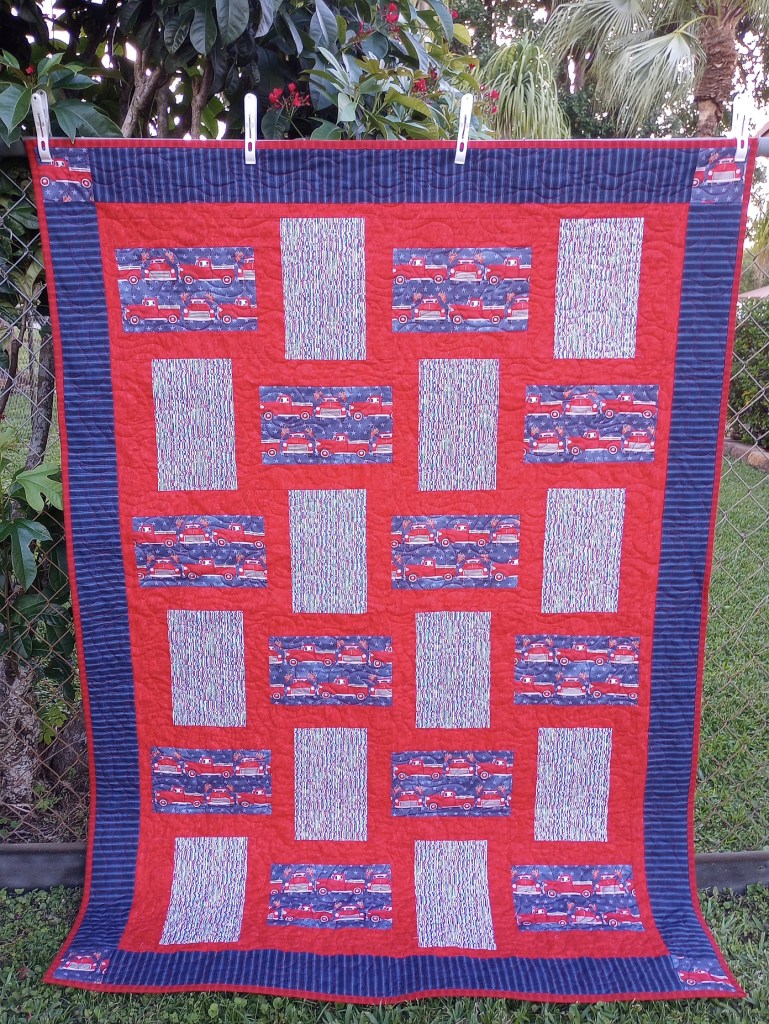
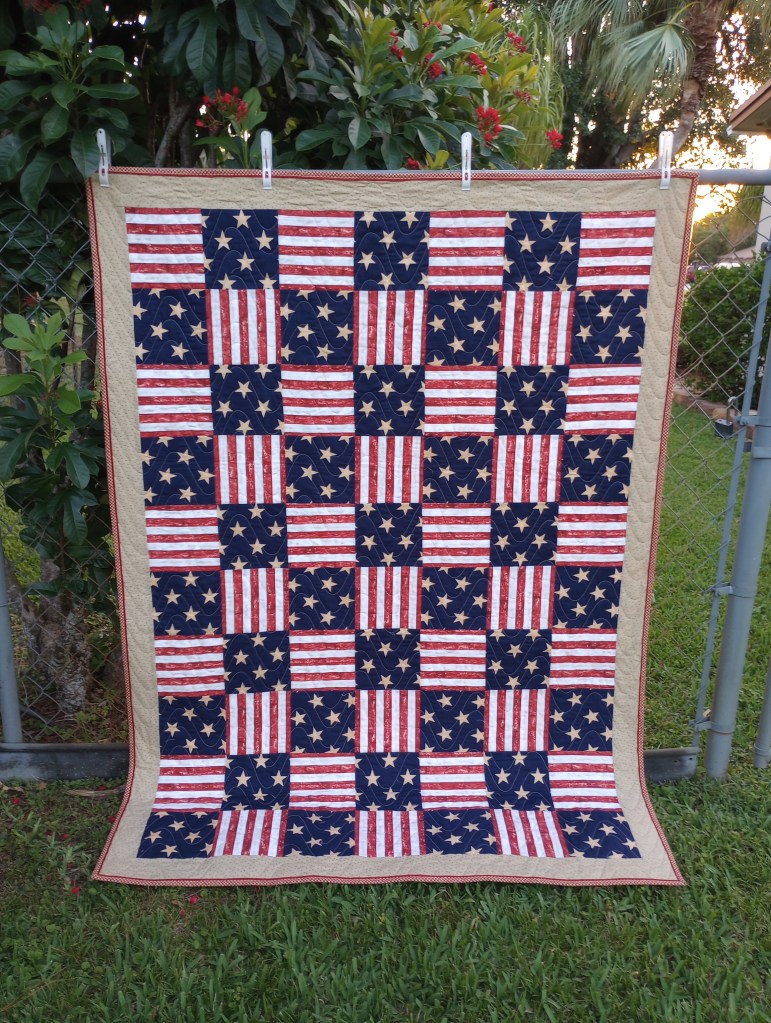
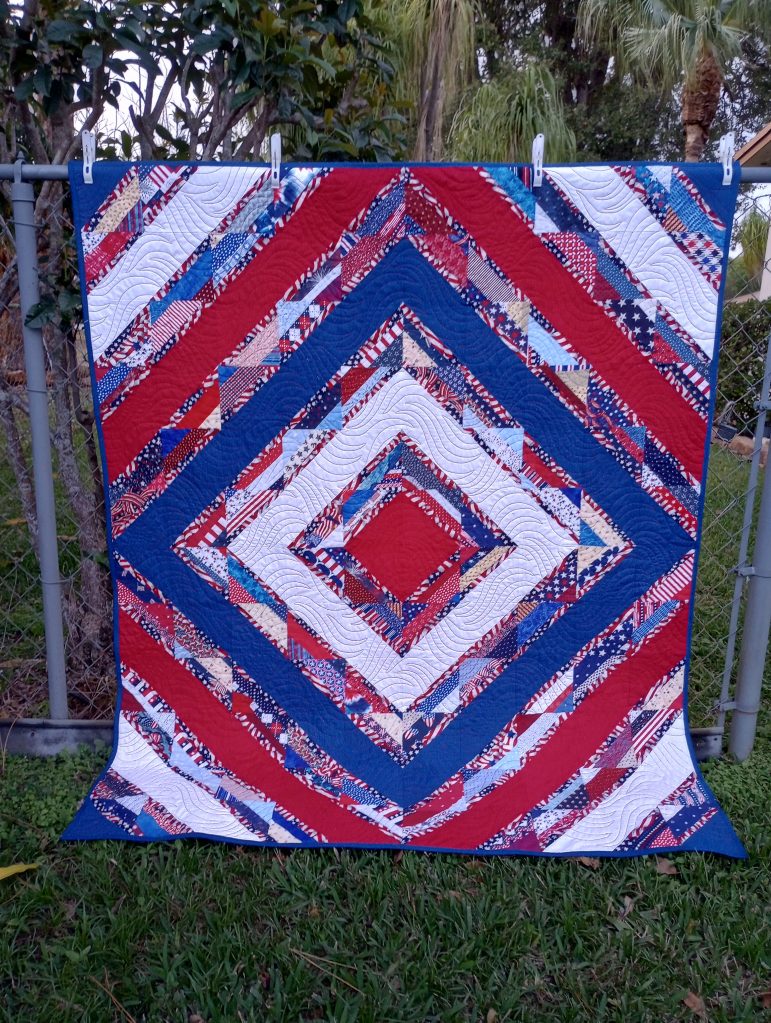
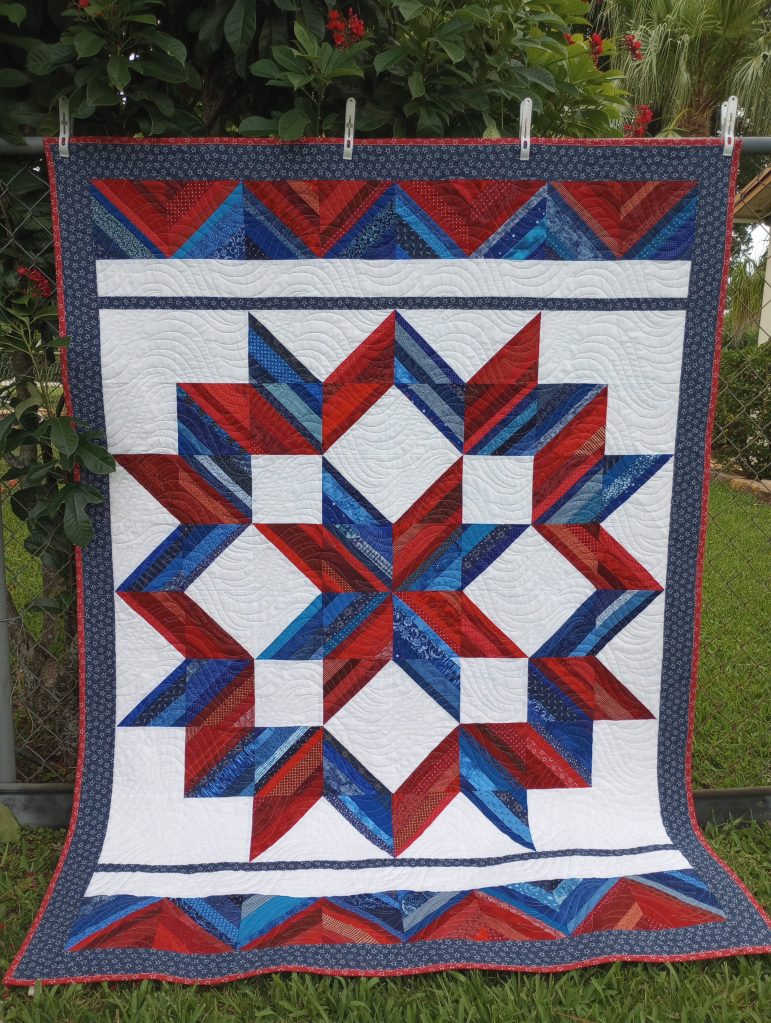
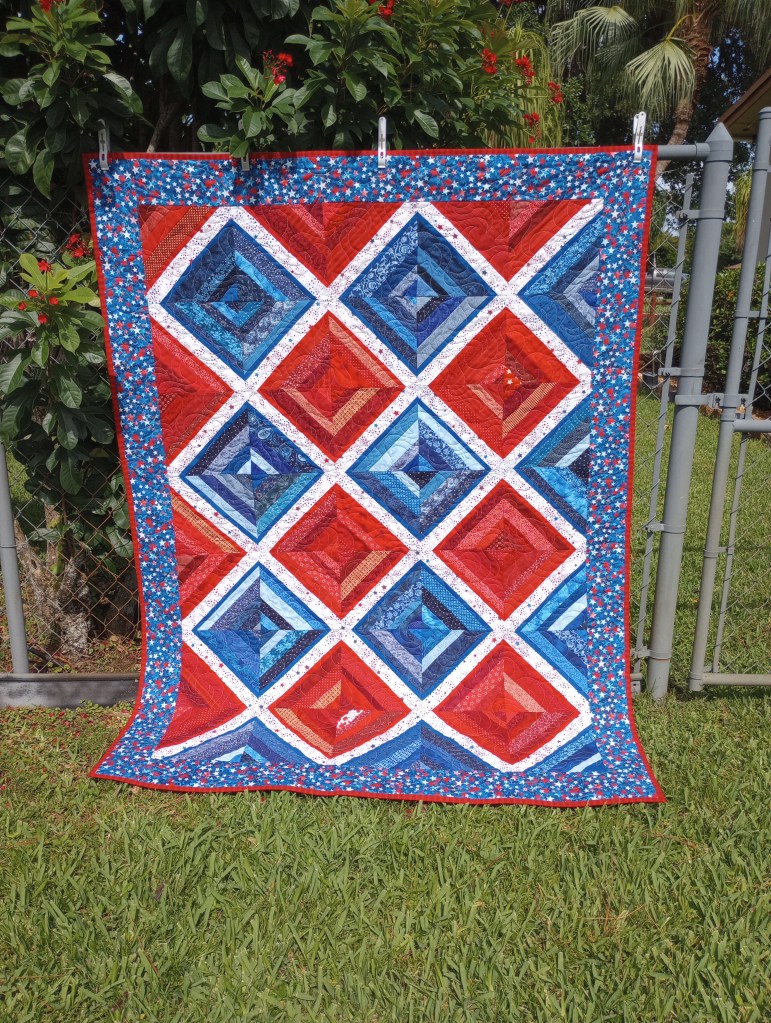
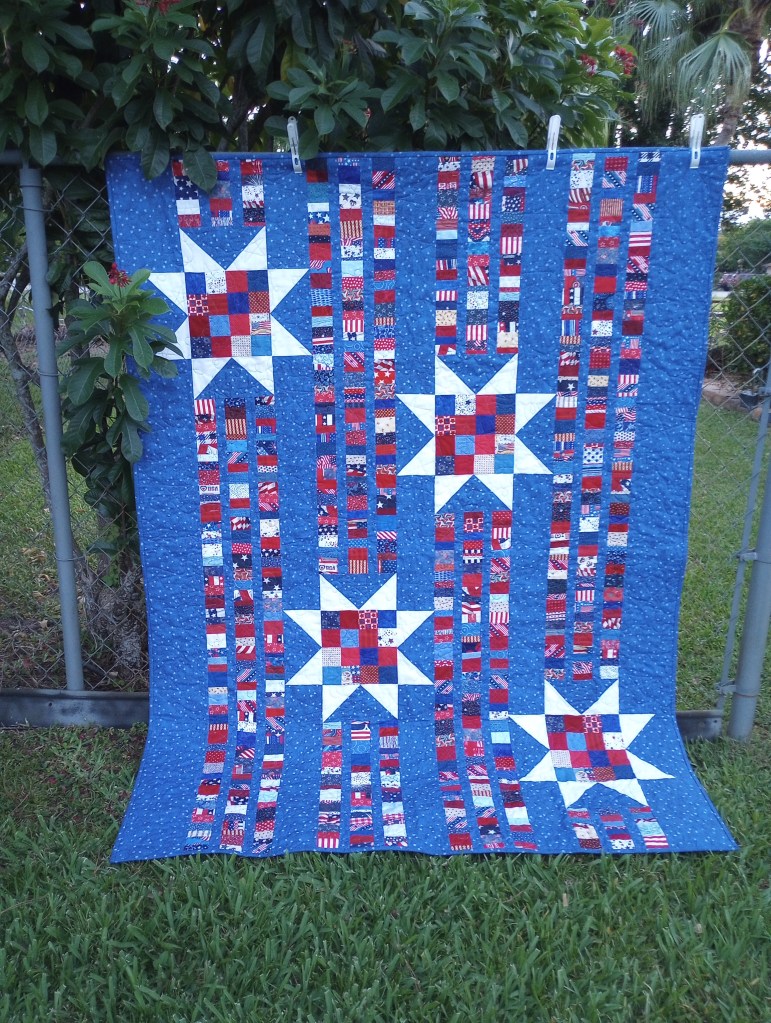
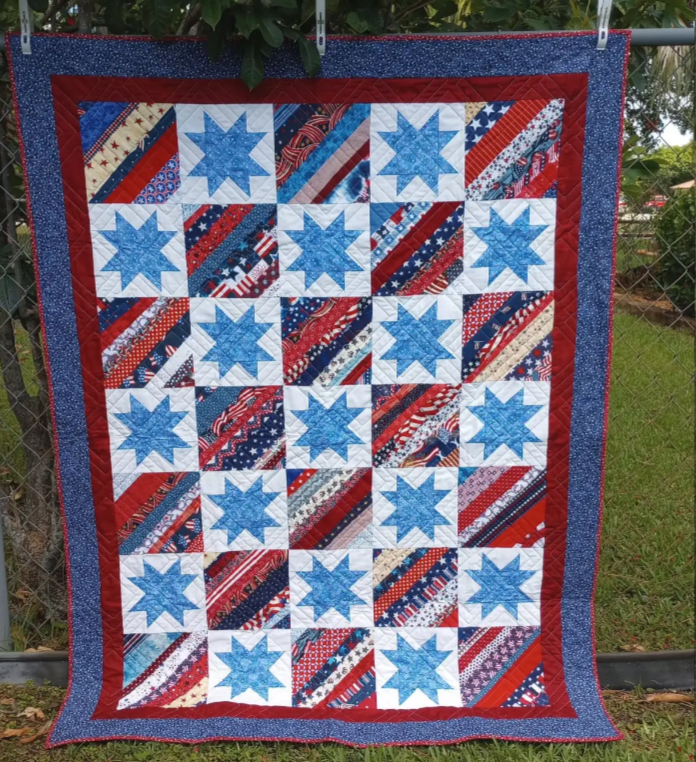
This marks the completion of my 15th quilt for veterans within the last five months. I was really struggling with burnout so decided on a simple design for this last one. I am relieved to have these last 6 finished in plenty of time for Veterans Day.
I used a couple of string blocks that came in late from a May workshop and a few made by volunteers who came to my aid at our quilt shop sew in day. I only needed to make about 20 myself to turn them into three quilts. I also had some pieced blocks that were given to me to use. Seems easy enough so, why am I so tired?
By the first of the year I imagine my mojo will have returned and I’m looking forward to participating in a south county guild’s Quilt of Valor program where quilting for the community is a priority and the workload is evenly distributed.
Now the real work begins – trying to reclaim my sewing space. Typically, it’s where I love to be, but can I honestly say that today? Nope.
My sewing room was the “someday” haven I imagined during the last decade (or two) of my working years, and it’s usually the most organized room in the house. It’s not what you would call “messy” now, but it’s filling up fast with items ready to be donated. I’m having trouble finding what I need, putting things away where they belong, and doing anything that doesn’t require moving something else out of the way first.
The six patriotic quilts will only be here until Veterans Day, in early November, but those little huggables are sticking around until December, and honestly, they seem to be taking over! The little quilts themselves don’t take up much room but when they’re bundled around stuffed animals – it’s surprising how much more space they consume.
The response has been wonderful. People love making and donating them. I’m grateful that often they’re donated with the stuffed animals but it’s a combination of “Oh fantastic!” when they give you several at a time and “Oh crap!” when you unload your car and realize you have no place to store them.
I nearly caved and rented a storage unit for a couple of months. I was checking the prices online (while trying to justify the expense to myself) when my friend suggested in a text that I consider vacuum seal bags. Seems like a cheaper alternative than paying for storage, but will it really work? Guess I’ll have to hit up Amazon and find out.
In the meantime, I have a new appreciation for people who choose not to raise their hand and volunteer for things. You’re often expected to give up much more than your time – you might find you unwittingly gave up a portion of your home too.
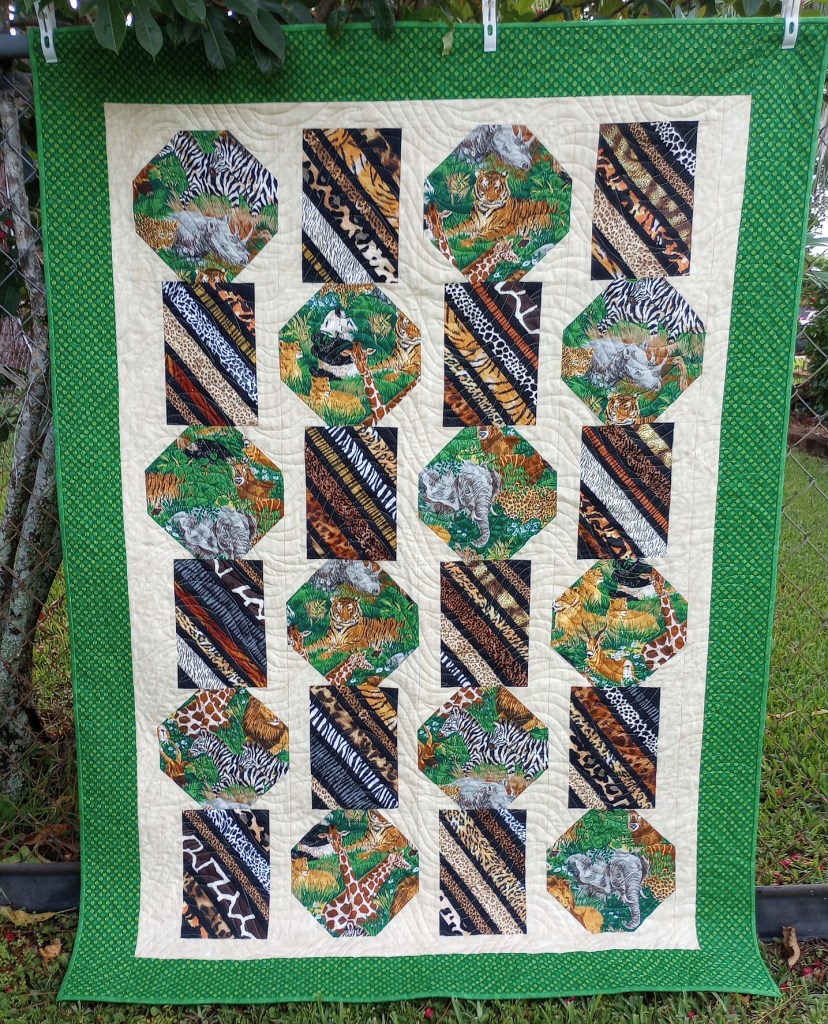
Several years ago a friend mentioned a class she’d taken using three identical strata (strip sets) and experimenting with different layouts. It sounded so intriguing I thought I’d give it a try. Instead of making three blocks, I decided to “go big or go home” so I made three quilts. Halfway though I began to wonder at what point I had lost my mind.
I loved the quilts and gave them to 3 of our grandsons so it worked out well. The brothers could easily tell which quilt was theirs.
This week, our group of volunteers were working on the same tube technique to make Huggables.
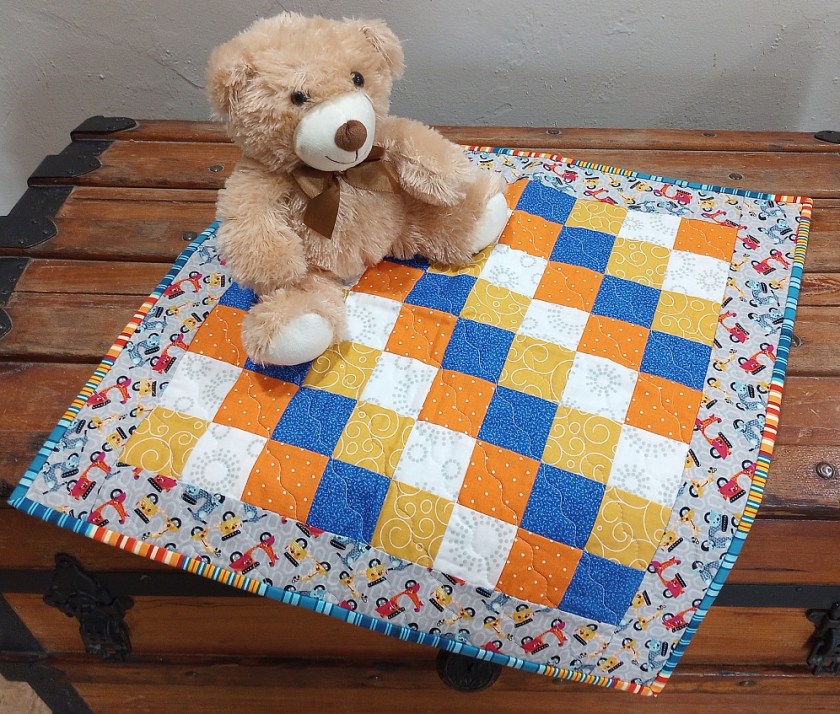
The tiny 20″ square quilt is like the appetizer of the quilting world—much smarter than committing to three full-blown quilts! Trust me on that. If anyone decides to grab the techniques and bolt for it, who needs a map (pattern)? You can use these photos to choose a destination. If you’re directionally challenged like me, a sheet of graph paper and a pencil is a big help to keep from getting lost. 🙂
I like printing graph paper as I need it on this website. It’s heavy on ads in the sidebar and bottom of the screen so avoid clicking on those.
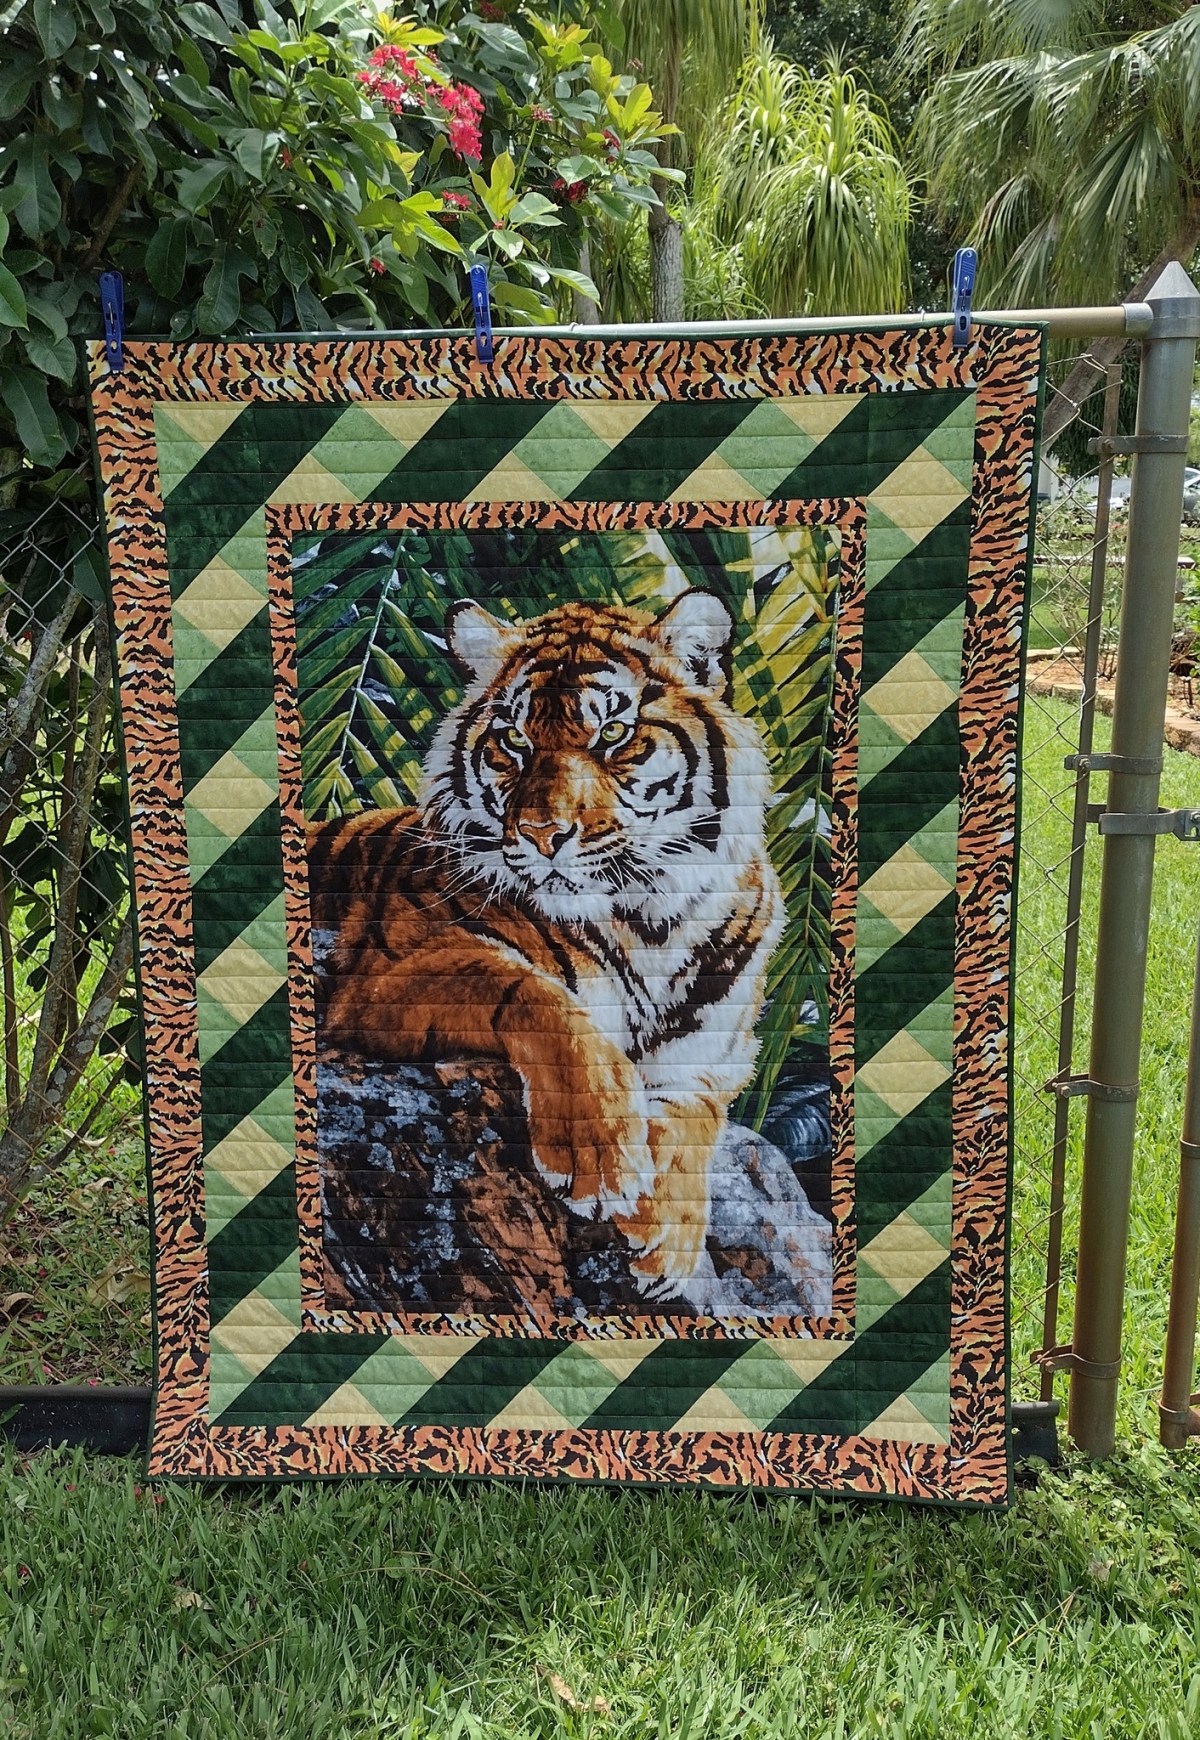
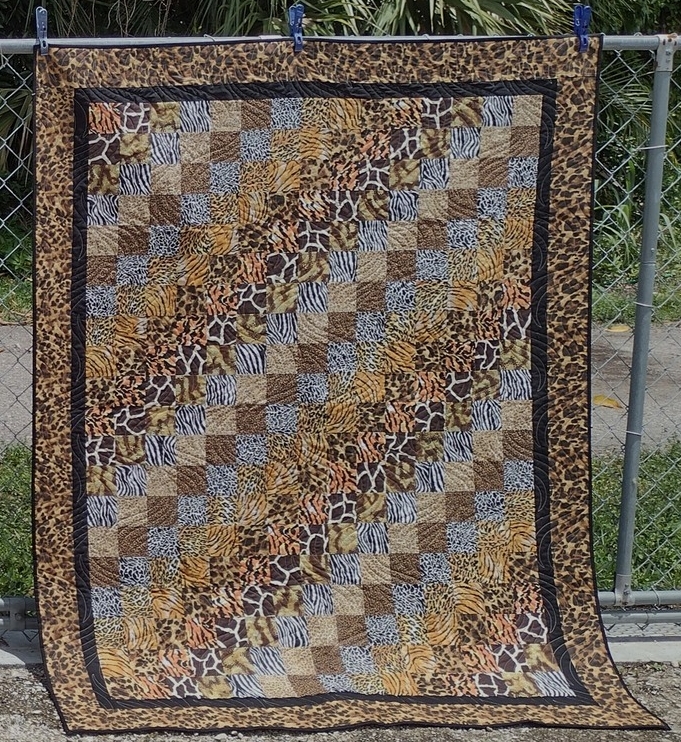
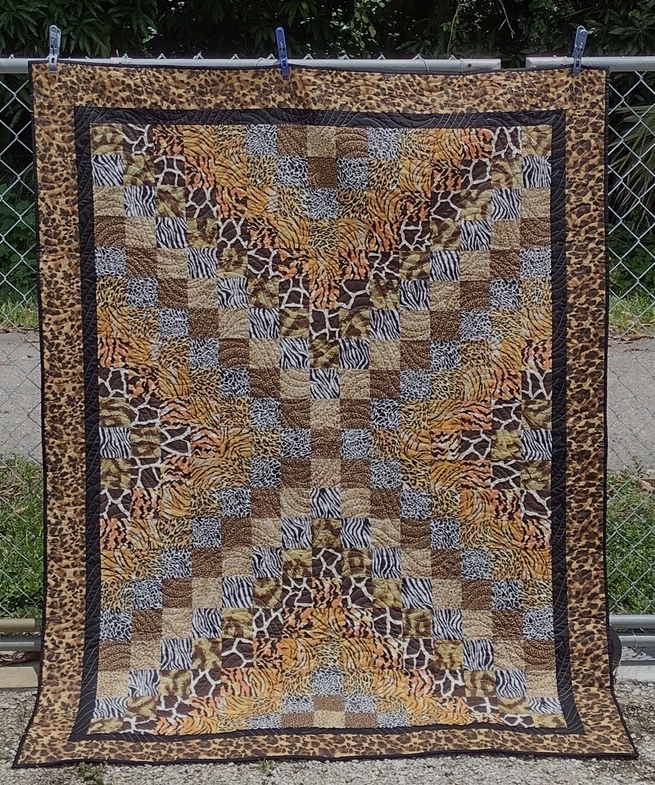
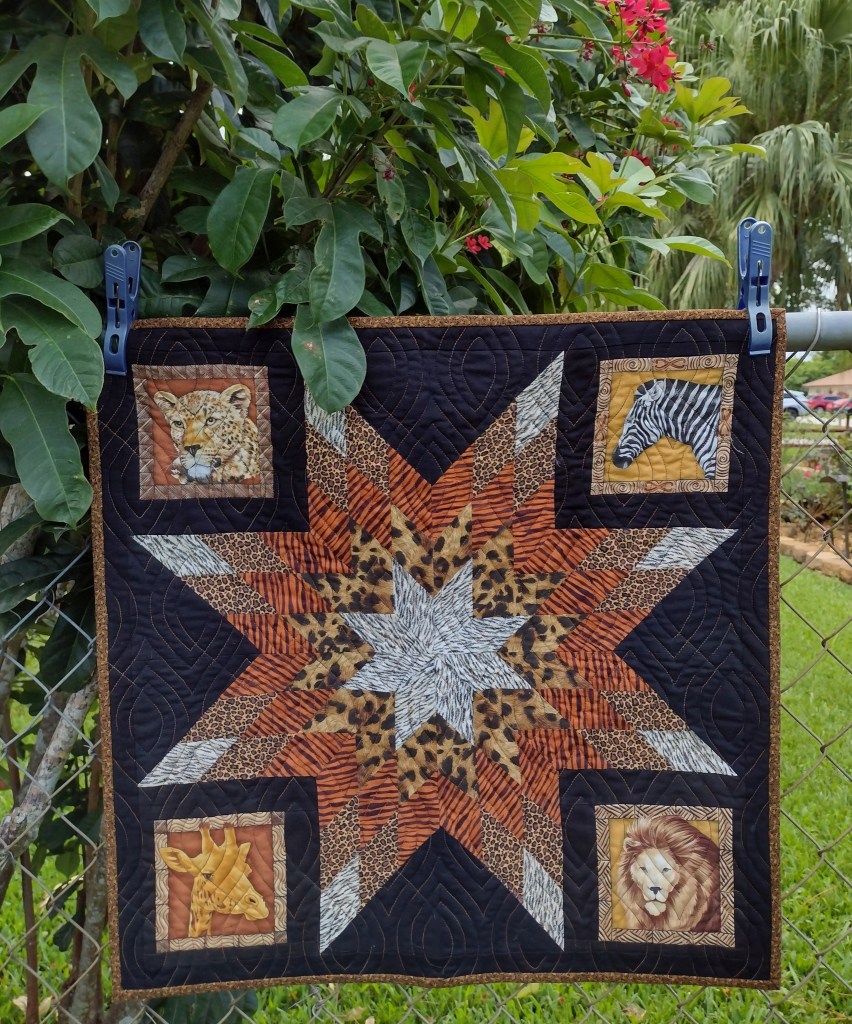
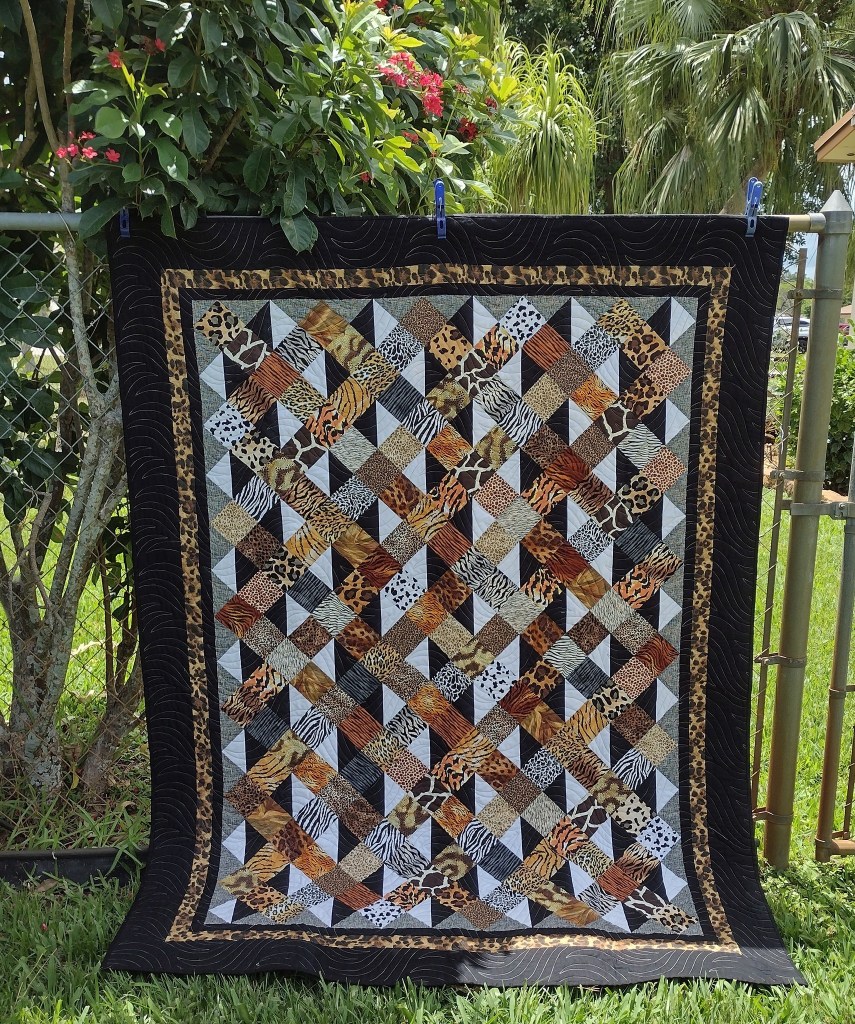
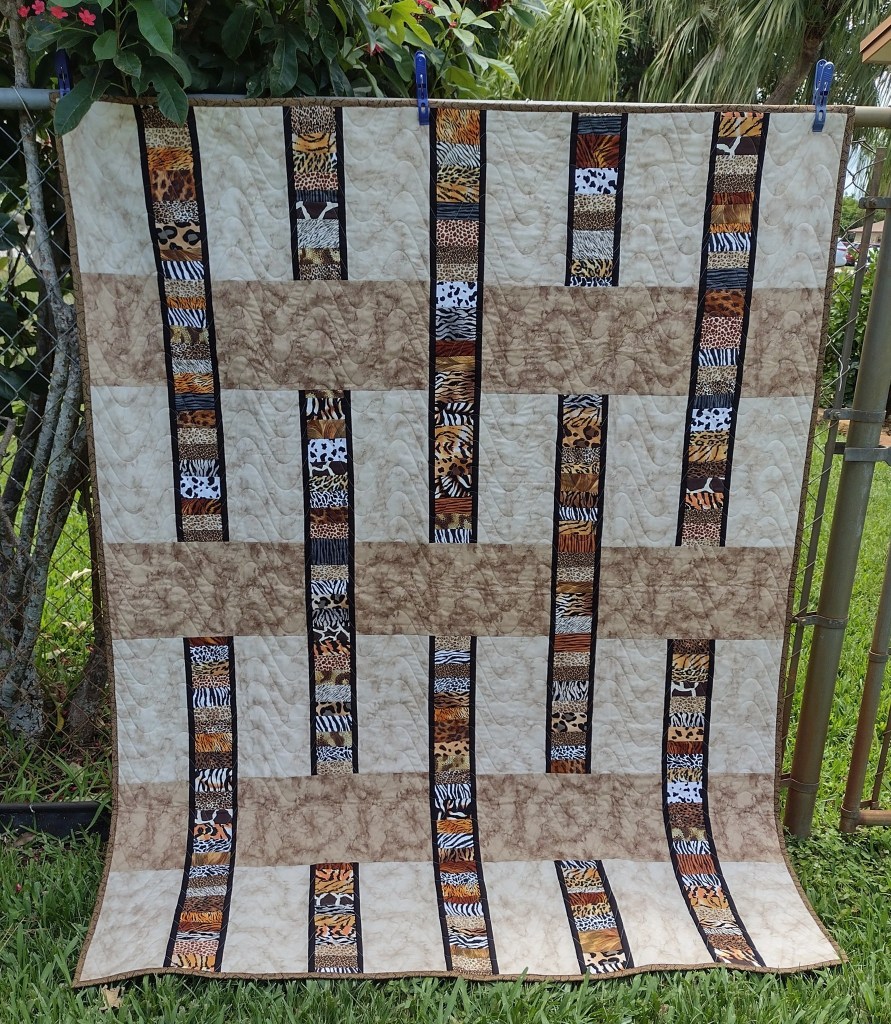
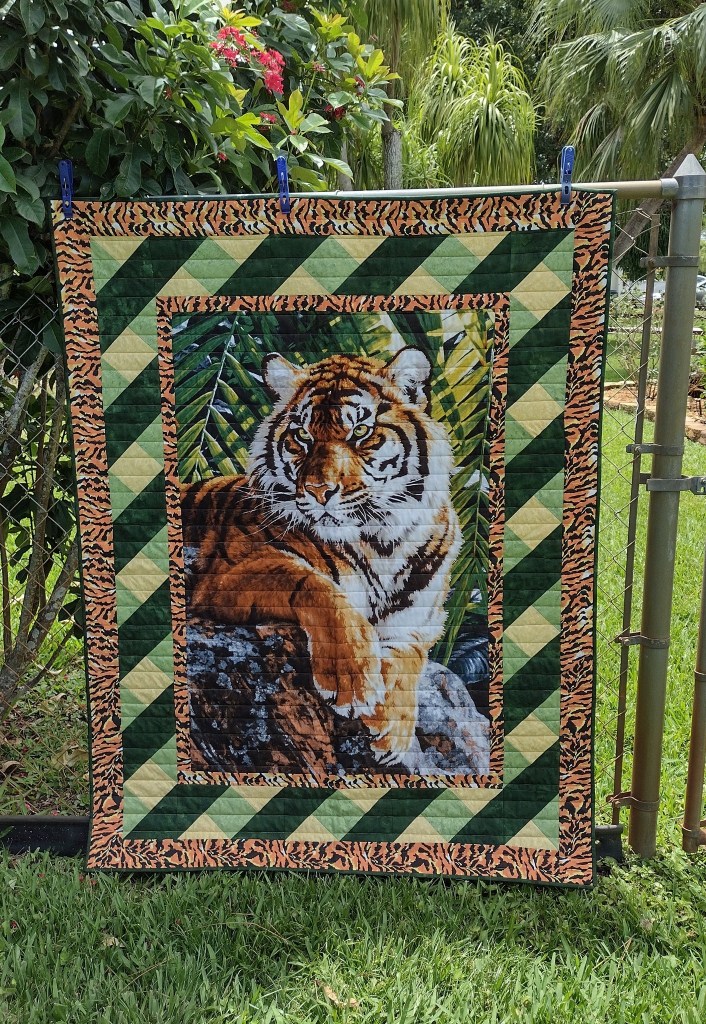
And, like all quilts I had some animal skin prints leftover which turned themselves into more quilts!
Once you begin to quilt, you’re guaranteed to never have a boring day in your life again. ♥