This “how to” is not meant to be a full tutorial on how to attach a binding by machine. A simple Google search will bring up many, many existing pages and videos on the process. Instead, the goal is simply to share information on how to add a flange to your binding.
Why add a flange? Two reasons…
1. Sometimes you have the perfect fabric for your binding but don’t quite have enough of it. Flange binding to the rescue! With this method you only need cut your binding strips 1 ½” wide. 🙂
2. In other instances, your quilt border and binding may not look great next to each other, but a bit of flange separating them is all that’s needed. That was the case with this quilt.
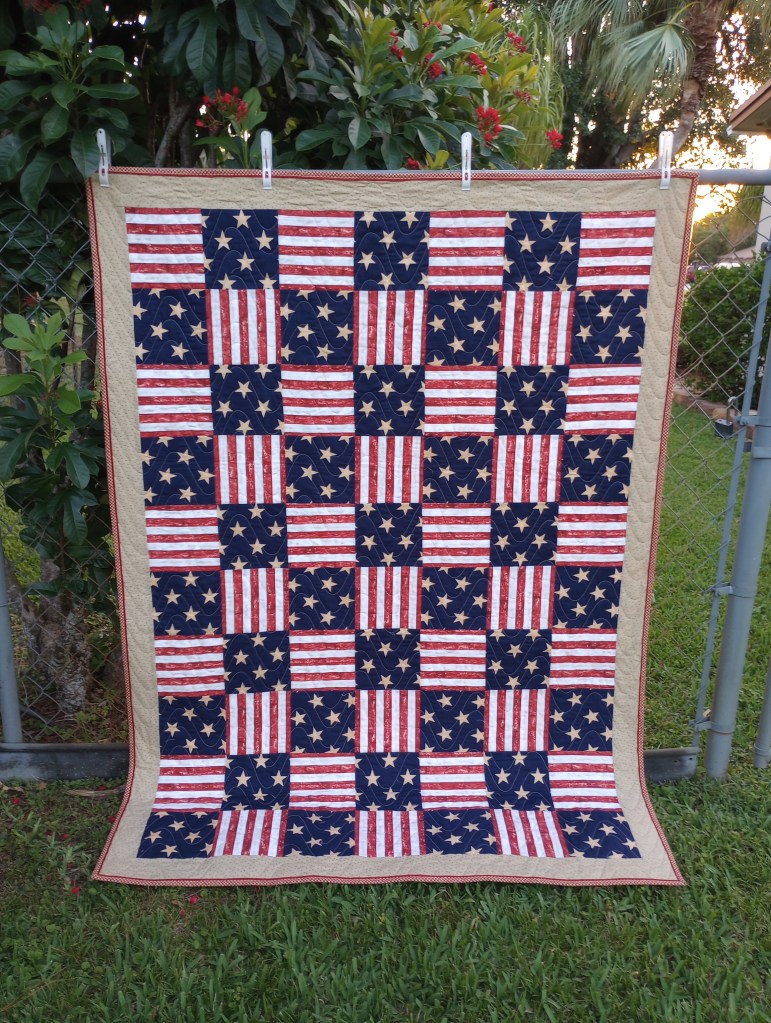
I auditioned the binding I wanted to use and then, laid a piece of red fabric under it to see how it might look with a red flange. It was an easy decision.
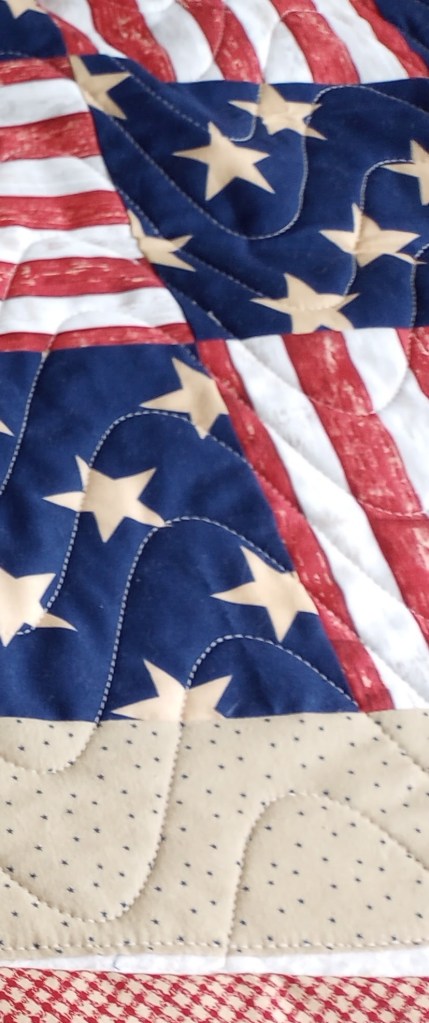
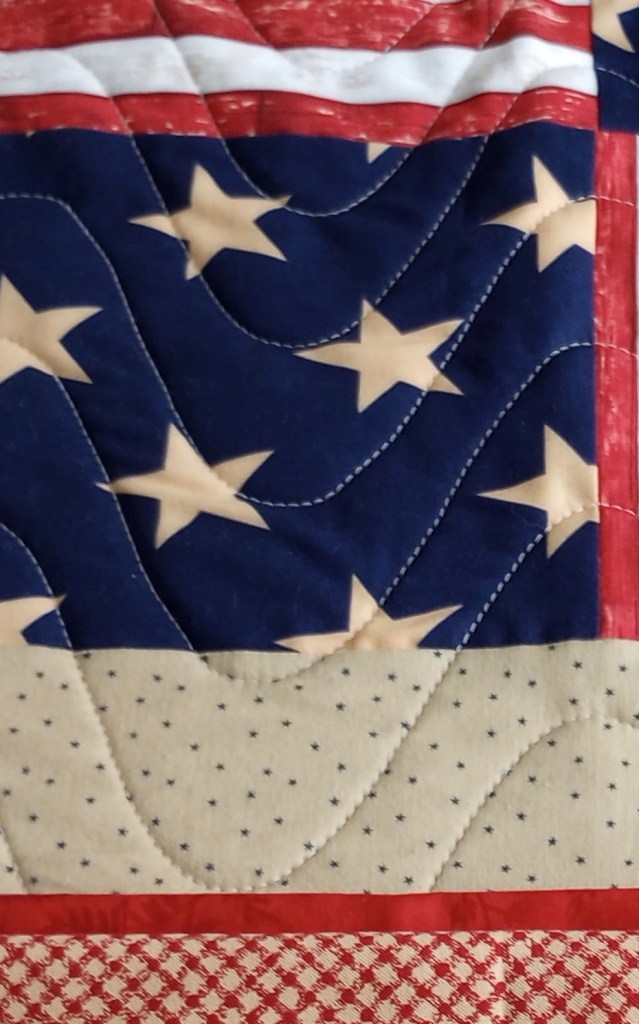
Here are the measurements to cut your binding and flange fabrics. The flange is cut wider than the binding fabric. Cut as many strips of both fabrics as needed to get the length of binding needed for the quilt.
Flange: 1 ³⁄₄” wide strips
Binding: 1 ½” wide strips
Sew all of the flange strips together end to end. Then, sew all the binding strips together, end to end.
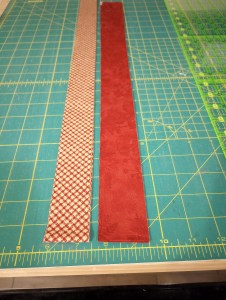
Next, sew the two long strips together and press toward the flange fabric. In this example, it’s the solid red.
Fold the binding in half carefully matching the raw edges and press.
The flange is very narrow so careful pressing is important.It’s easier to press from the flange side – with the seam underneath.
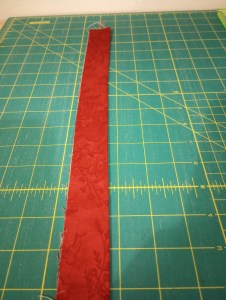
When you turn it over, you’ll see your narrow flange.
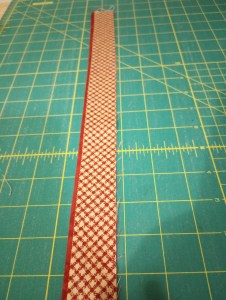
Sew the binding to the back of the quilt with the binding side down and the flange side facing you.
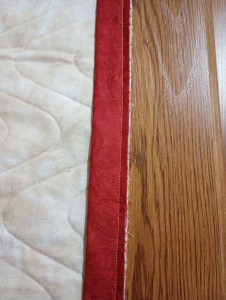
Press the binding away from the back of the quilt.
(This is applicable to all machine-bound quilts and makes it much, much easier to pull over to the front and stitch down.)
In this decade old Missouri Star video, Jenny Doan demonstrates the exact same process described above. The only difference is, some people prefer to stitch close to the edge of the binding rather than using the “stitch in the ditch” method described in the video.
Here’s a helpful tip for the binding’s mitered corner.
If you have an adjustment on your machine, move your needle position one click to the right. It’s not required to achieve a good corner but, it is helpful when stitching very close to the edge of the fabric.
Start by sewing the binding to the front of the quilt as usual.
As you reach the corner, fold the binding edge facing you upwards.
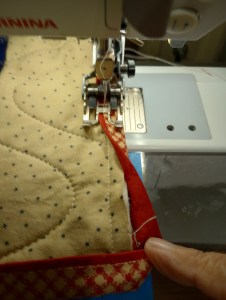
Next, fold the side binding over and secure it with a large head pin at an angle, ensuring the pin catches both the bottom and side binding to hold the miter in place.
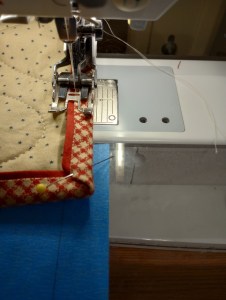
Begin stitching but, stop a couple of stitches before you reach the pin. Finish those next few stitches by hand using the machine’s needle up/down functions or by the handwheel (so you don’t accidentally hit the pin and risk breaking the needle). Leave the needle in the down position.
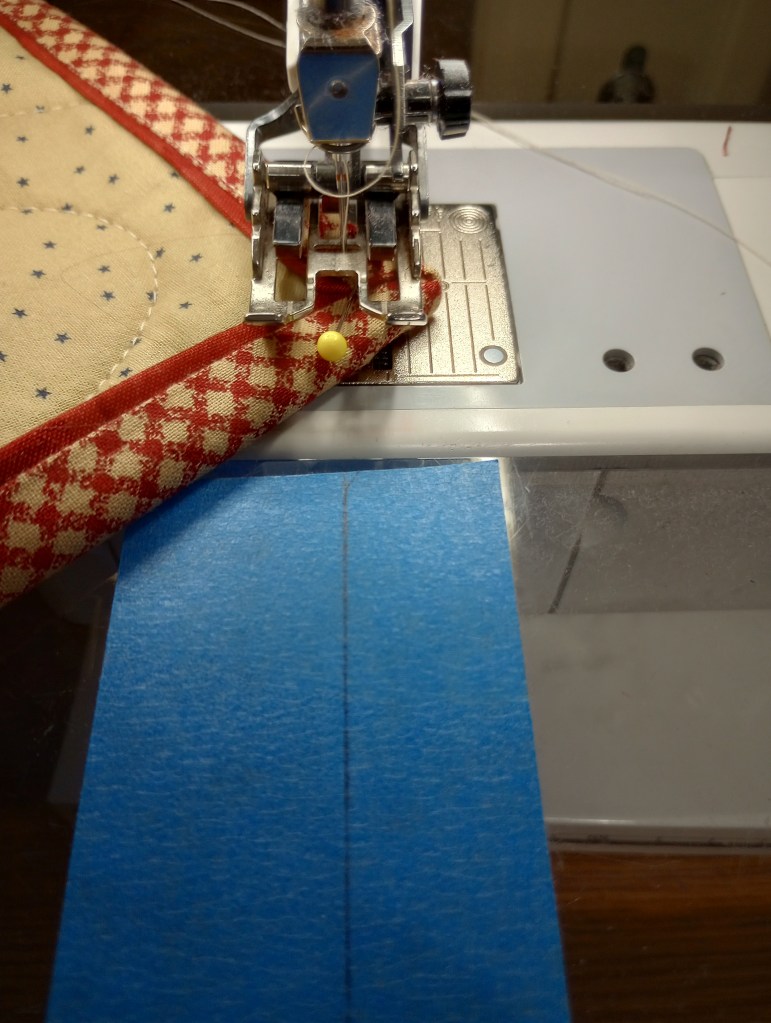
With the needle down, pivot, and pull the pin out when it’s facing you. Prepare to stitch down the other side but – DON’T BEGIN STITCHING YET!
Important! Ensure your first stitch starting down the other side is positioned to stitch on the binding.
Skipping this crucial step will prevent you from achieving your desired result.
(Ignore the blue painter’s tape; yes, I misplaced my quarter-inch tape. I’m sure it will turn up the day I purchase a replacement.)
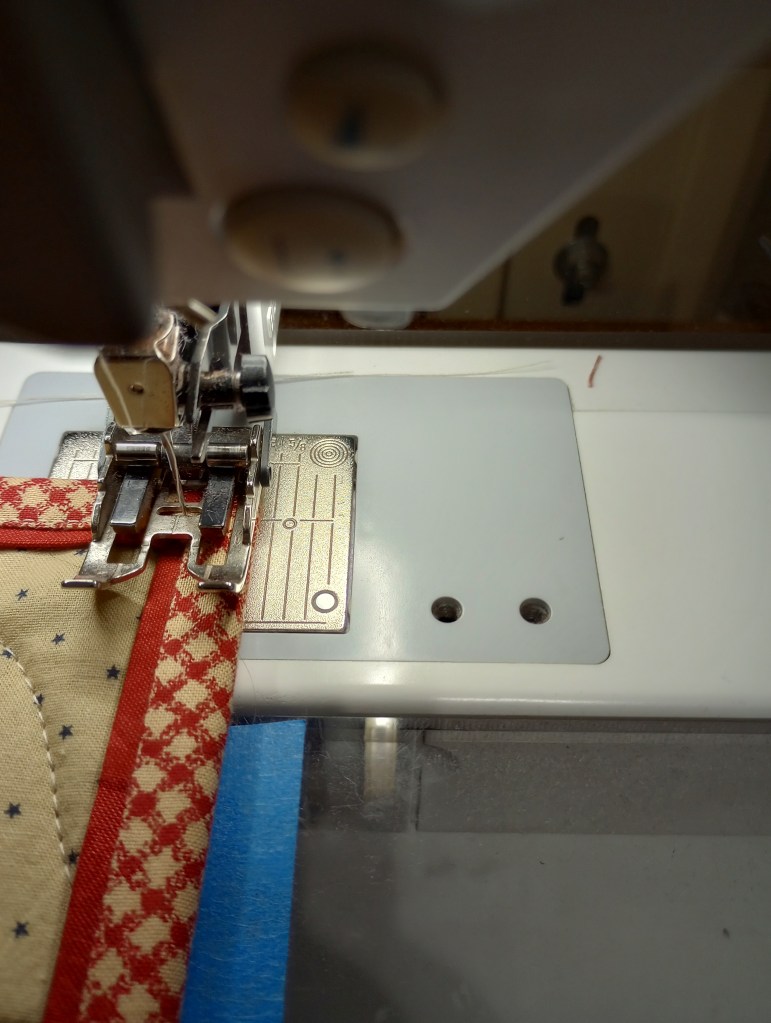
Notice where the needle is in this photo. The quilt was pivoted just one stitch too soon. It required turning the quilt back again in order to take just one more stitch.
This happens often – so go slow and take your time here. Look closely to see that your next stitch is going to be exactly where you want it. Had it not been corrected, the next couple of stitches would have landed in the flange, not on the binding where they belonged.
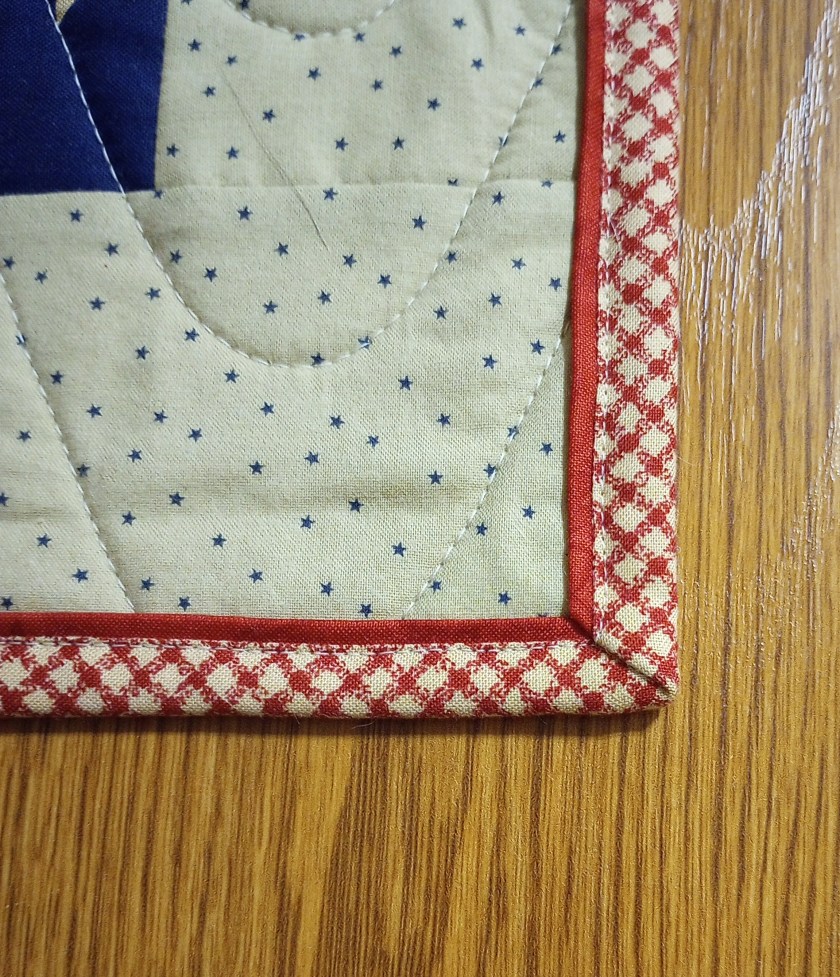
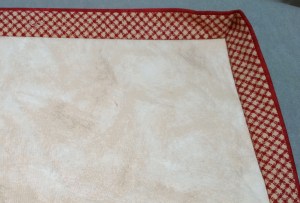
Here’s the finished mitered corner. Taking your time and using this one simple trick makes all the difference!

