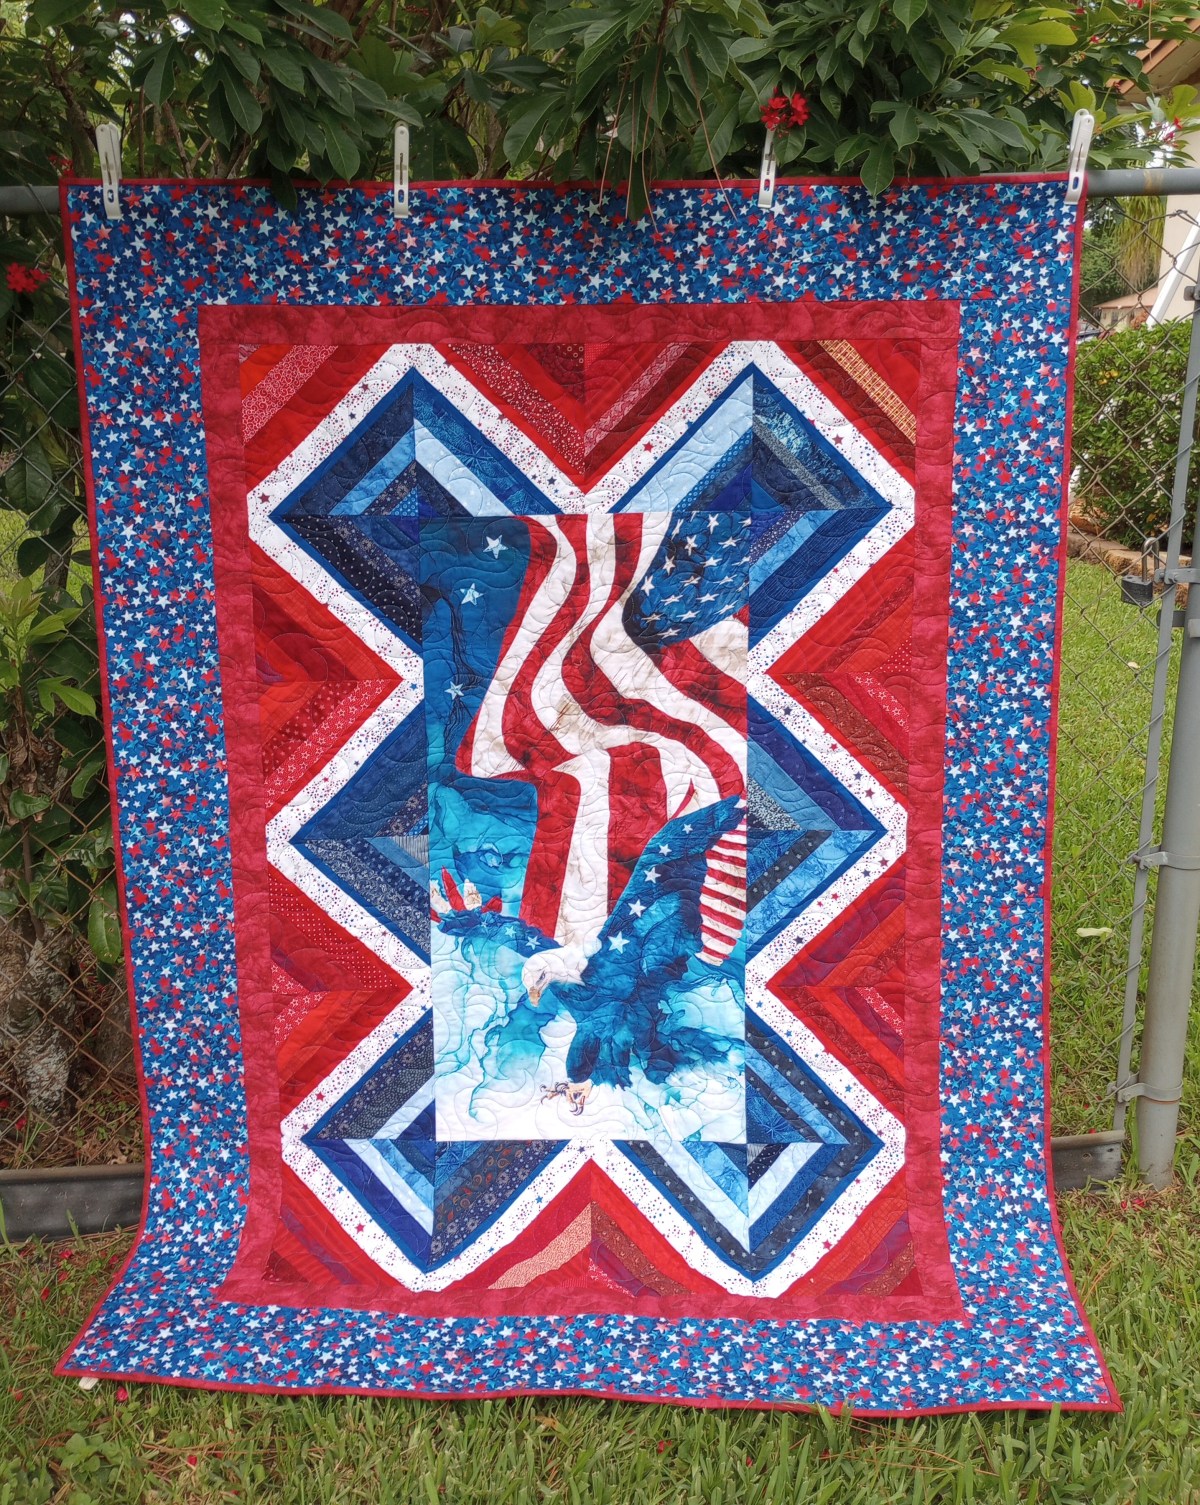
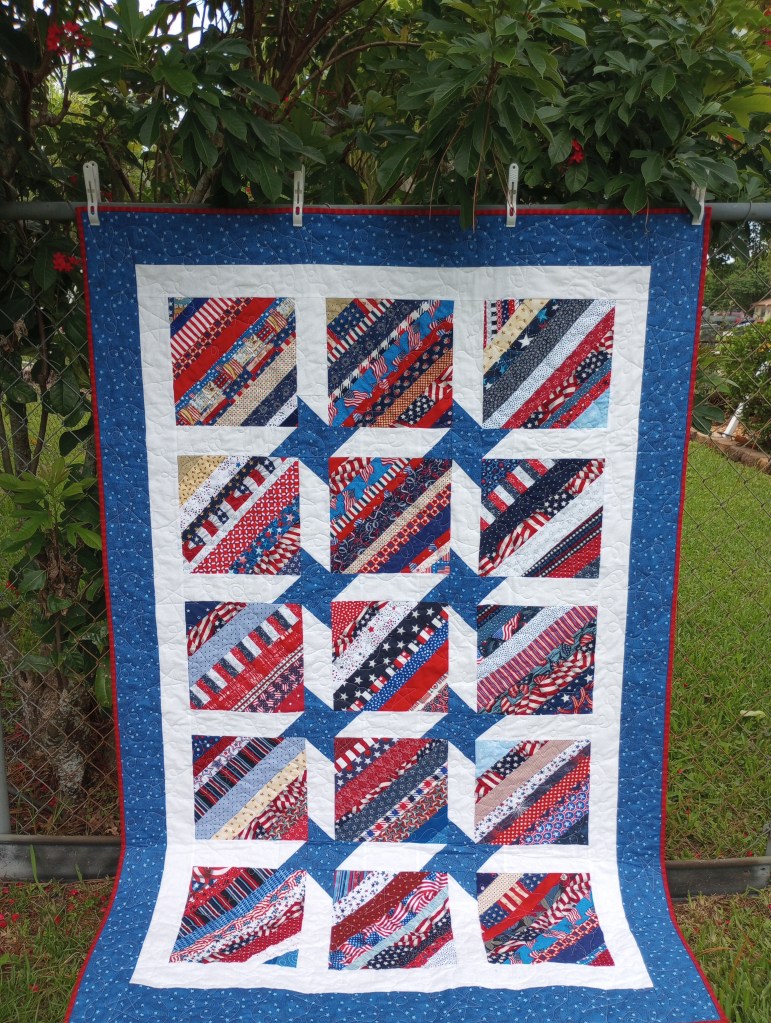
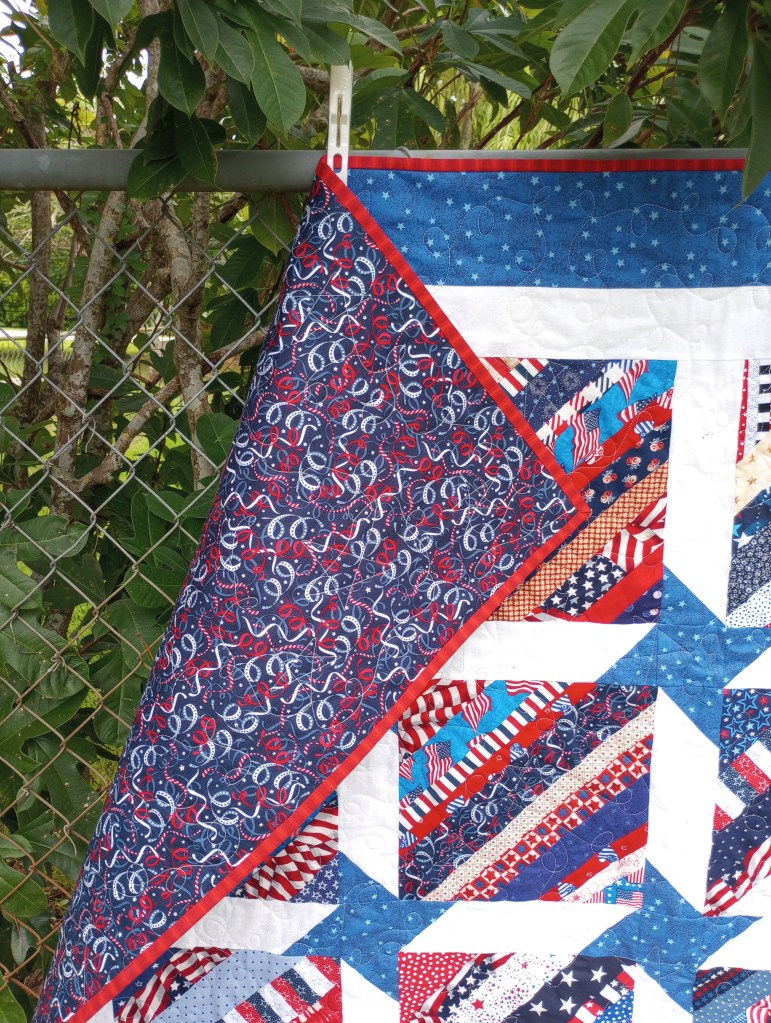
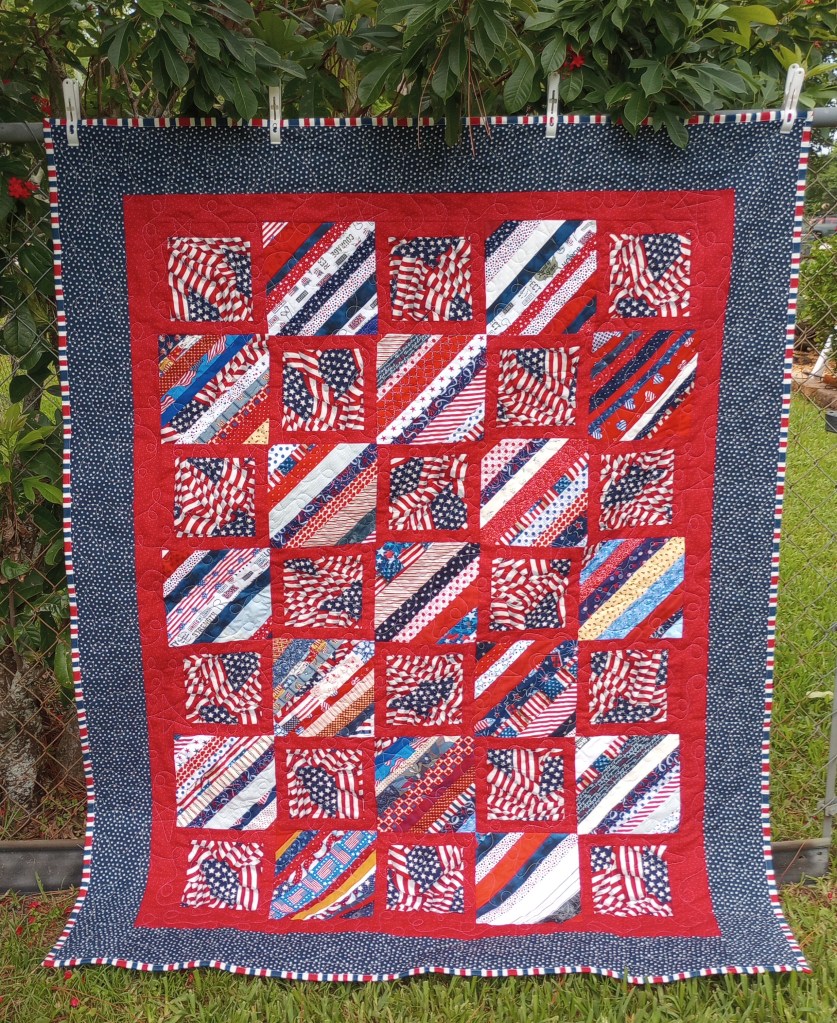
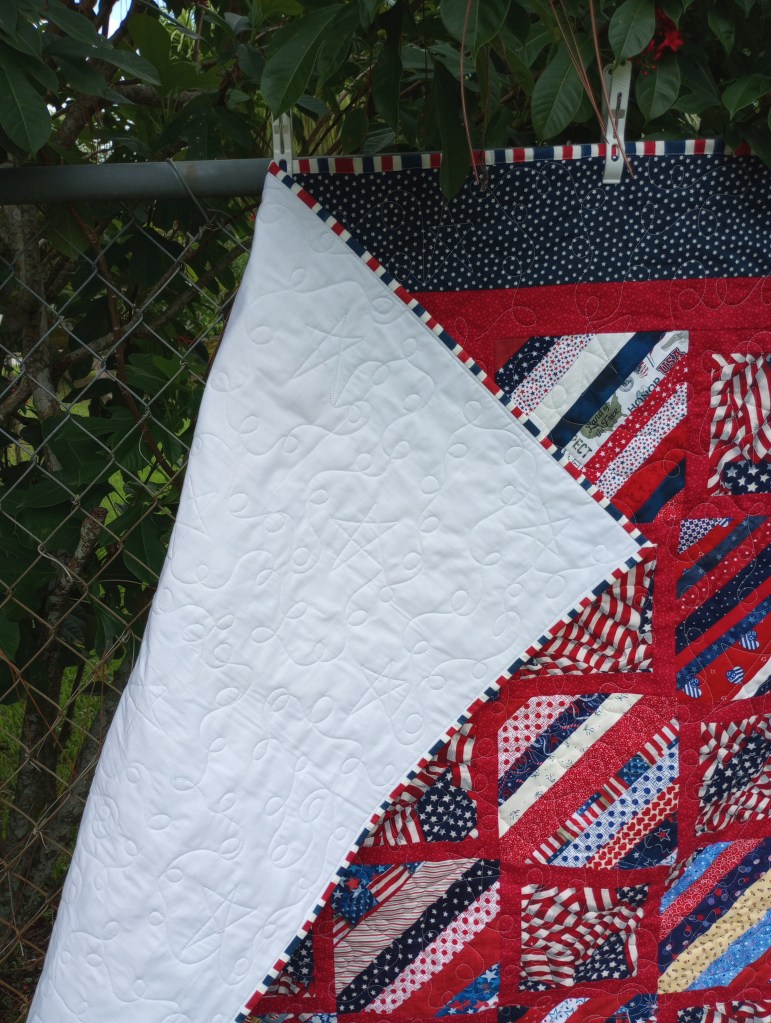
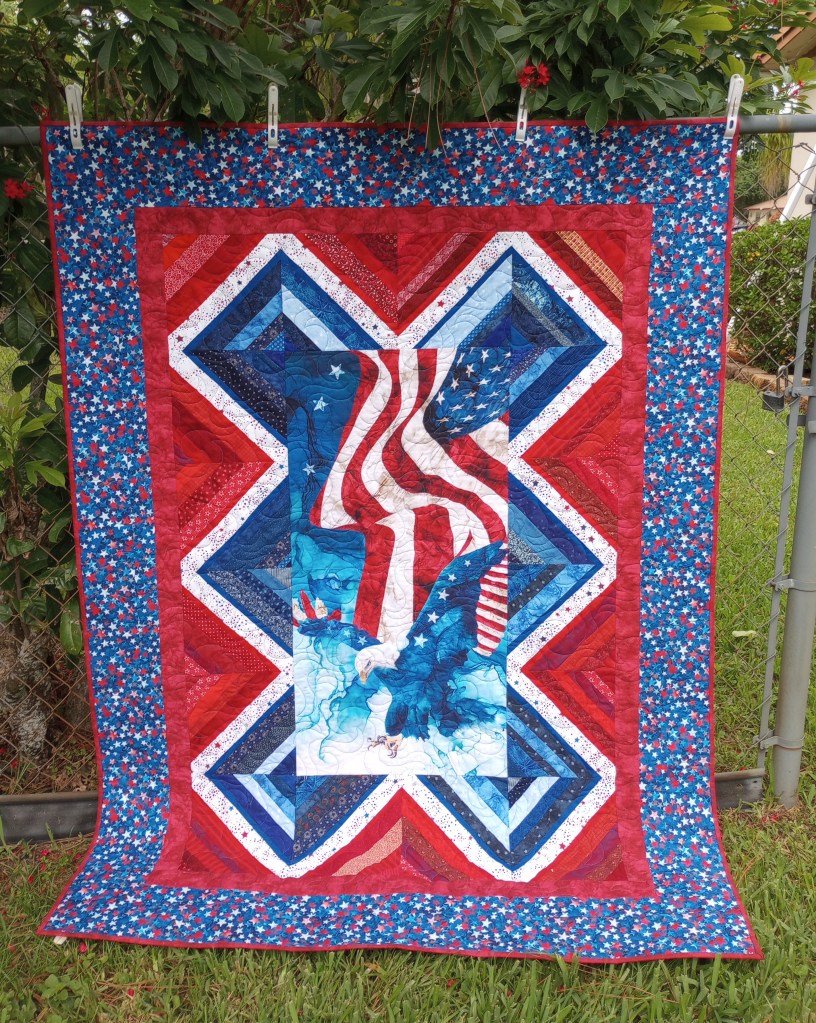
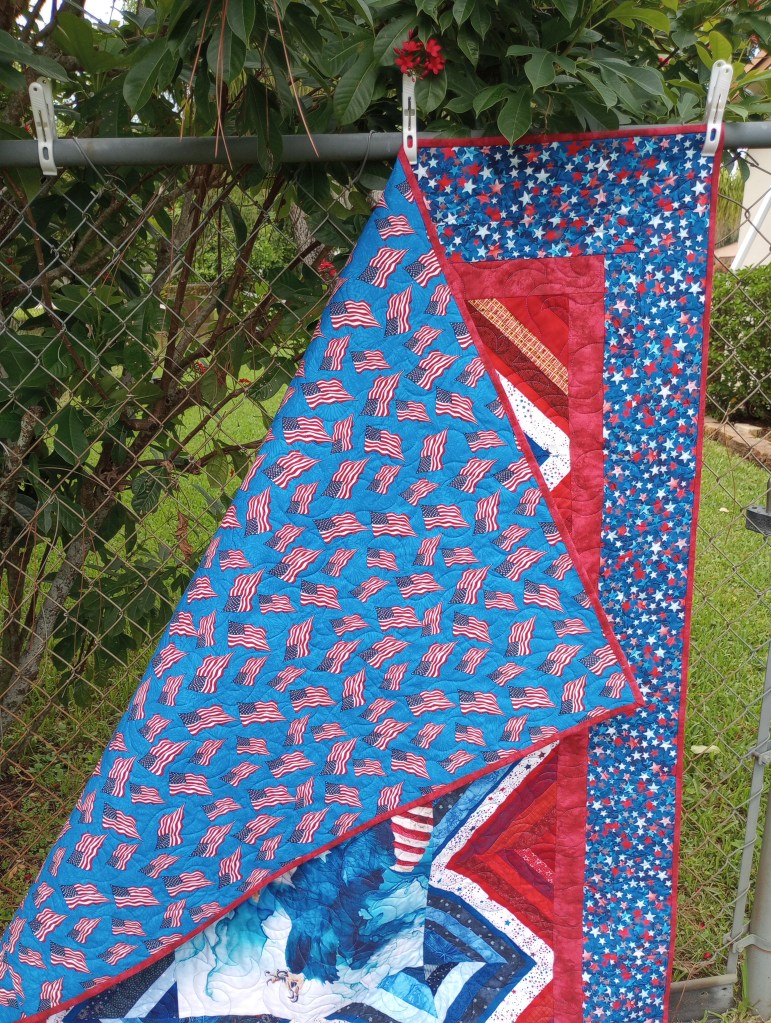
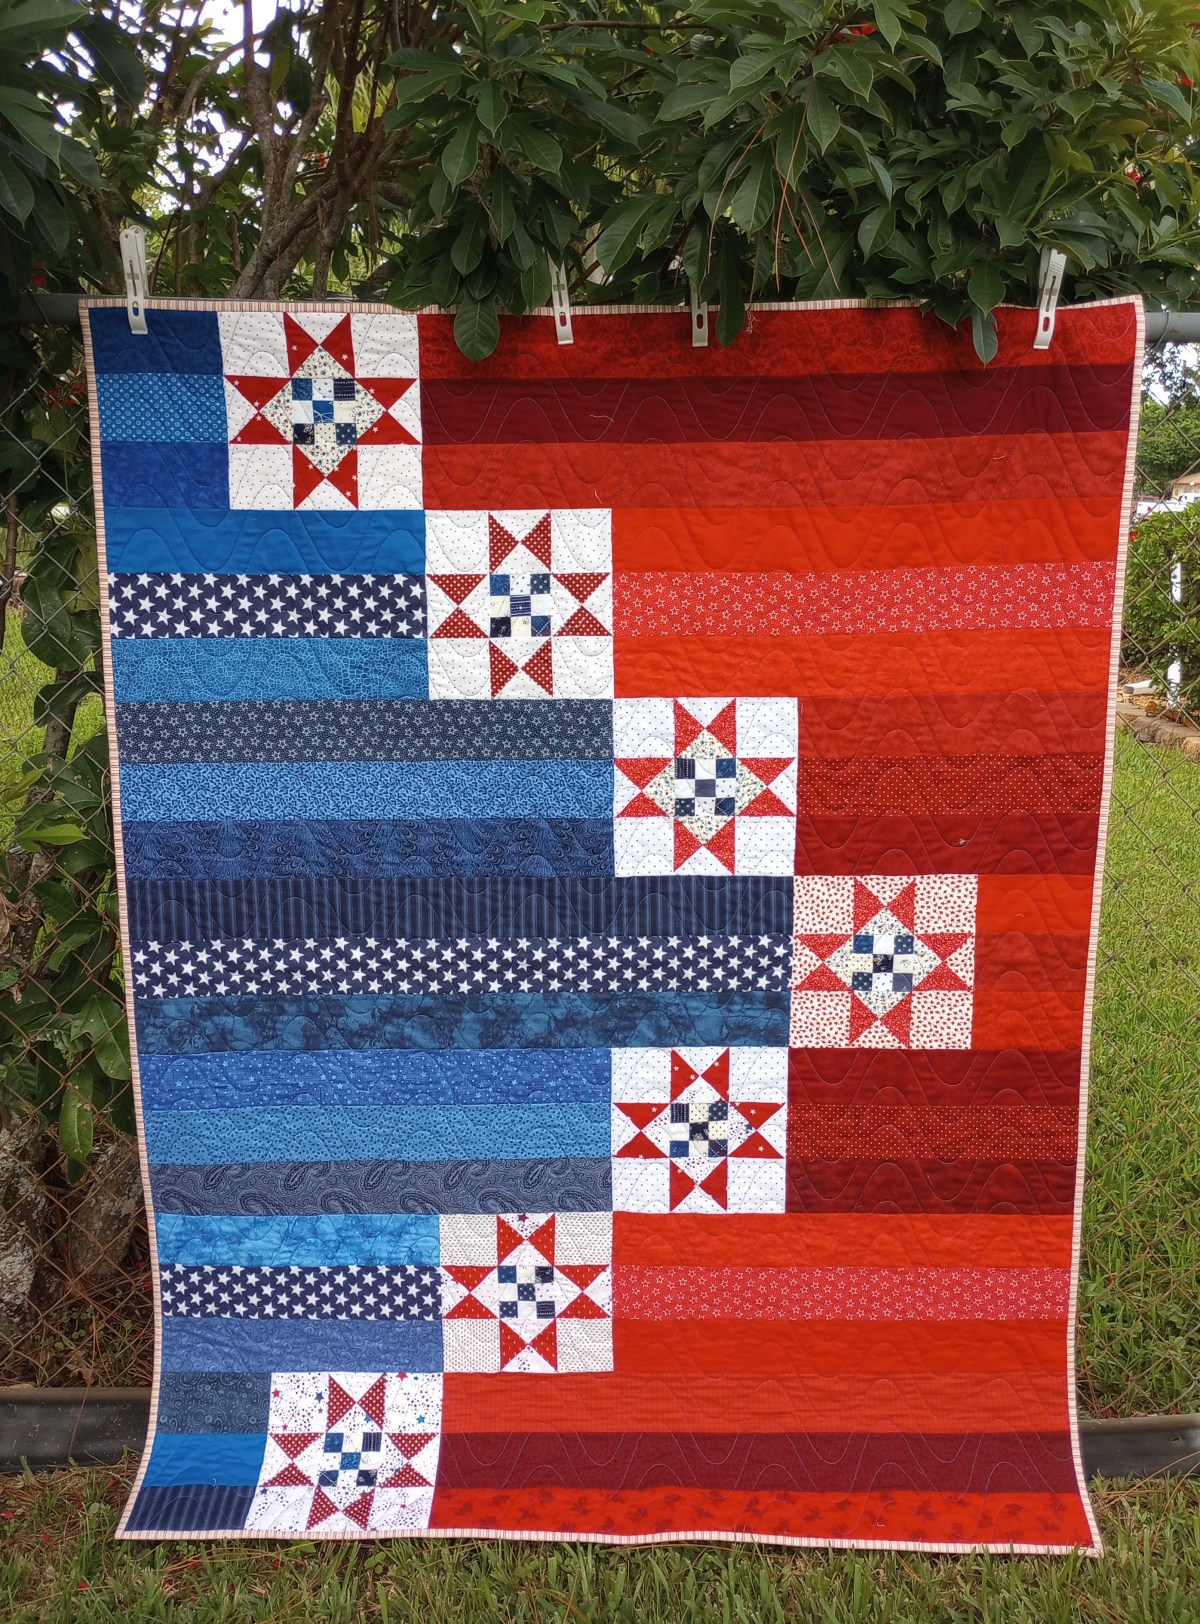
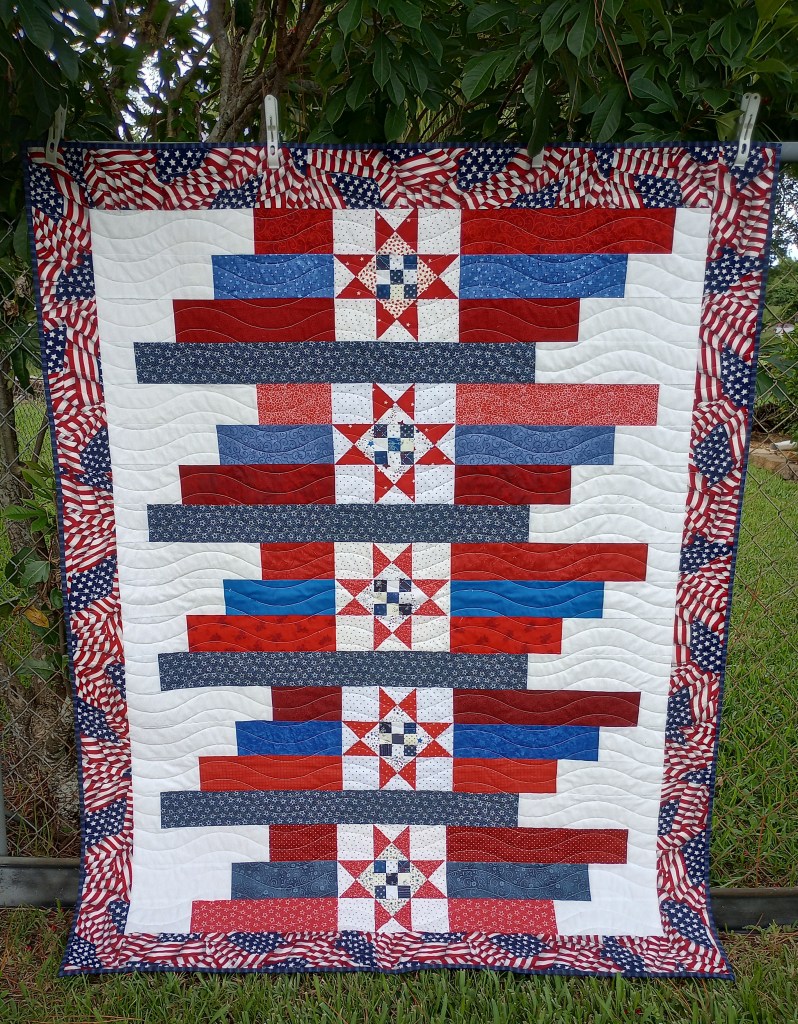
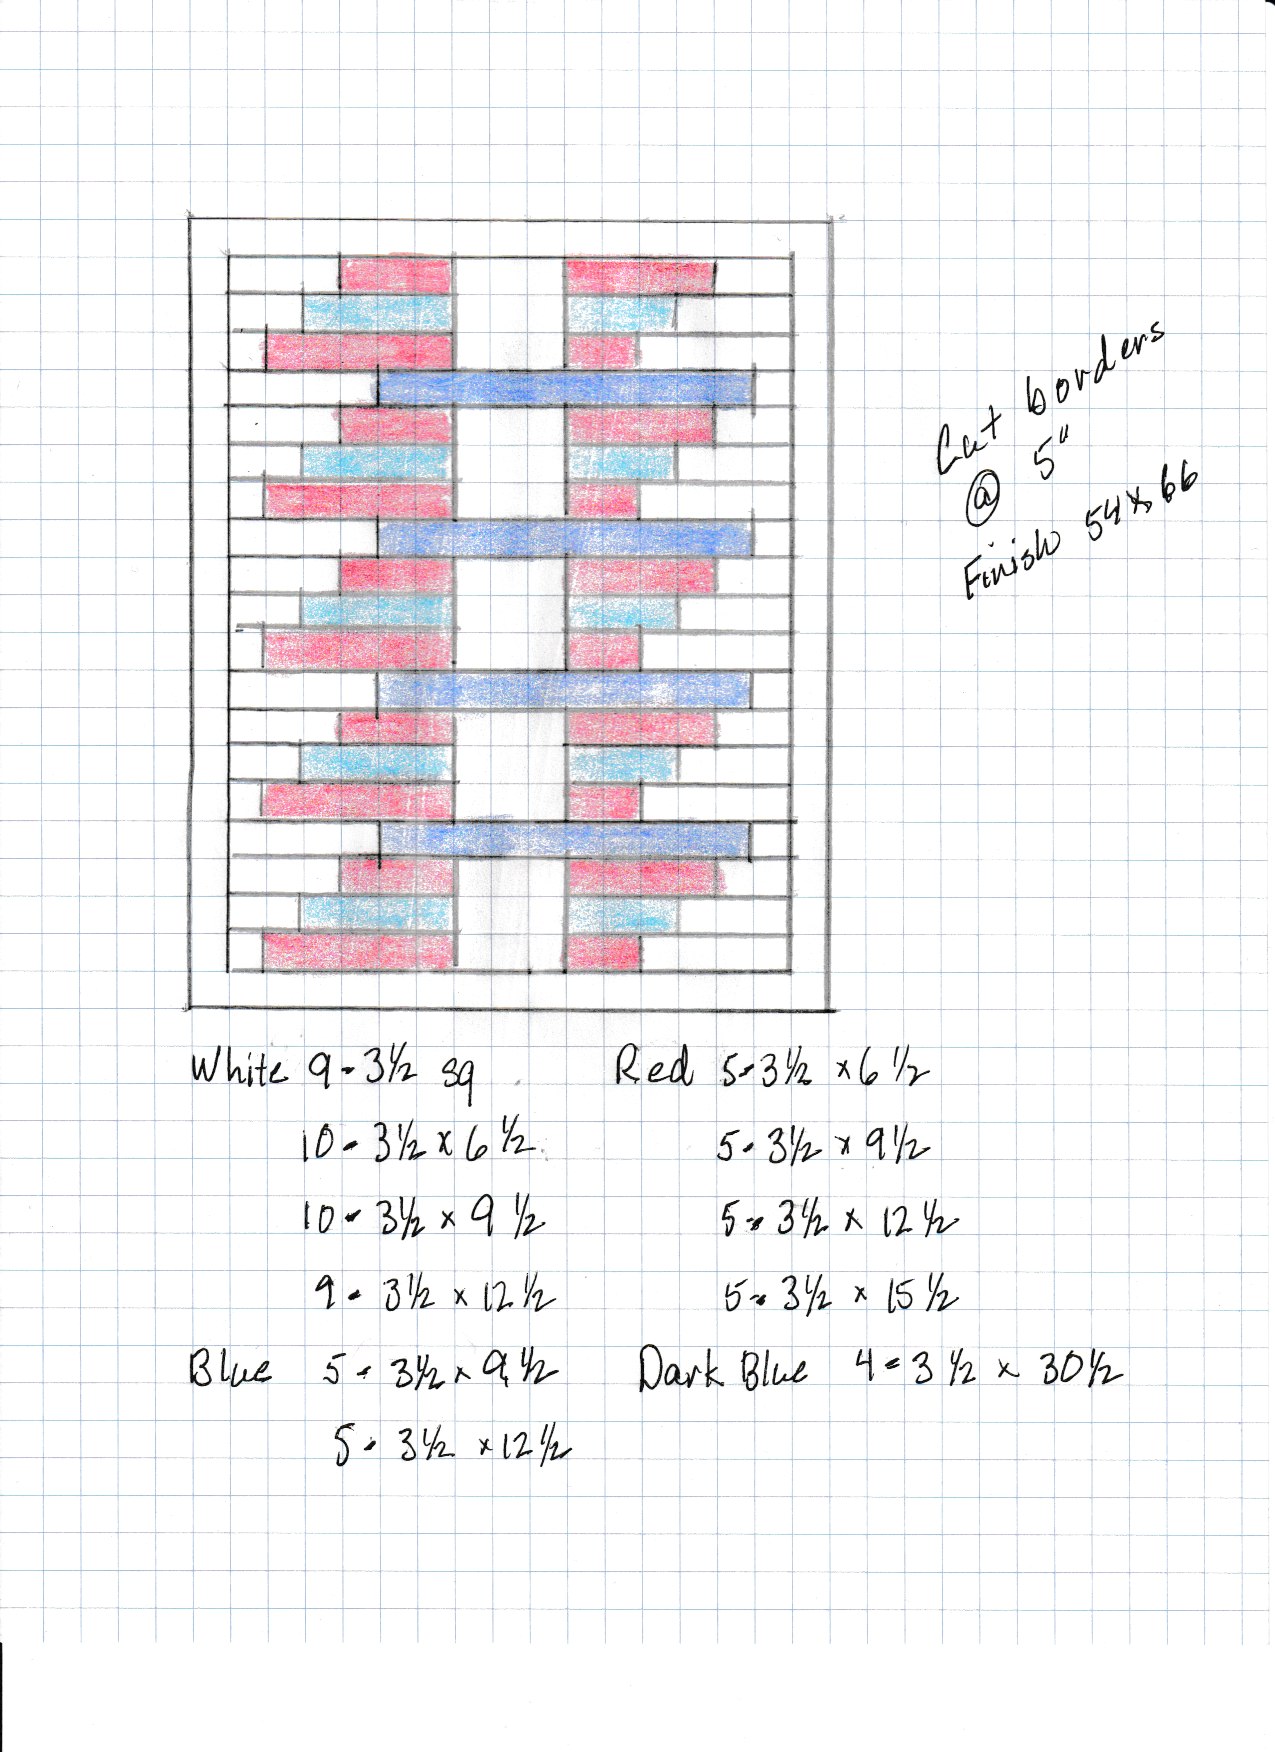
I had some left over string blocks from a May workshop. They were turned in too late to make it into the quilts to be donated for a 4th of July event.
Rather than continue to store them, I used them plus a few more that guild volunteers made at a quilt shop sew-in day in August. I still needed to make about 20 more to stretch them into these 3 quilts but they’re finished. Yay! Five down, one quilt to go!
All 3 quilts finish at approximately 50″ x 70″ with the first one being a little bit longer.
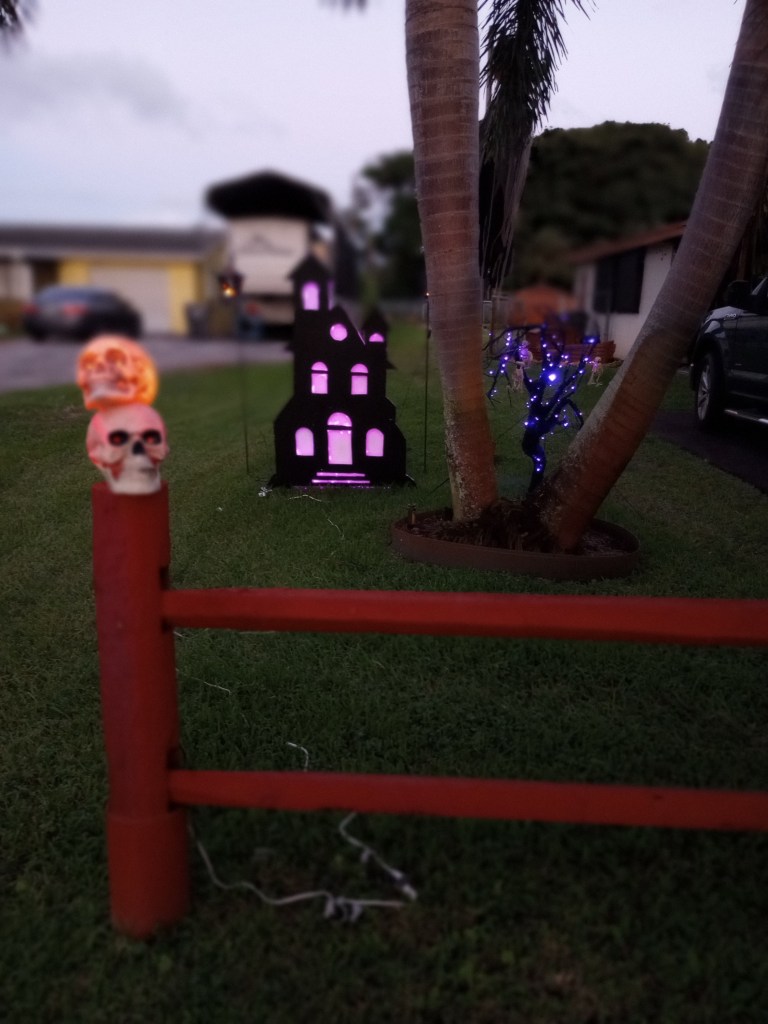
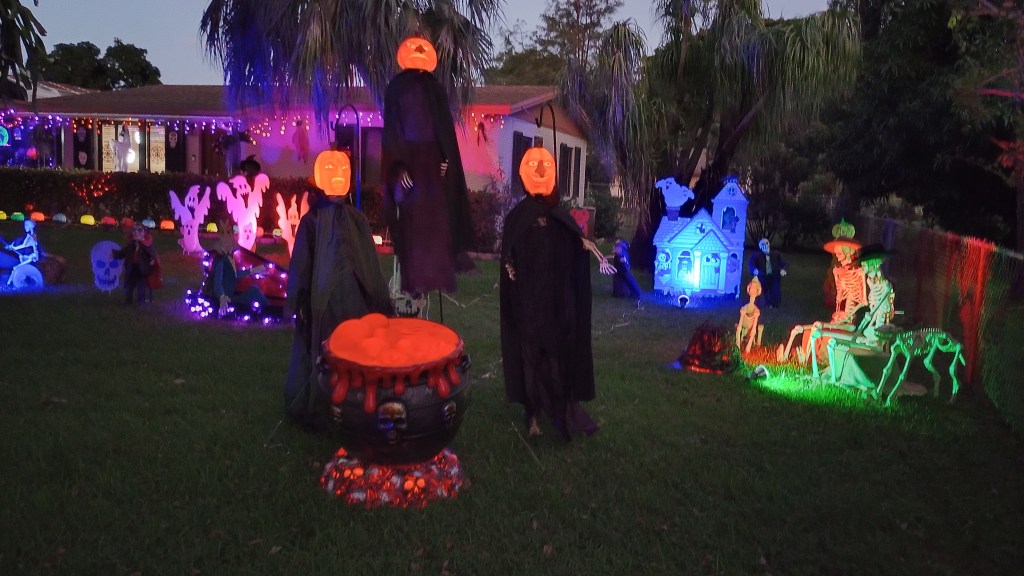
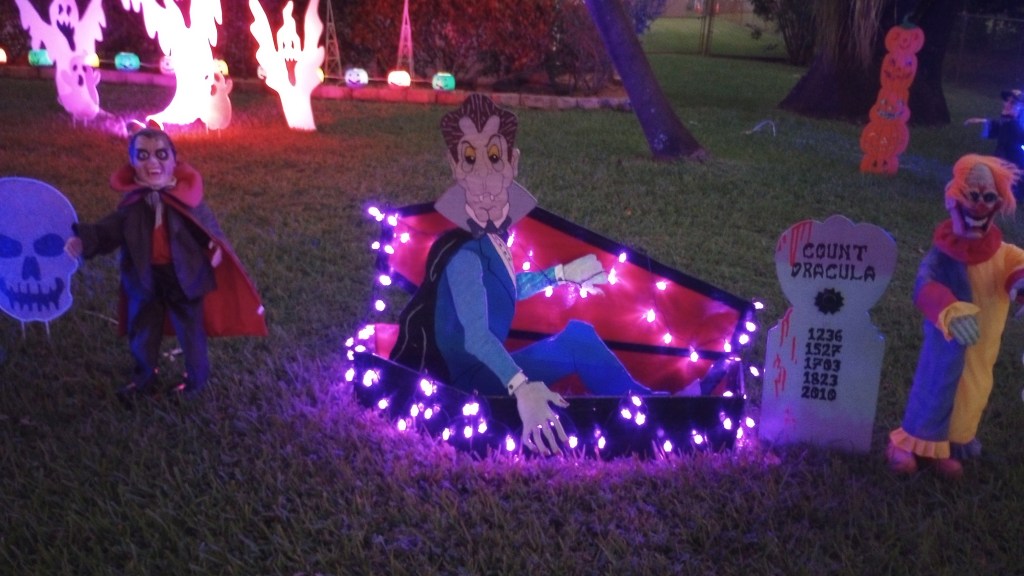
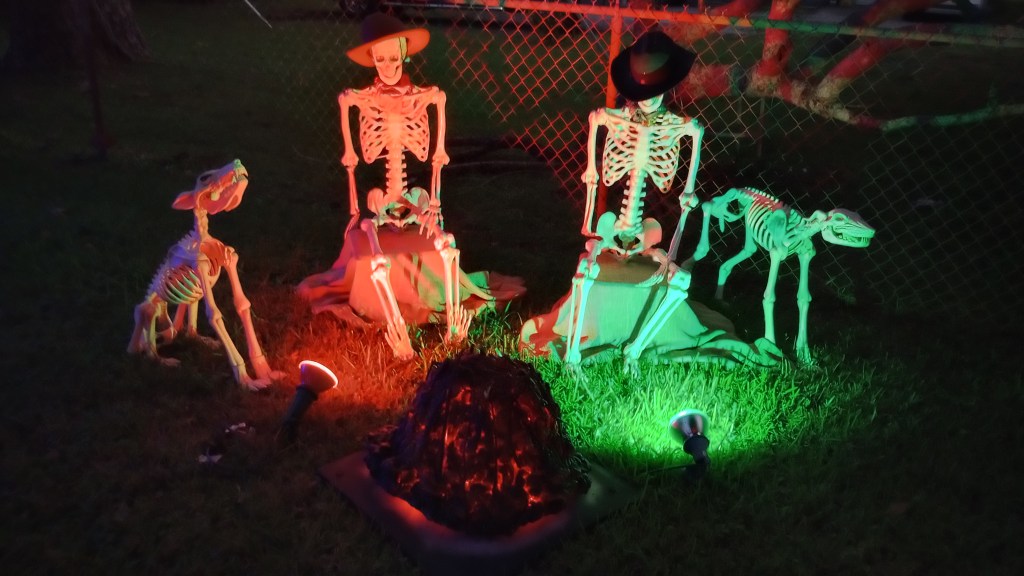
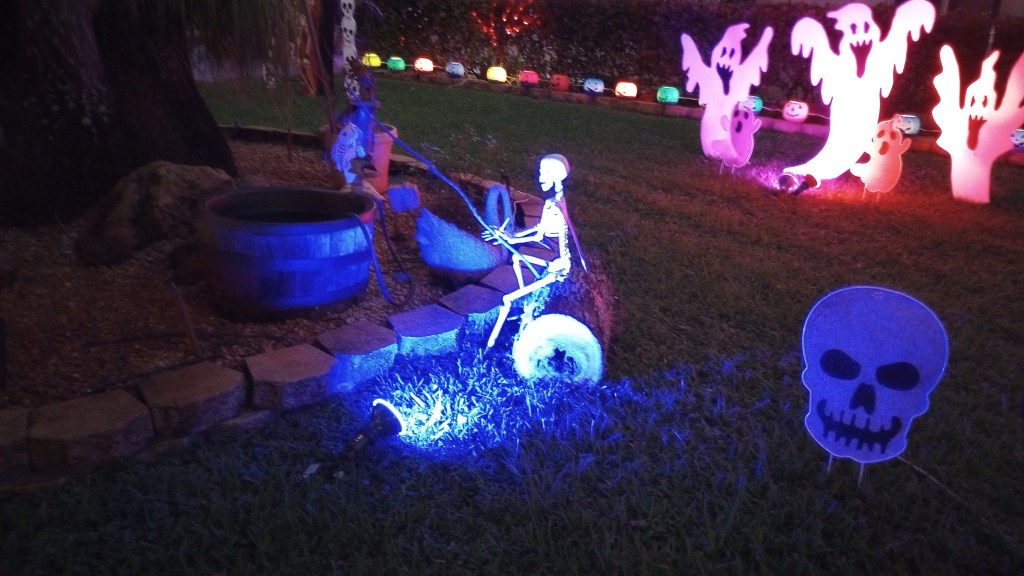
Once October 1st rolls around, our household switches into holiday mode so quilting gets put on hold until the first of the year and our house generally looks like the aftermath of a Category 2 hurricane that no one properly prepared for. LOL.
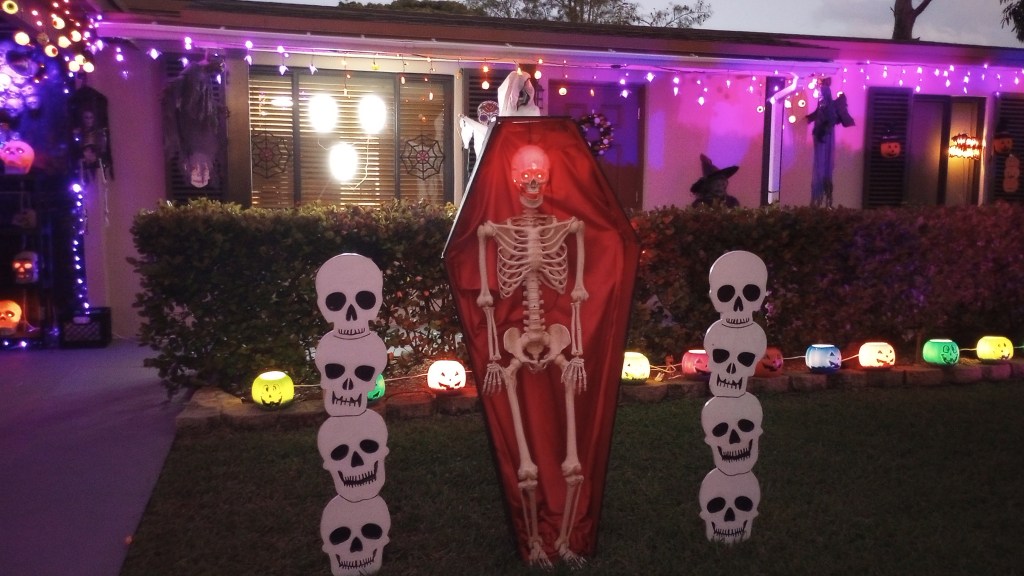
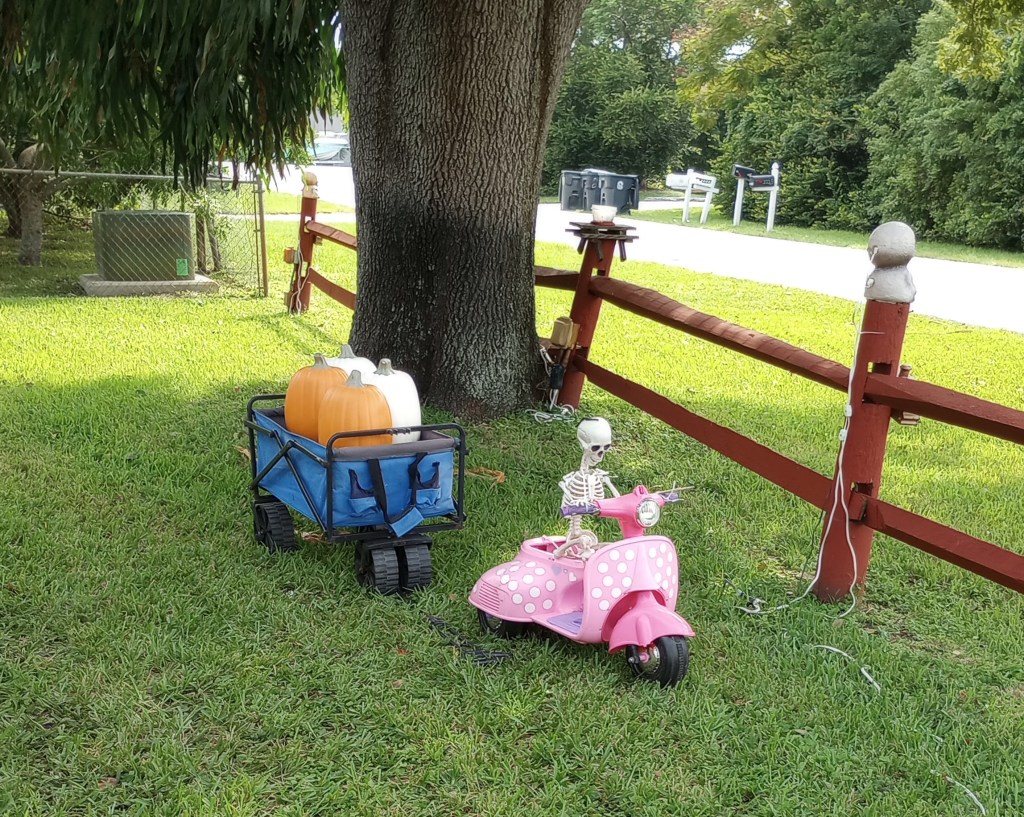
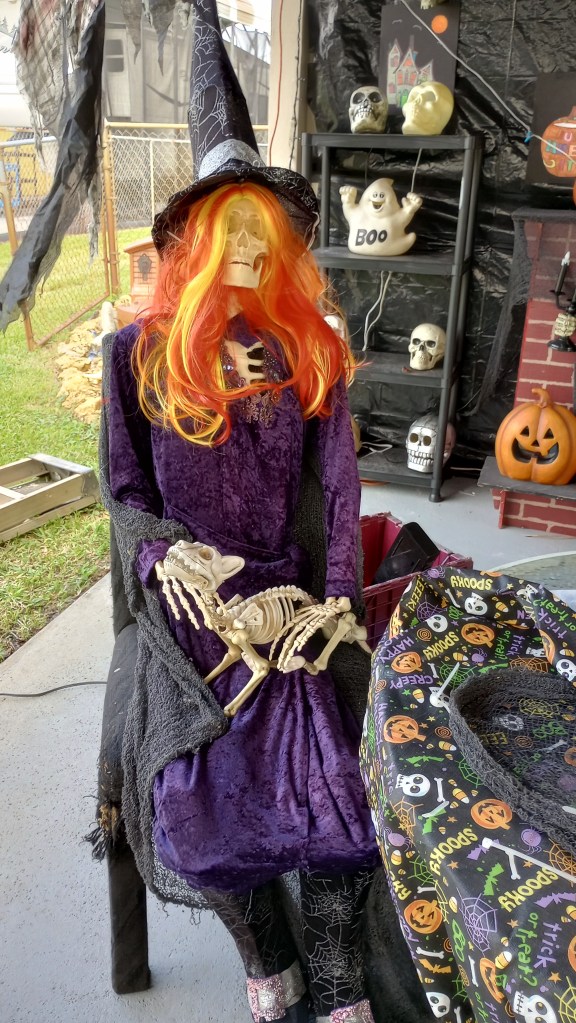
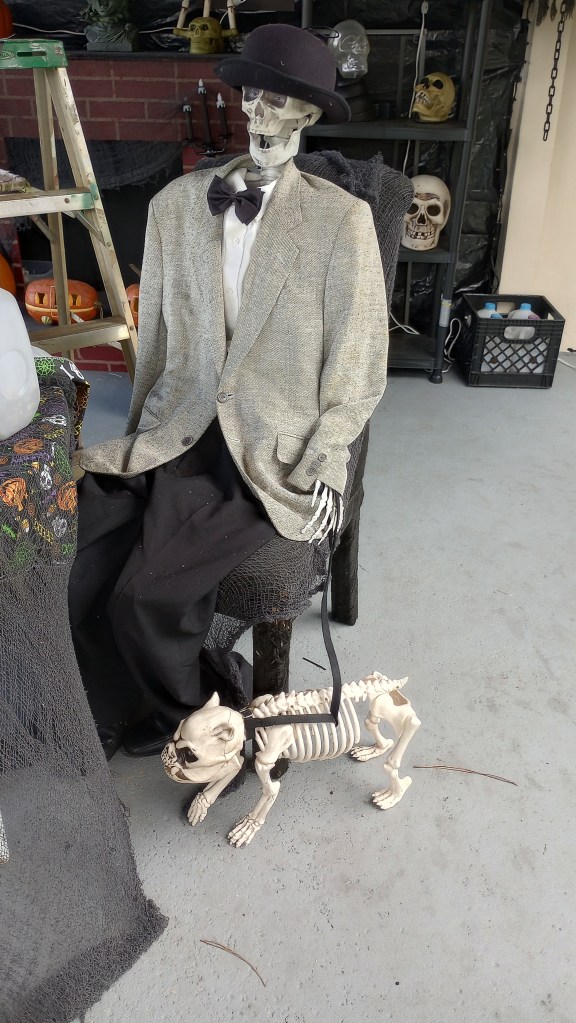
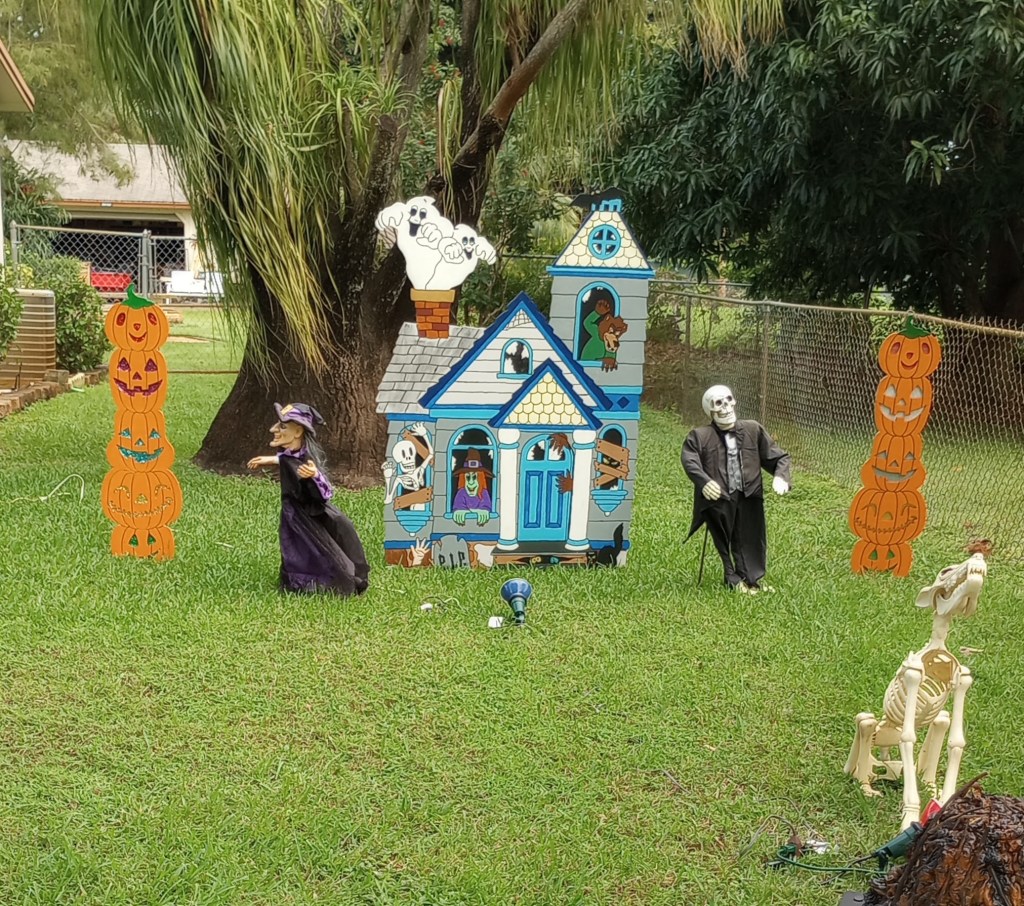
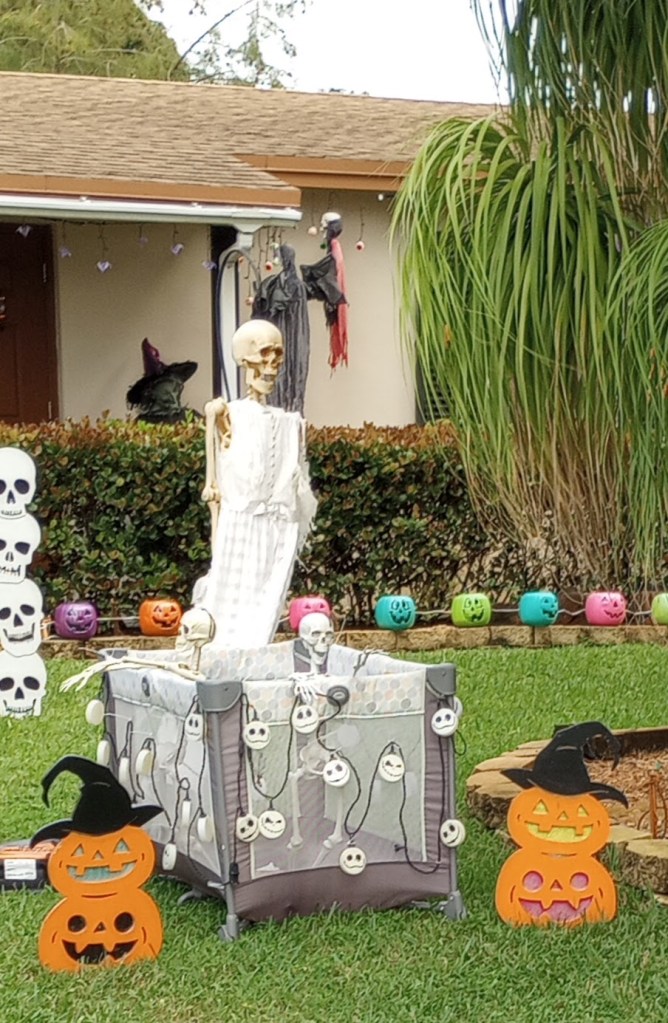
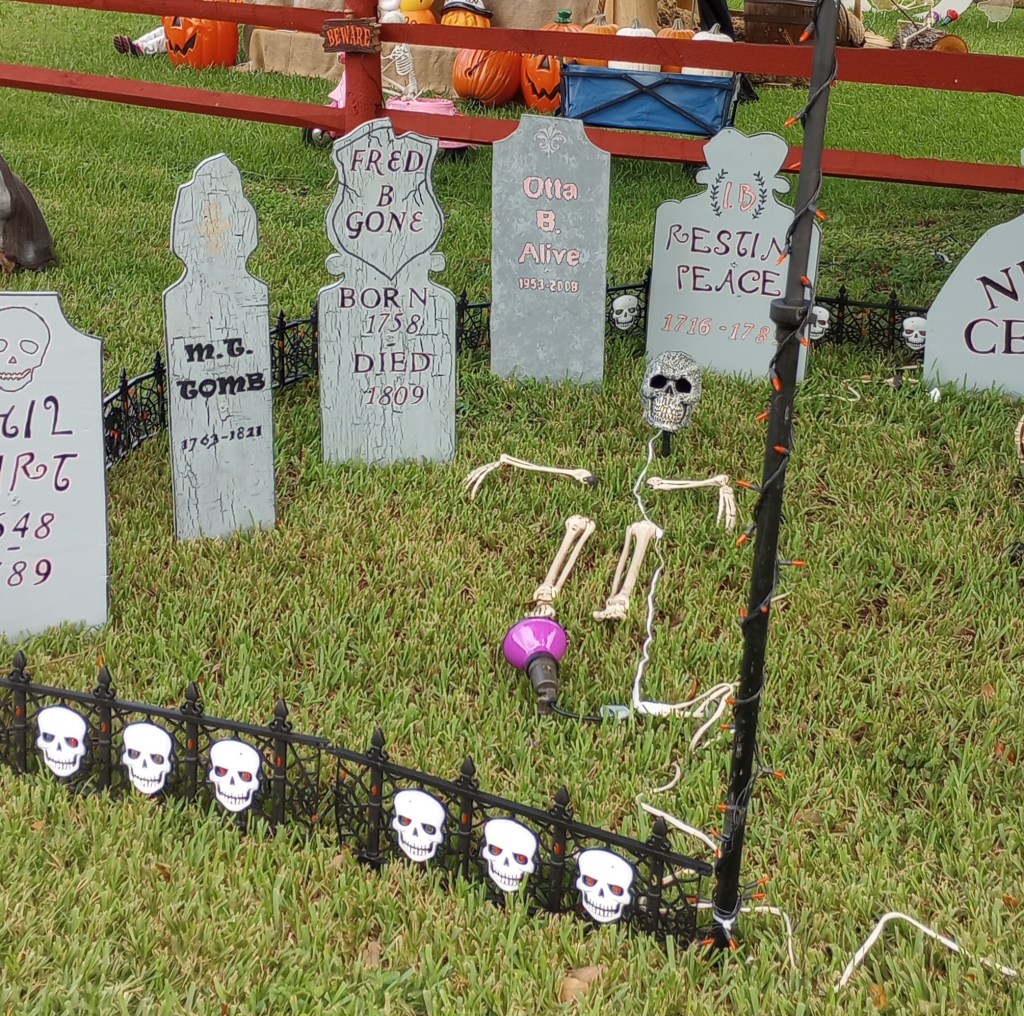
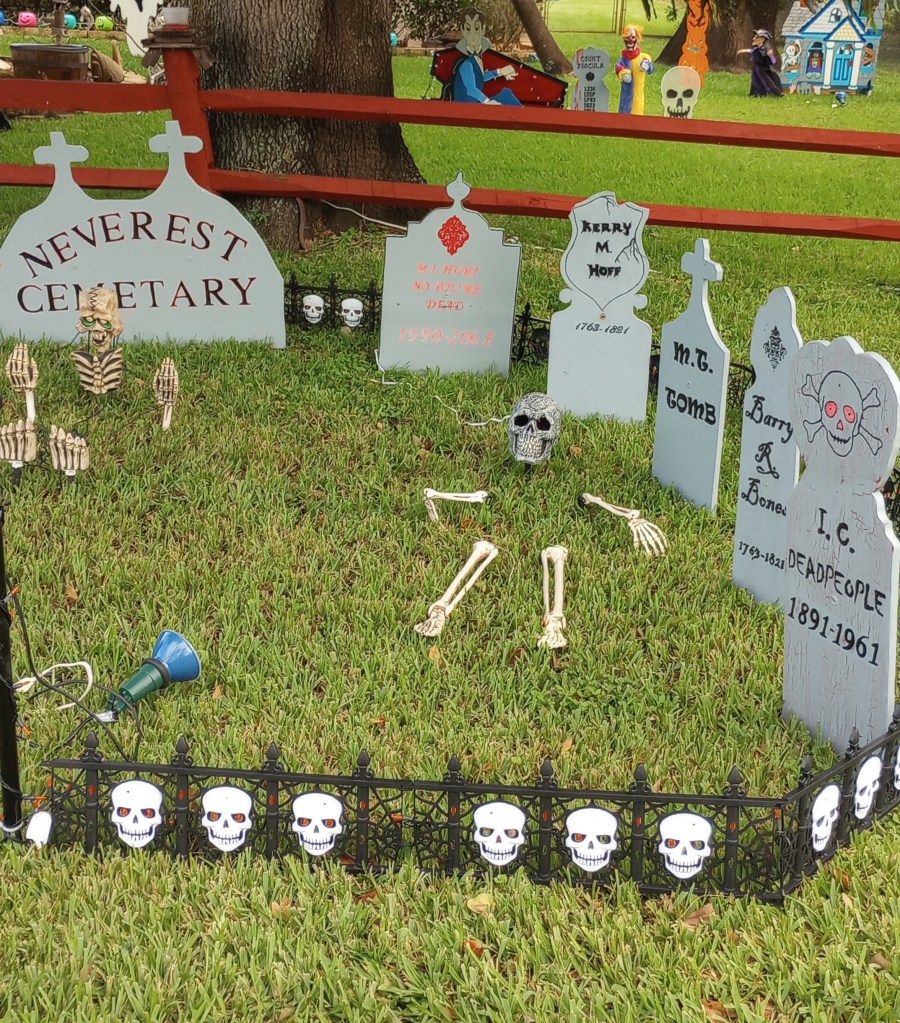
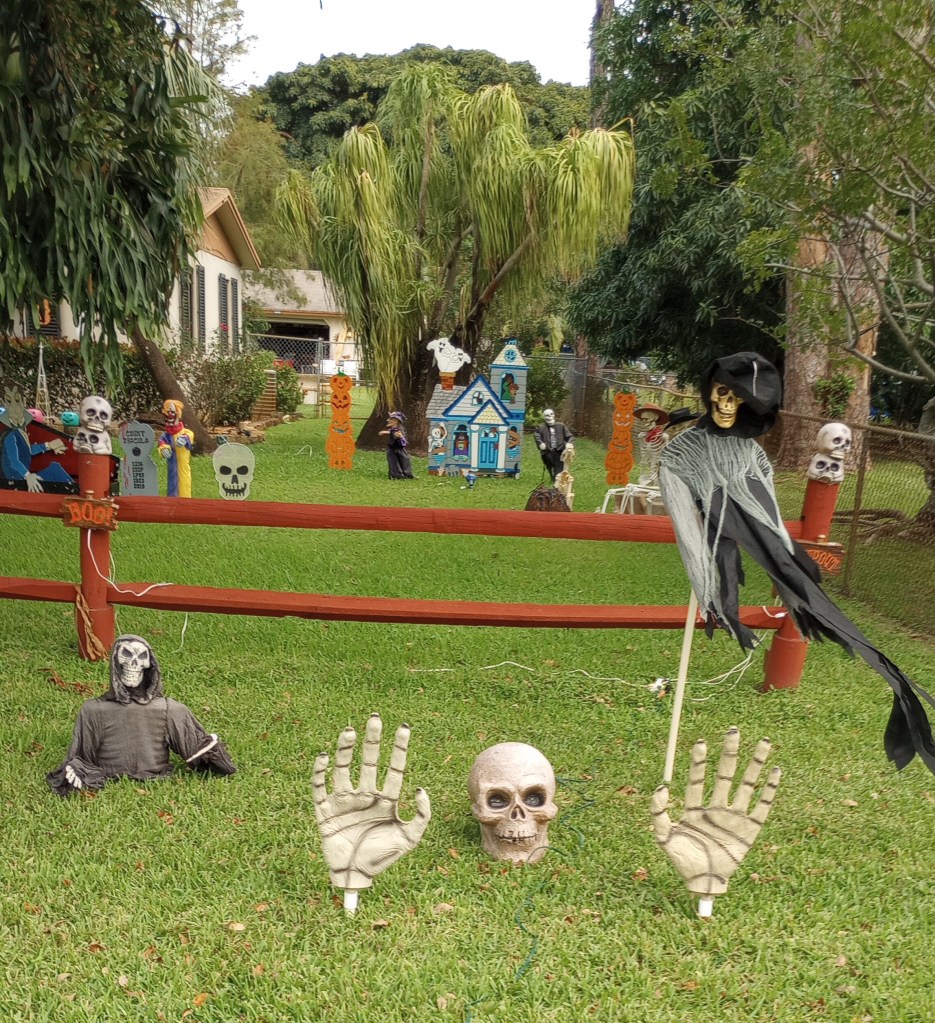
This is an “in progress” gallery of photos from last year to give you some idea. Neighborhood kids are already stopping on the way to or from school to ask my husband when is he going to start decorating for Halloween. 🙂
Once Halloween passes, a few things go out for Thanksgiving but the big push begins for Christmas decorating. As much work as it is, and as often as my husband says “I’m going to scale back a little this year”, he never does. He knows how much the kids (and their parents) look forward to it . ♥
If you received this post via email delivery yesterday, please discard that copy. My apologies! I later found a typo in the list in step #8. This is the corrected version. No matter how many times I proofread, I always find typos as soon as I click “publish”. Usually, it’s simply a mistyped word but in this case – typos matter!
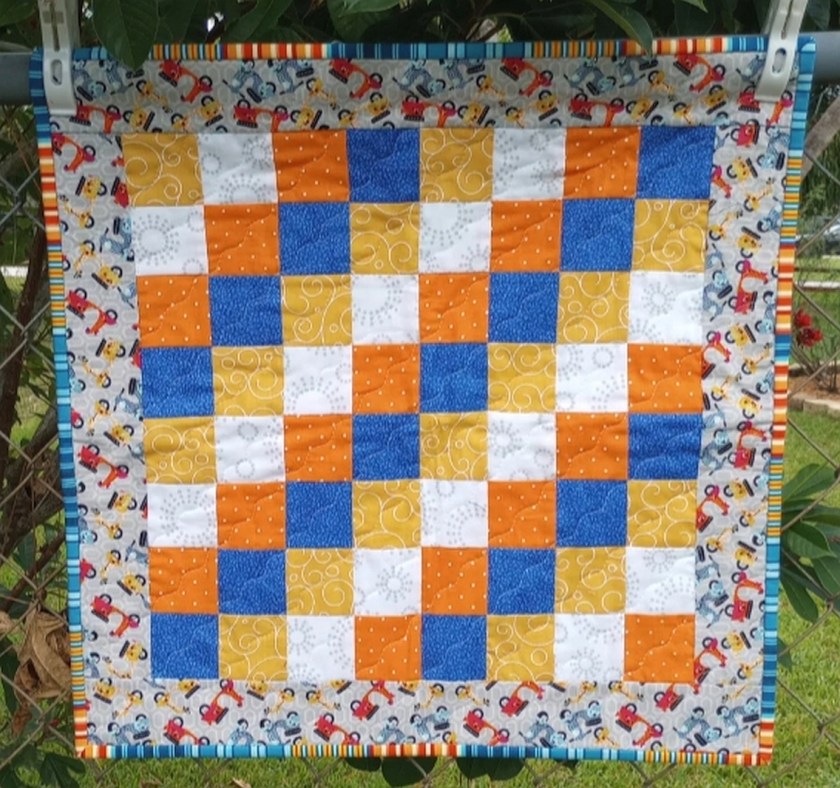
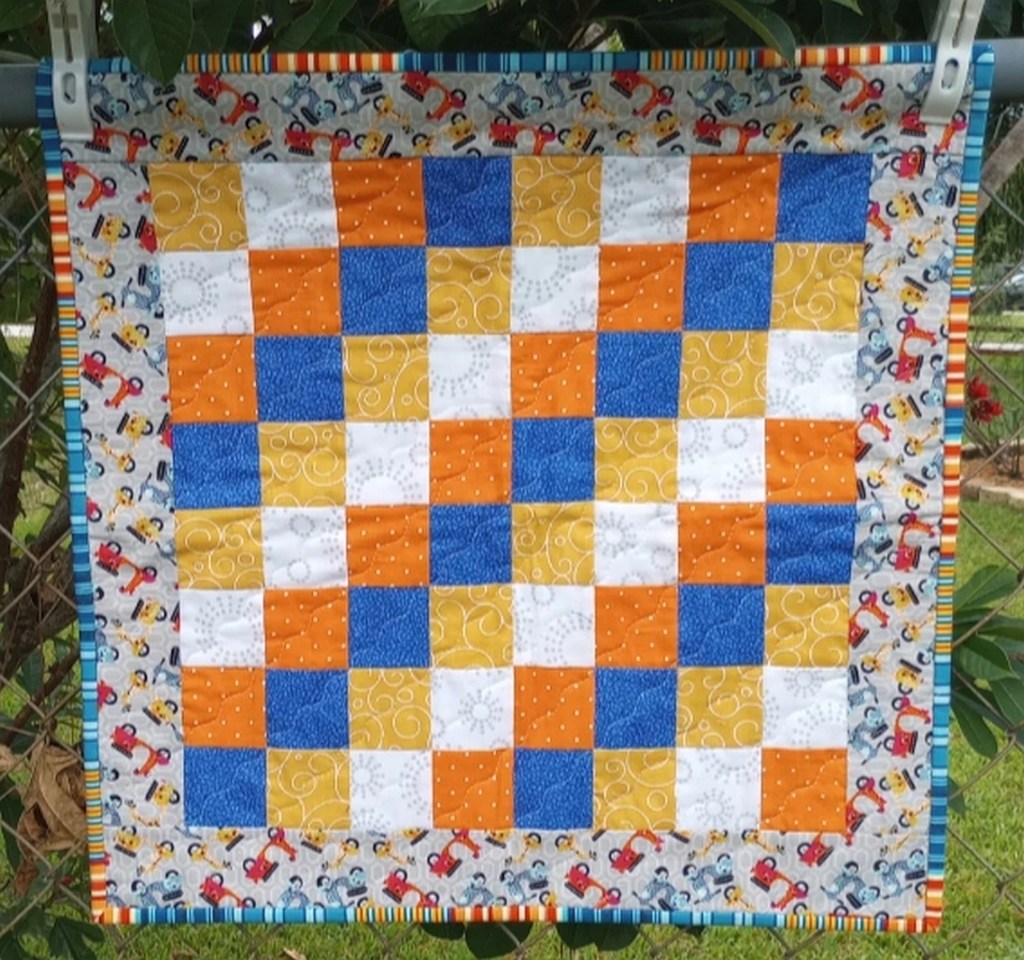
This little Huggable is based on the free pattern by Bonnie Hunter available on her Quiltville blog. The pattern is called Streak of Sunshine and you can find it here.
You can download a slightly condensed version of the Huggable size to print or save to your computer at the end of this post.
Fabric Requirements
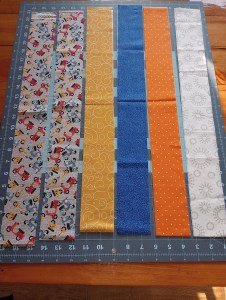
4 different strips 2 ½” by width of fabric (minimum 42” wide)
2 identical strips 2 ½” by width of fabric (border )
Piecing Directions:
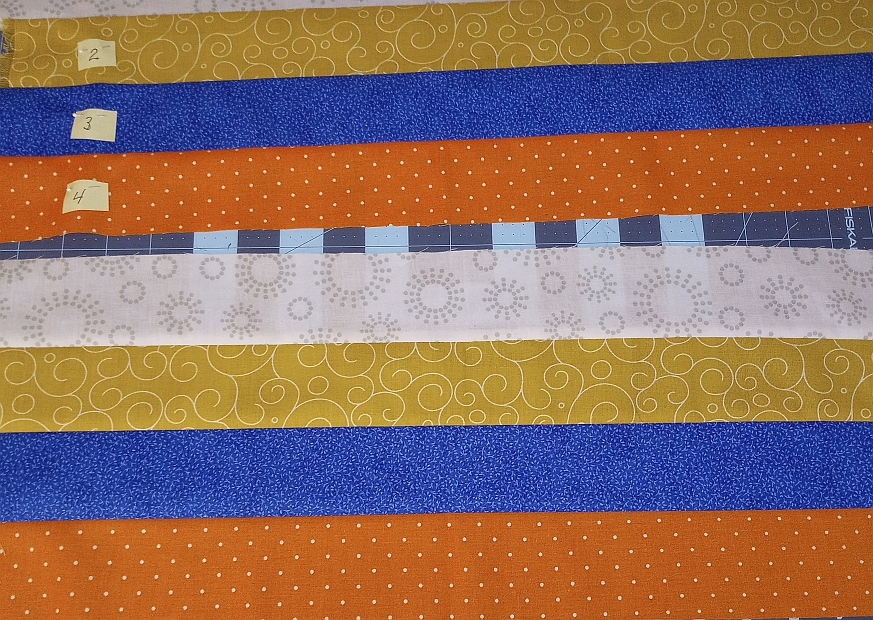
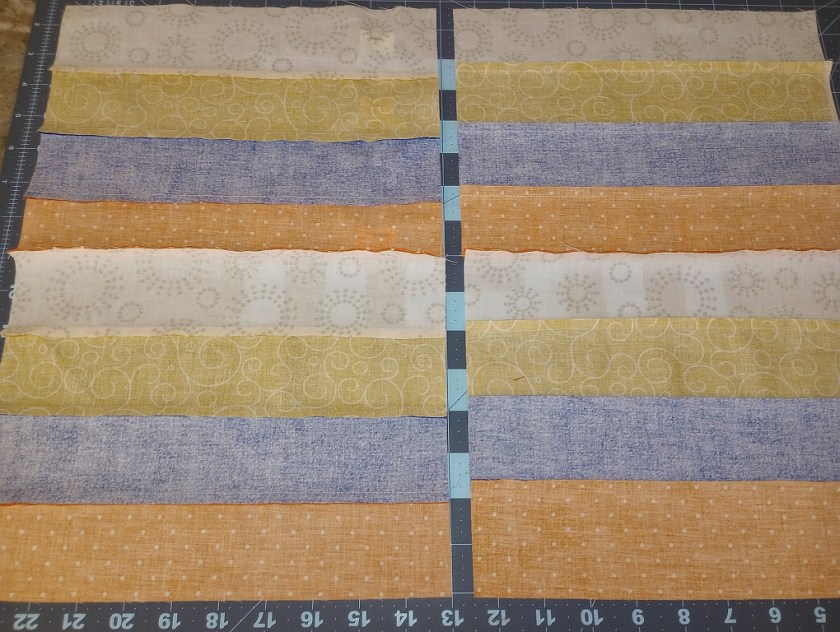
Step 1: Cut the set of 4 strips in half (approximately 21” long) and number them from 1 to 4.
Tip! If you read through the instructions, you’ll notice toward the end, I changed my arrangement of strips before I finished piecing the top. To avoid having to do this – place the fabric with the most contrast in the #4 position as that will give your finished quilt more symmetry. If you look at the example, the boldest of the four prints is the bright blue.
Sew the first half of strips together and press the seams DOWN. Sew the second half of strips together and press the seams UP.
Step 2: Cut the strip sets in half so there are 4 identical sets approximately 10 1/2″ long.
Step 3: Take the two sets with the seams pressed DOWN and sew them together keeping the fabrics in the same order. (The #4 fabric of the top set is sewn to the #1 fabric of the bottom set.) Repeat with the sets that have the seams pressed UP. Do not press these seams yet!
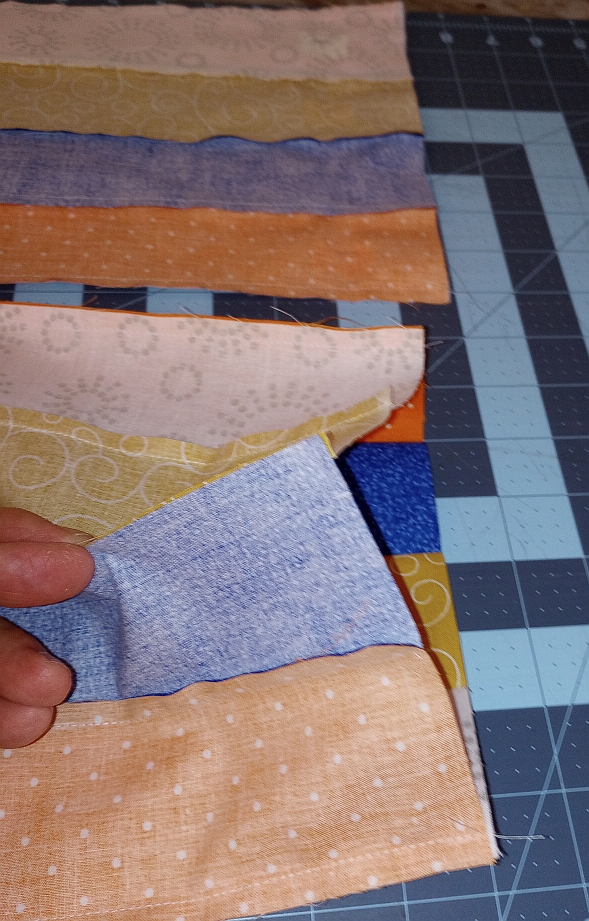
Step 4: Bring the bottom fabric up and sew it to the top fabric to create a tube. Repeat with the second set. Do not press these seams yet!
Step 5: Leave the tubes inside out to make cutting easier. Fold in half so that the previous unpressed seams of the tube are at the top and the bottom.
Cut each set into 2 1/2″ wide segments for a total of 8 tubes.
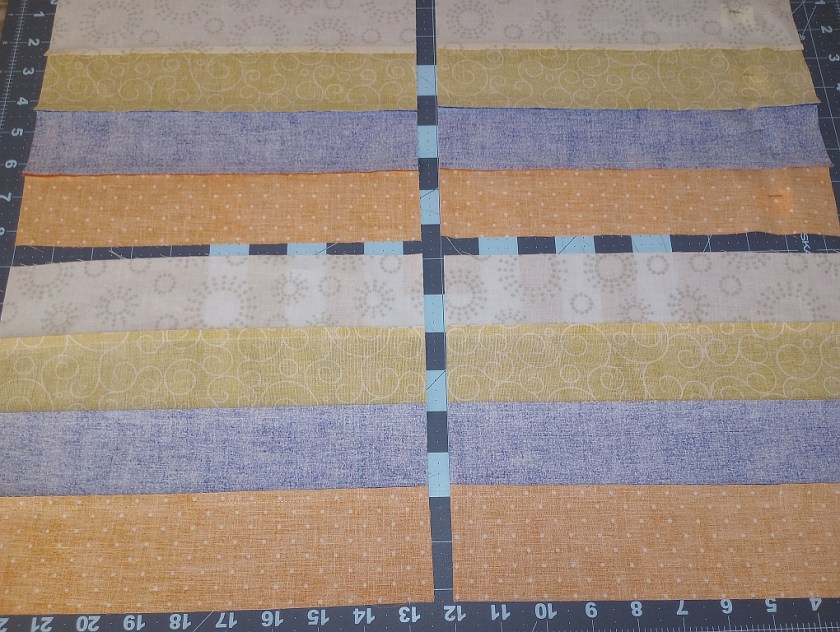
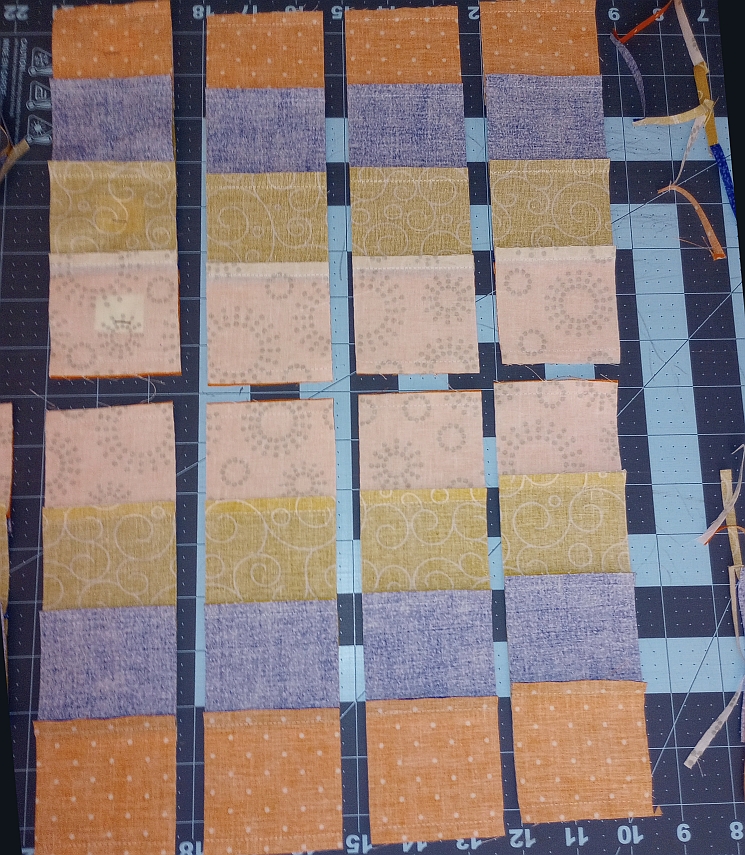
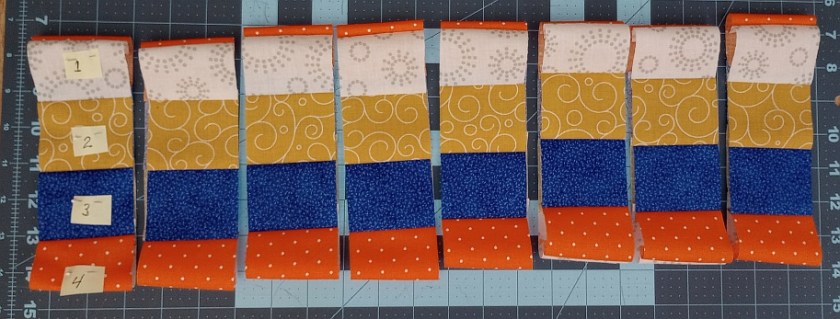
Step 6: Turn all of the strip tubes so that fabric #1 is on top. Alternate the tubes so that each one is next to a tube with the seams pressed in the opposite direction. This will ensure that your seams will “nest” later.
Step 7: Turn the tubes right side out.
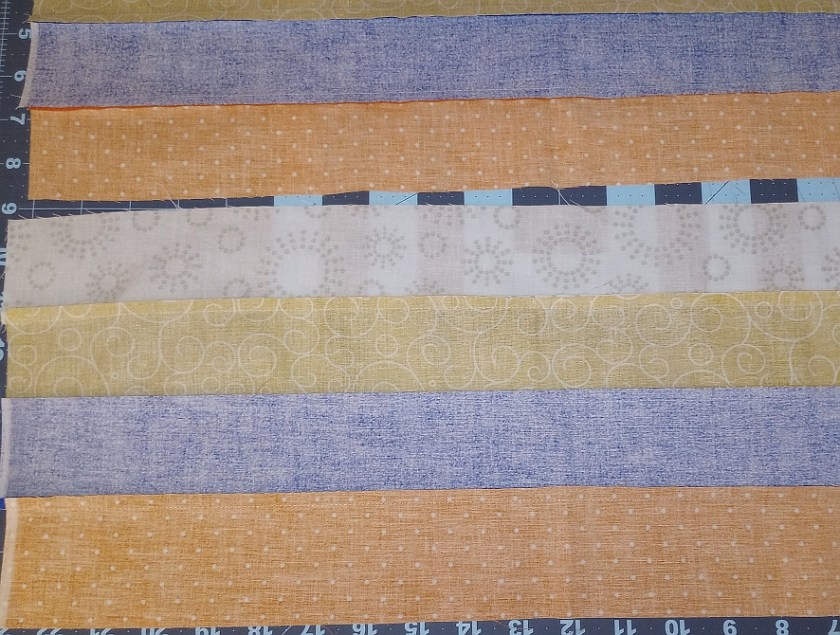
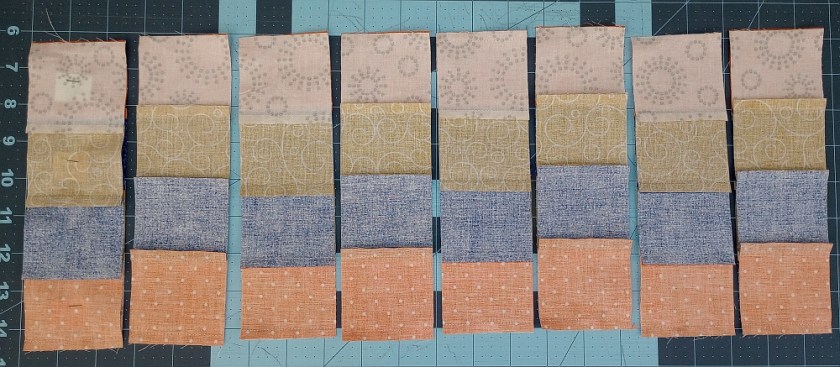
Step 8: Use a seam ripper to open the seam of each tube between the two fabrics in the order listed below. This will create a stair-step design.
1-4 1-2 2-3 3-4 1-4 1-2 2-3 3-4
In this example, to help make sure I didn’t accidentally get one of the strips turned upside down, I kept checking to make sure the strips were always turned so that the orange fabric was below the bright blue fabric.
If you look at the top fabric in each strip set, you’ll notice they’re in this order from left to right: 1 – 2 – 3 -4 -1 -2 -3 -4
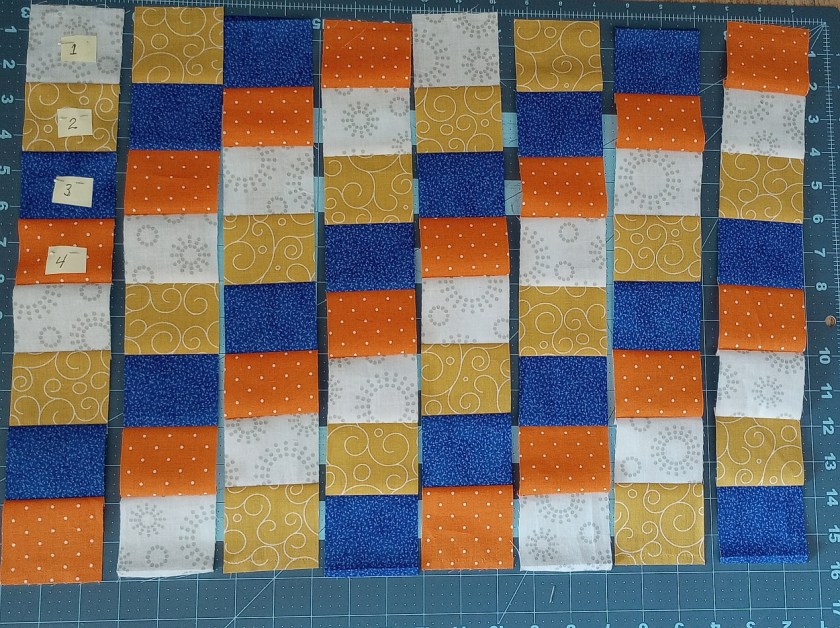
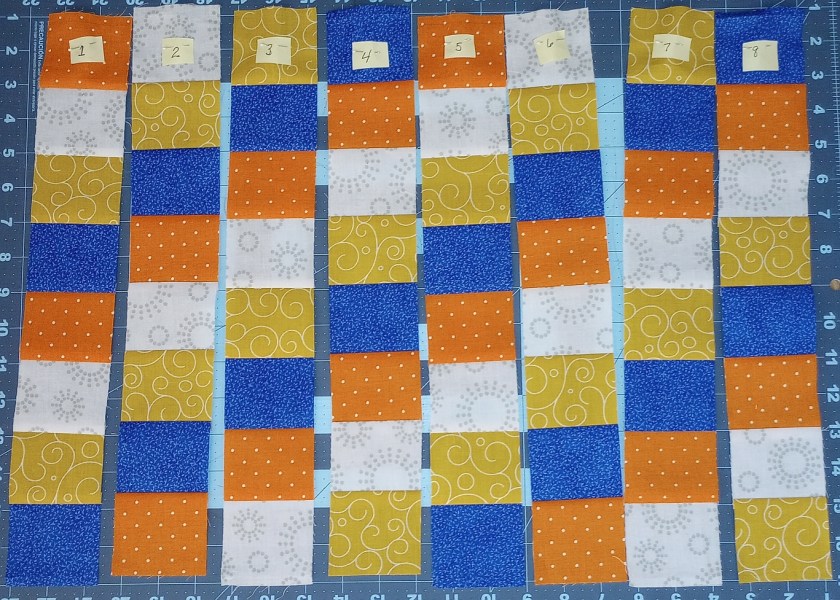
Step 9: You can change the order of the strips now if you want. I chose to rearrange them so that the blue fabric would be in the bottom left corner and go diagonally to the top right. I only had to move the far right strip to the left side. Before finalizing my choice, I made sure the the orange fabric remained beneath the blue fabric in each strip AND that the seams were pressed in the opposite direction of the strip next to it.
Once you have the strips arranged the way you want, number them from 1 to 8 across the top to keep them in the correct sequence as you finish the piecing. You can now press the seams from steps 3 & 4 above, in the same direction as the rest of the strip.
Step 10: Sew the long strips together
Step 11: From the border fabric cut: 2 strips 2 1/2″ x 16 1/2″ and sew to the sides 2 strips 2 1/2″ x 20 1/2″ and sew to top and bottom
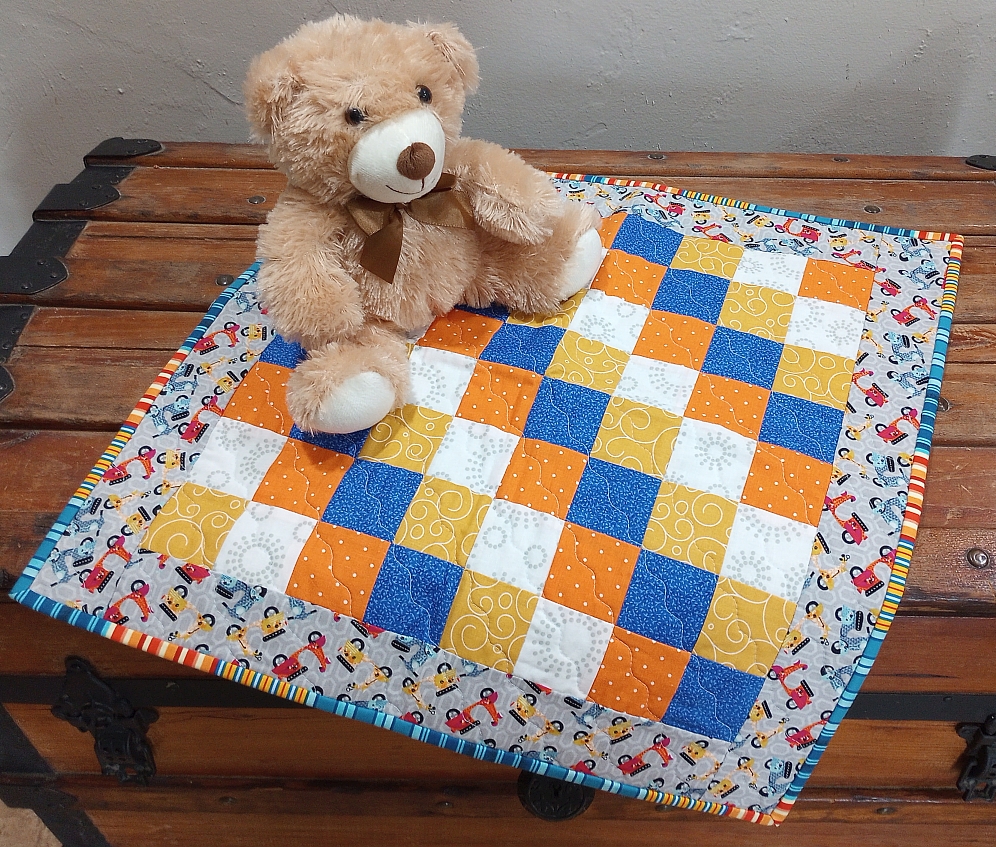
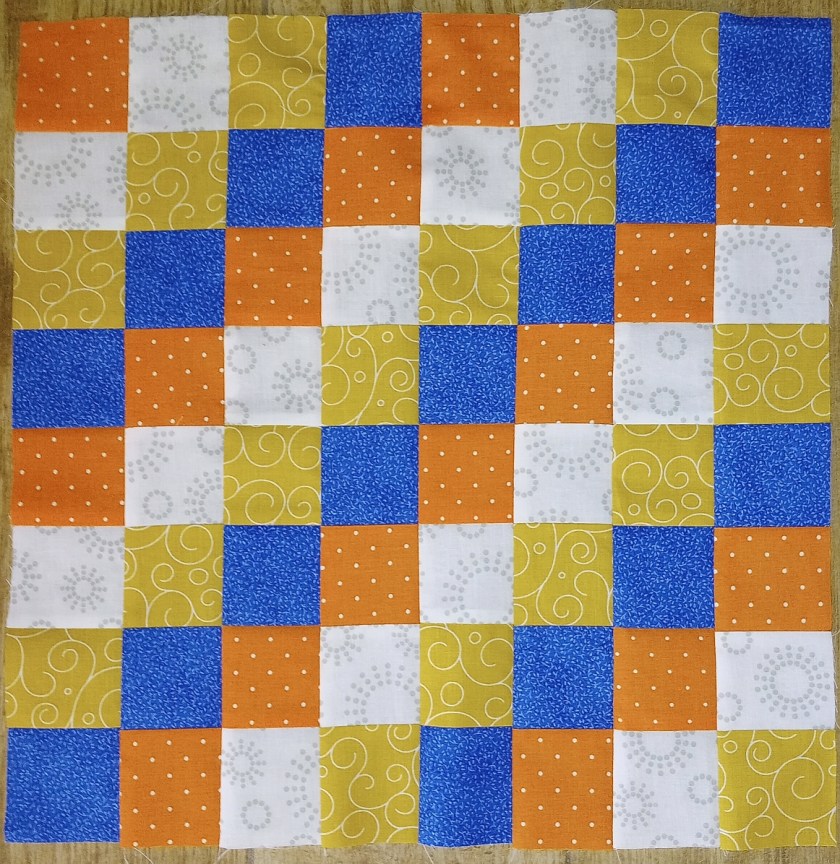
Your little huggable is now ready to quilt and bind! The finished Huggable measures 20″ square.
You may have noticed in one photo the diagonal angles to the right and in the other photo, to the left. It’s the same quilt – because it’s a square, the direction of the design is simply determined by how you turn the quilt. 🙂
Patti S., a talented friend from the guild, gifted me the pieced blocks a few weeks ago. Shortly after, I discovered that our partner, who manages most of our guild’s donation quilts, had a request. They needed 5 or 6 quilts for an upcoming Veterans Day event. While I had intended to focus on two Christmas projects that often get sidelined this time of year, I couldn’t say no.
My projects will have to, once again, wait another year but I’m grateful for the blocks which I was able to use to create two quilts. Two down, four to go!
The results of yesterday’s experiment were about as thrilling as watching paint dry, but I learned a few things, so I suppose it wasn’t a total waste of time.
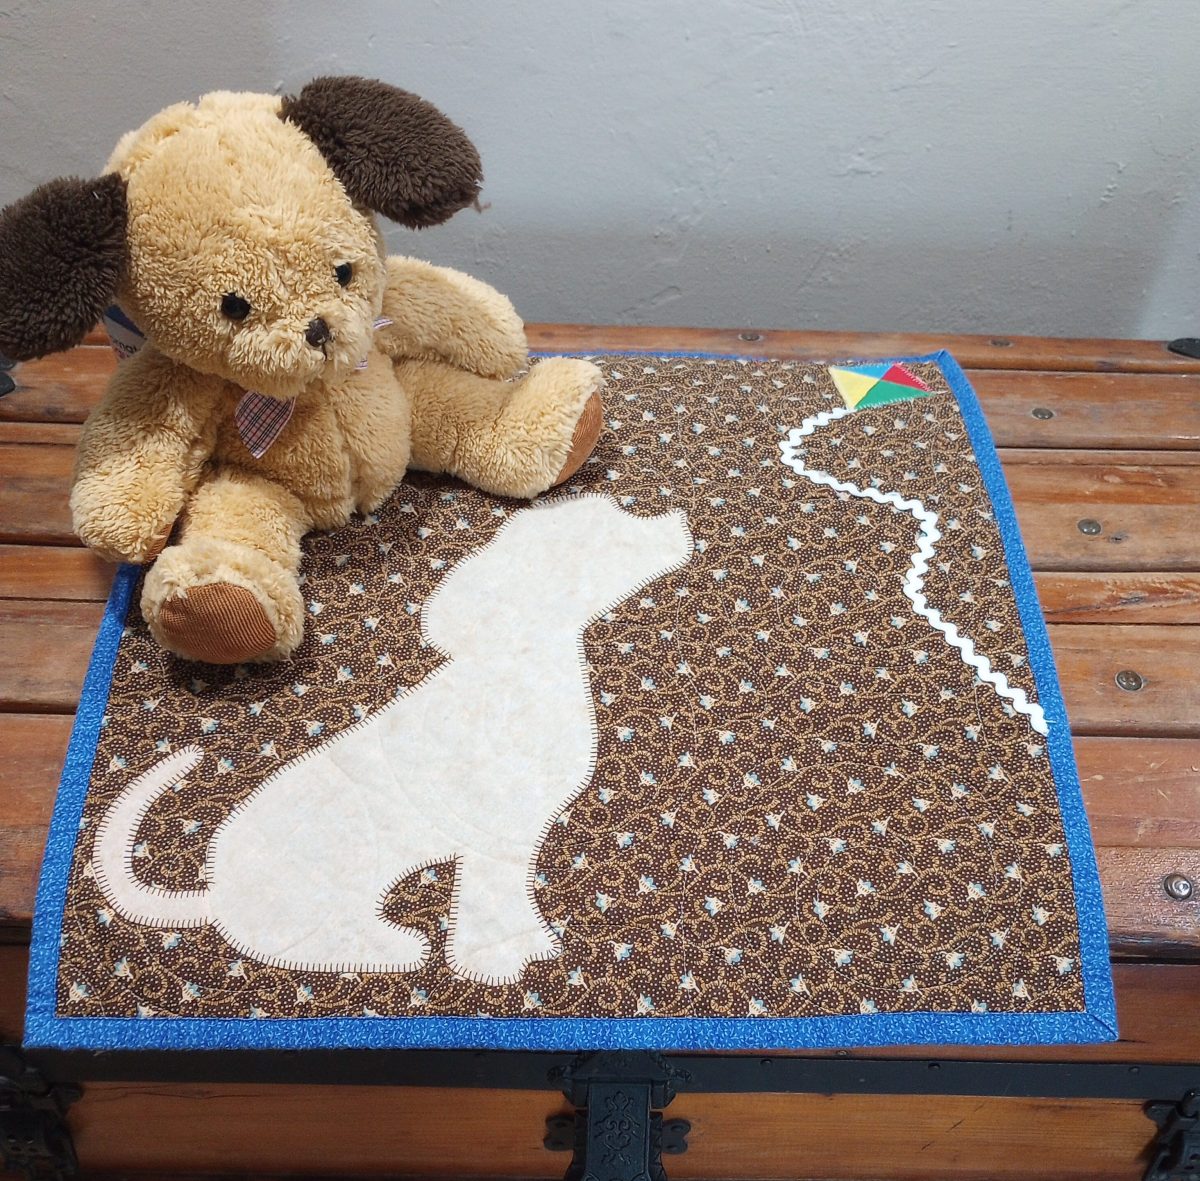
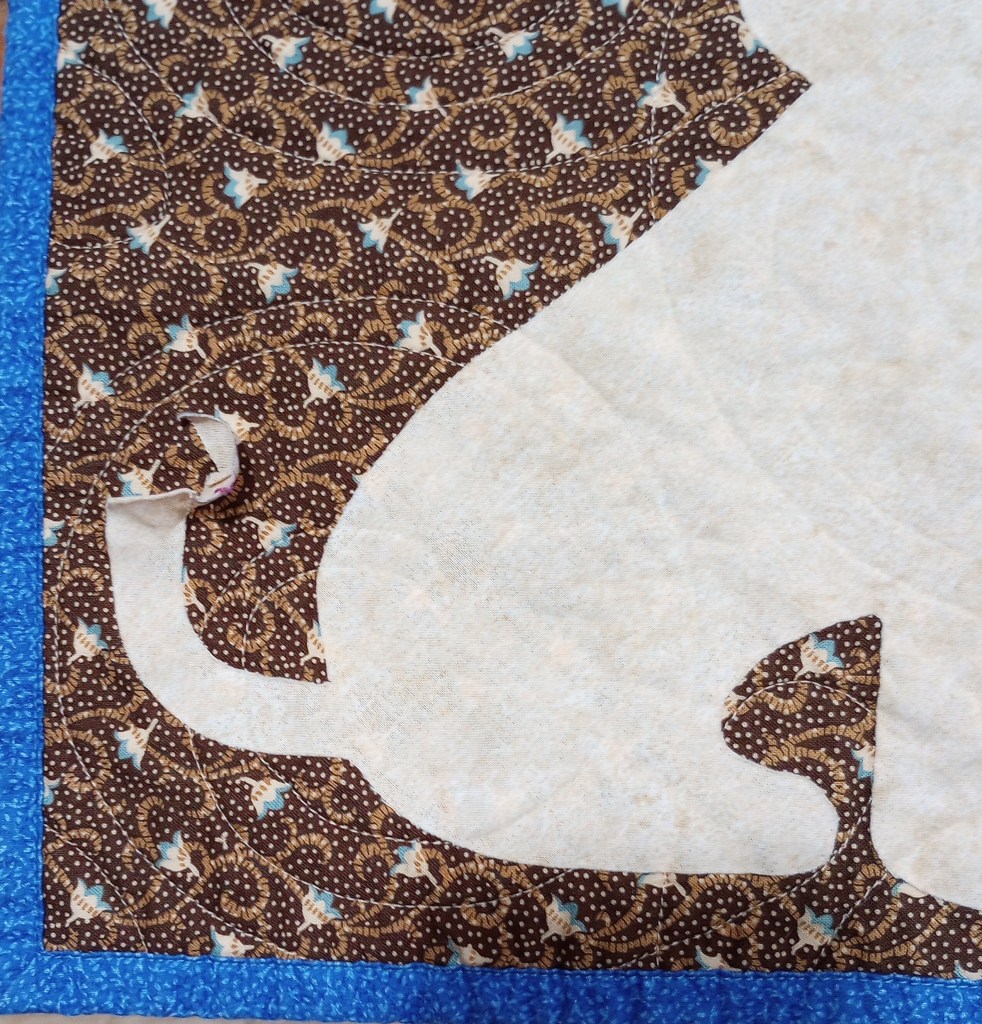
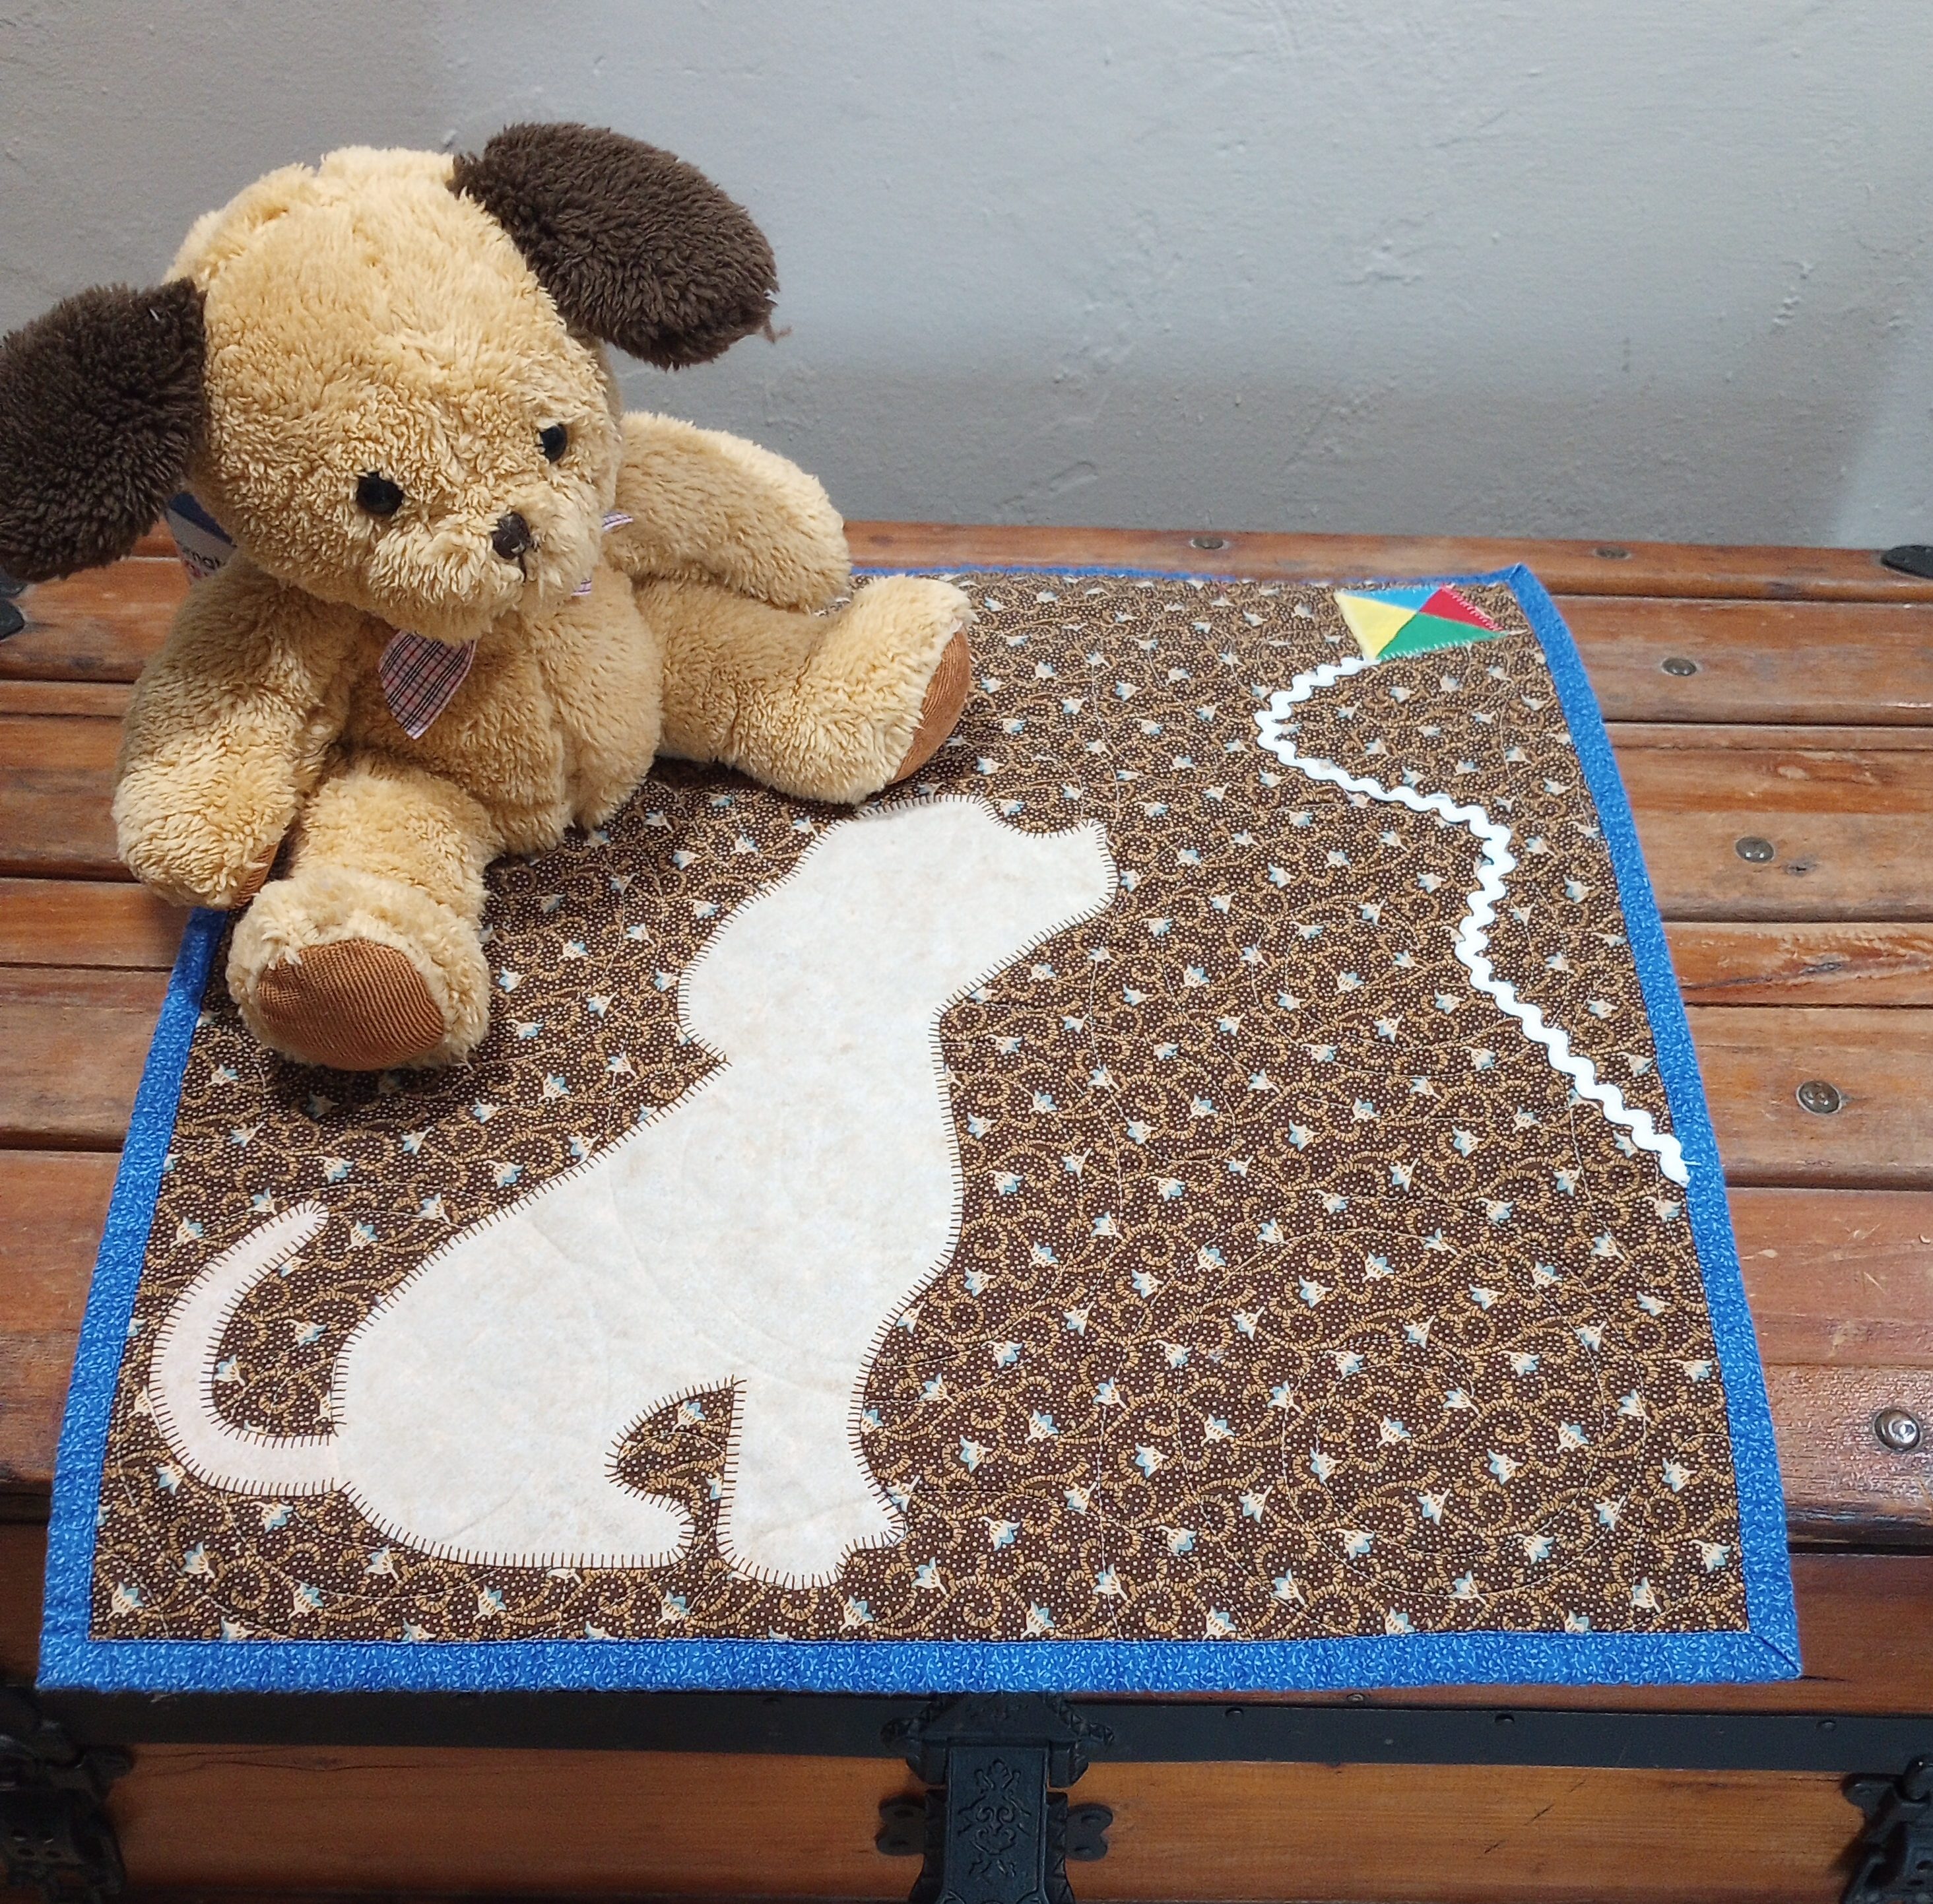
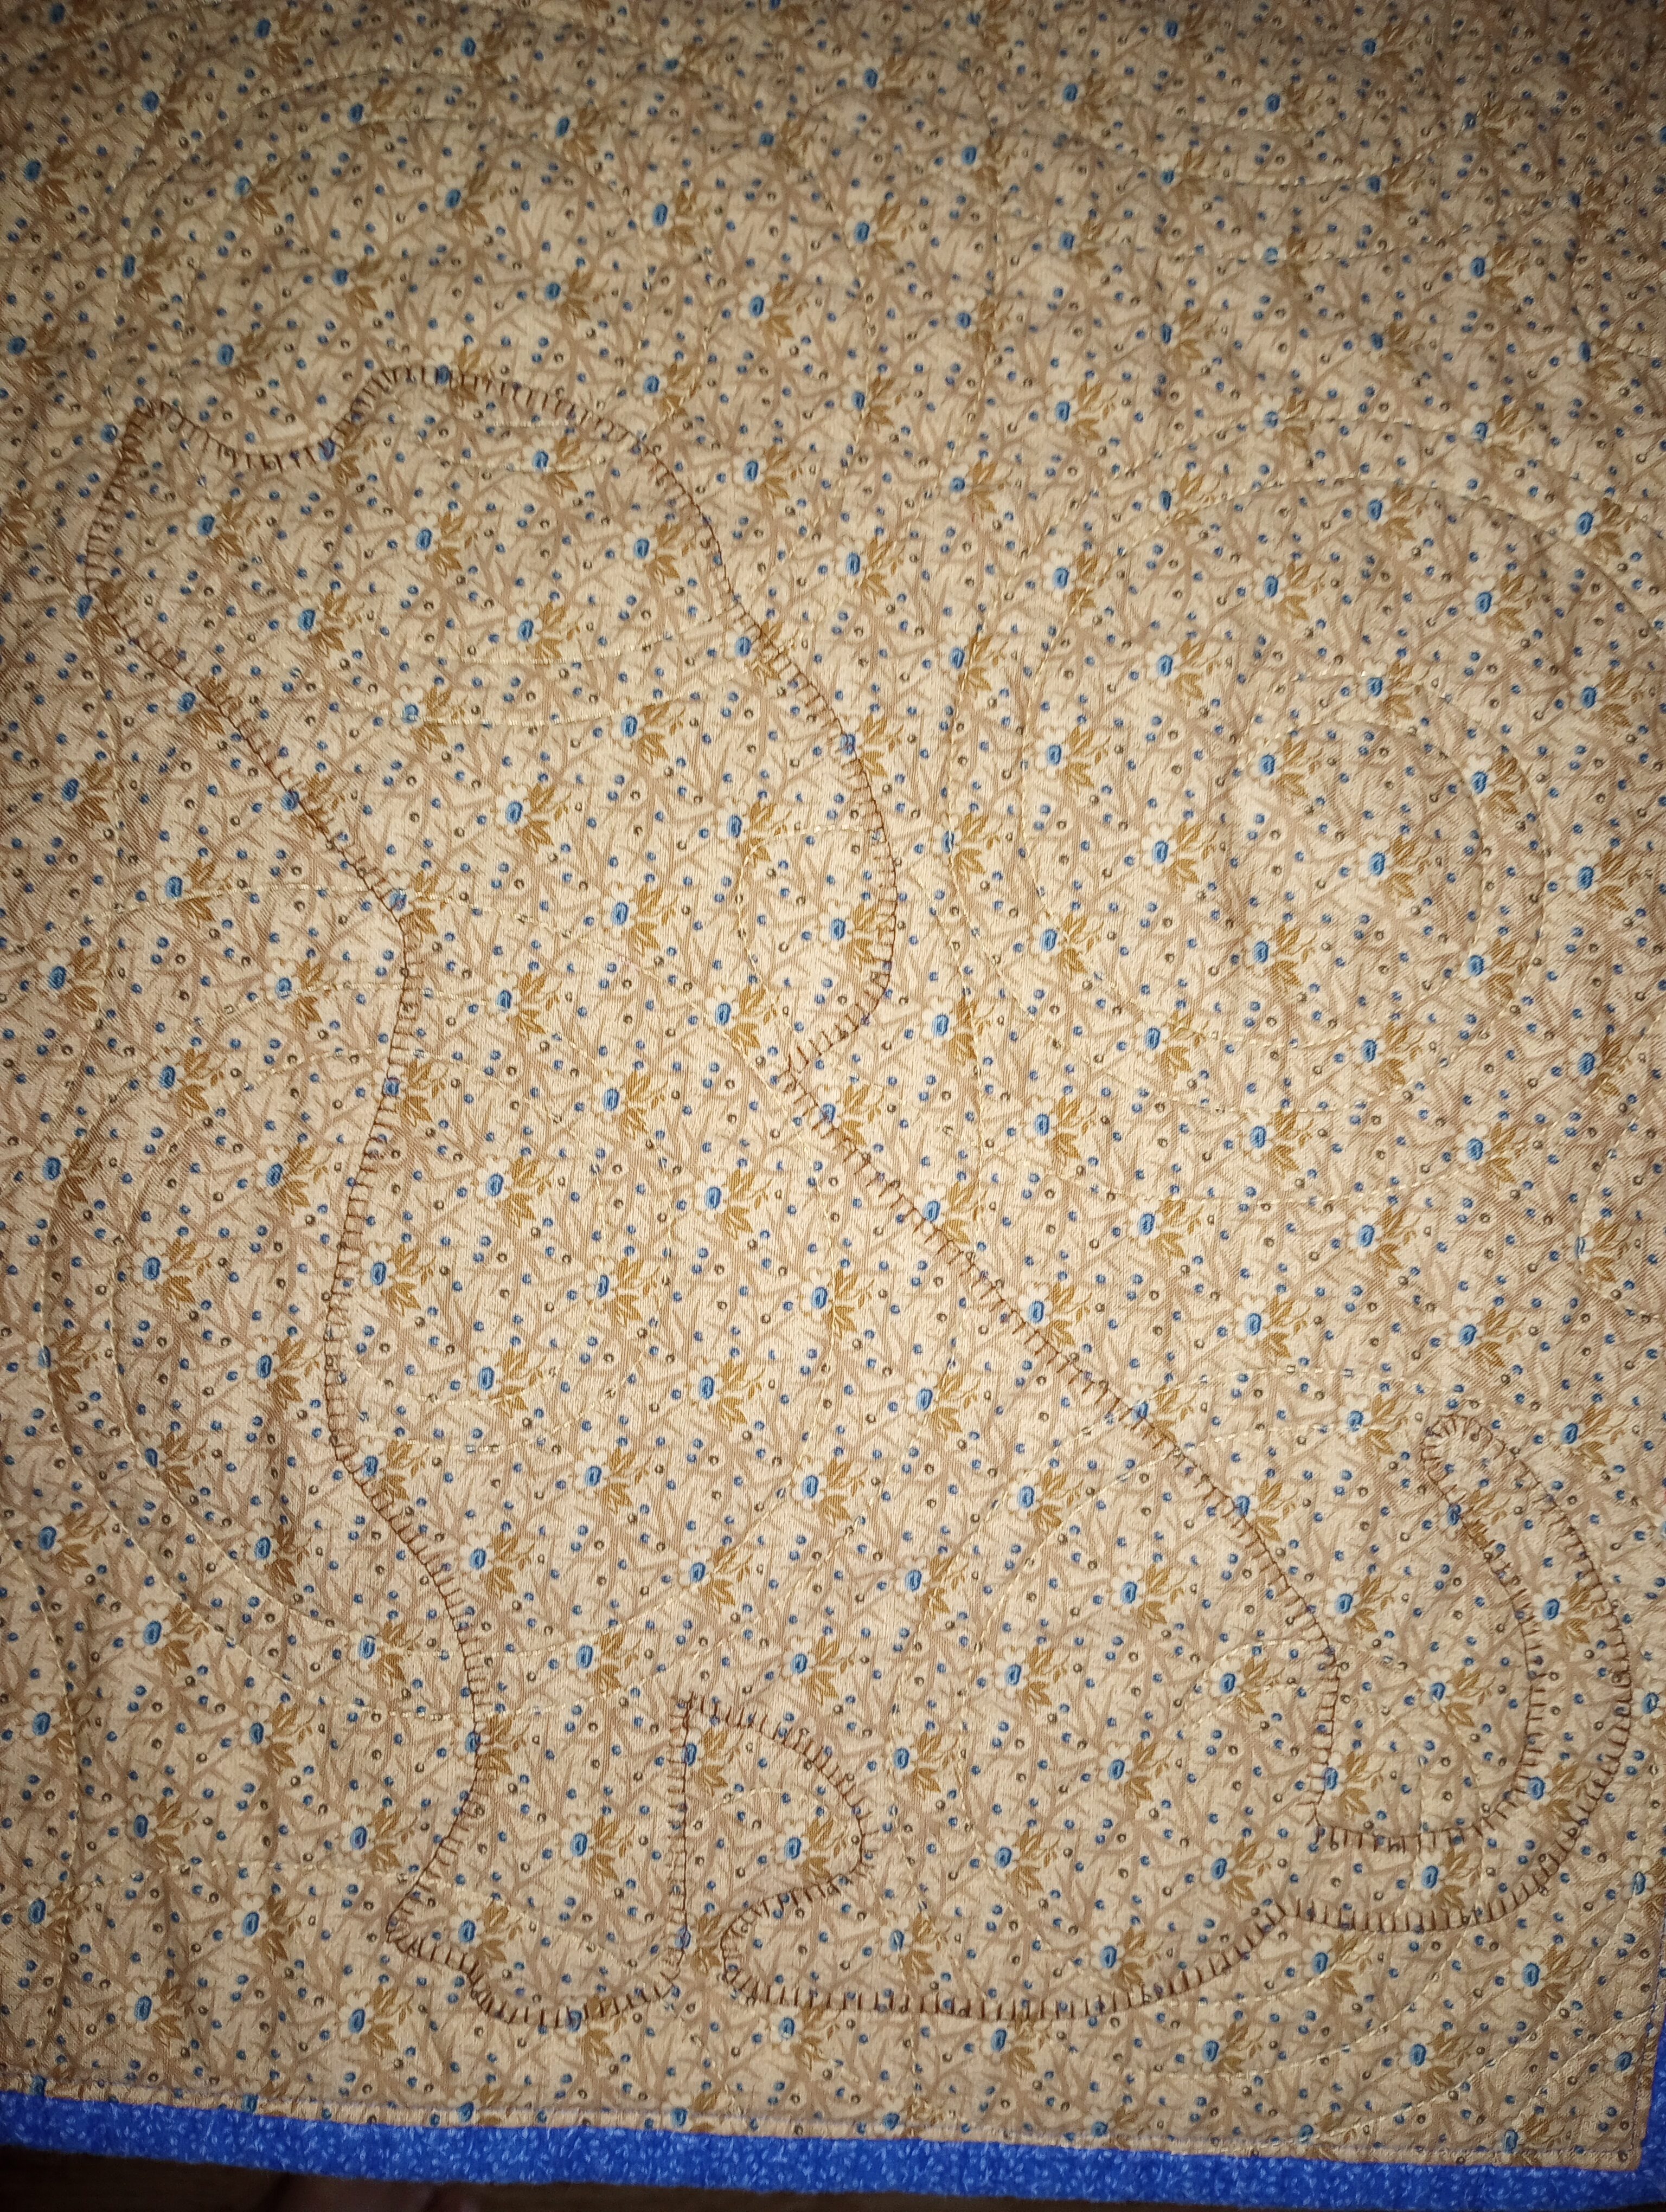
After washing and drying the little quilt the tail came loose and stuck to itself so I couldn’t just stitch it down. I had to pull it back to the dog’s butt and attach a new one. (Luckily, it peeled back rather easily.)
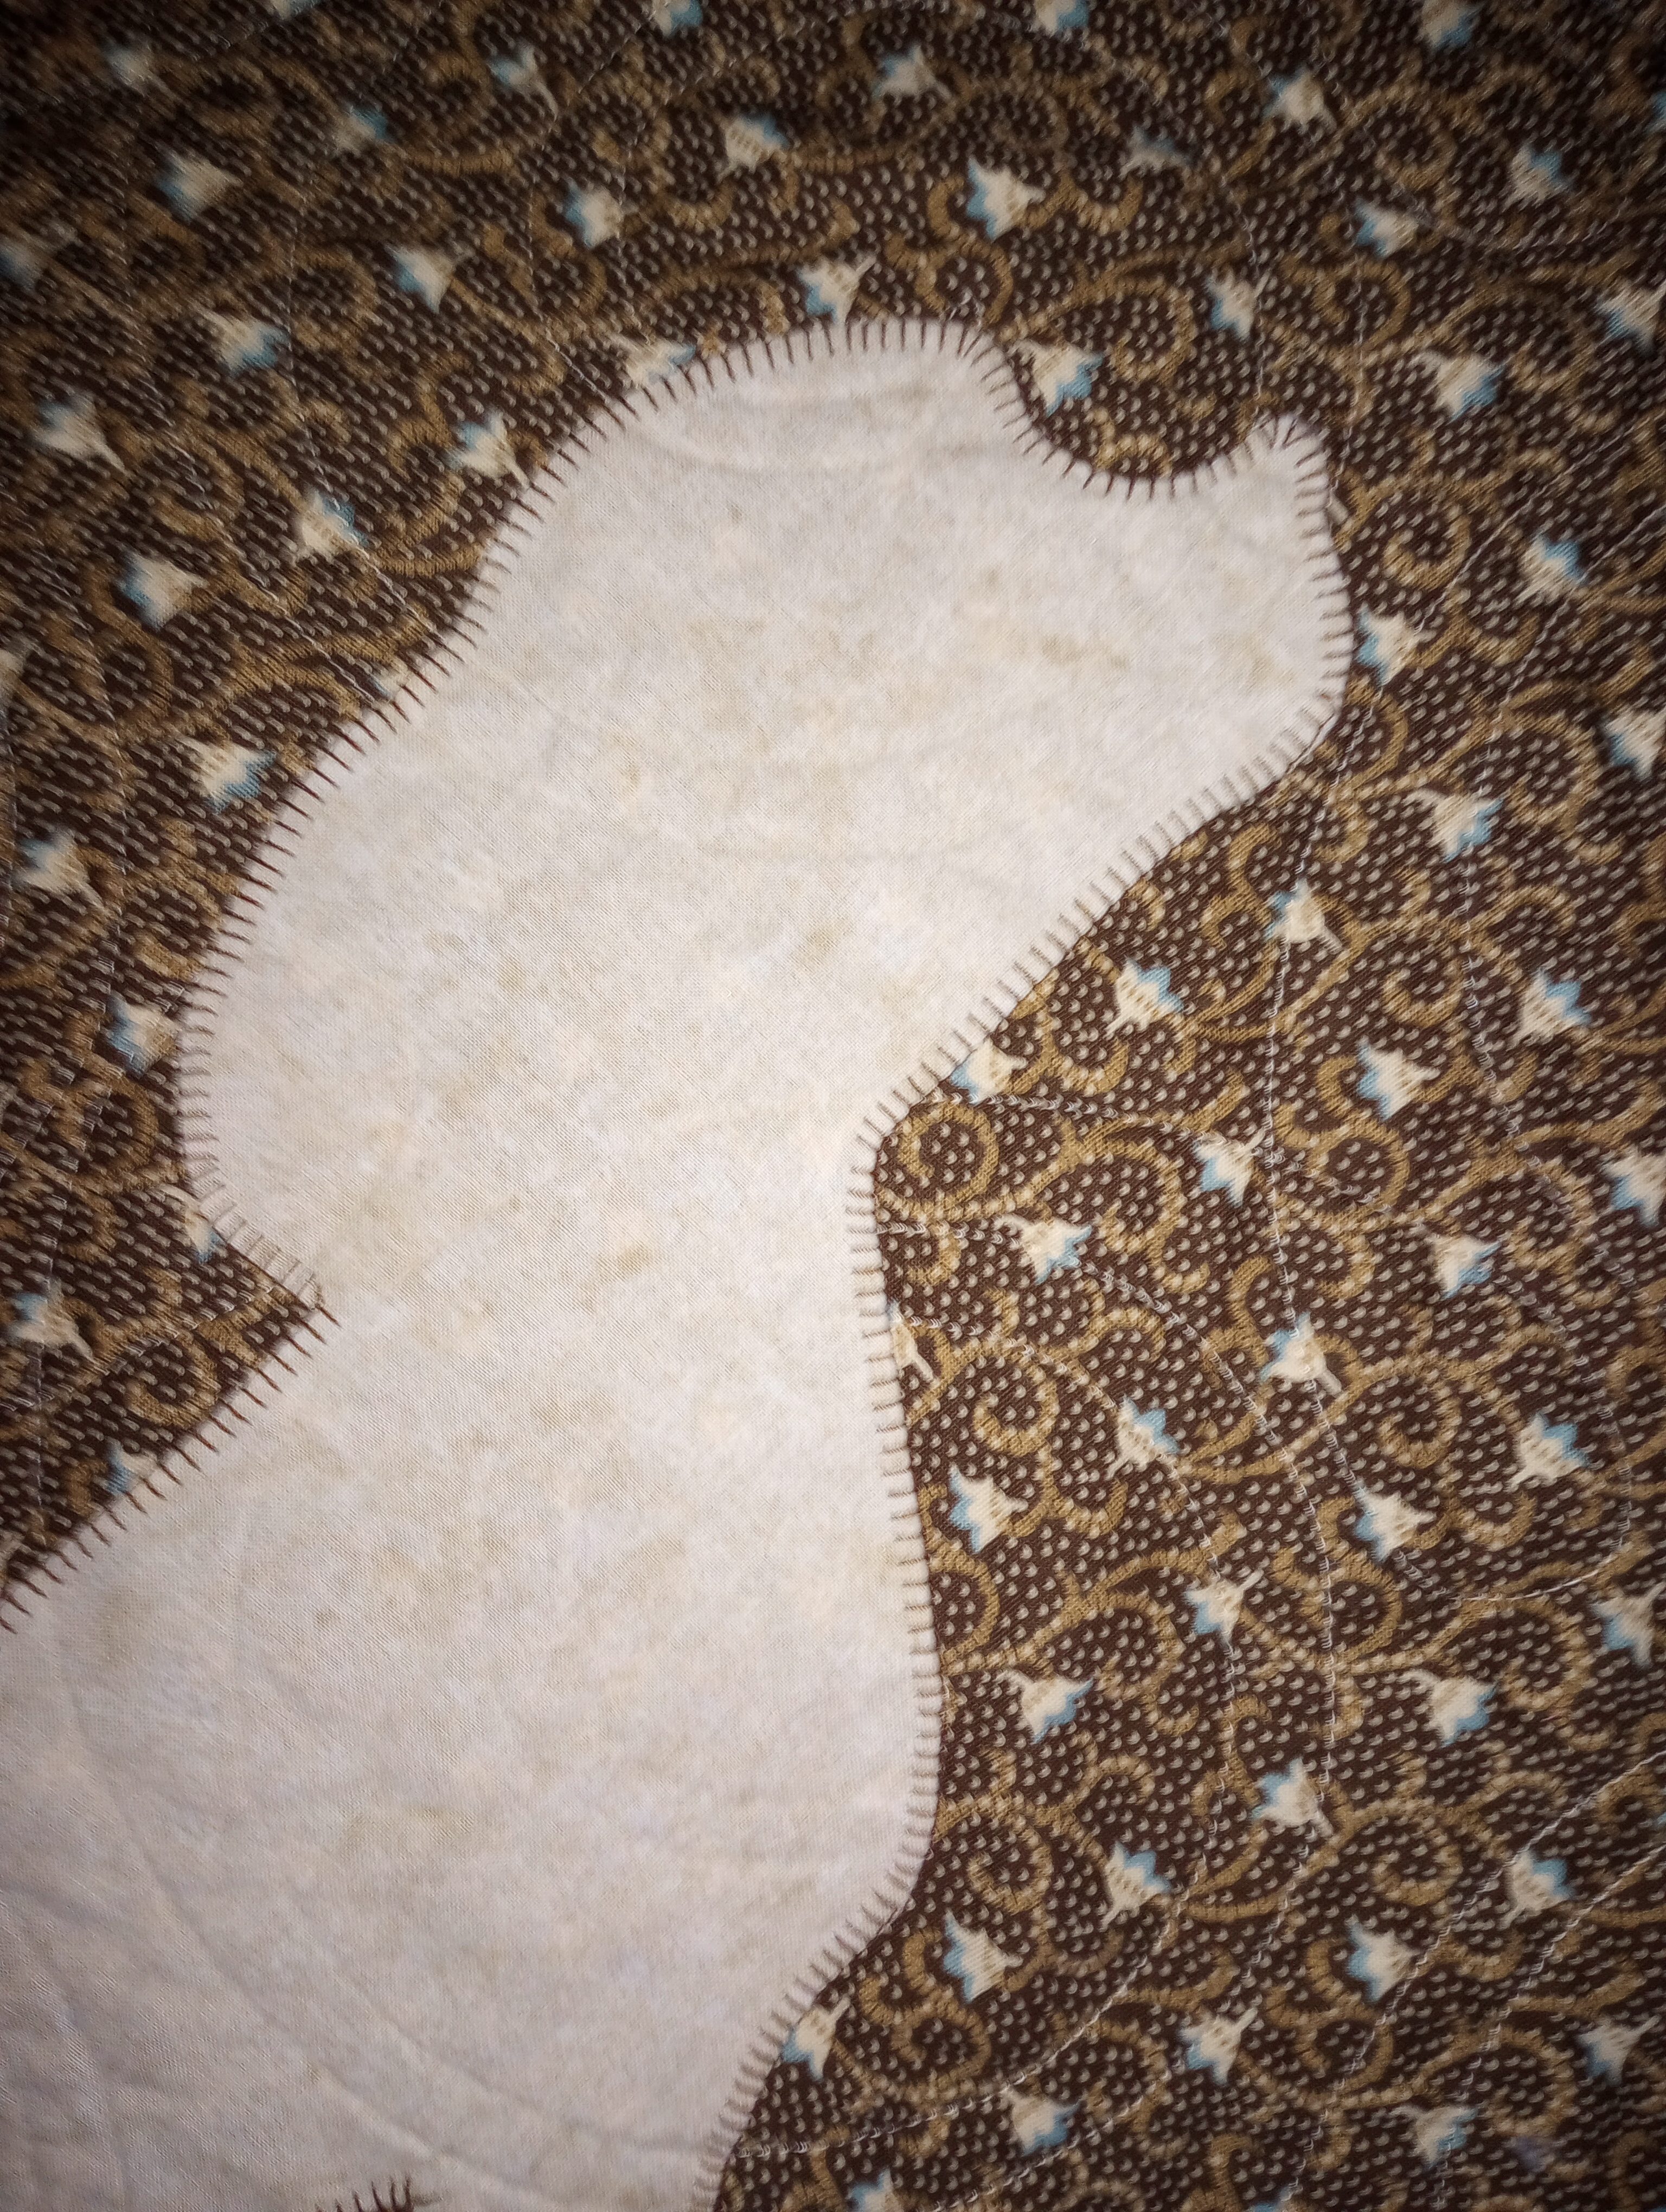
I machine blanket stitched the edges to enhance my plain tan print. I was happy to discover it was super easy to stitch through the top, applique, batting, and backing without using a walking foot. That, and the small, easy to manuever size gave me a lot more control around the curves.
I had sewn the rick rack for the kite string down before washing it (also through all the layers) and it held up surprisingly well with no curling of the edges.
Another thing I found was that stitching the applique down after quilting has a big advantage. Using a contrasting thread on the back makes the design visible there as well.
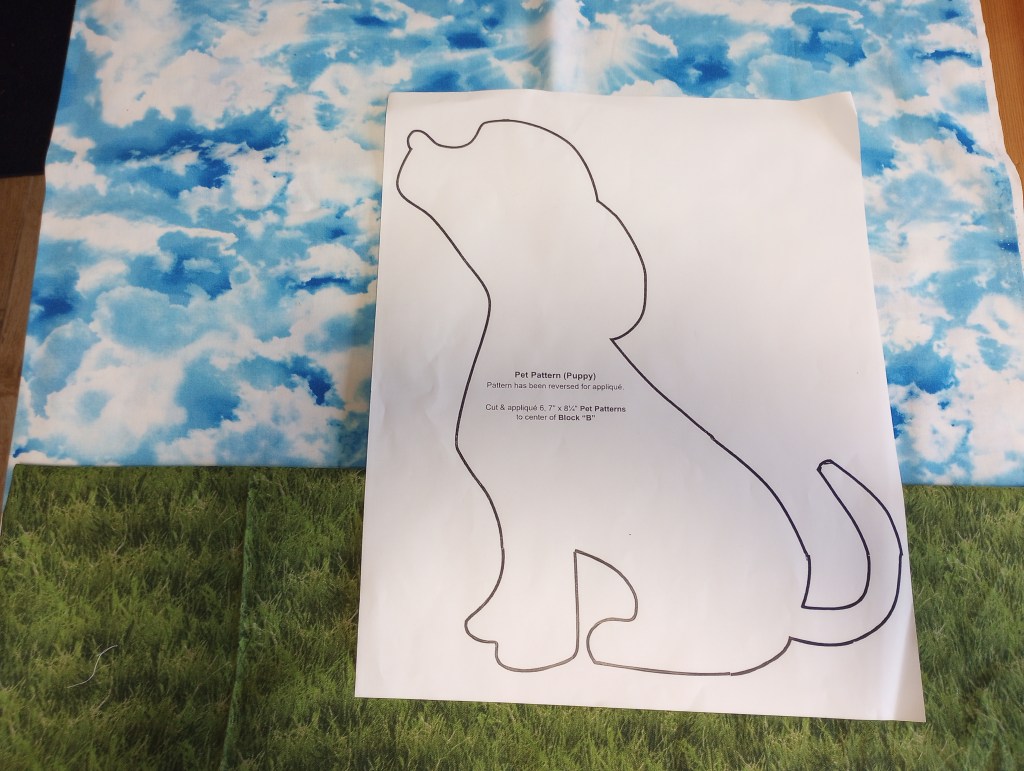
Now that I know what to expect, I want to try it again with my original idea of using a grass and sky background.
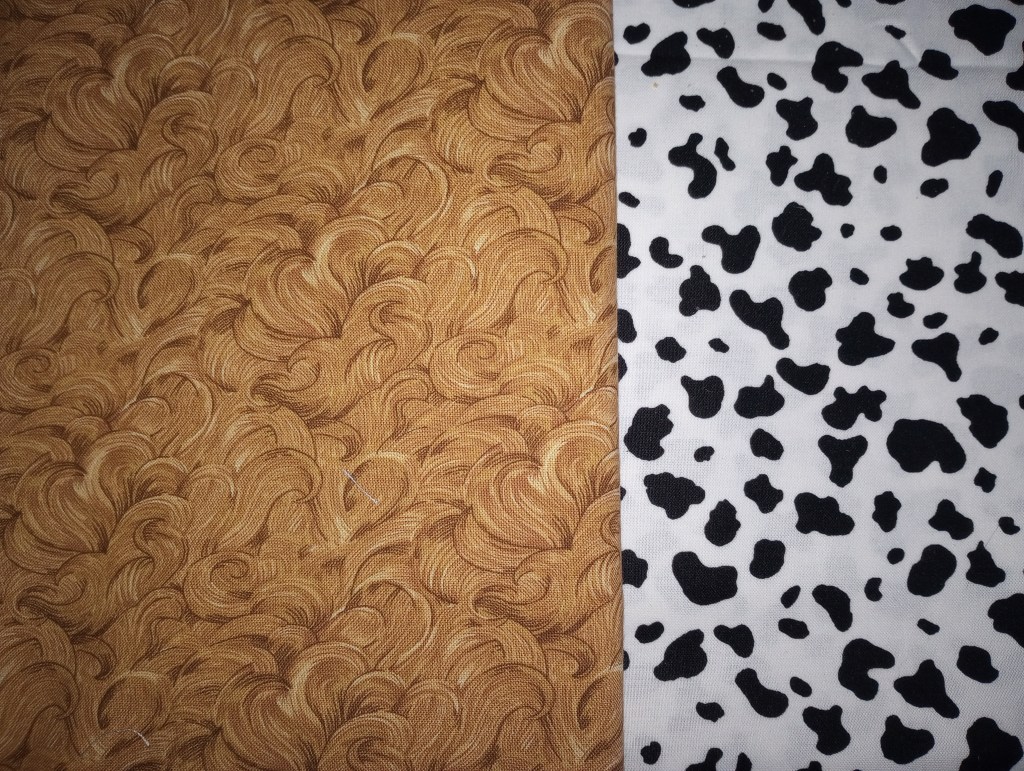
I just need to decide… it he a golden retriever or a dalmatian? 🙂
There needed to be something in the sky since the dog shape is looking up. I was thinking about a bird until, ironically.. my friend, ROBIN suggested a kite! LOL
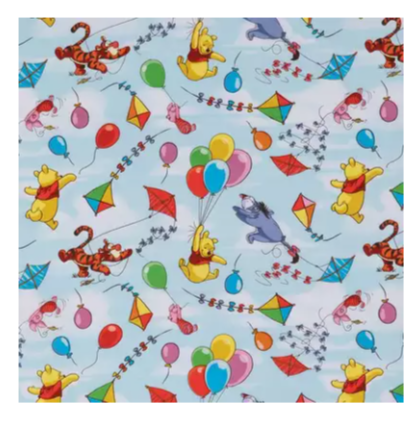
Of course she was right. The kite is a better idea. I remembered seeing this fabric at Hobby Lobby that I can use for the back so of course I had to go buy a piece before I wait too long and it’s gone. 😉
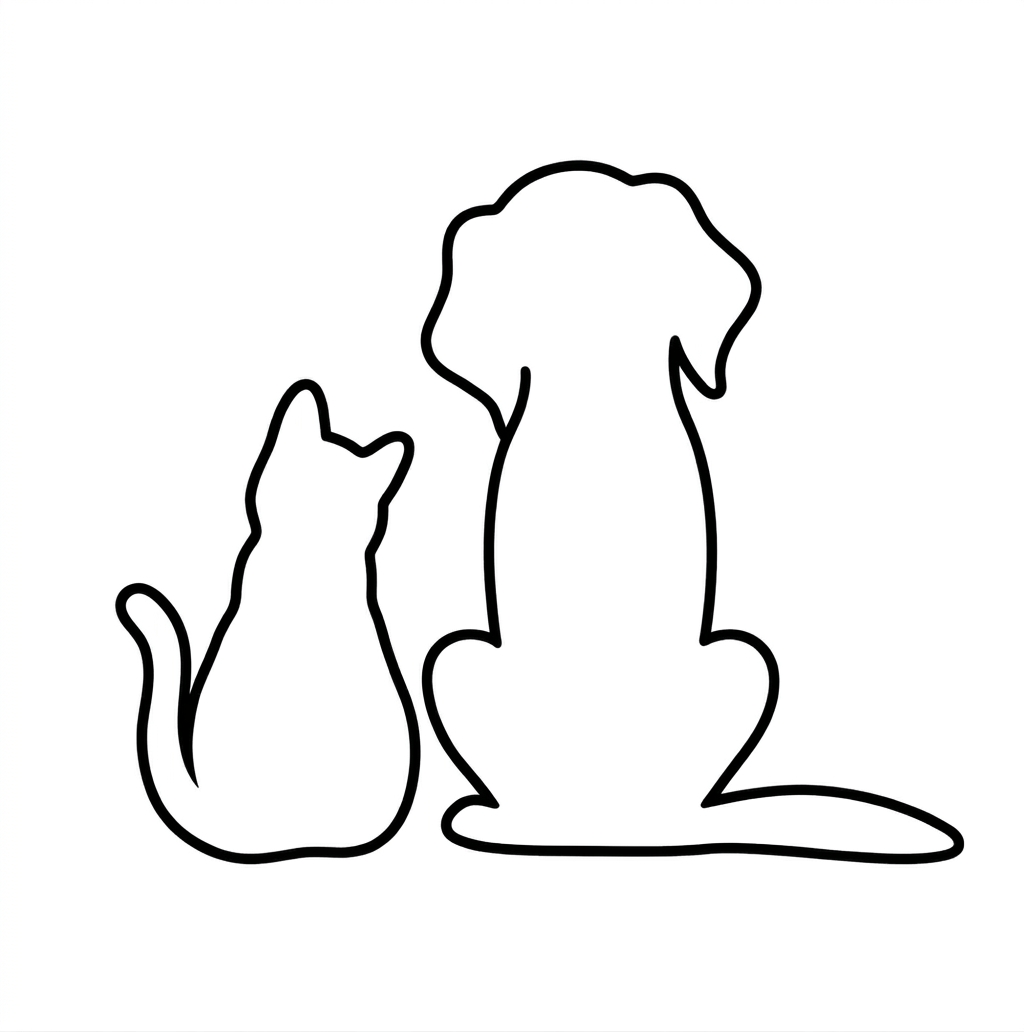
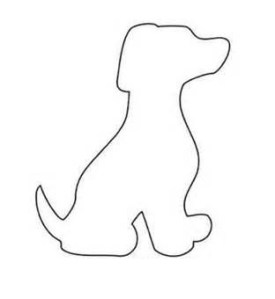
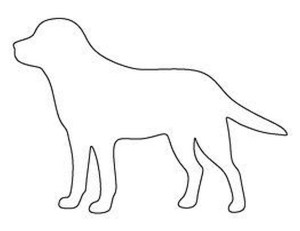
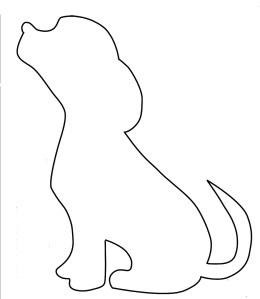
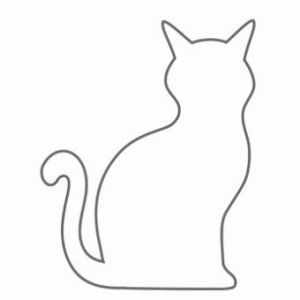
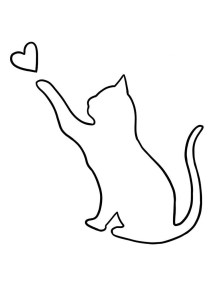
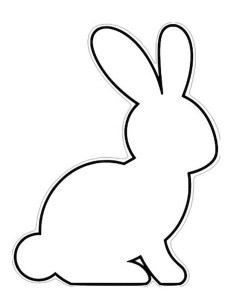
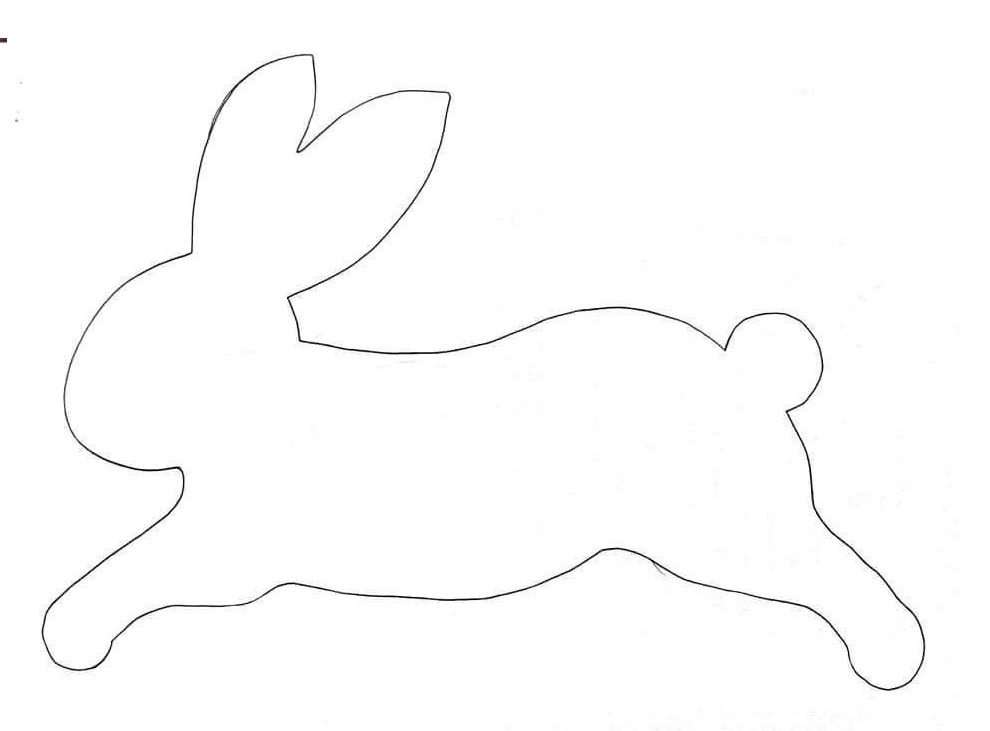
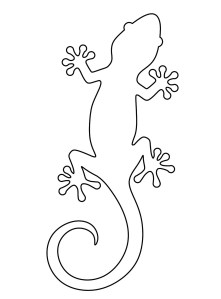
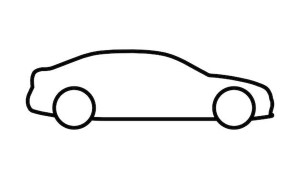
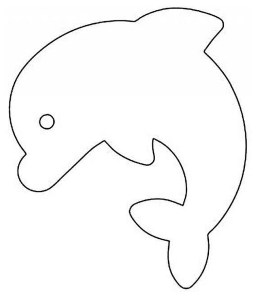
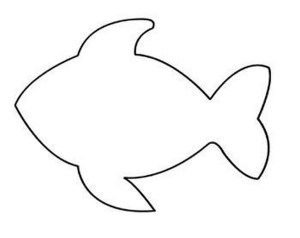
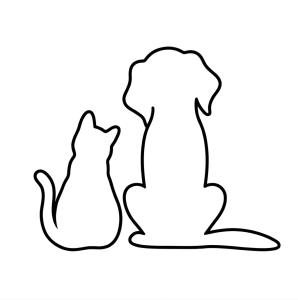
If you want to play with some of the outline shapes I saved, I made a page for them here. You’ll be able to click on the one you want to try and save it to your computer to print.
Yesterday I learned about a product call Hotfix for applique. It claims that it doesn’t need to be stitched down but that it won’t gum up your needle if you do. It’s also washable and bonds to fabric, leather, lace, and paper. I want to try it on a little quilt, wash/dry it and see if it meets expectations. (I’ll let you know how it goes!)
I’m hoping this might be a way to turn what would be considered “drab” fabrics or unsuitable “old lady” prints into something cute. If you have a little quilt you’re having second thoughts about because it doesn’t feel like it quite meets the “kid friendly” guideline, maybe this will help. Being a quilter is to be patient, take your time, and keep at it until it feels “right”. It’s what we do. ♥
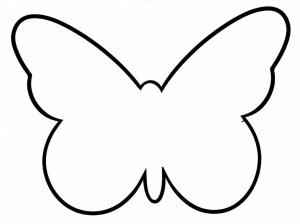
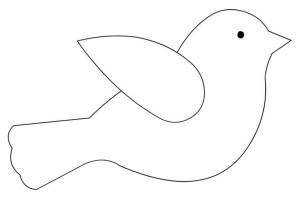
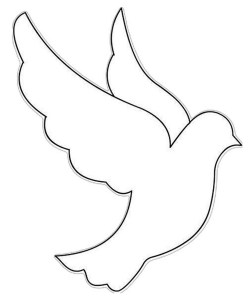
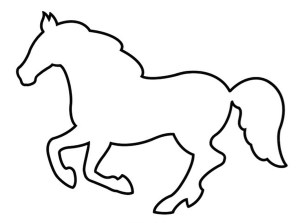
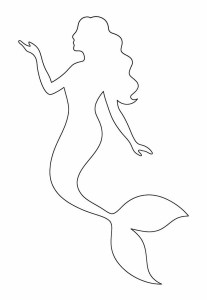
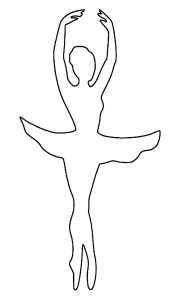
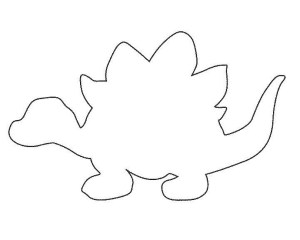
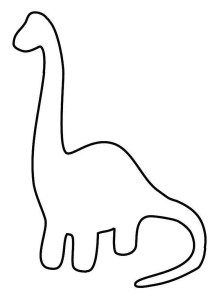
This morning I scoured the internet searching for outlines. I avoided silhouettes because of all the wasted ink it would use to print them. 🙂
I found a few that might work and resized them to print on 11″ x 17″ paper. The size is big enough to center on a little quilt and fit the 12″ wide sheet of fusible Hotfix .
I’ll be on the lookout for other shapes but this feels like a good start!