Here are the simple instructions to create the Huggable Spiderman quilt top. This is not meant to be a formal pattern and it’s intended for quilters with basic quilting knowledge. I’m sharing it here so you can make one too if you want without having to calculate the math.
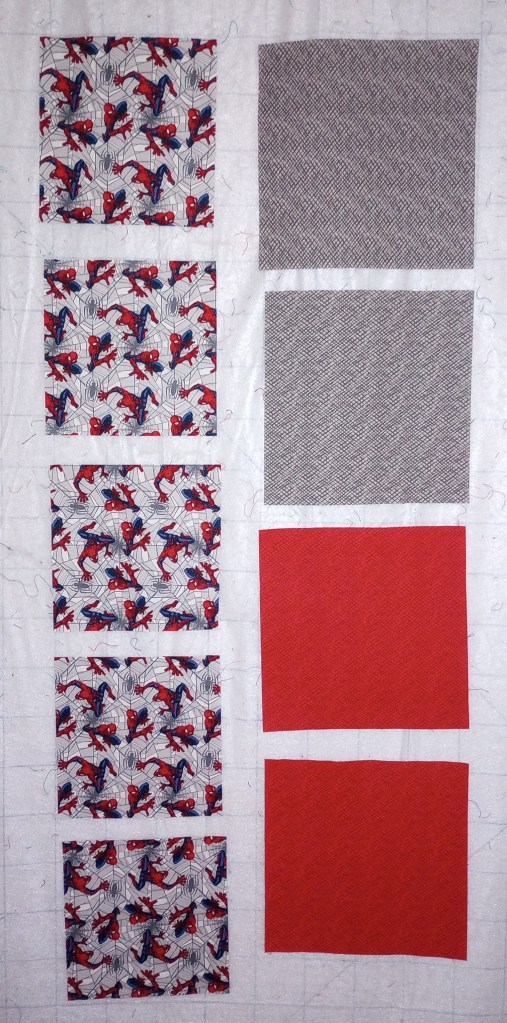
Cutting instructions:
Fabric A (focus print) – 5 squares at 6 1/2″
Fabric B (1st coordinate) – 2 squares at 8″
Fabric C (2nd coordinate) – 2 squares at 8″
- The following YouTube tutorial demonstrates how to create the Hourglass block. Beginning with oversized 8″ squares makes it a bit easier to trim down to the 6 1/2″ square at the end.
- In the video, she demonstrates making 2 different pairs of blocks. For this quilt, we’ll be making 2 identical pairs.
- Stop when you get to 7:00 minute time mark. (Do not set them them together into a block as she demonstrates further along in the video.)
The video is easier to understand, but here are some photos of the process for reference.
Begin by laying the coordinate fabric B’s on top of the fabric C’s with the right sides together.
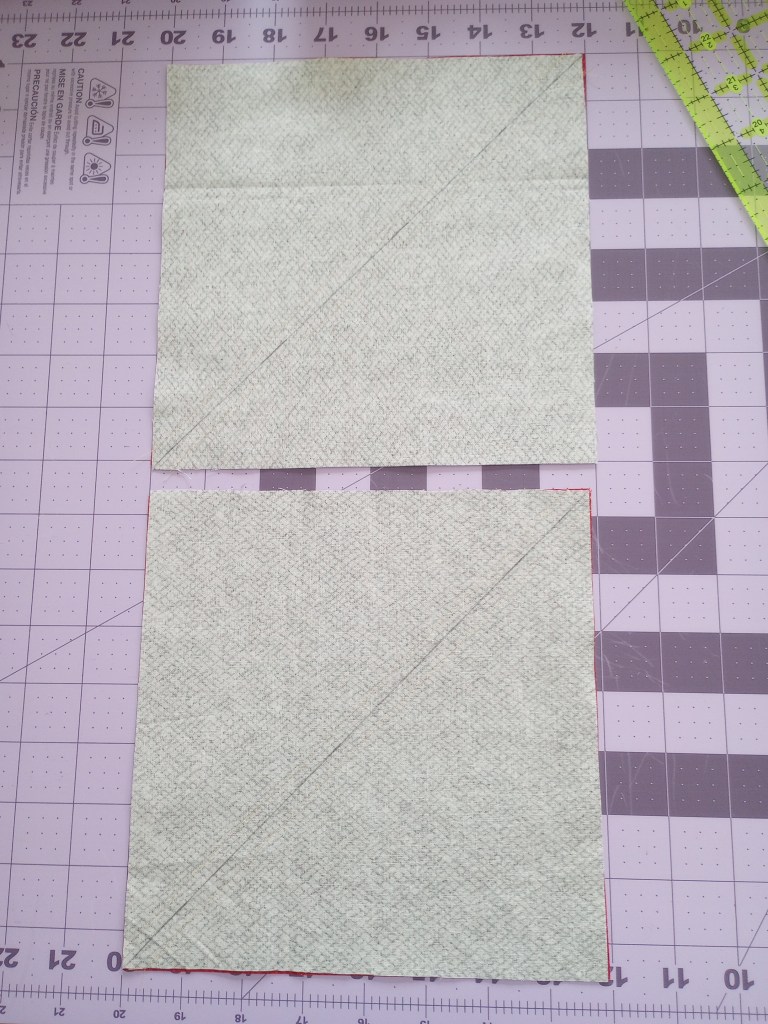
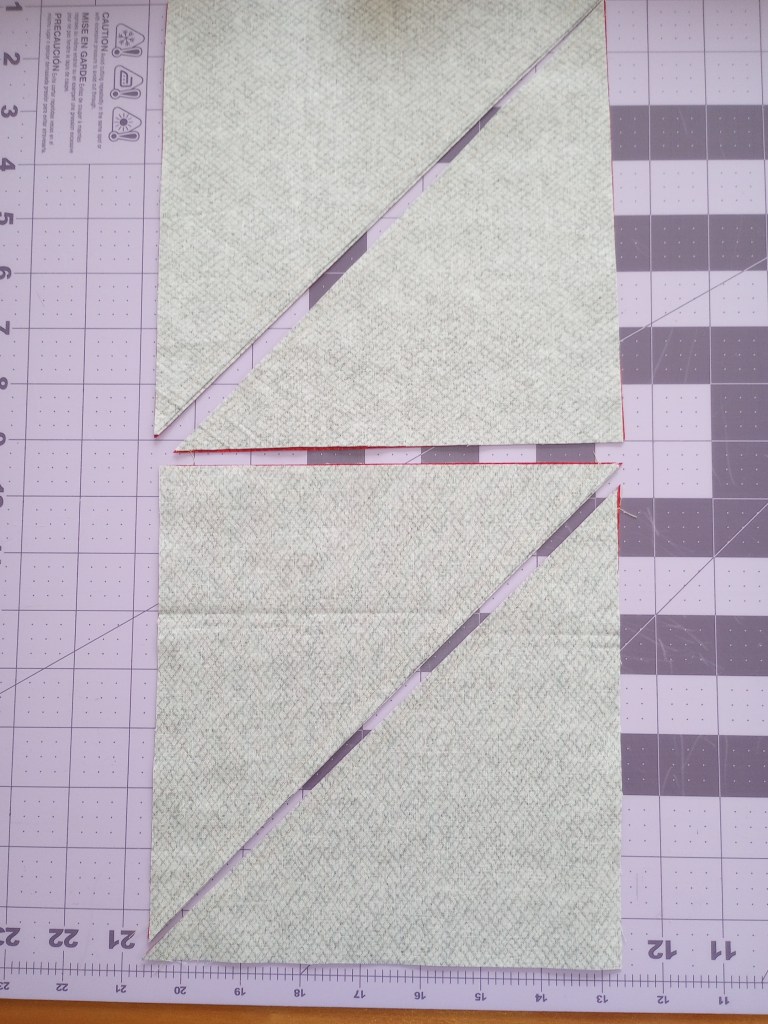
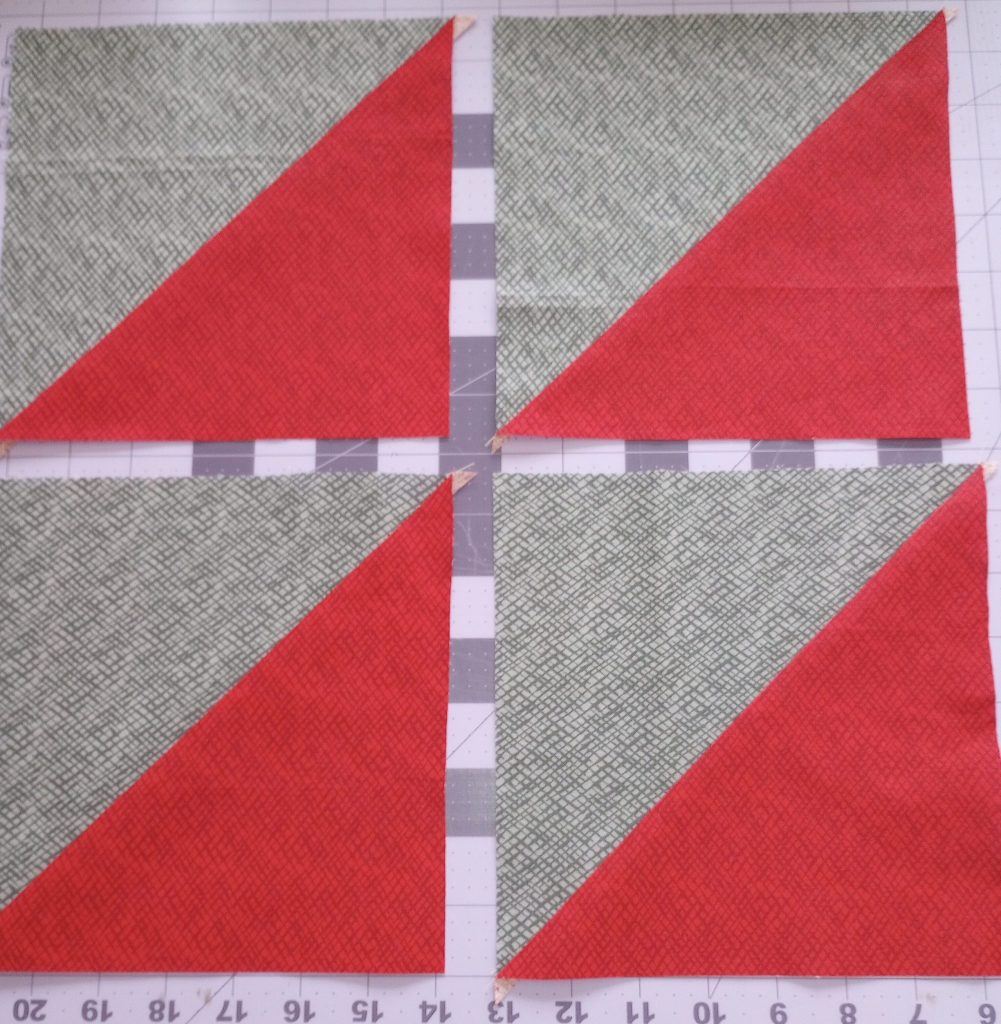
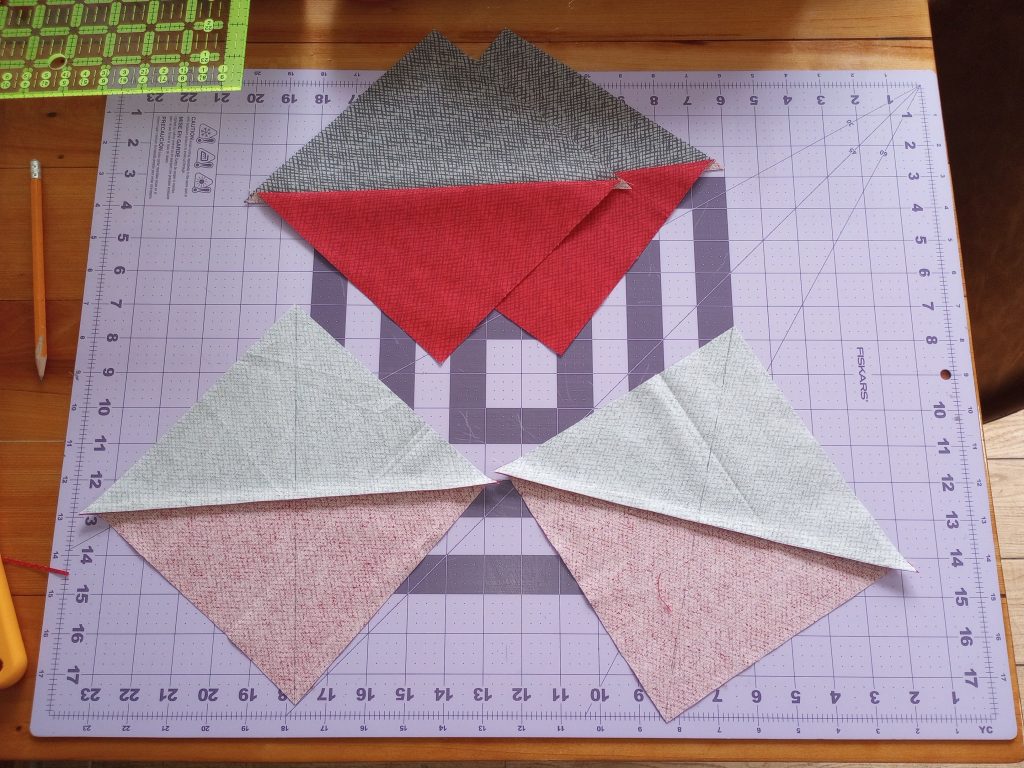
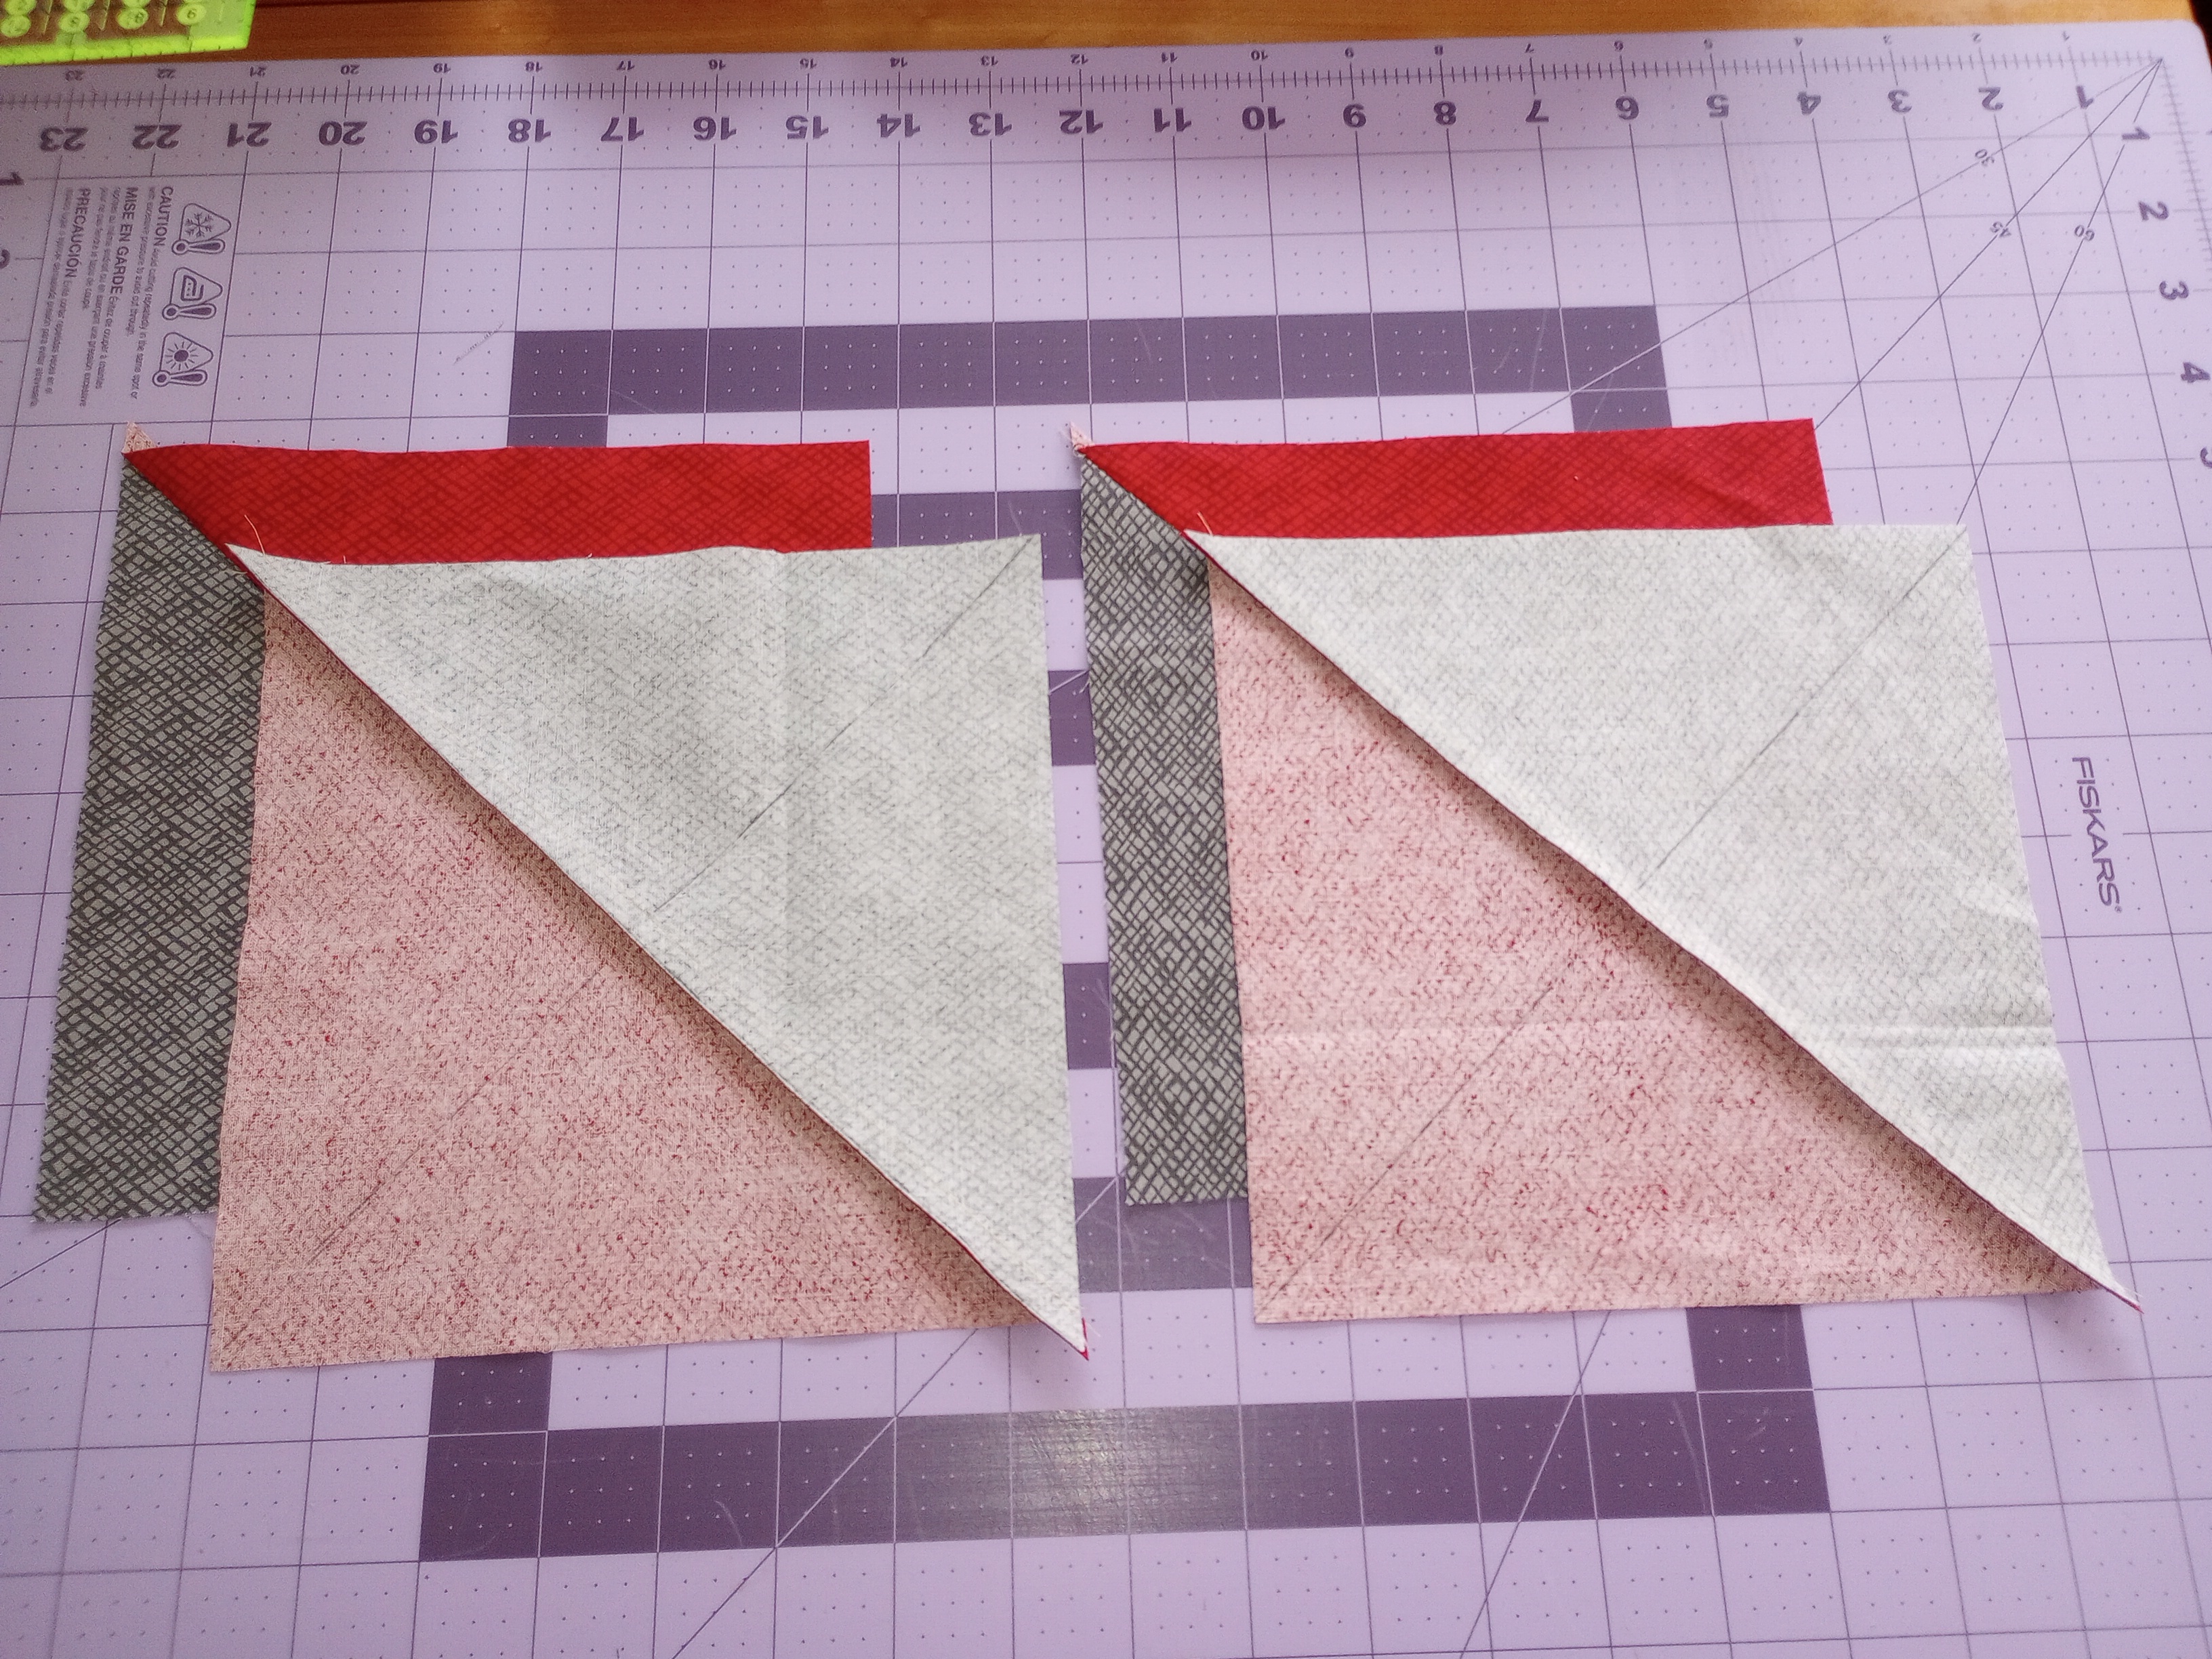
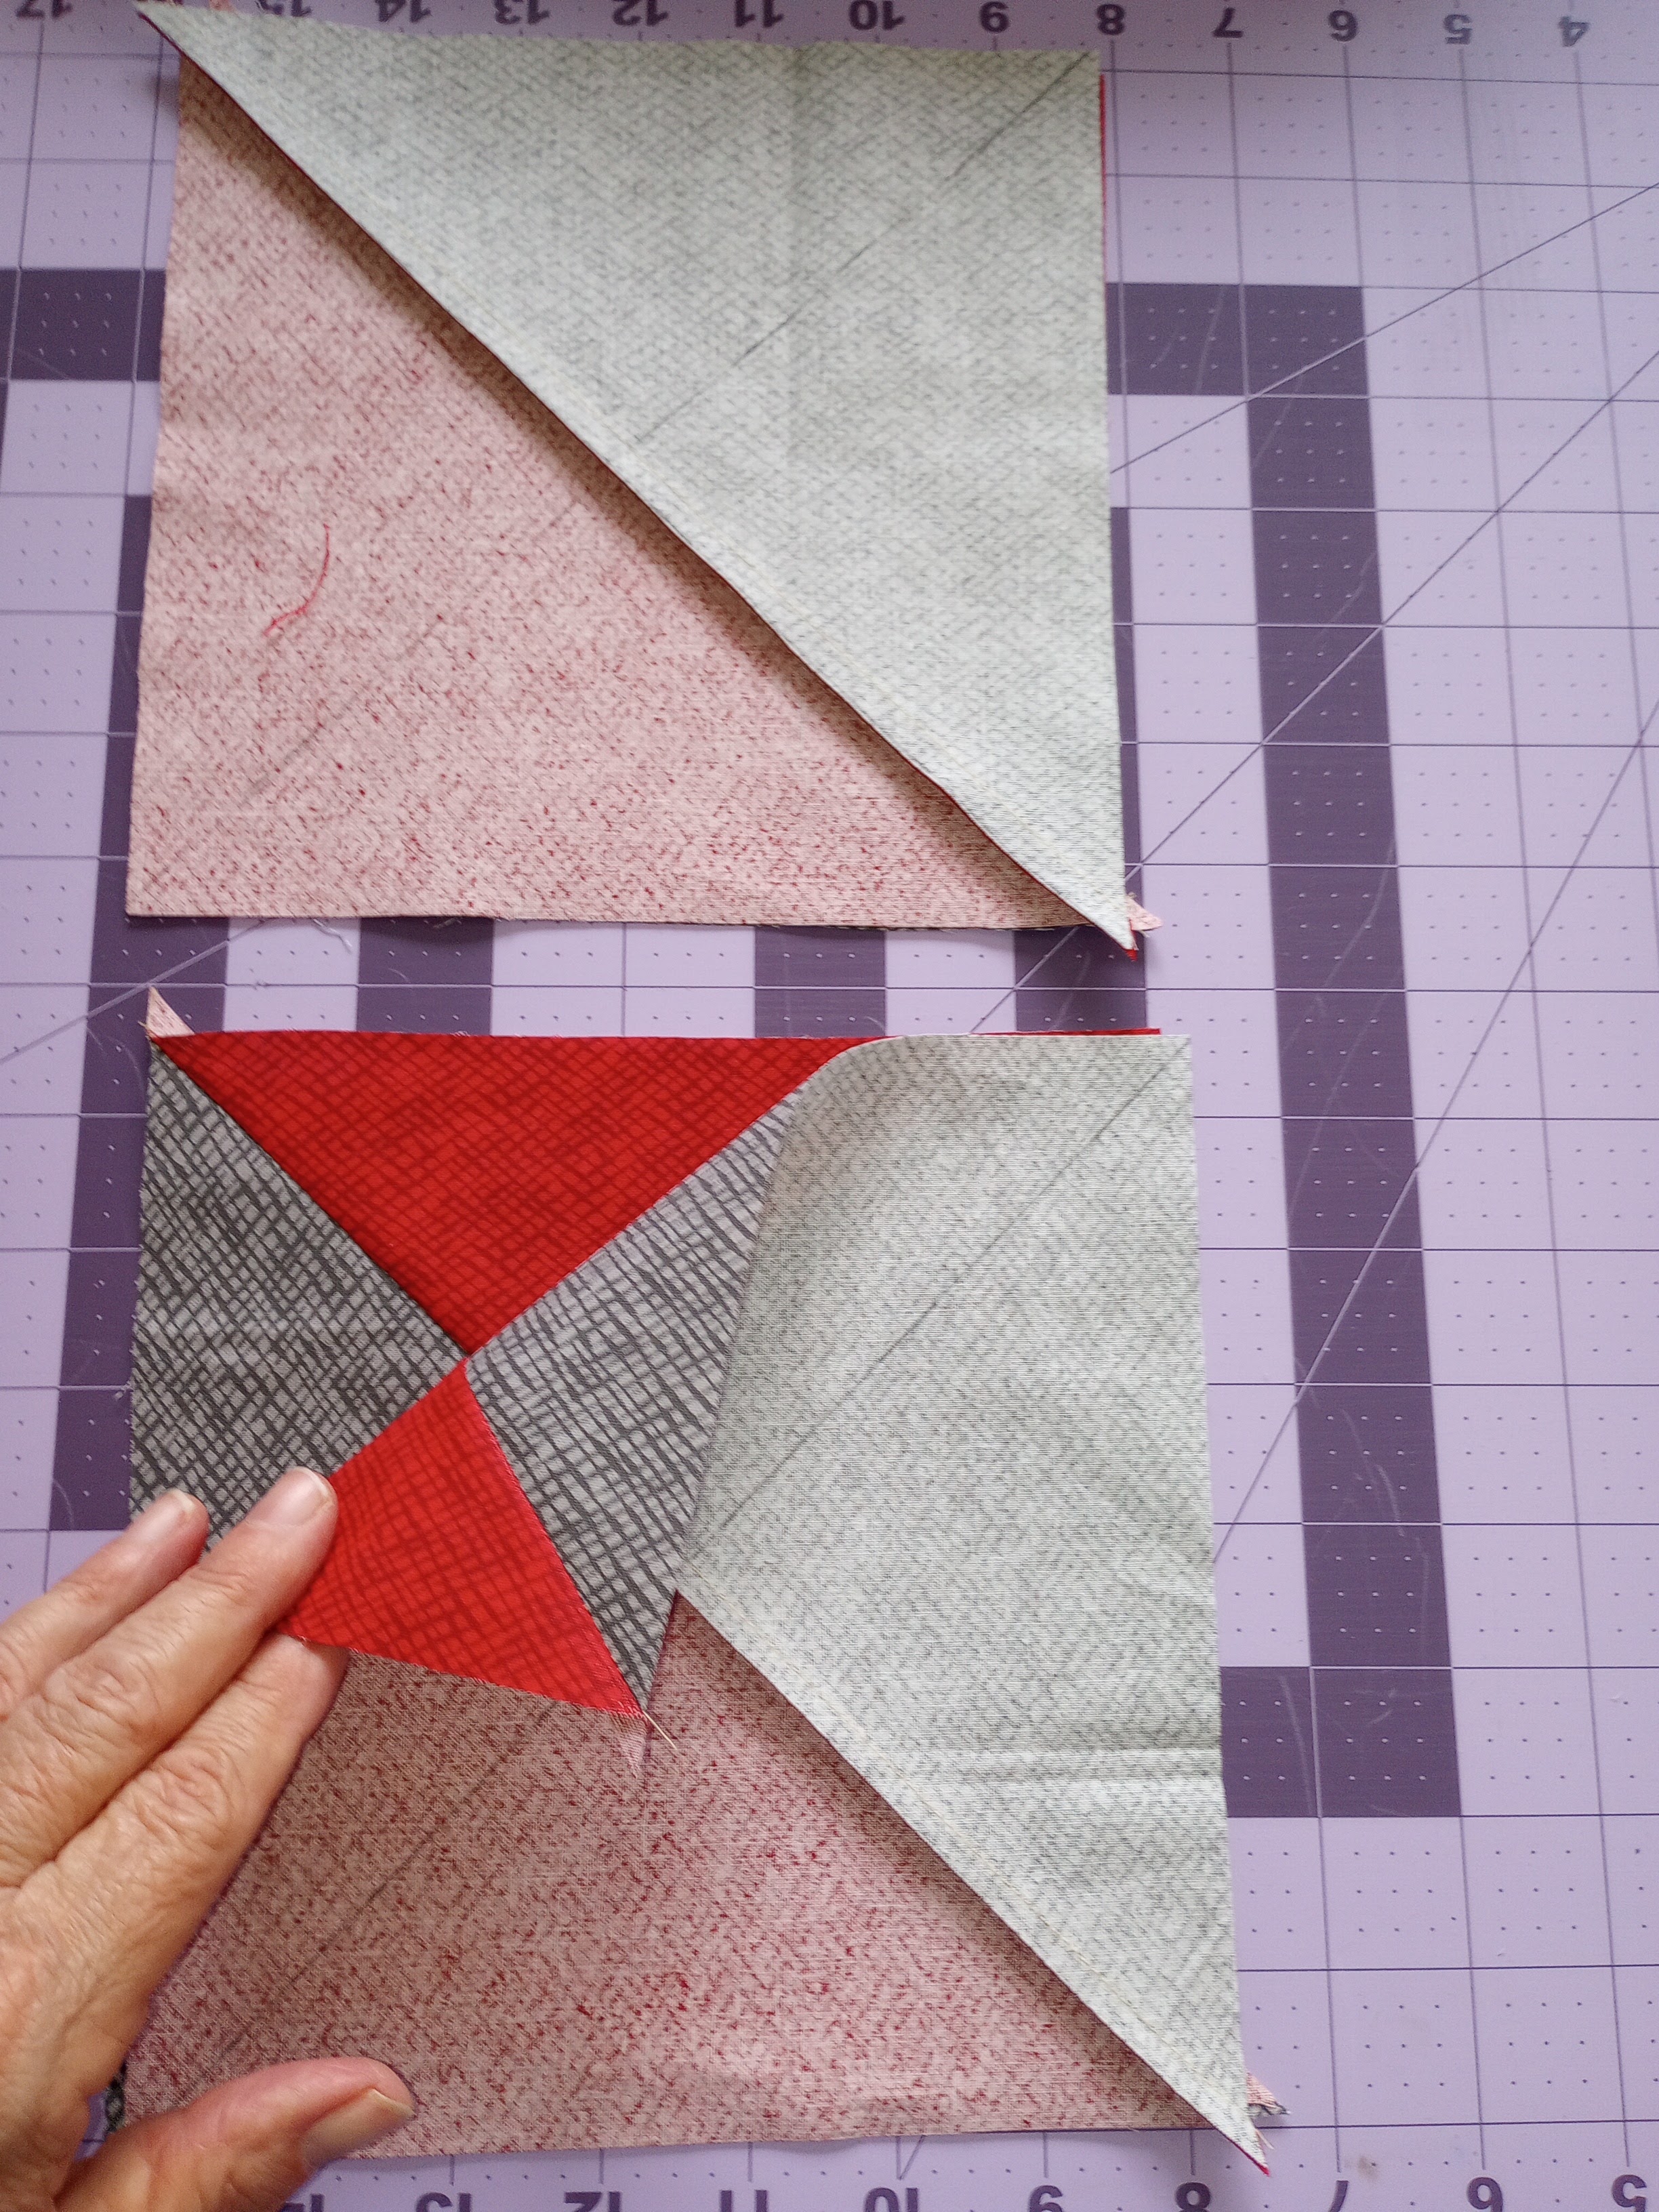
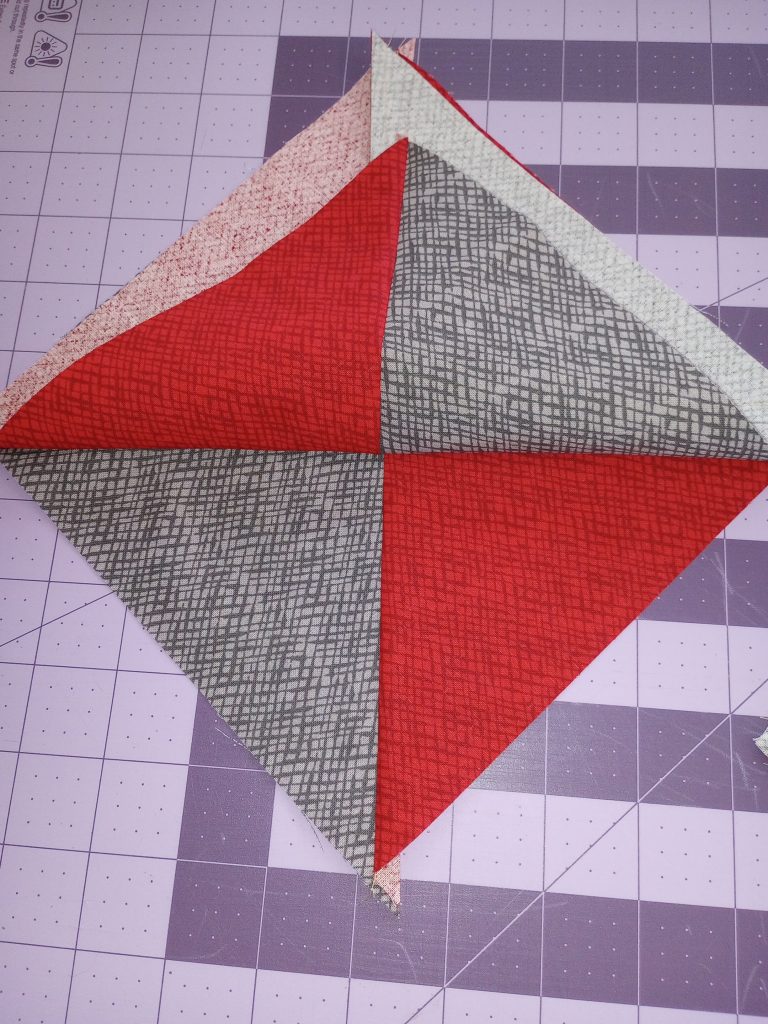
Pair the triangles with the drawn lines on top of the triangles that were set aside in the previous step, right sides together. Rotate if needed so the red is face down on the grey fabric – and the grey is face down on the red fabric.
The seams should nest. If not, check that the seam allowance on all four triangles is ironed to the darker fabric (in this example they’re ironed toward the red.)
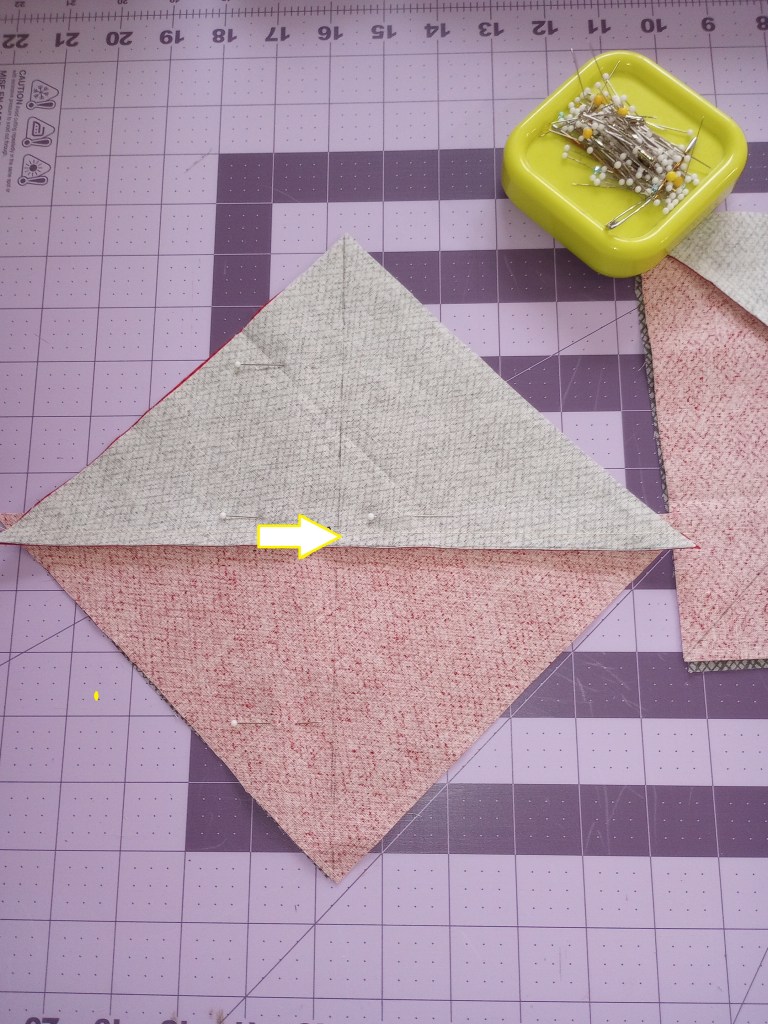
Stitch 1/4″ away from both sides of the drawn line for each pair of triangles. It’s important to ensure the seams are nested as you stitch across them at the middle of the unit. (See the arrow in the above photo.) This will be the center of your hourglass block.
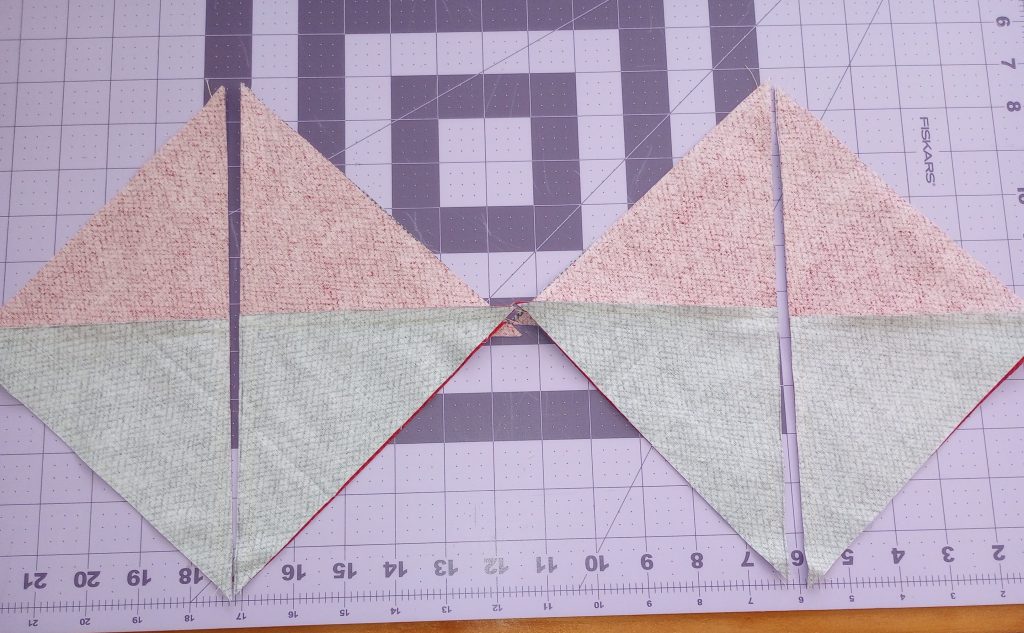
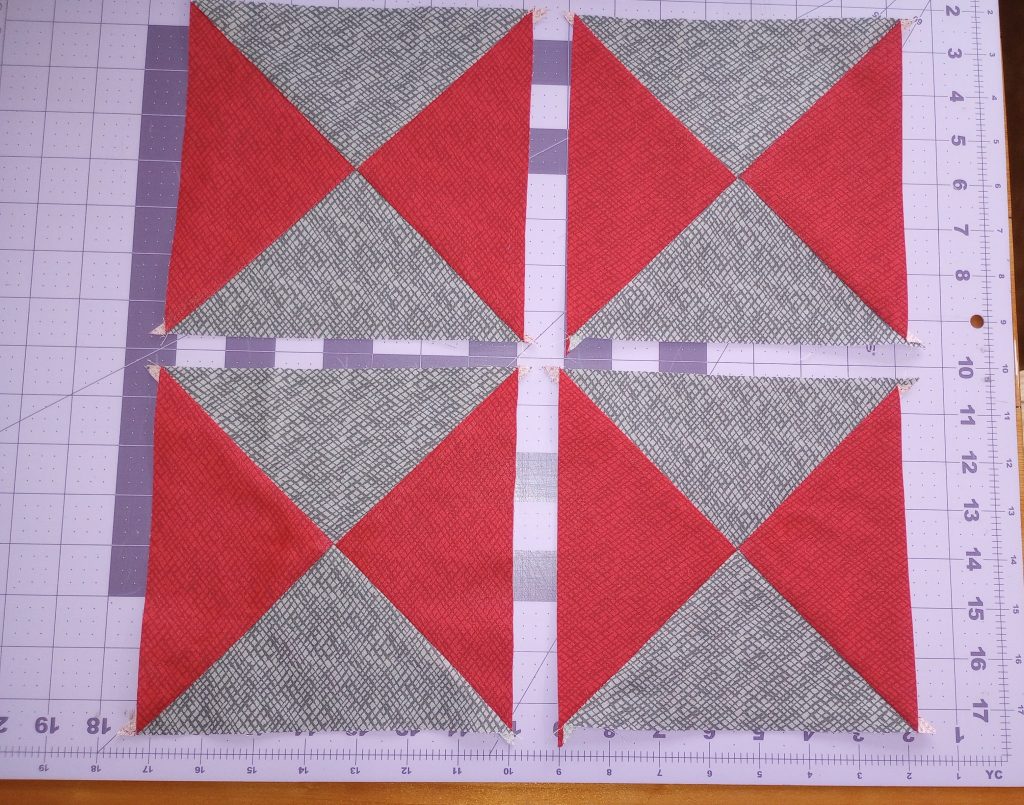
Once you’re happy with your seams, cut the units apart on the drawn lines (between the two lines of stitching) and press open.
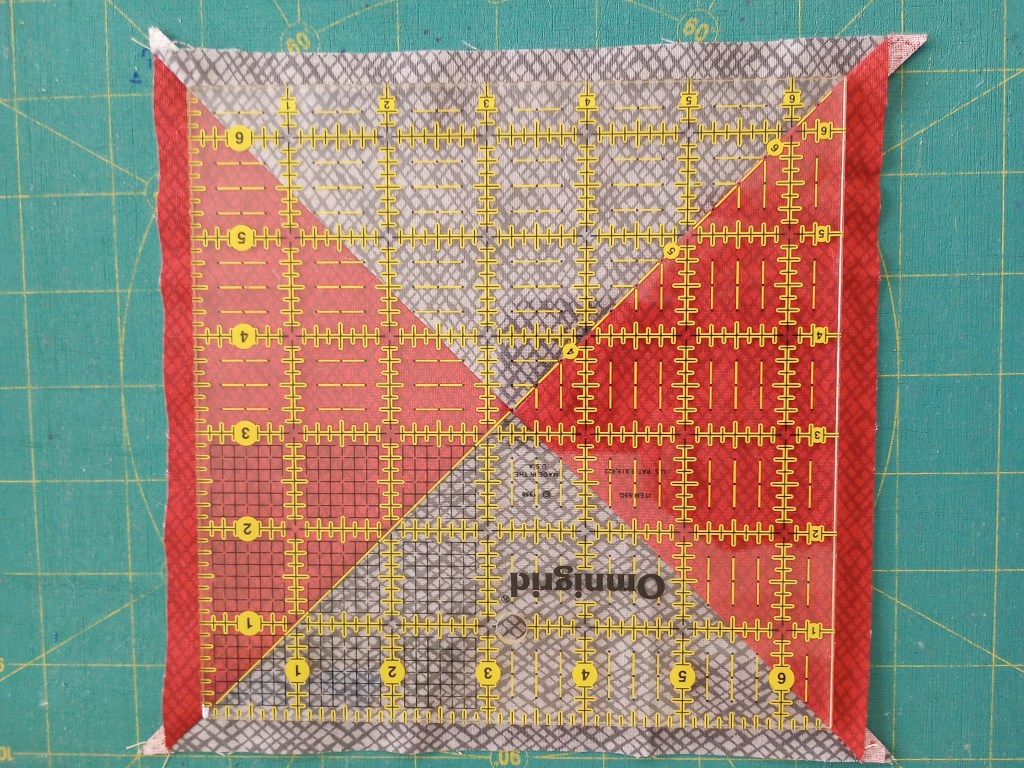
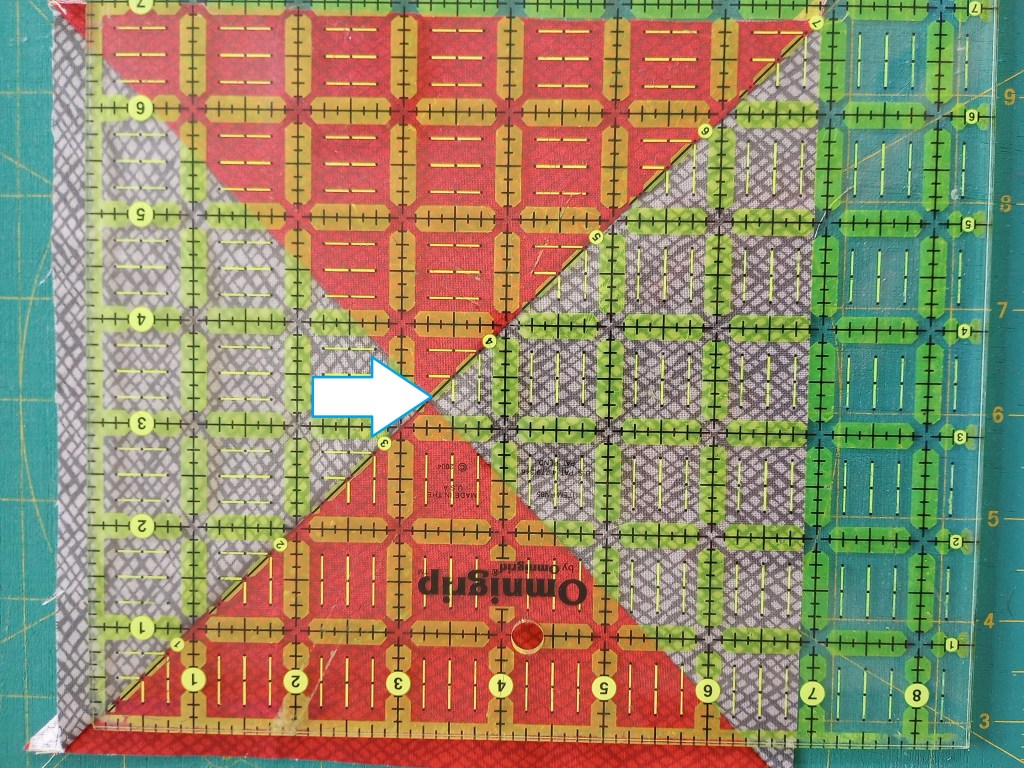
Trim the blocks to 6 1/2″. You can use a 6 1/2″ ruler or a larger ruler will also work to trim the blocks. Begin by lining up the 45 degree line on the ruler along the seam line. Slide the 45 line along the block until the 3 1/4″ mark falls in the center. Trim all four sides of the block lining up the 45 degree line on the seam and the 3 1/2″ measurement at the center of the block each time.
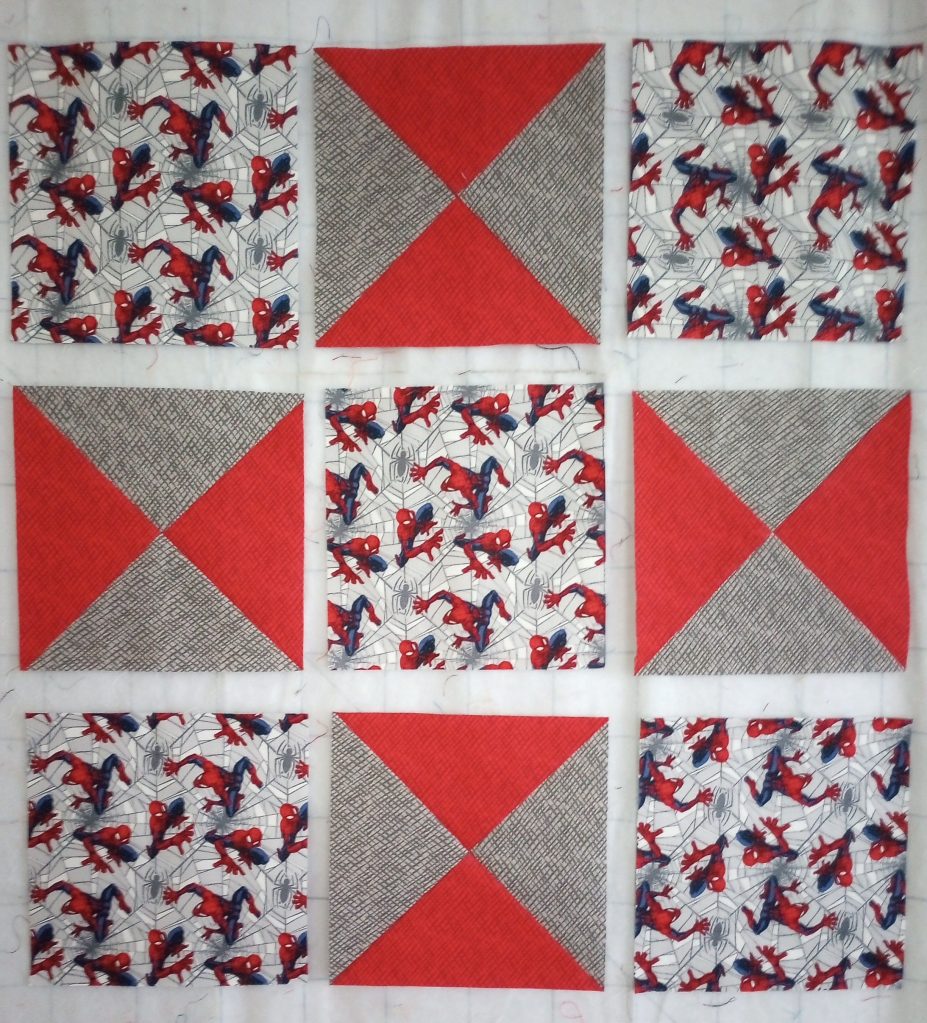
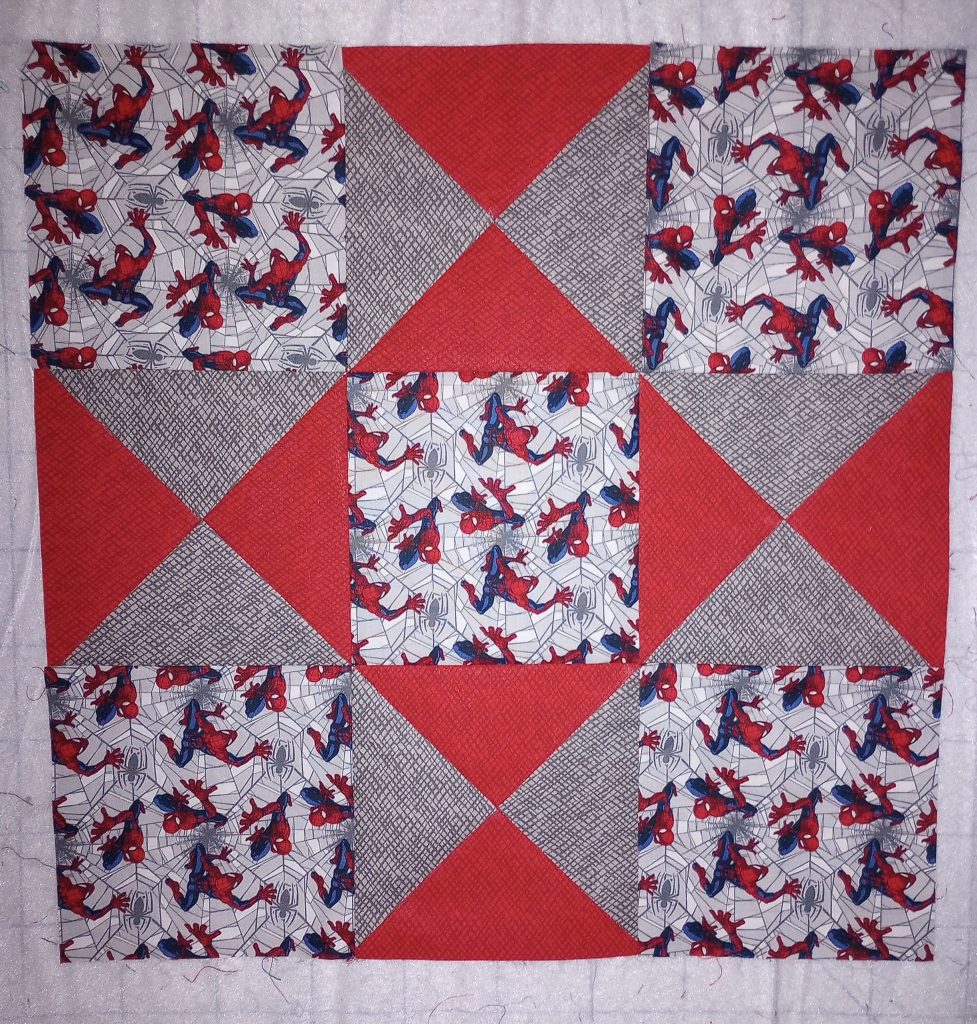
Lay out the 9 blocks as shown or rotate the hourglass blocks if you prefer a different look. Sew the blocks into rows pressing toward the focus fabric squares. Then sew the rows into the finished top.
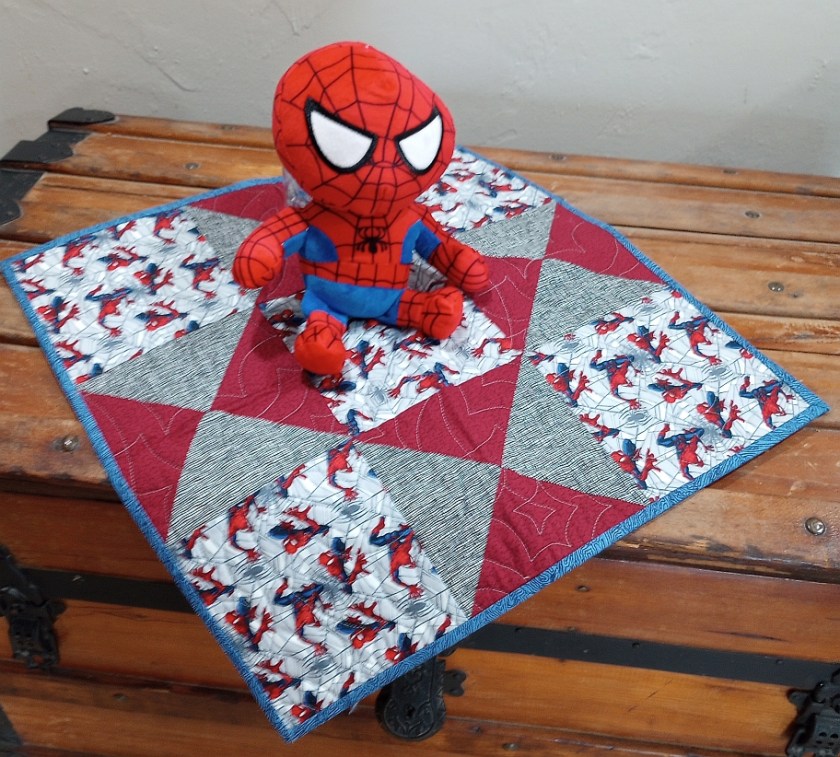
The little quilt finishes at 18″ square and works well with the size Spiderman I chose to use with them. If you use a larger stuffy or prefer a slightly bigger top, simply add a 2″ finished border.
 Time to Quilt