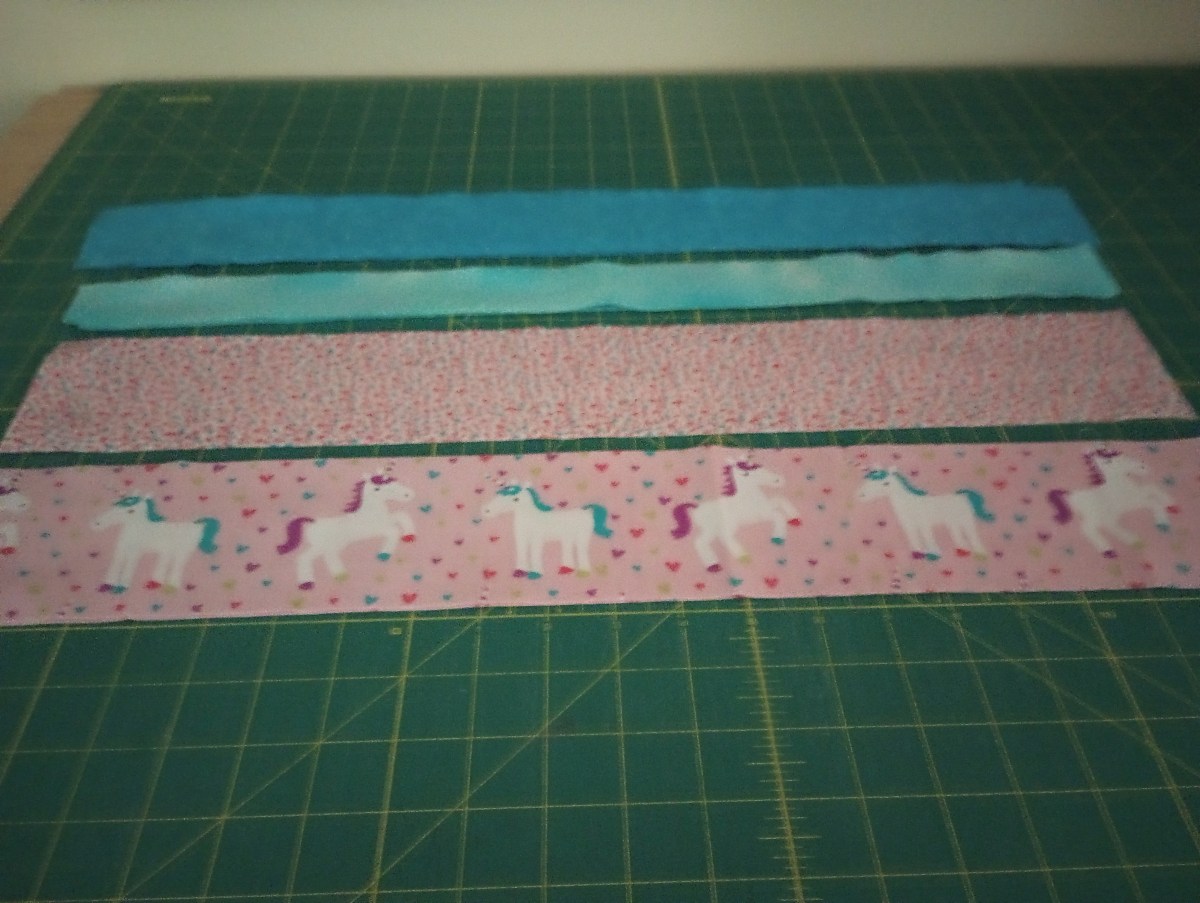
Here are the simple instructions to create the Huggable unicorn quilt top. This is not meant to be a formal pattern and it’s intended for quilters with basic quilting knowledge. I’m sharing it here so you can make one too if you want without having to calculate the math. 🙂
The quilt is based on a free pattern by AZ Blankets 4 Kids called Picture Frames that you can find at this link.
I used width of fabric for some of the pieces and fat quarters for others. To make it less complicated, the cutting info is written as if all the pieces are cut from fat quarters.
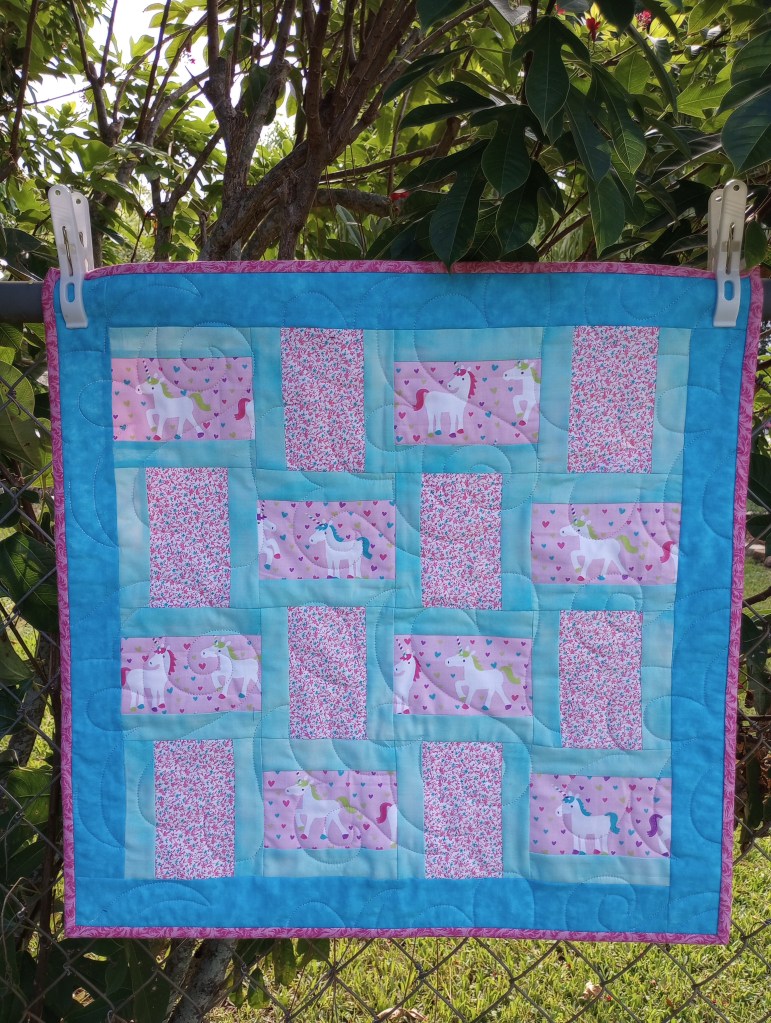
Please note: if you’re using a directional fabric, one of your two prints will be rotated 90 degrees. In this example, blocks made the unicorn fabric will remain horizontal but, the blocks made using pink calico will be rotated.
All strips listed below need to be at least 21″ long. The border is optional, omit it if you plan to use a half width of fabric for the backing.
Cutting Info:
2 strips 3 1/4″ x 21″ focus fabric (unicorn)
2 strips 3 1/4″ x 21″ coordinating fabric (pink calico)
4 strips 1 1/2″ x 21″ framing fabric (light teal)
4 strips 2 1/2″ x 21″ optional border (dark teal)
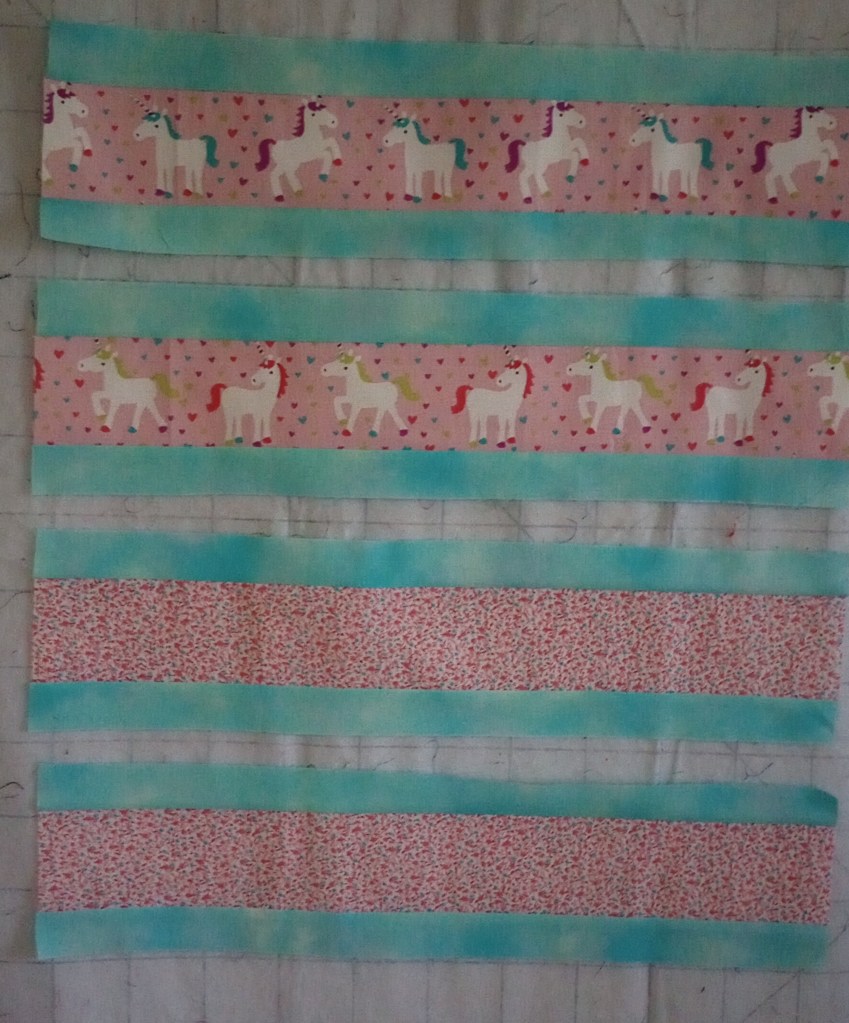
Begin by sewing the 1 1/2″ framing strips to each side of the 3 1/4″ strips.
It doesn’t matter which direction you choose to press the seams. I pressed everything to the framing pieces (the light teal in the example) so the seams nest later when the rows were sewn together.
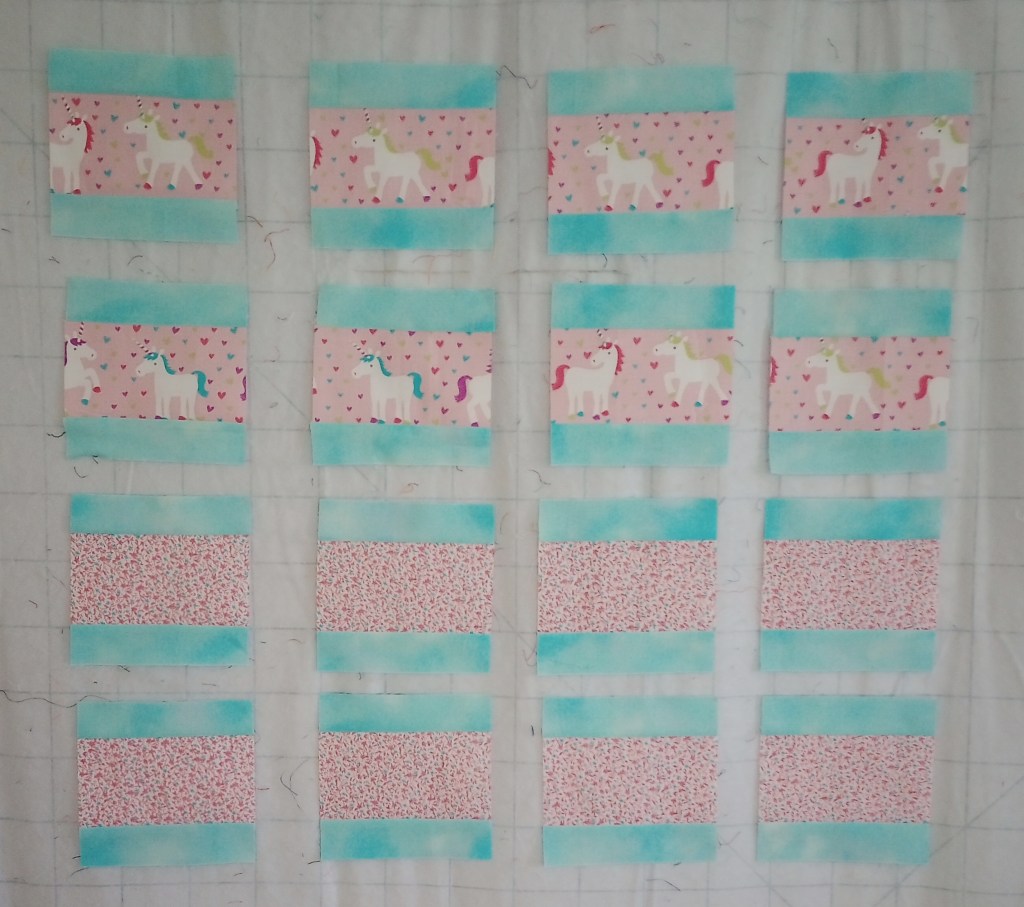
Cross cut each strip set into 4 pieces 5 1/4″ long. There will be 8 squares from the focus print and 8 squares from the coordinating print.
Depending on your quarter seam accuracy, the units should measure 5 1/4″ square.
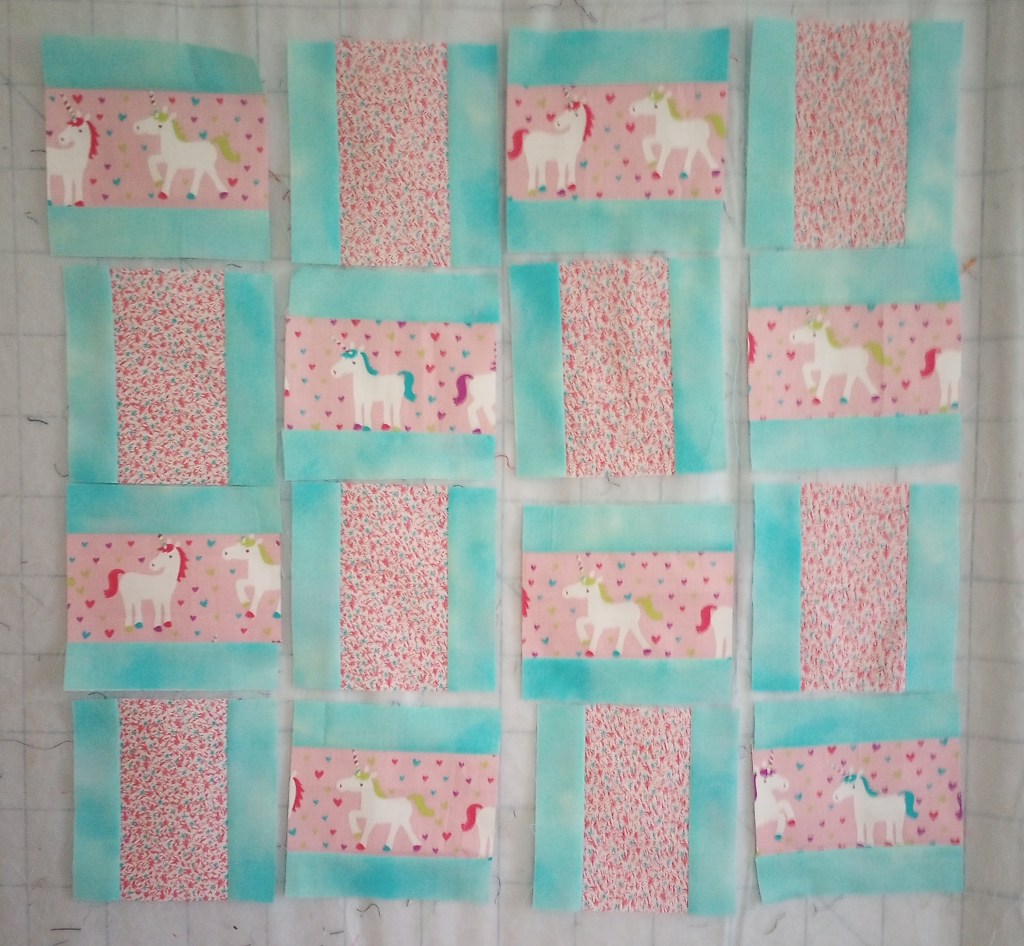
Arrange the blocks as shown, 4 blocks across and 4 blocks down. Notice that all of the blocks with the calico print were rotated so they’re now vertical. All of the blocks with the unicorn print remained horizontal.
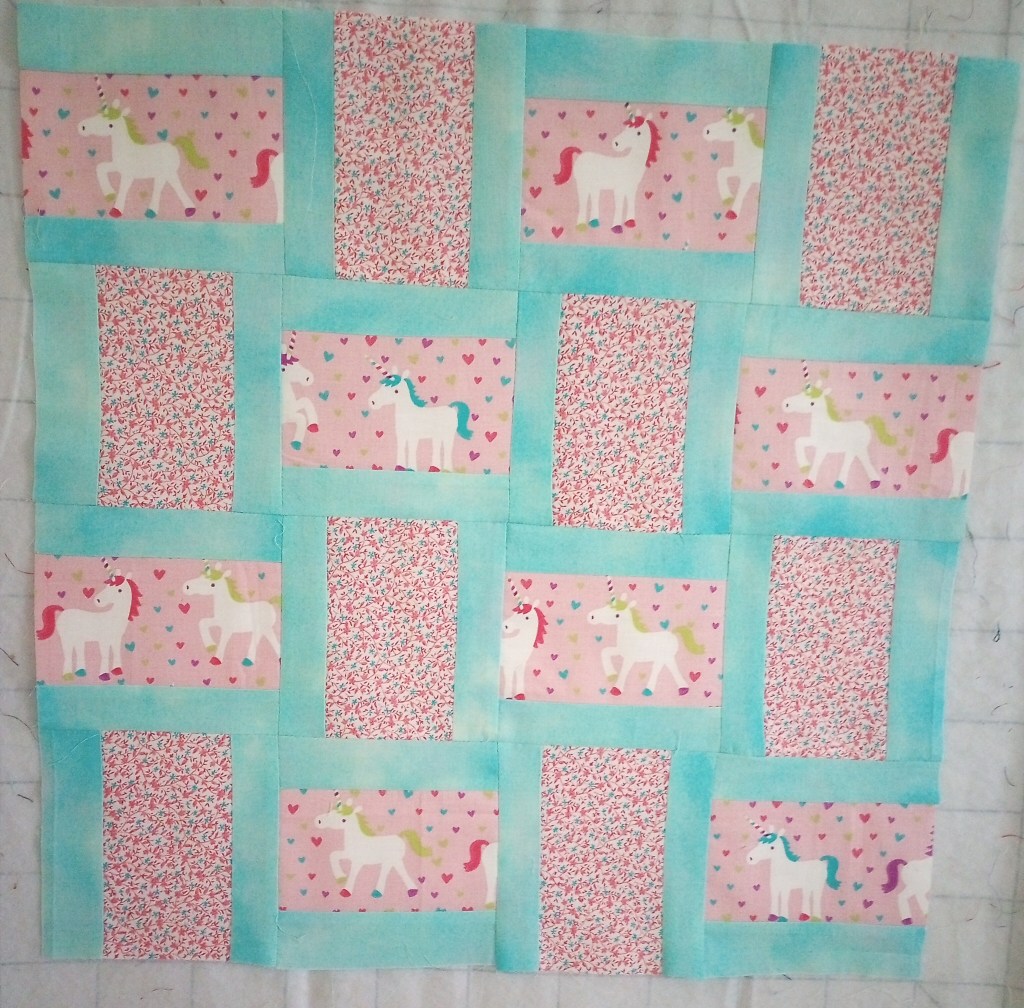
Sew the blocks into rows and then join the rows. The top measures 19 1/2″ square at this point.
If you wish to conserve backing fabric, stop here. You can cut it on the fold for a half width, saving the other half for the next little quilt.
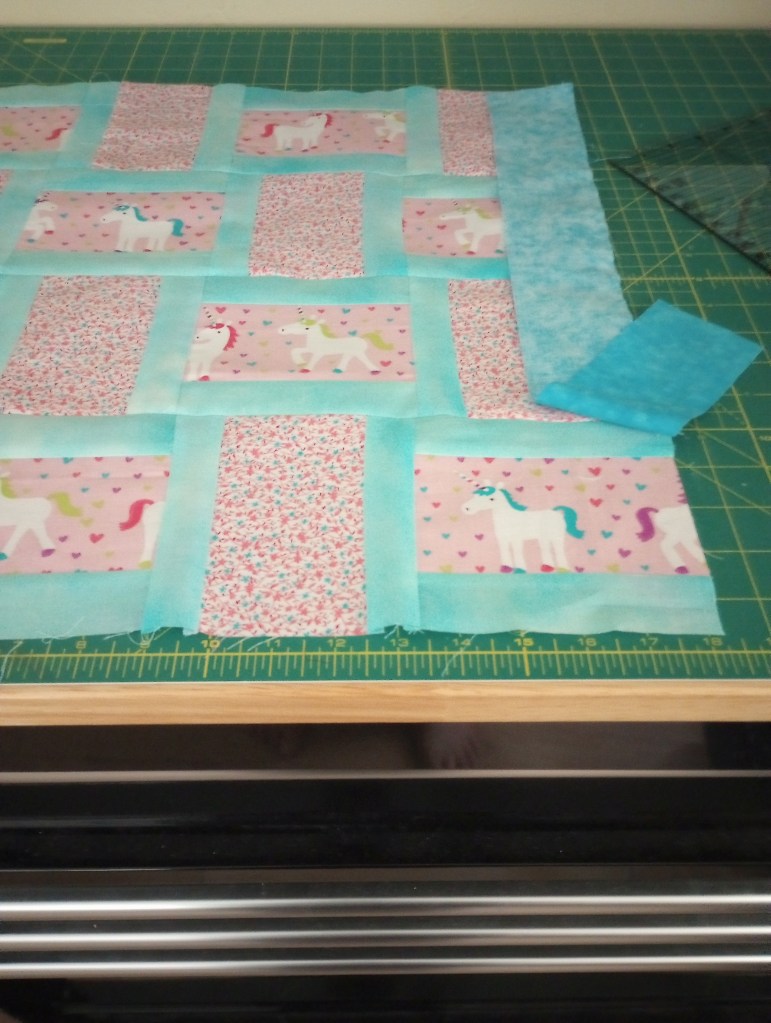
To continue with the optional border, begin by sewing the first 2 1/2″ wide strip to the right side of the quilt top.
Stop sewing a few inches from the end. (The remaining length will be longer than the quilt top. Don’t trim it off!)
This partial seam will be completed after all the border strips have been attached. This first border strip is the only one sewn with a partial seam. The other three borders will be sewn all the way to the end.
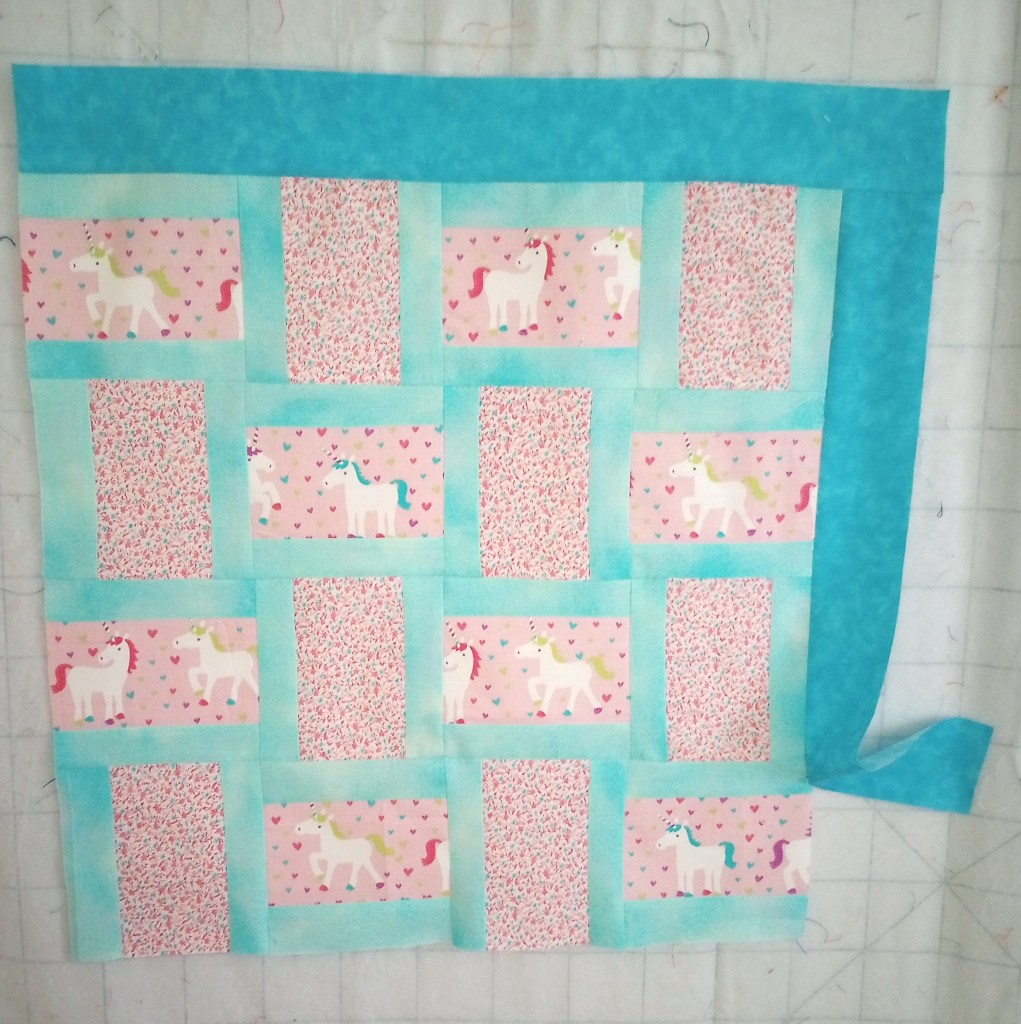
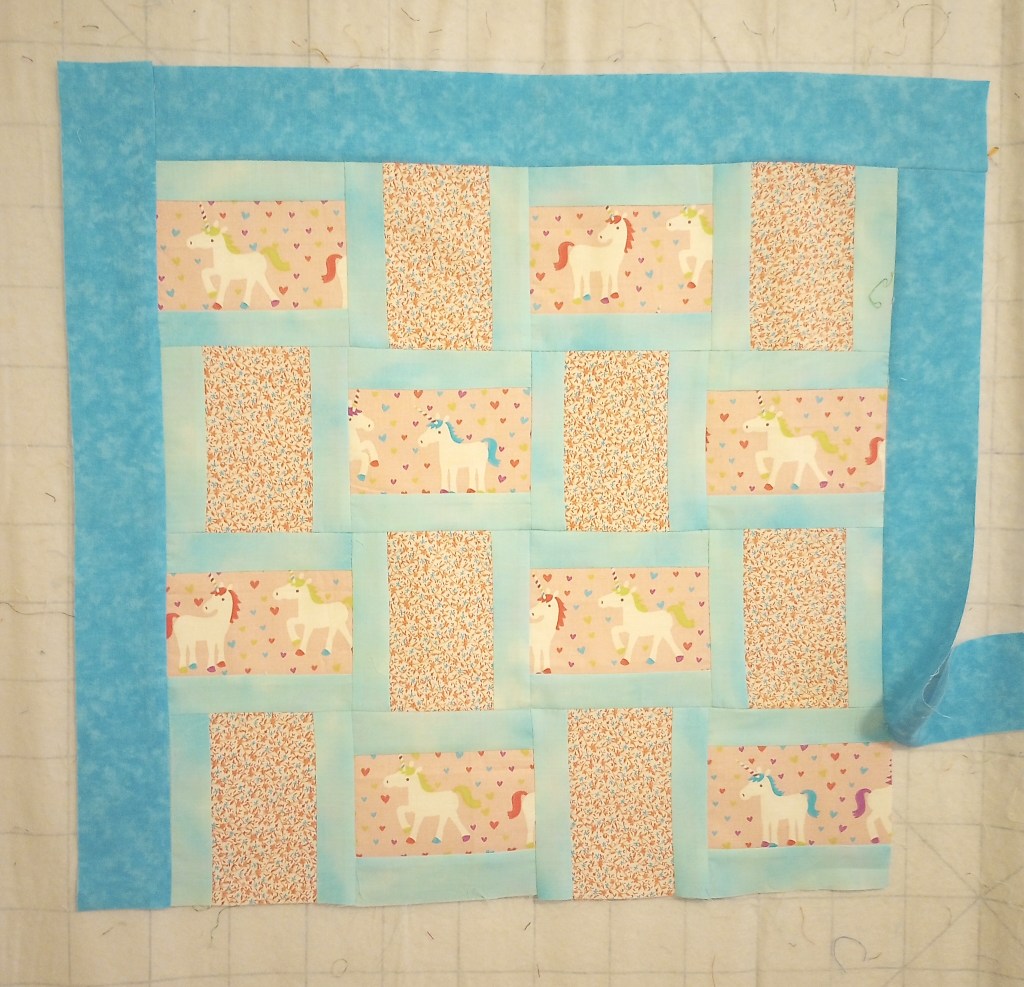
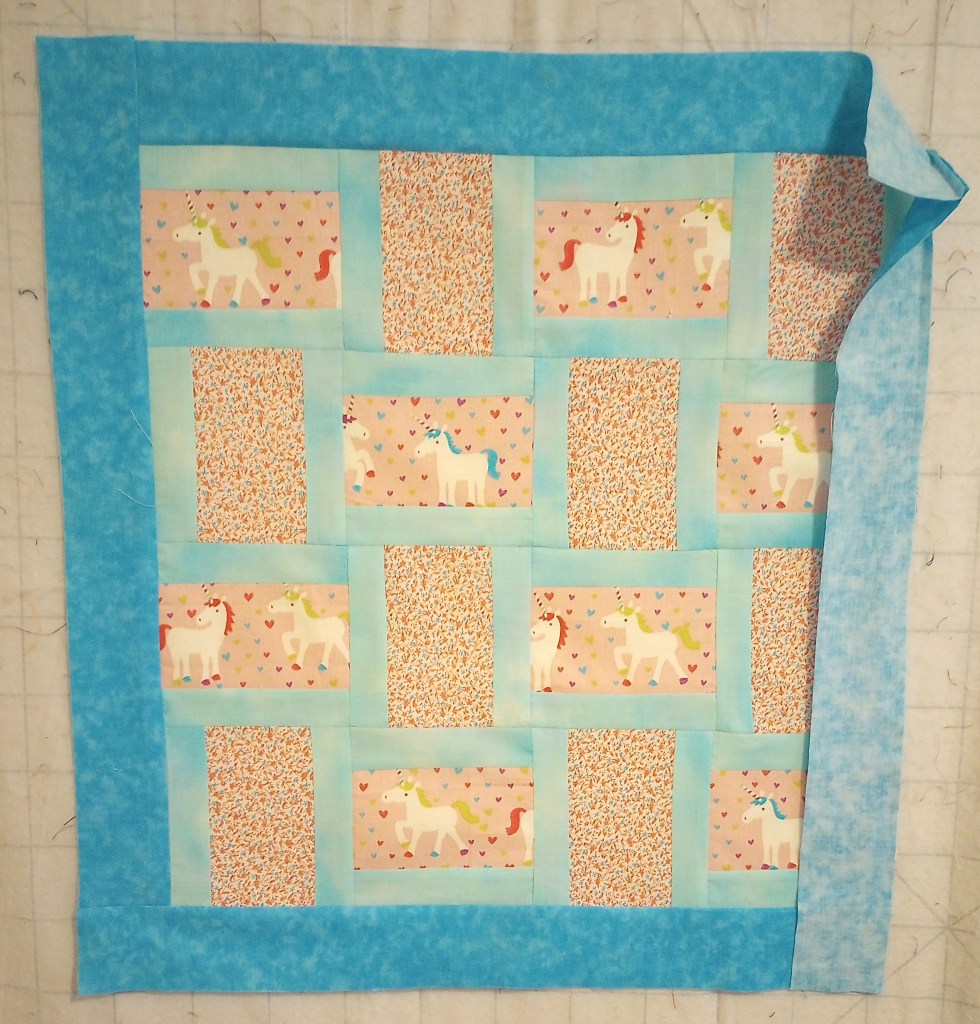
Press the seam open and add the remaining border strips in the order listed below, pressing each seam open as you go.
- Top border – Figure 1
- Left side border – Figure 2
- Bottom border – make sure that tail end from the partial seam right border is out of the way. – My apologies for neglecting to take a photo for Figure 3
- Lay the partial seam tail end of the right border fabric in place and finish sewing the partial seam all the way to the bottom. (Stitching across the previous bottom border strip.) – Figure 4
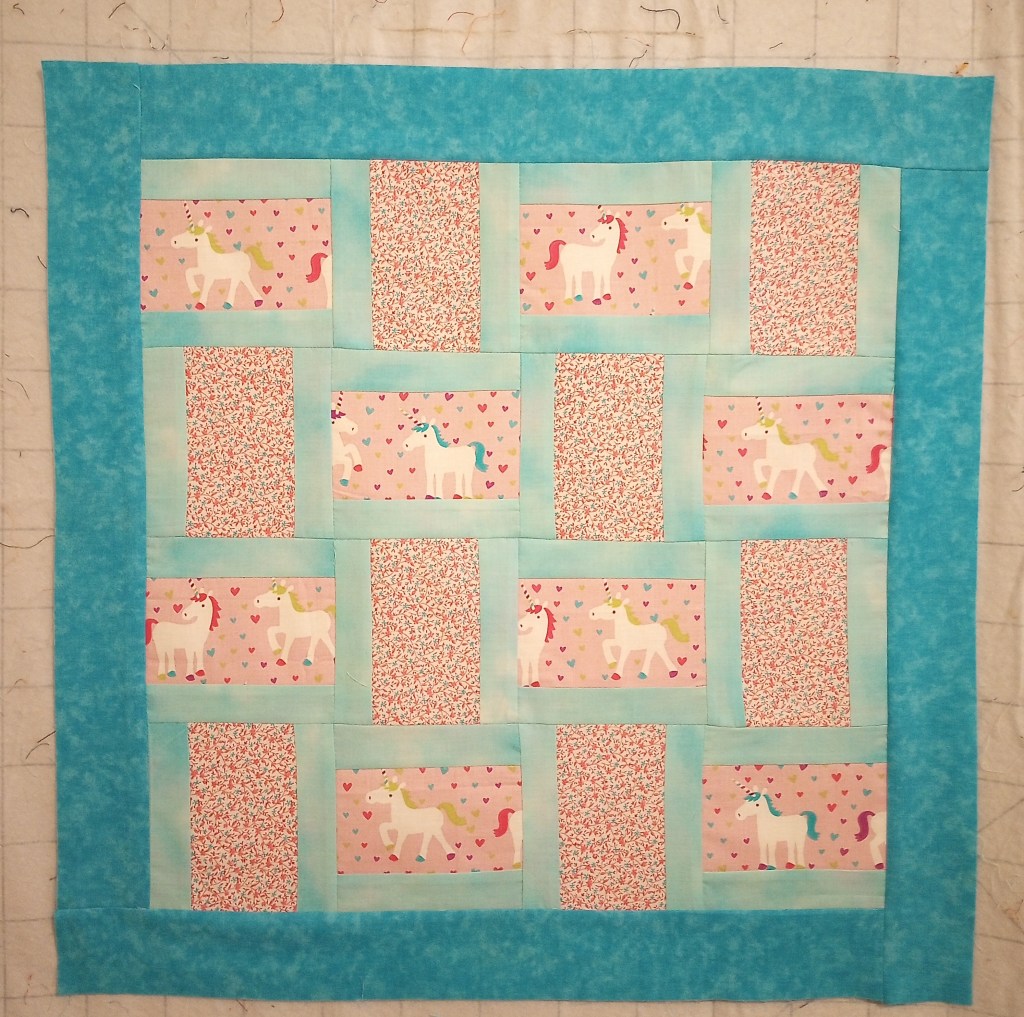
Your little top is complete and should now measure 23 1/2″. ♥
Consider experimenting by using all the same print for the 3 1/4″ wide strips (rather than two different ones), or by using two different sets of the 1 1/2″ framing strips (one set for the horizonal blocks and one set for the vertical blocks) to highlight the woven look. I plan to try this option next time!
This is always a fun design to make and I hope you enjoy making it as much as I did!