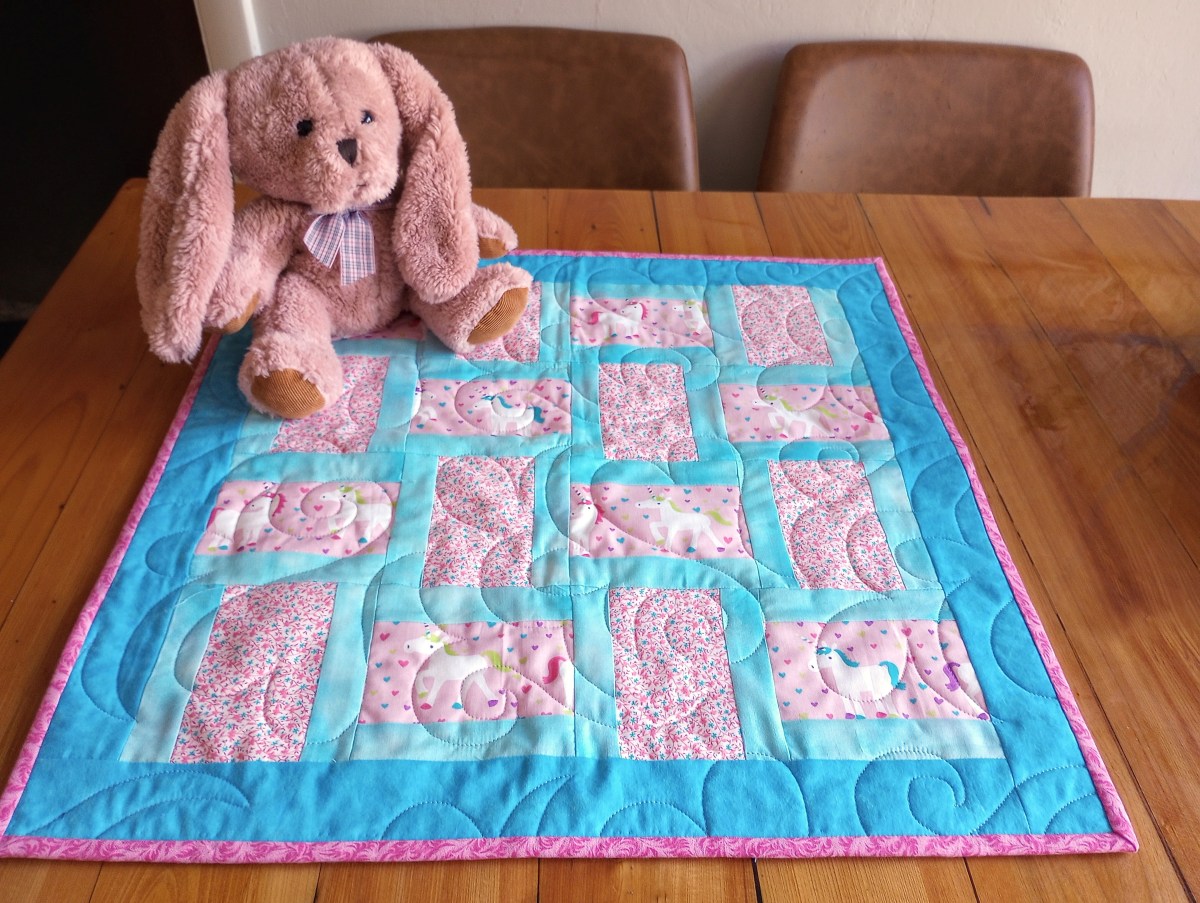
I love making these little quilts! I’m glad I finally started, even though it took me a while. Mary has been making them for years, and you can find many ideas on her blog at this link. If you scroll to the bottom, she shows how to bundle them for donation.
I’m calling them “Huggables”. Our quilt guild is joining me in making them to donate to the sheriff dept, fire rescue, and the state’s Division of Children & Family services. The guild also has other small quilt projects, like the yearly challenge and themed quilts for events. Giving this project a name, rather than calling it “little quilts” ensures the quilts paired with stuffed dolls and animals won’t be confused with any of our other little quilts.
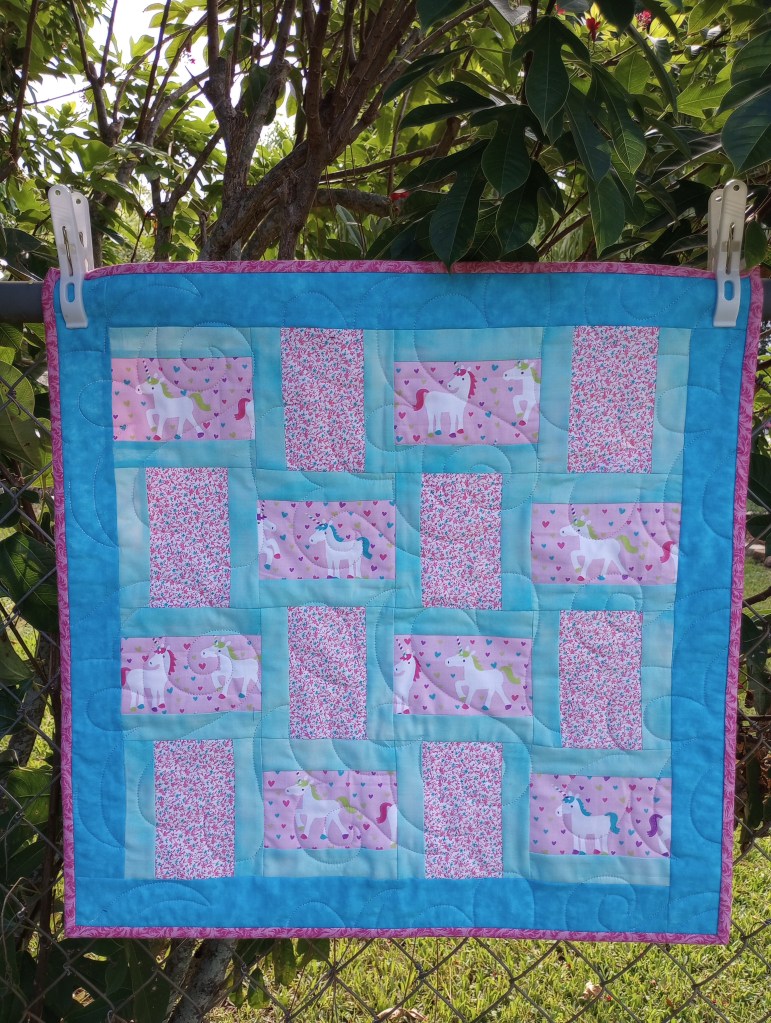
This little quilt is loosely based on the 3 Yard Quilt pattern by the Fabric Cafe called Brick Street. The original pattern finishes at 49″ x 59″ and has been a favorite of mine for several years.
My revised version finishes at only 23″ square.
I sliced off a quirky 3 1/4″ strip from the cute unicorn print and from the pink calico. After making strip sets with 1/2″ teal pieces, I cross-cut the sets into 5 1/4″ blocks because, let’s be real, who doesn’t love a good challenge with odd dimensions? I managed to squeeze out 8 blocks from a single 42″ strip set of each print (and yes, it also works with fat quarters if you cut two strips each ).
At first, the idea was to cut 3 1/2″ strips and then 5 1/2″ blocks, but alas, that plan would only yield 7 blocks from each strip set! Not the 8 I was dreaming of… since most of my ideas initially start while I’m sleeping. It’s pretty disappointing to wake up and find, that after all the work in my sleep, the quilt hasn’t even been started much less finished! 😦
Sure, I had enough fabric for a second strip set, but I didn’t really like the idea of tossing the left over strip sets into the scrap bin. I decided to channel my inner mathematician for a quick re-calculation.
If ya wanna be a quilter – you better love math! 😊
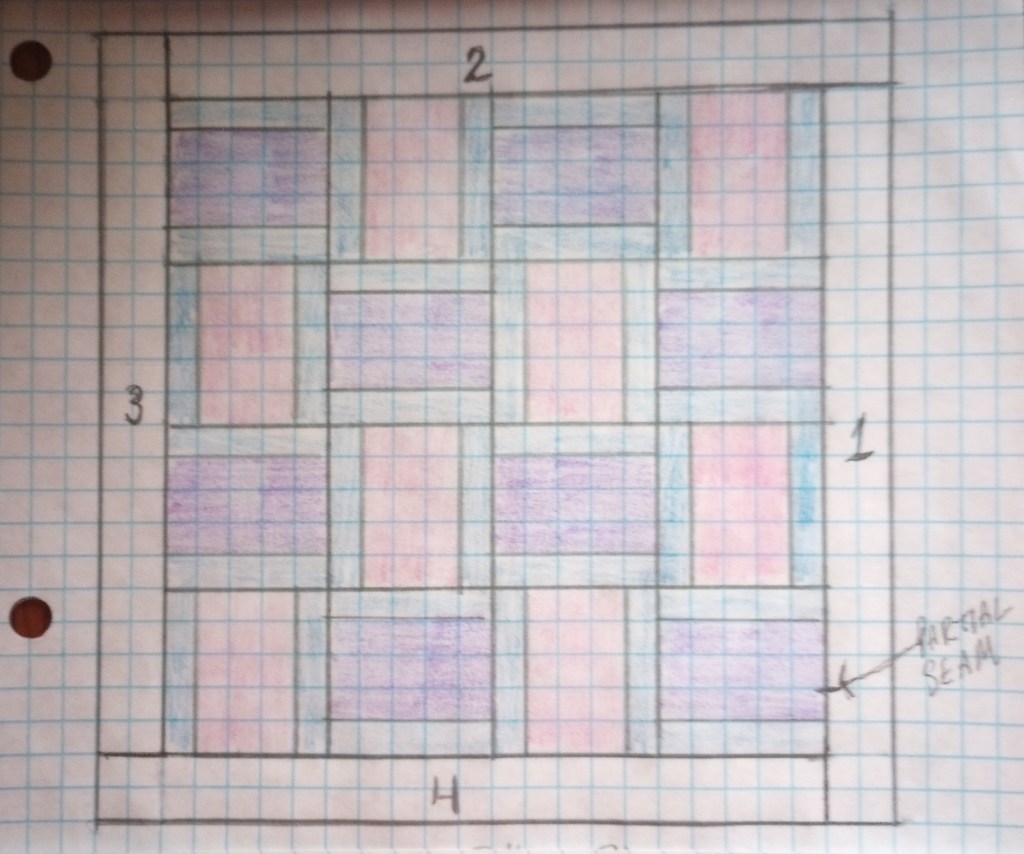
This is my rough diagram. If you notice, the borders were added counter-clockwise rather than sides and top/bottom pairs:
- Right side
- Top
- Left side
- Bottom
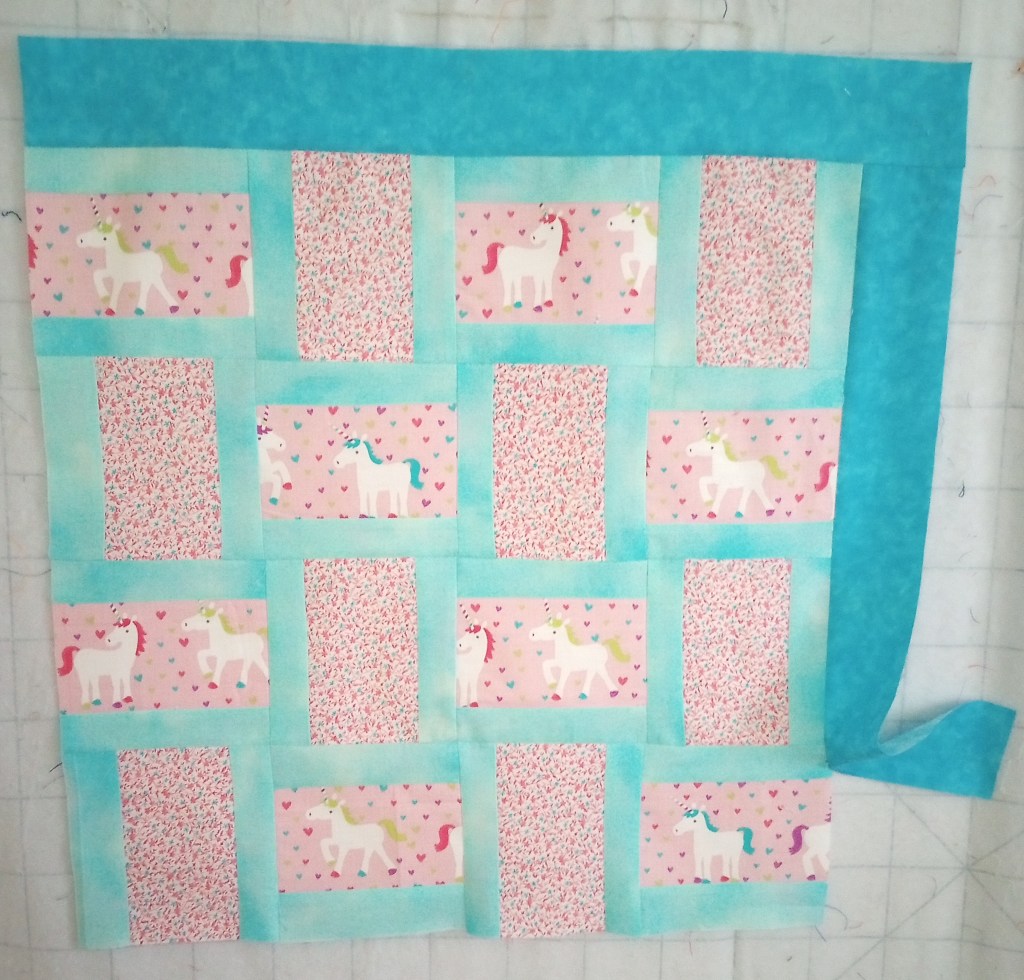
The first seam is a partial seam. Once you add the last border (on the bottom) you go back and complete that first seam on the right side border.
It also allowed me to maximize the 2 1/2″ strips for the border since all four borders were cut from only two strips of fabric. (Luckily, the border fabric was 43″ wide.)