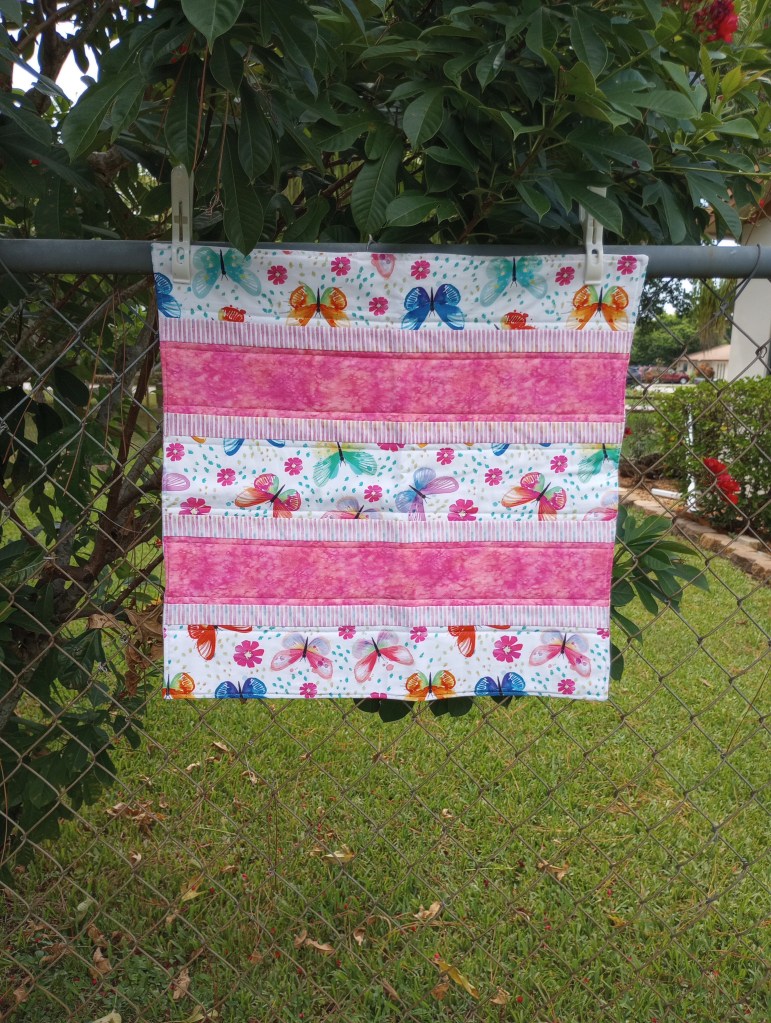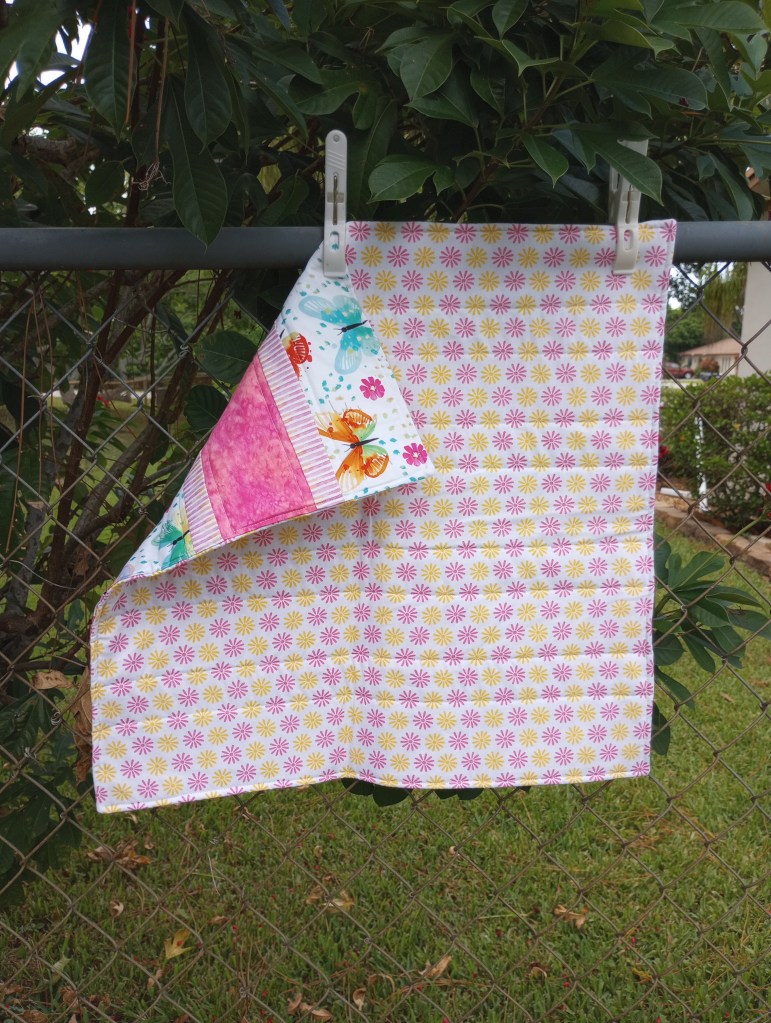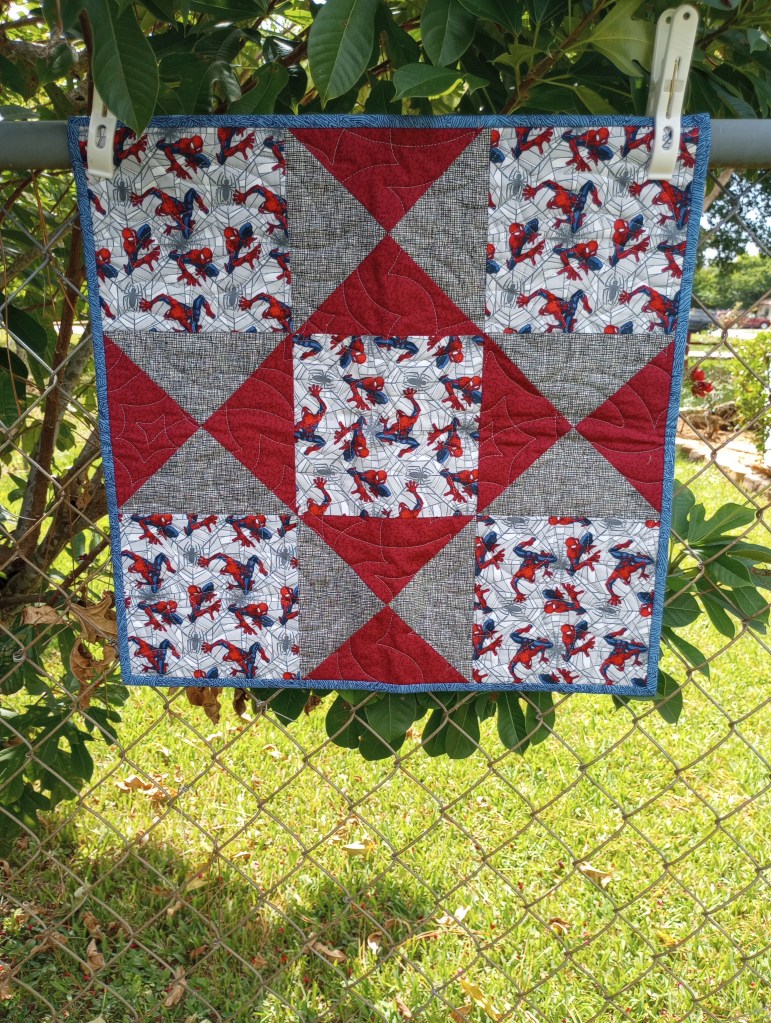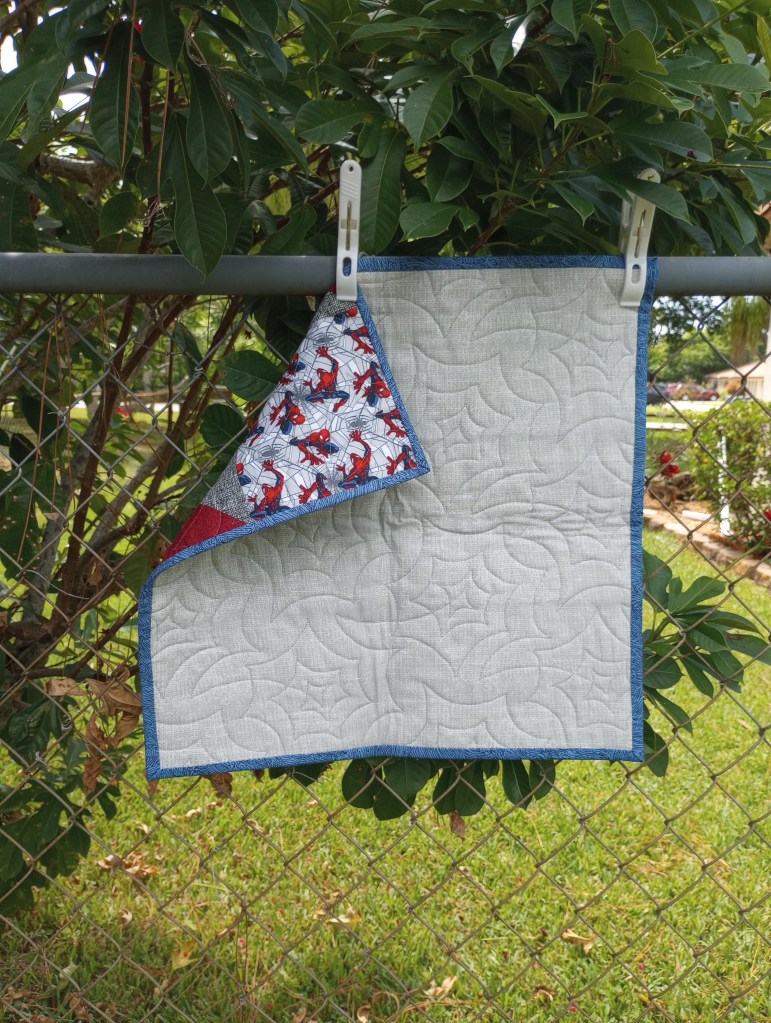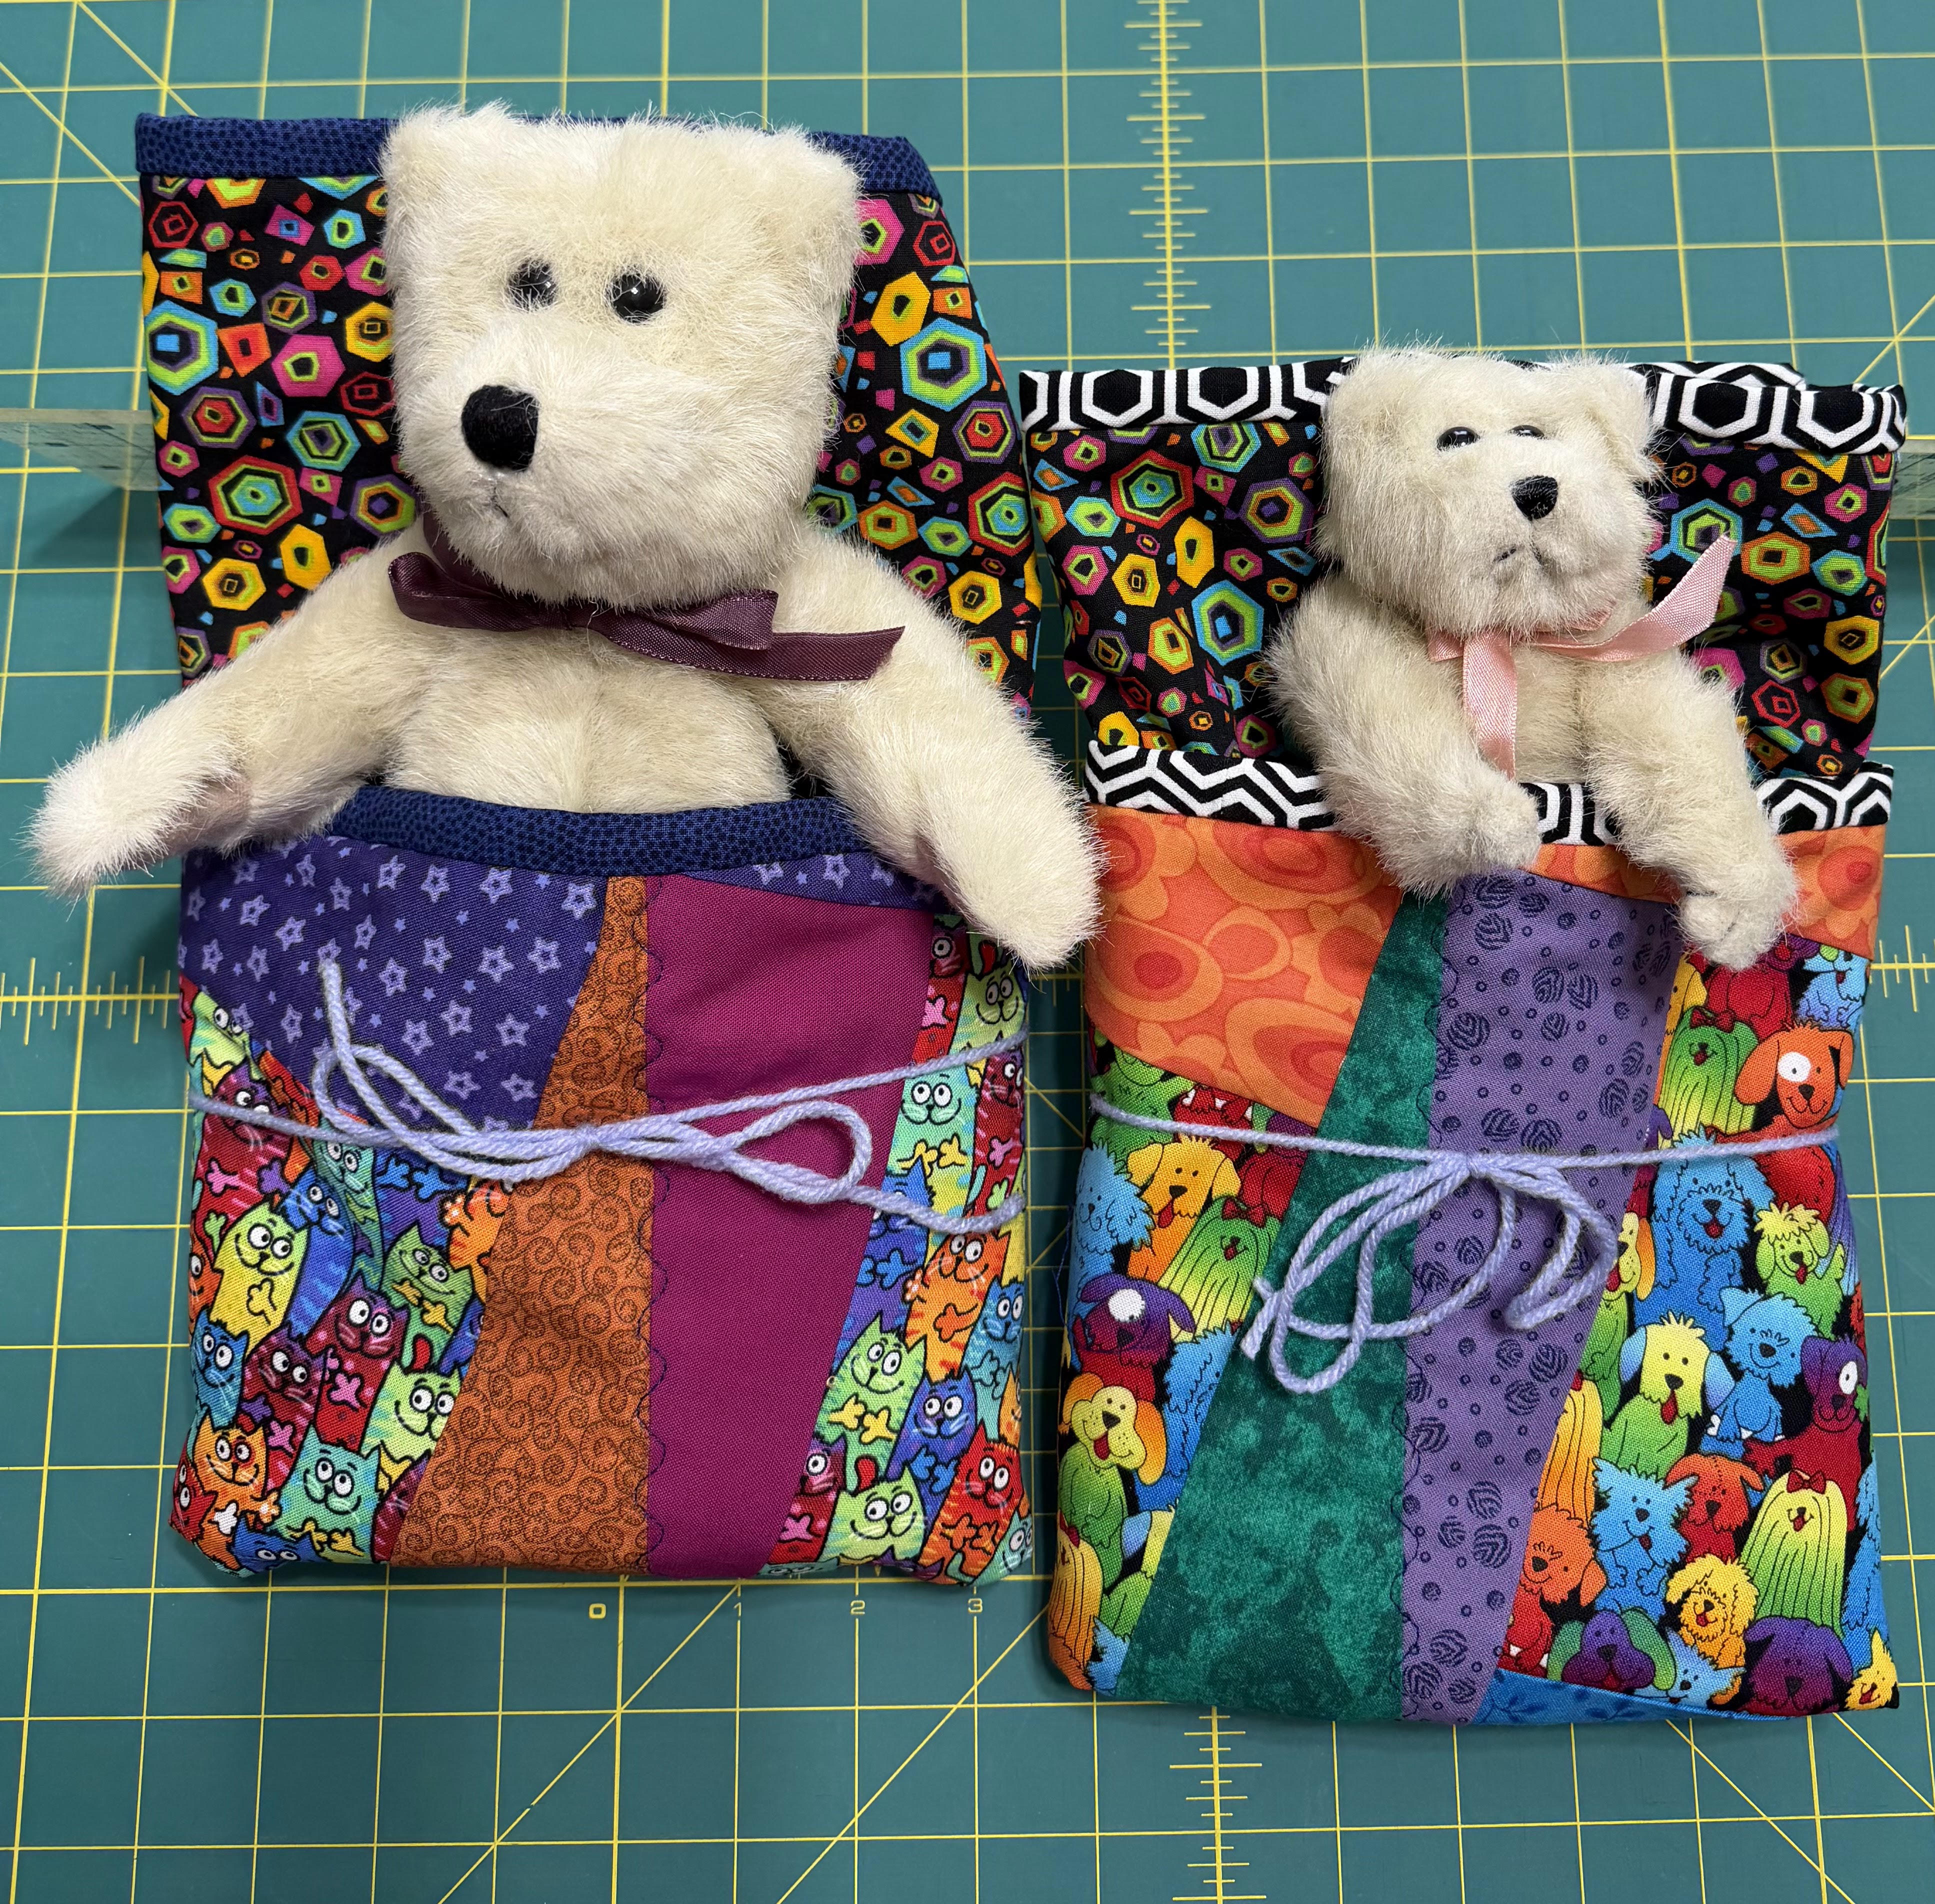
The “why”

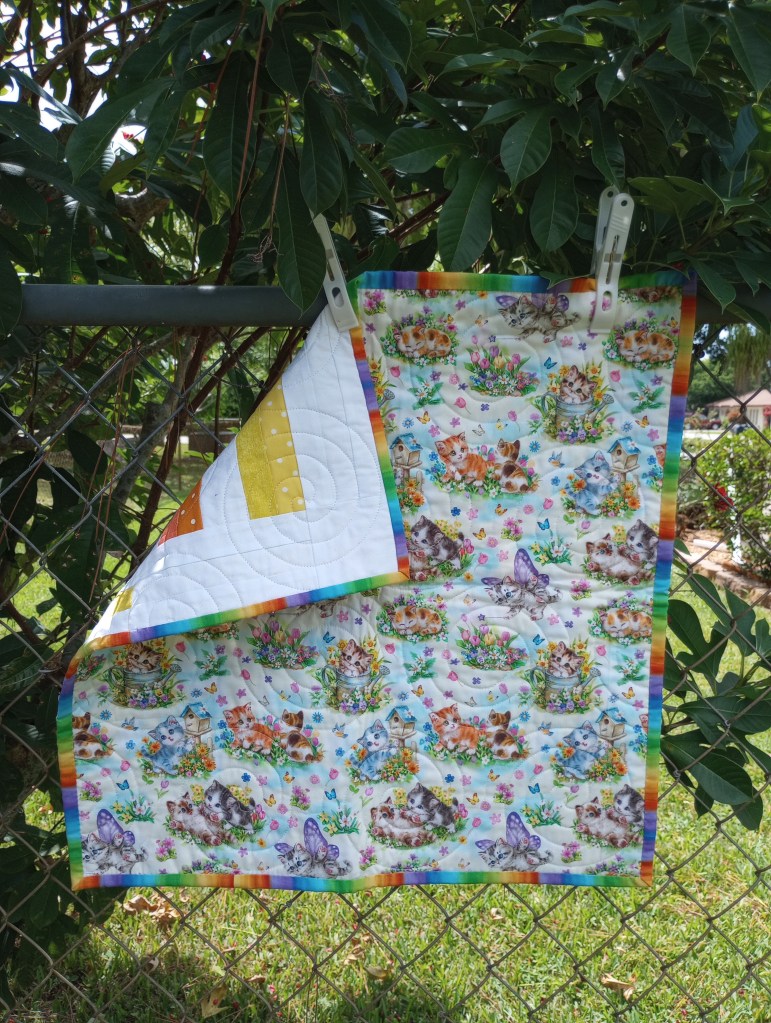
The photo is to capture your attention. Now that it has, I really hope you’ll read this post through to the end. I posted this to our Facebook group Quilts Pieced With Purpose. I know I have friends worldwide who share my passion for this project who are also doing their best. Thank you to all of them who told me about what they’re making, where they’re donating, and most of all, why it matter.

There was a news story last night about 163 abused and exploited children found in Florida and recovered in an ongoing sting operation. They ranged from 2 months old to 17 years of age.

I want to say something about the little quilts we’re making for our Huggables project because our next donation will be to DCF (Florida Department of Children and Family Services) once we get confirmation on the number they’d like to receive.

Our little quilts may not go to the children in the news but, they will be going to children who are being housed. Most of them are likely to have been removed from their homes because of neglect or abuse. Many of these children have already experienced what it feels like to be treated as though they aren’t as important or deserving as other children.

I feel very strongly that we should not, even unintentionally, reinforce that message.

So, what does that mean?

These little quilts don’t have to be perfect, and they certainly don’t have to be elaborate. But I do believe they should be made with care and be something we would be proud to give to a child. The child may never know whether a quilt was made with a carefully chosen pattern and fabric or simply from fabrics we wanted to get rid of—but WE know. And the counselor who puts that quilt into a child’s arms knows.

What we are making is more than a little quilt wrapped around a stuffed animal. It is one small way of saying to a child, “YOU MATTER!”. “YOU ARE WORTH CARING ABOUT!” Someone took the time to make something special for you.

So please, when choosing or making a quilt for this project, think about the child who will receive it. Let’s give them our best—not because anyone expects perfection, but because 𝒕𝙝𝒆𝙮 𝙙𝒆𝙨𝒆𝙧𝒗𝙚 𝙤𝒖𝙧 𝙗𝒆𝙨𝒕.

I hope you’ll feel as strongly about this project as I do. I would love for us to be able to look at every Huggable we give away and know that it was made with the love, respect and care these children deserve.
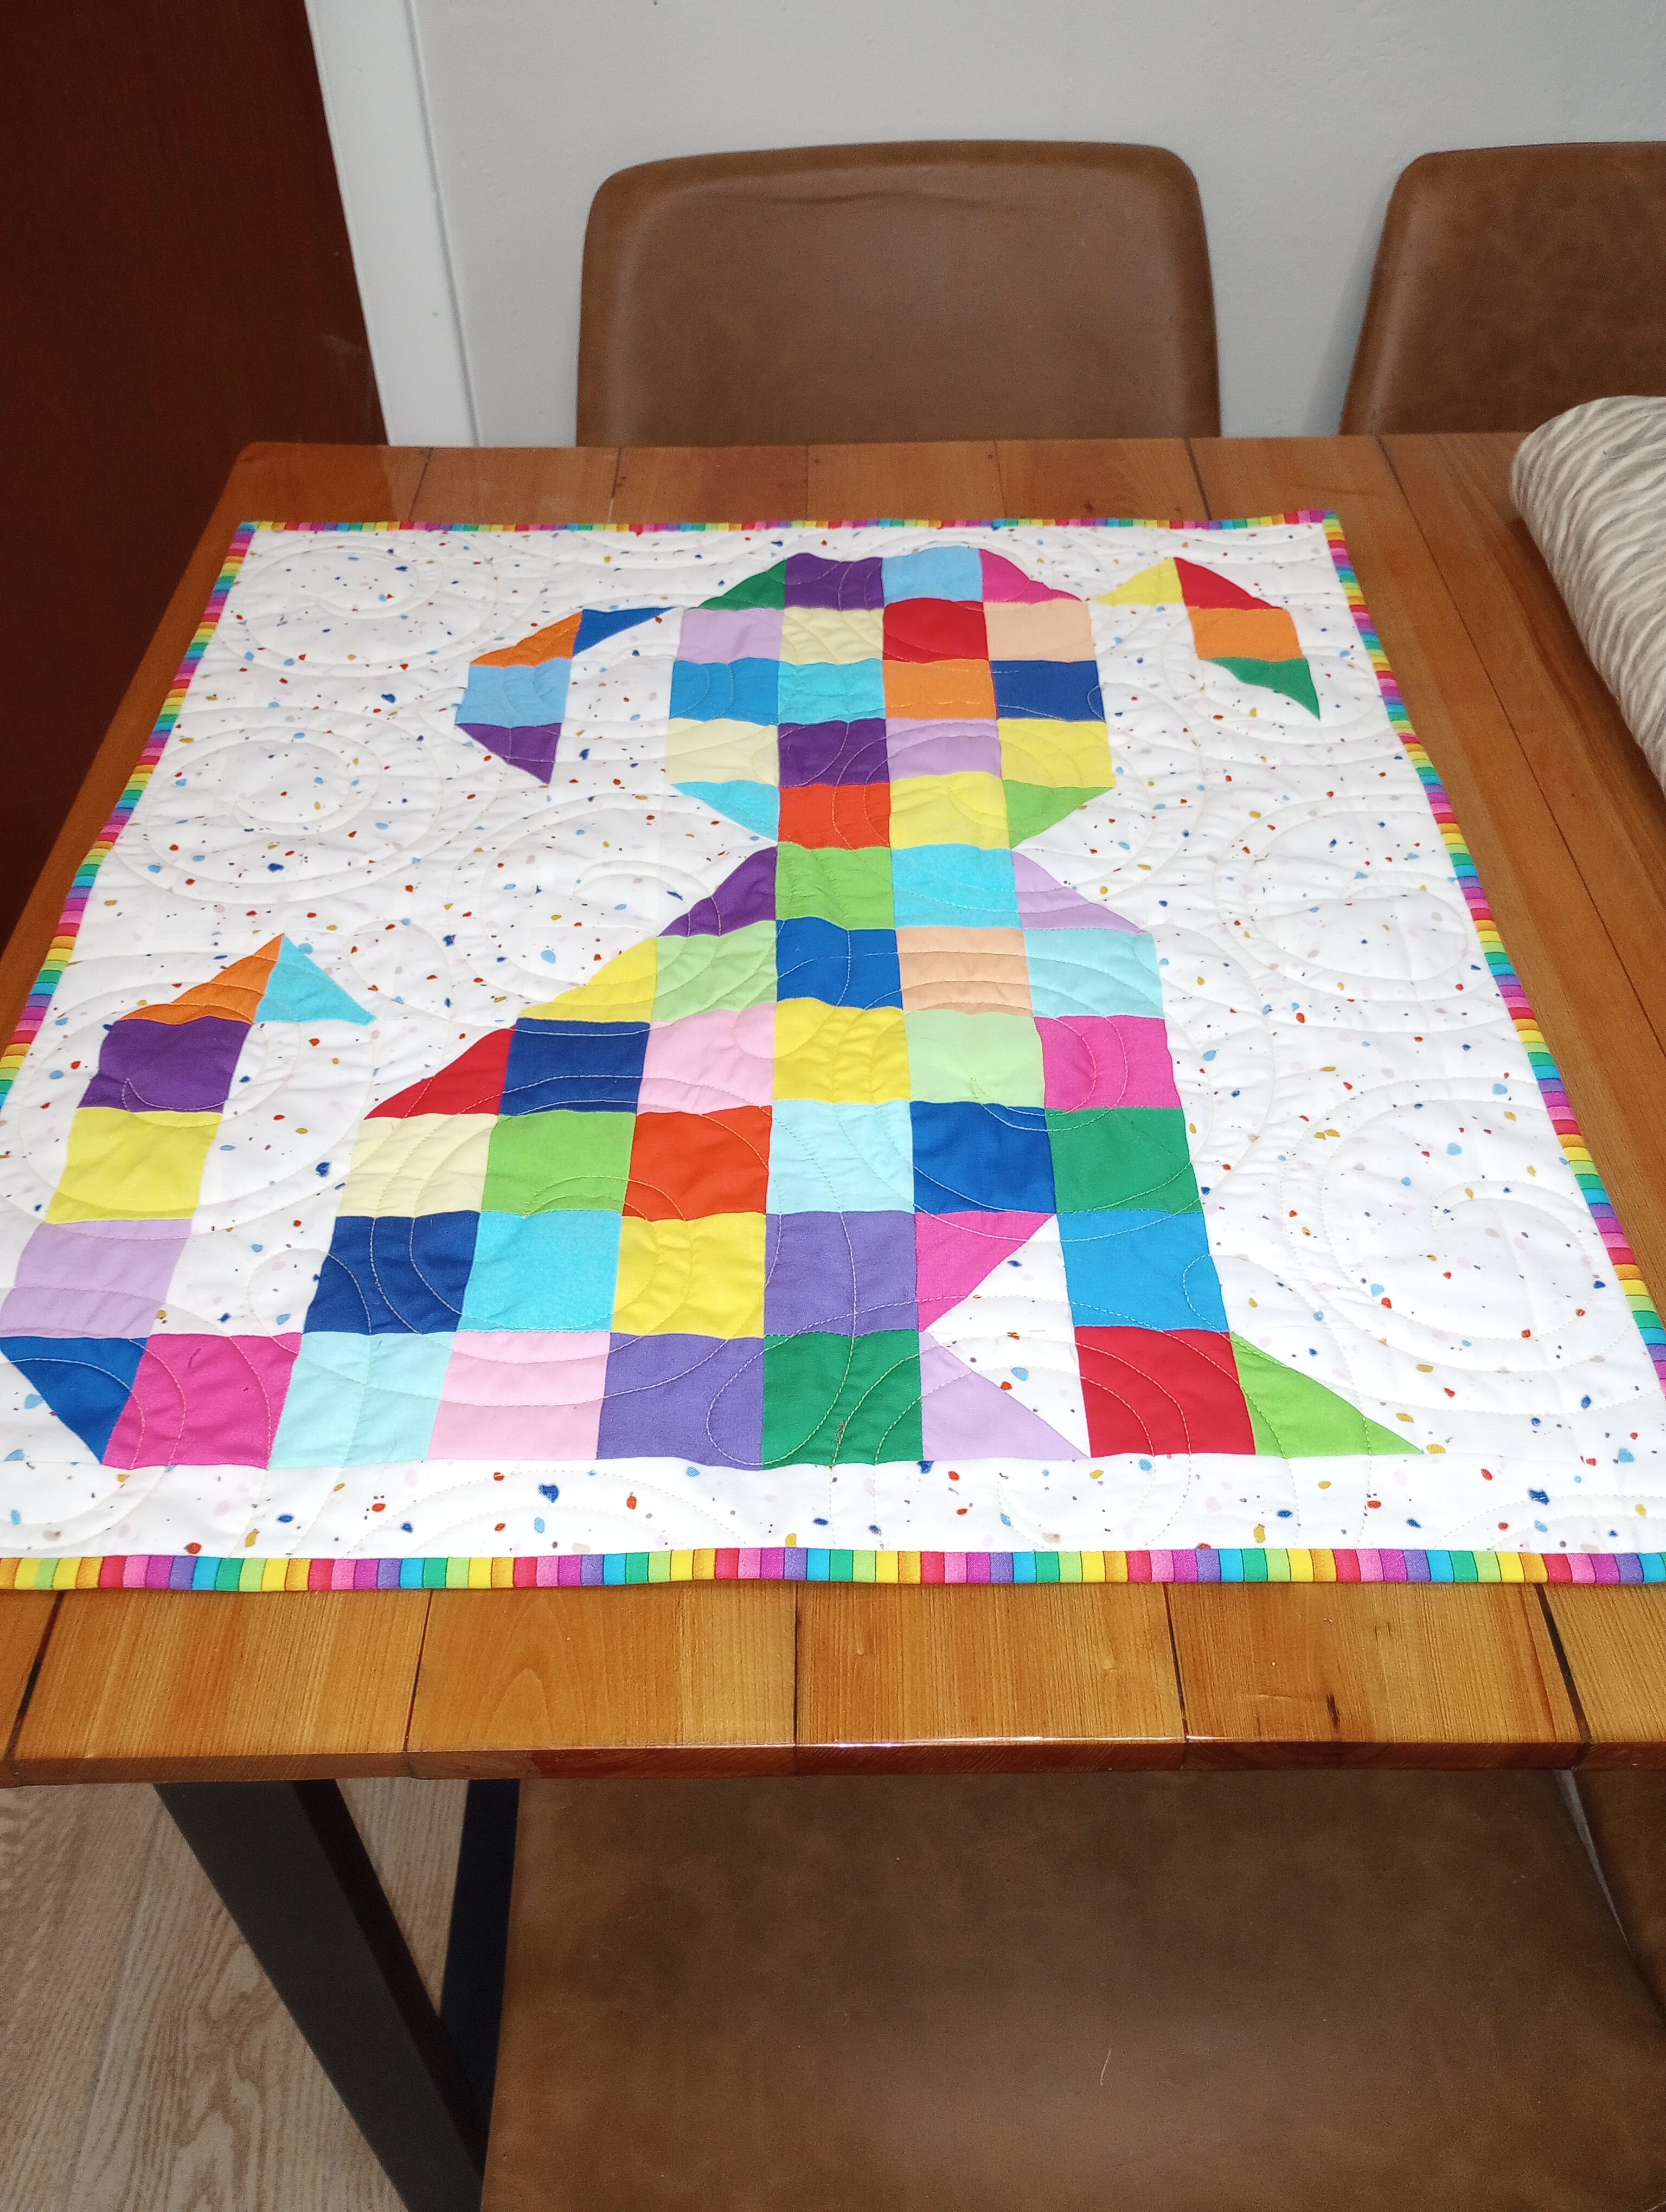
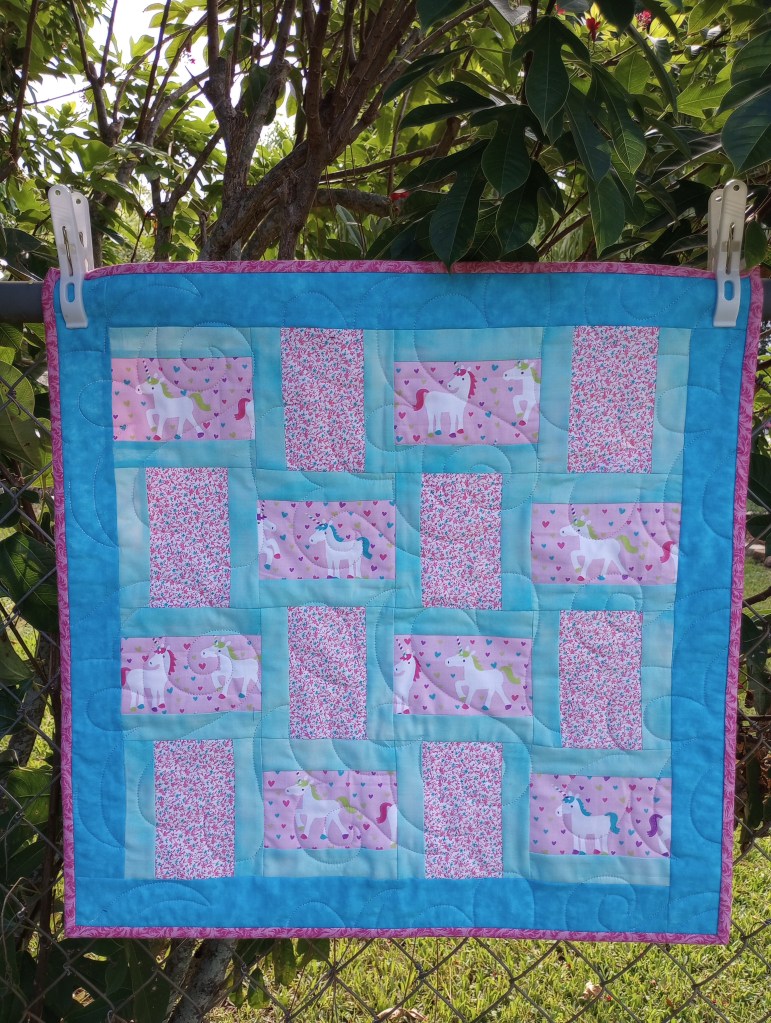
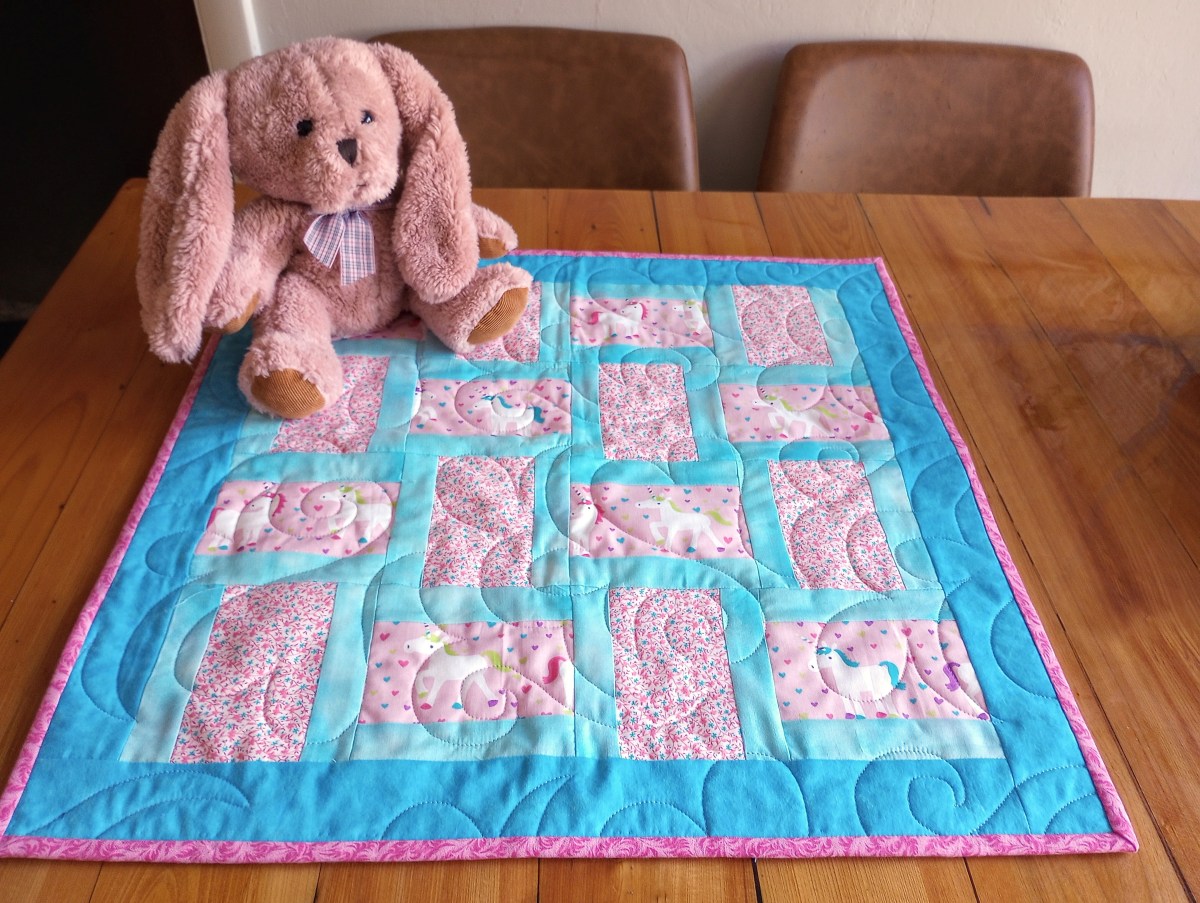
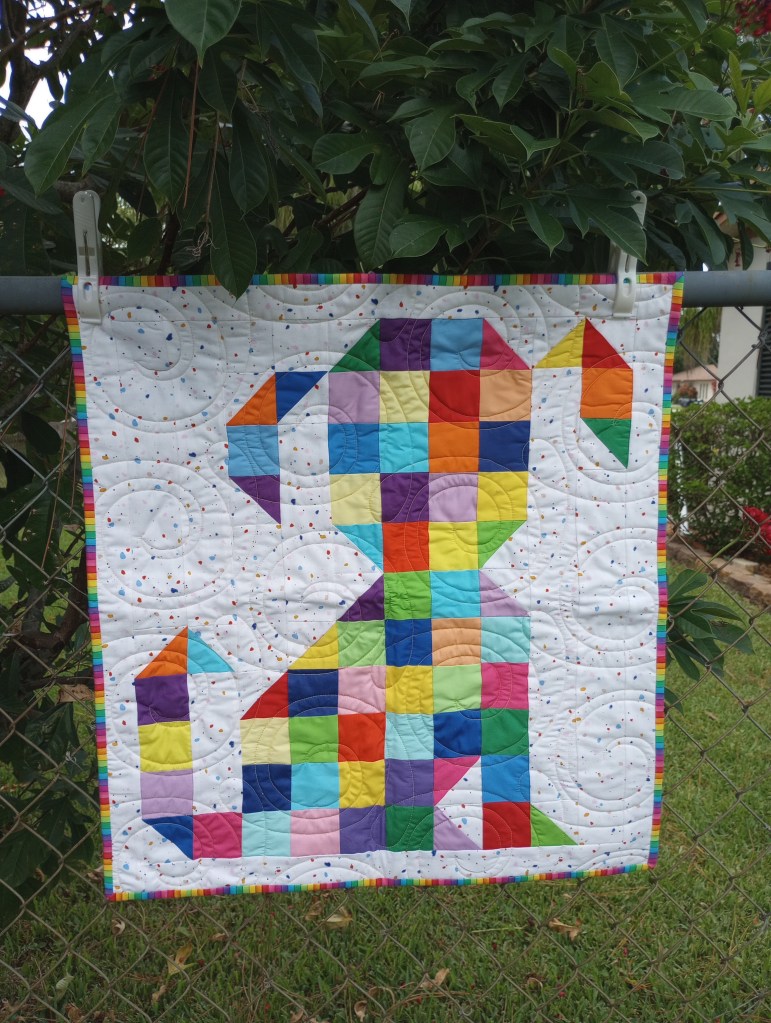
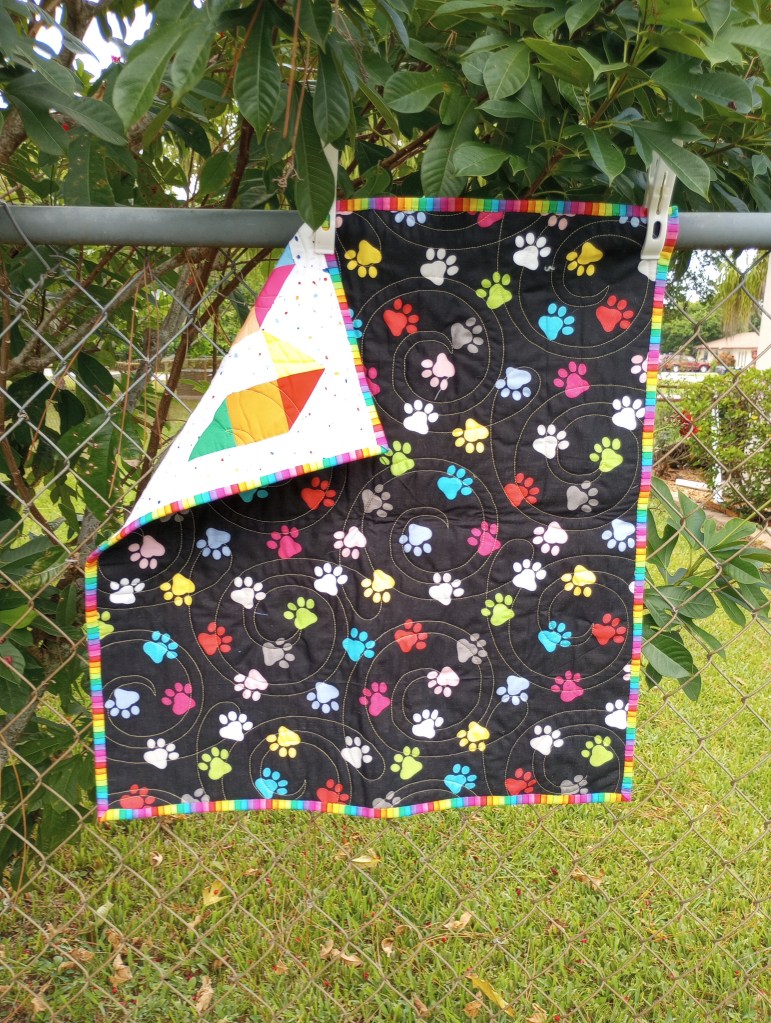
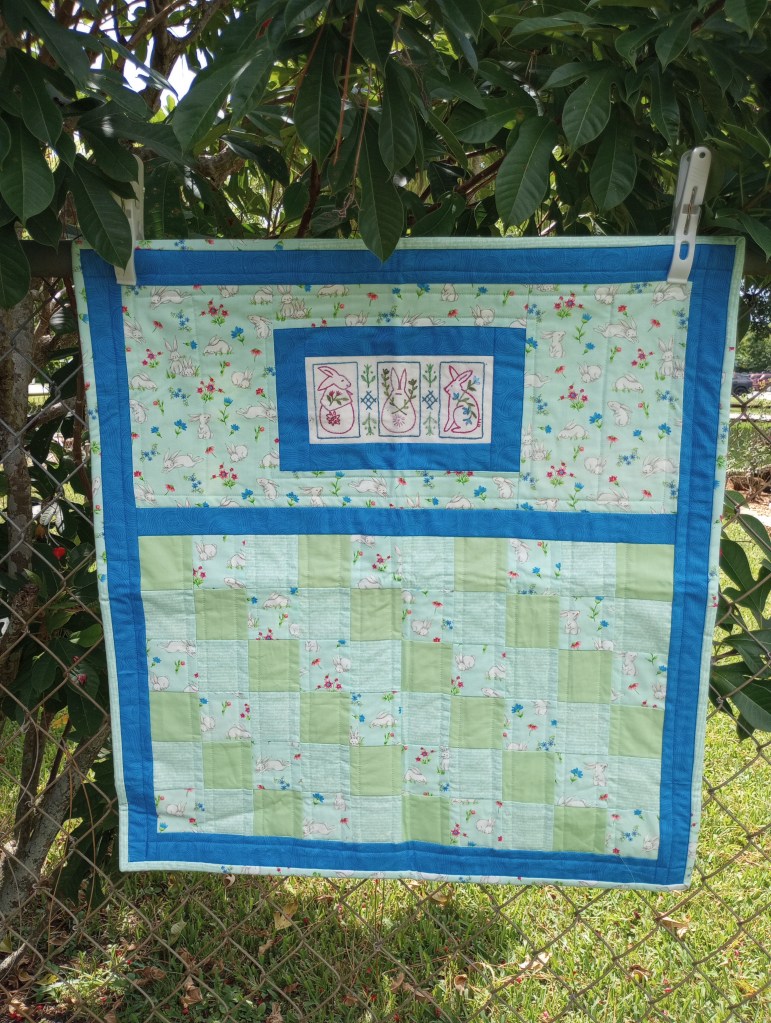
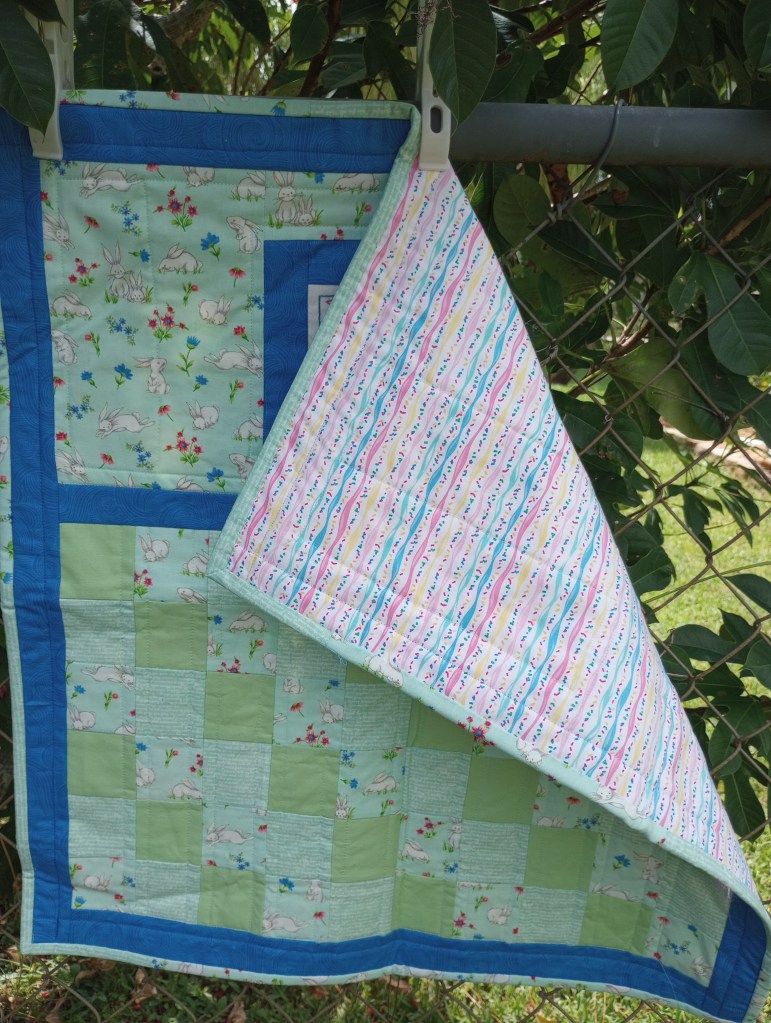
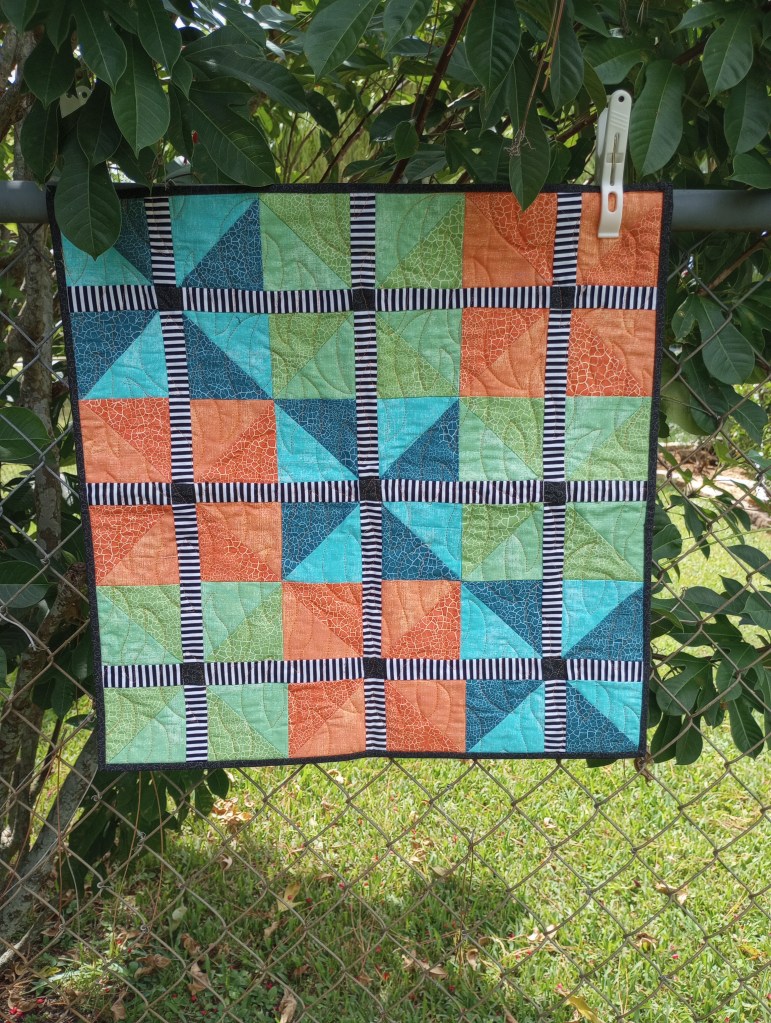
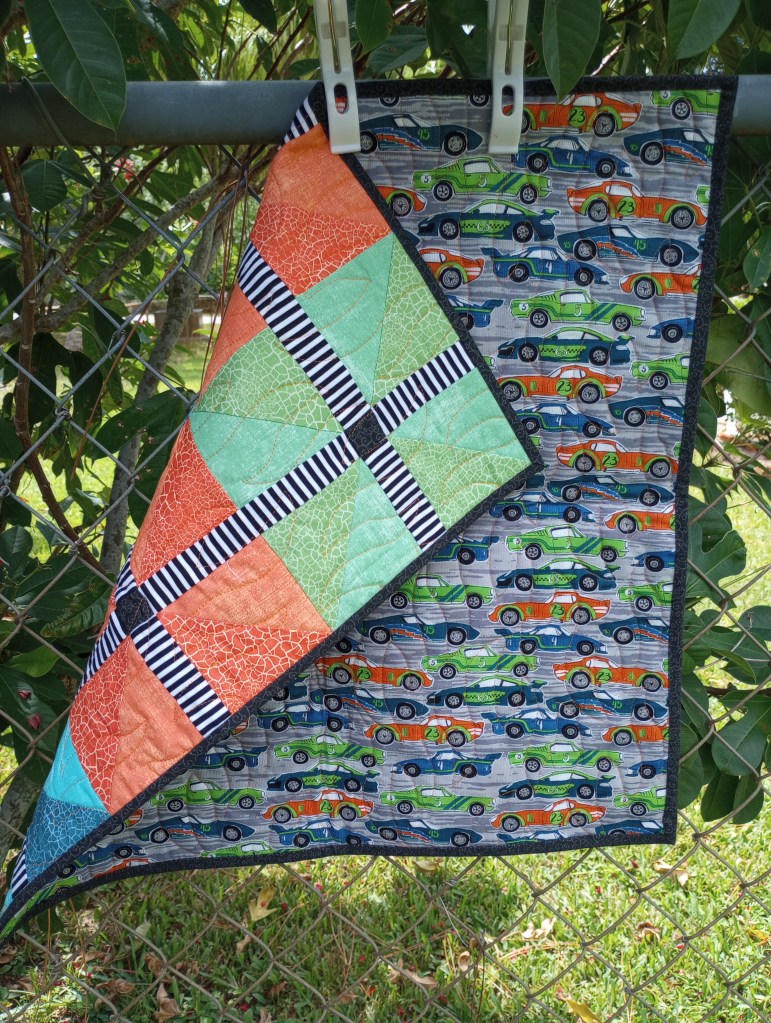
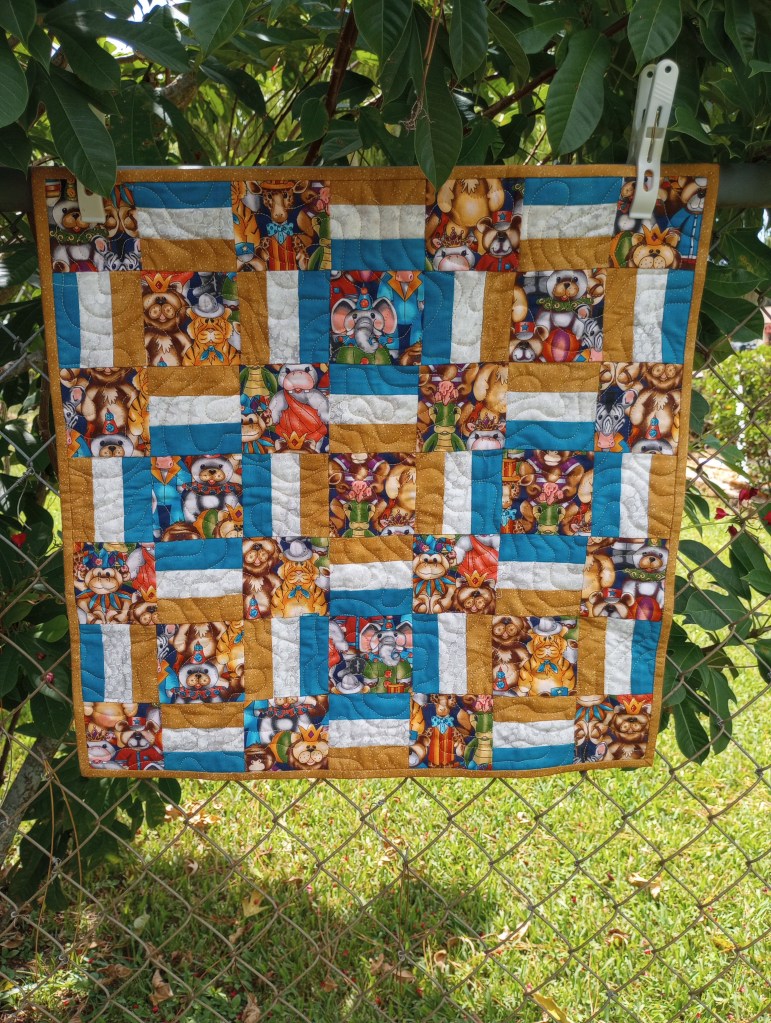
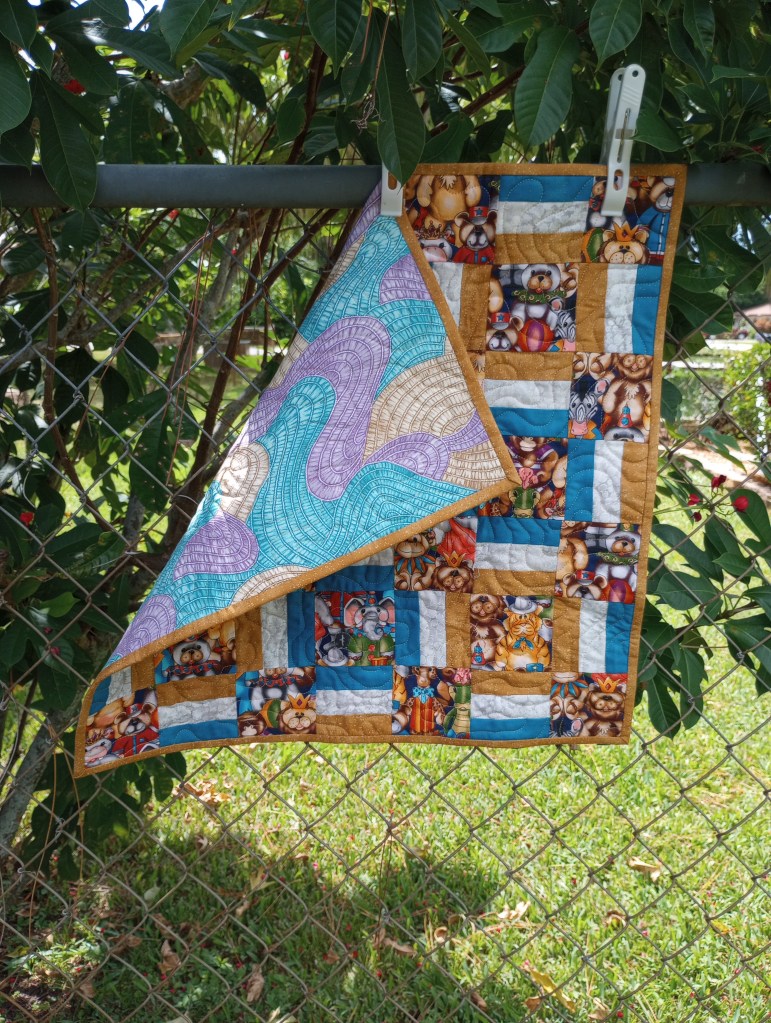
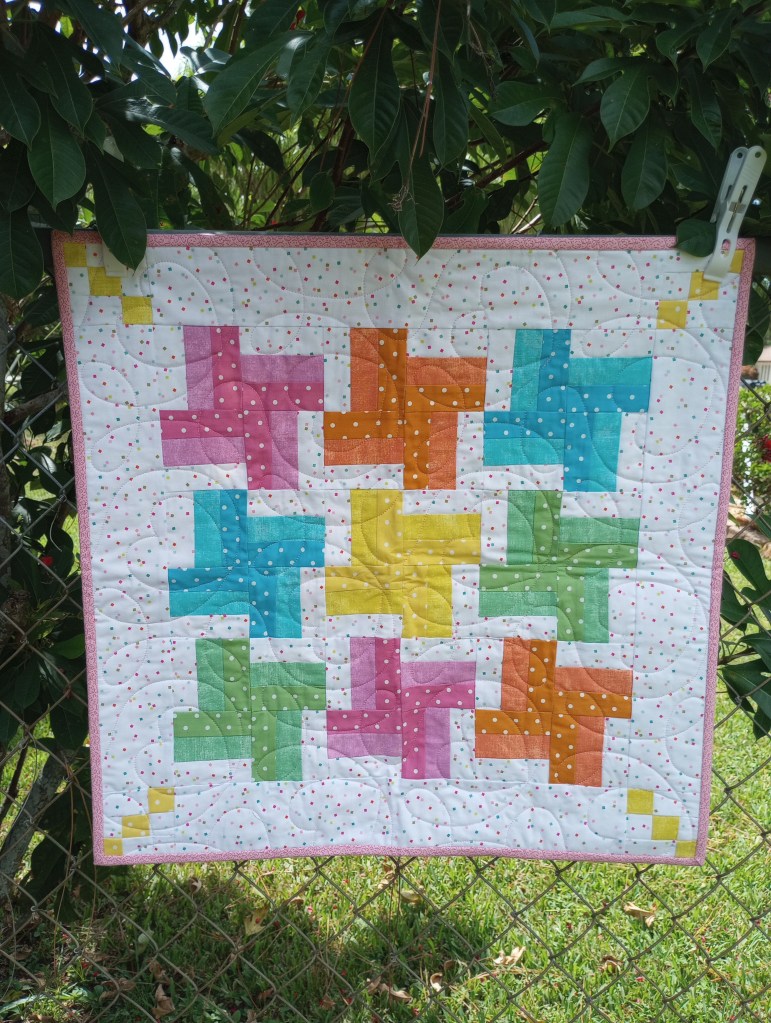
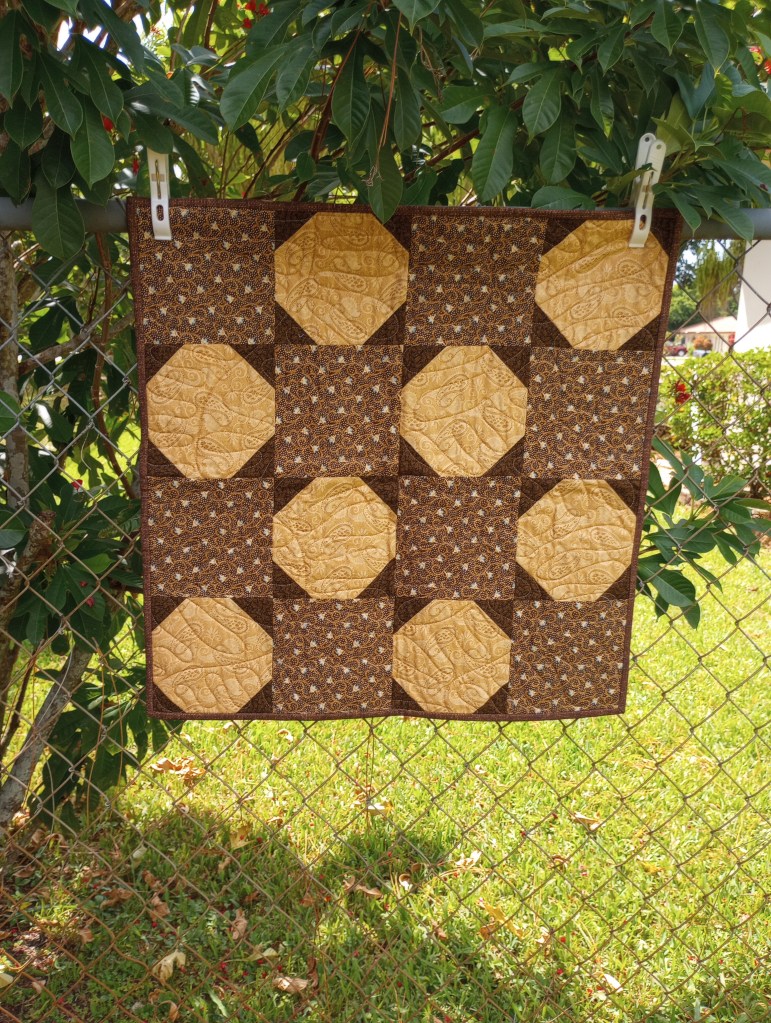
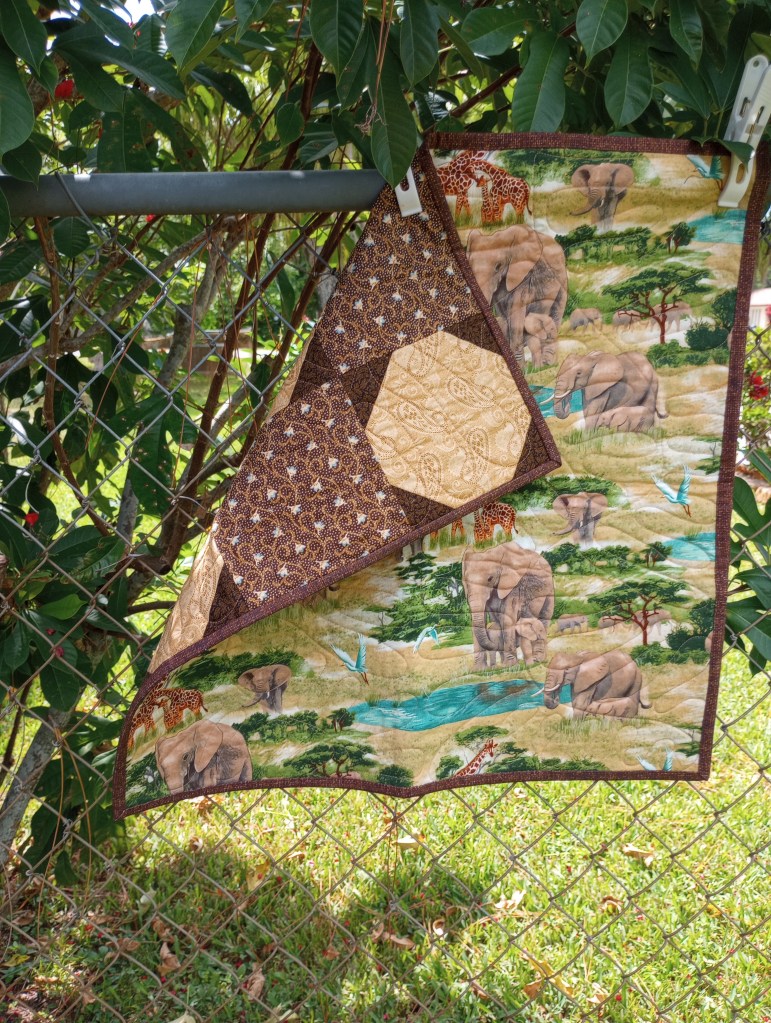
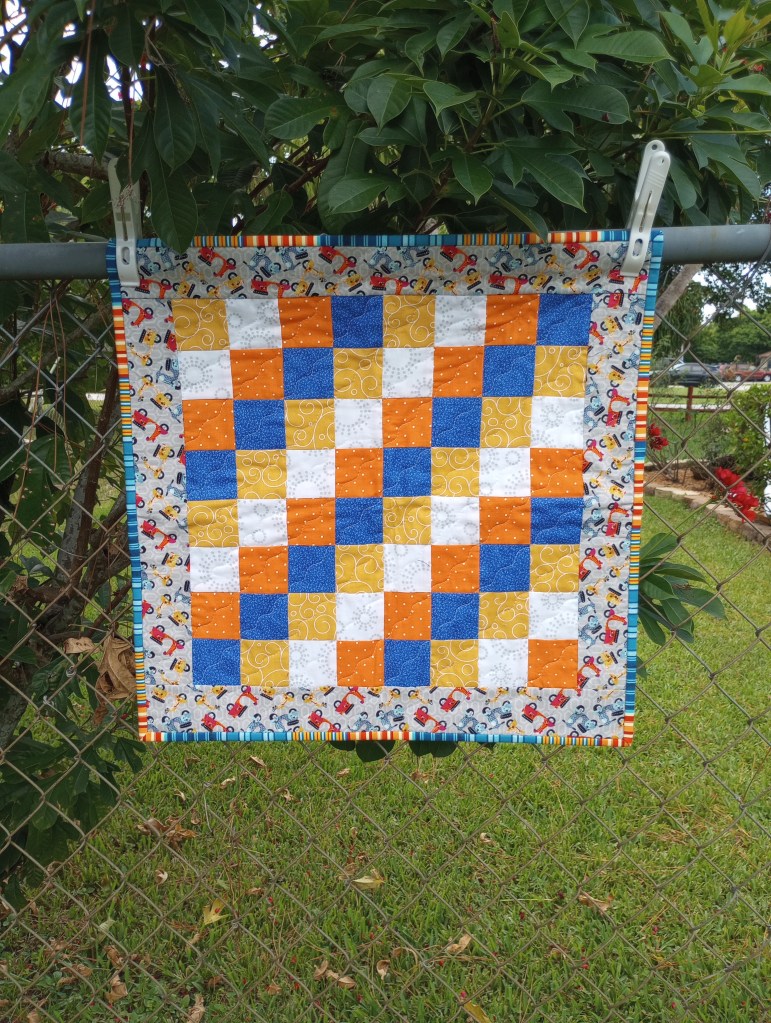
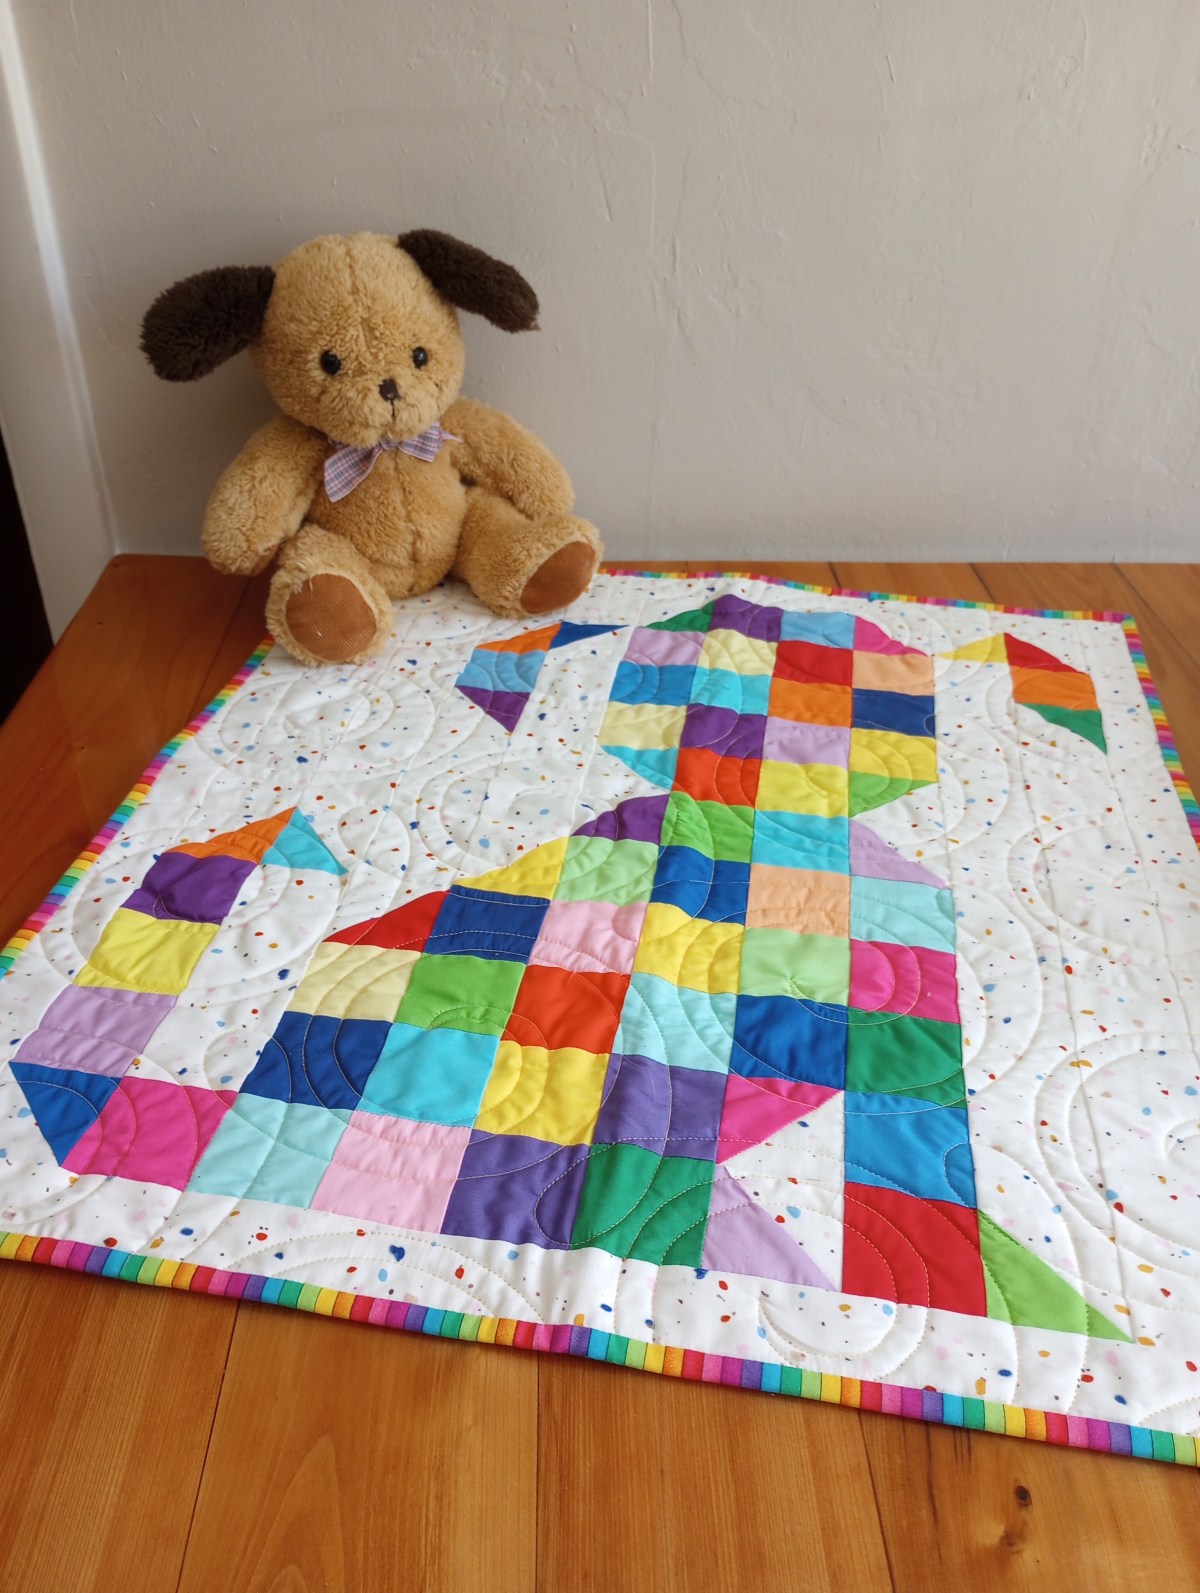
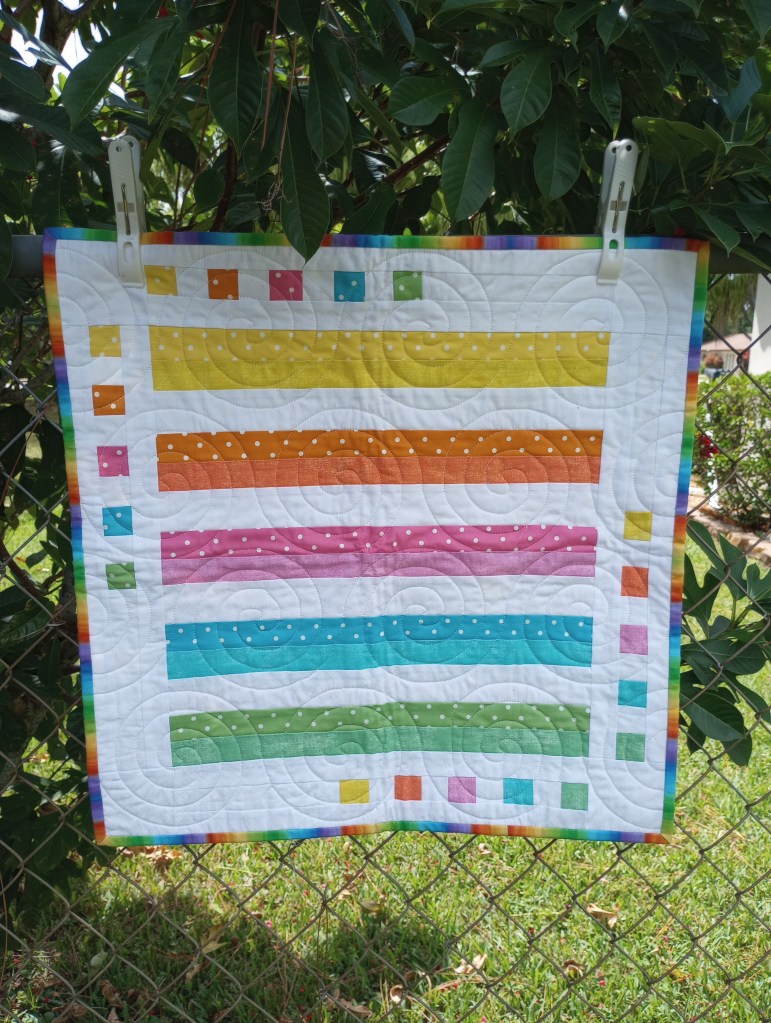
This little quilt finishes at 22″ x 24″ made with 2 1/2″ squares.
Downsized from the free Linus Connection pattern Bijou Junior by Jeanne Toewe.
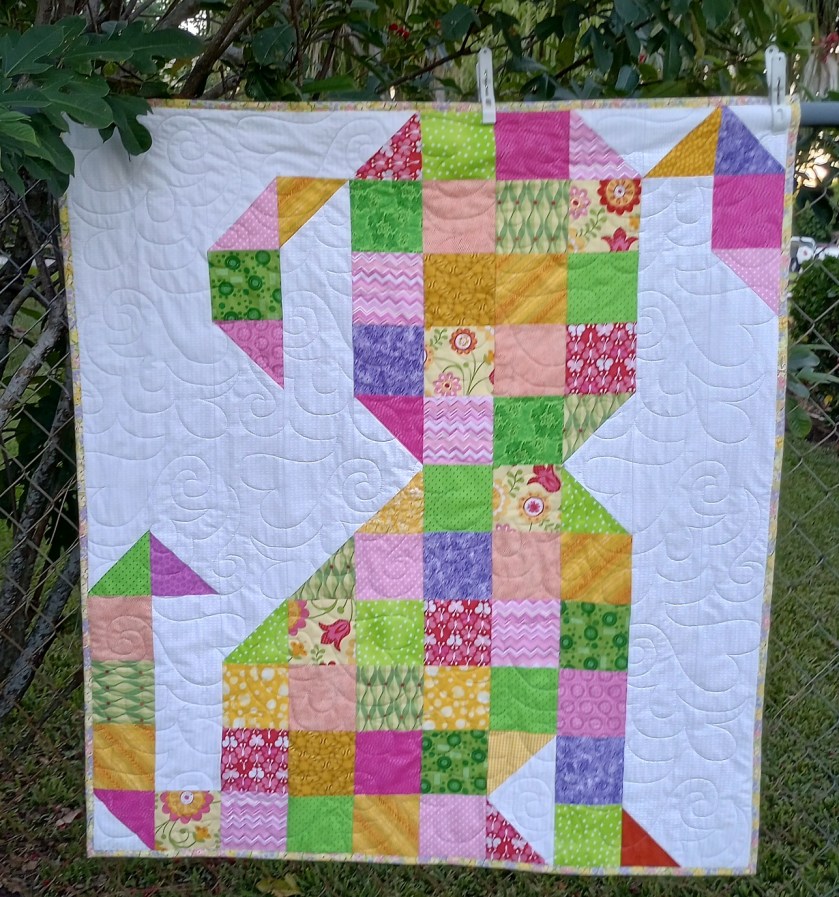
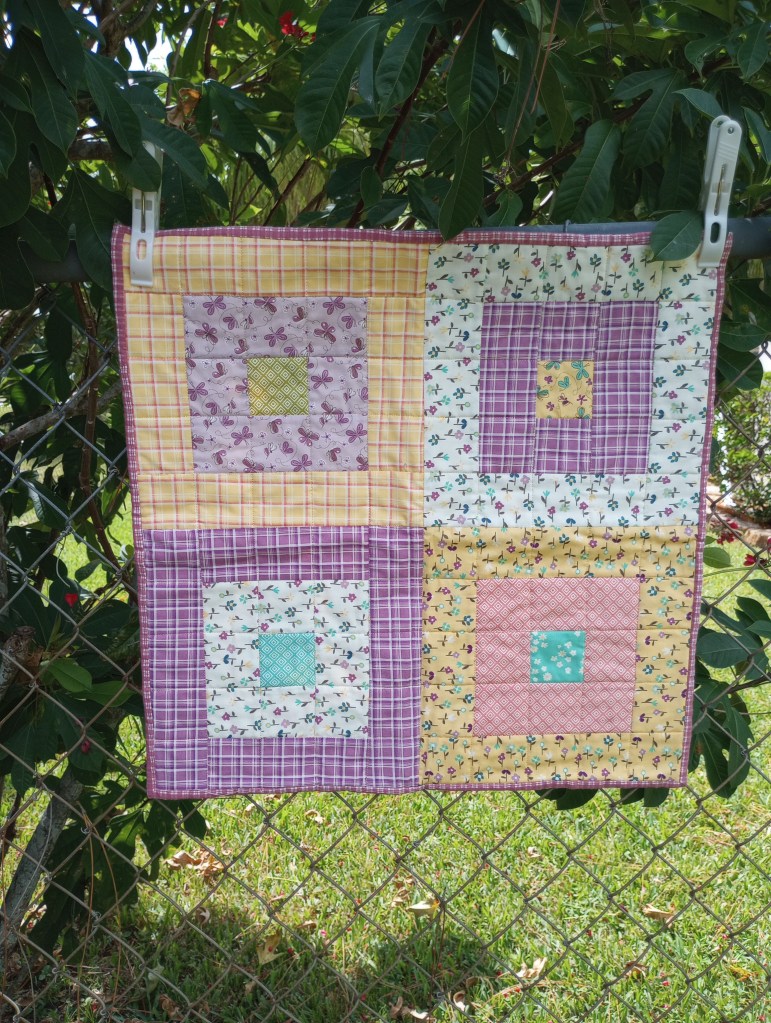
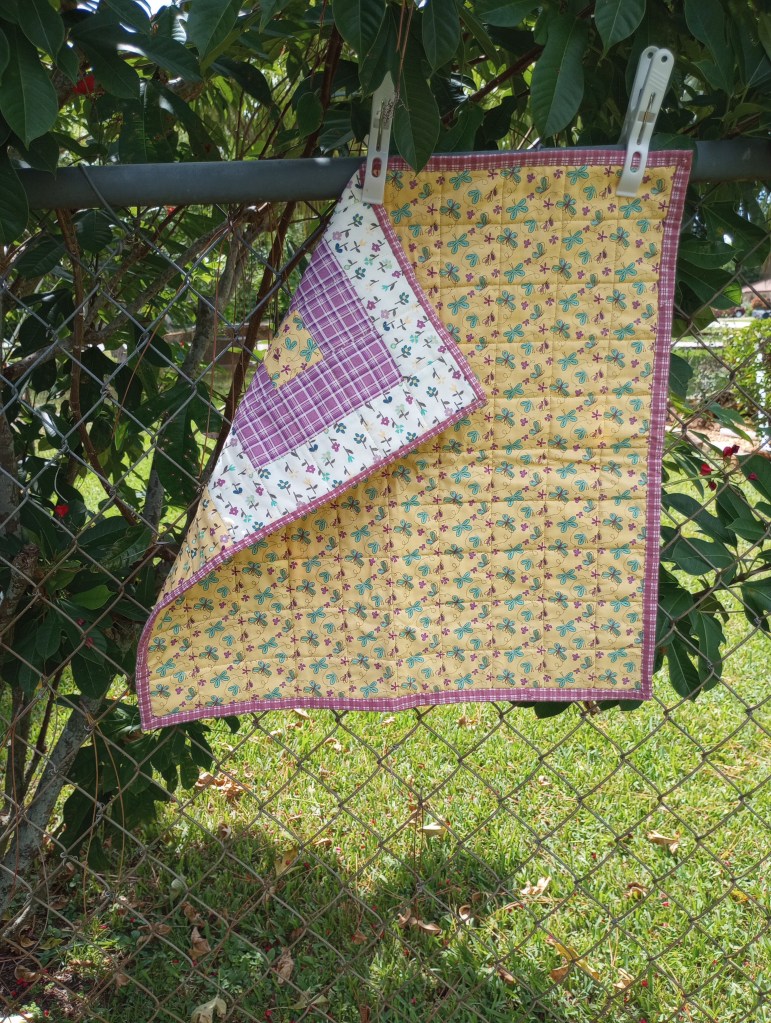
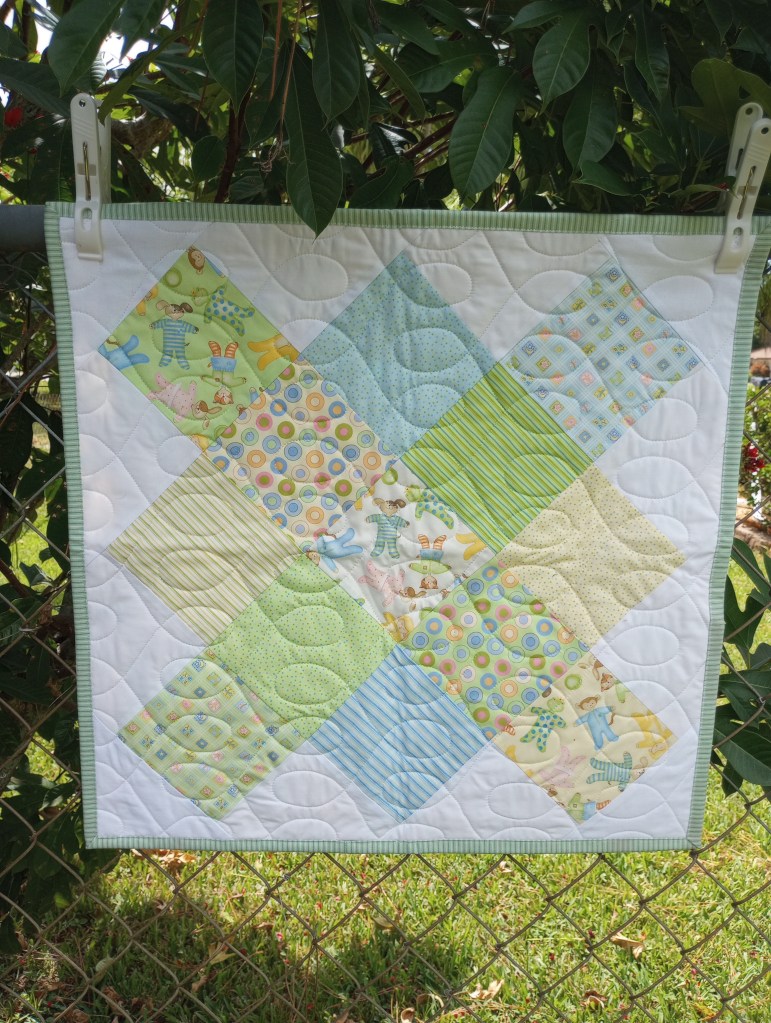
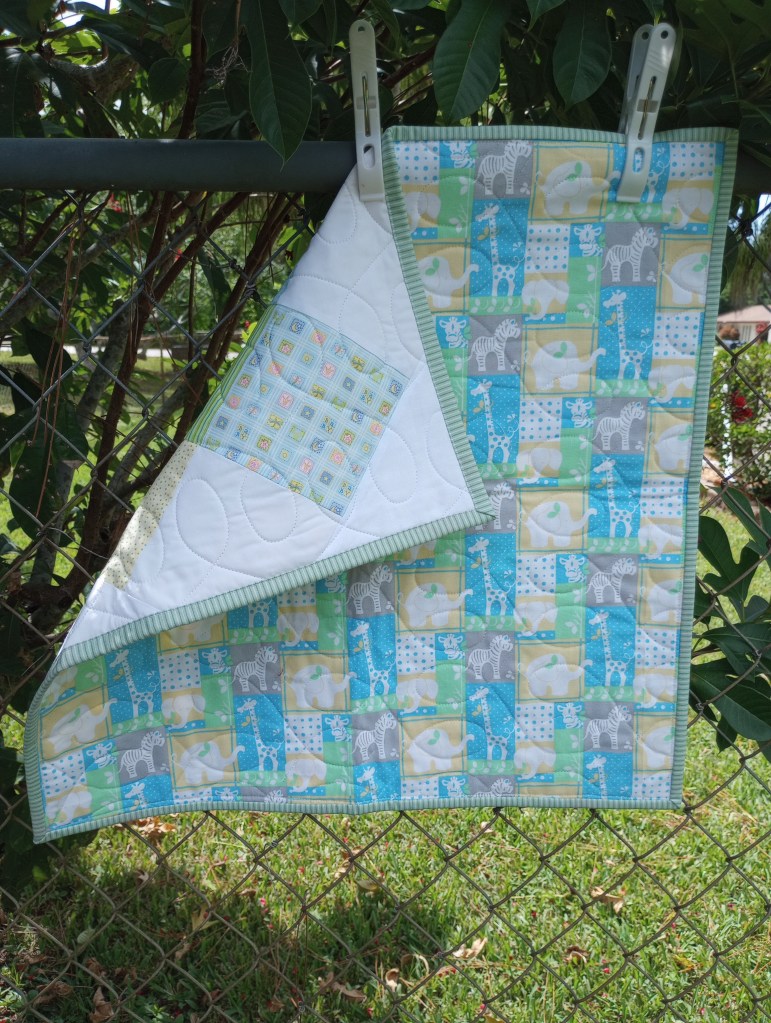
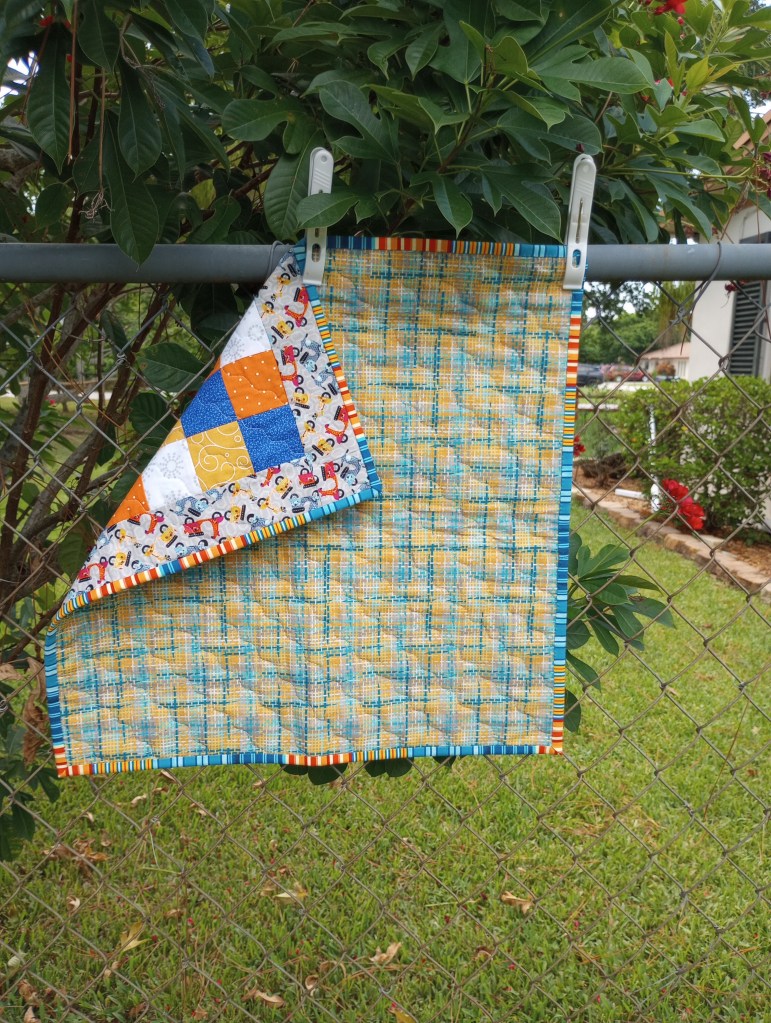
This is the original version of the pattern I made last August.
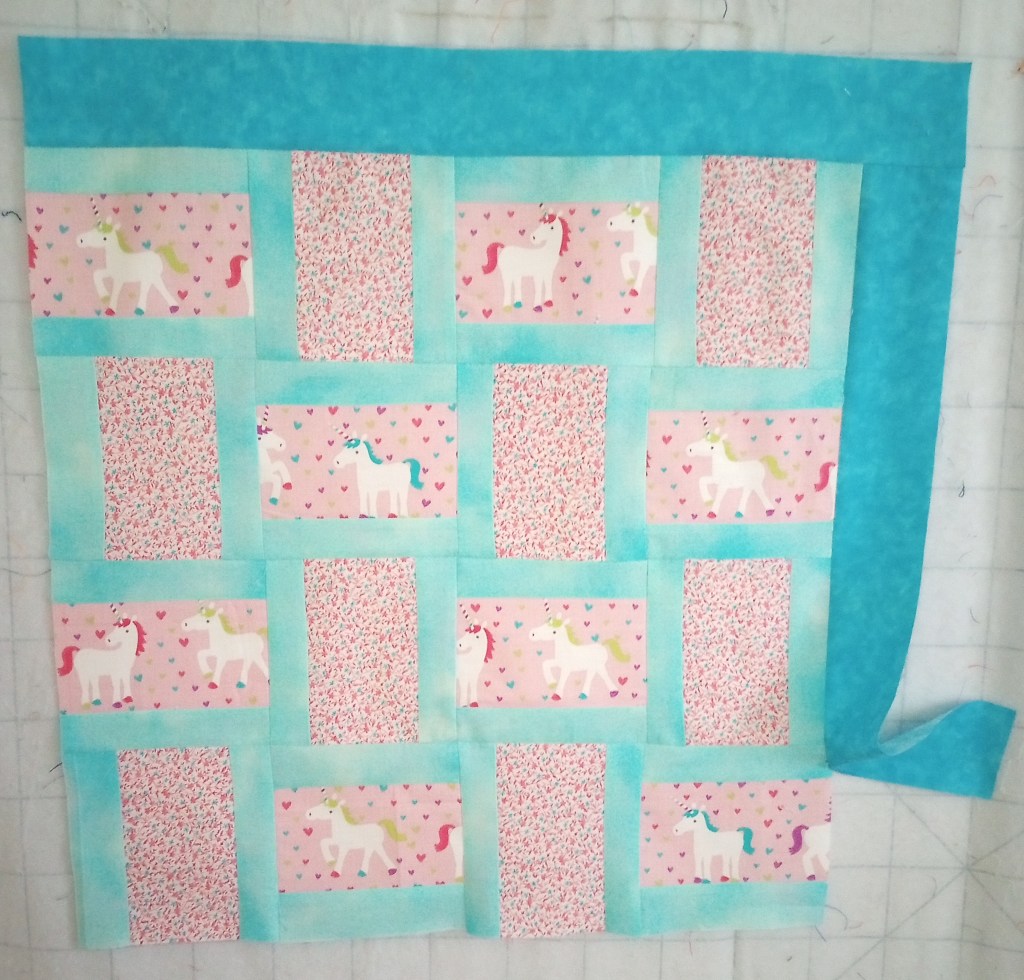
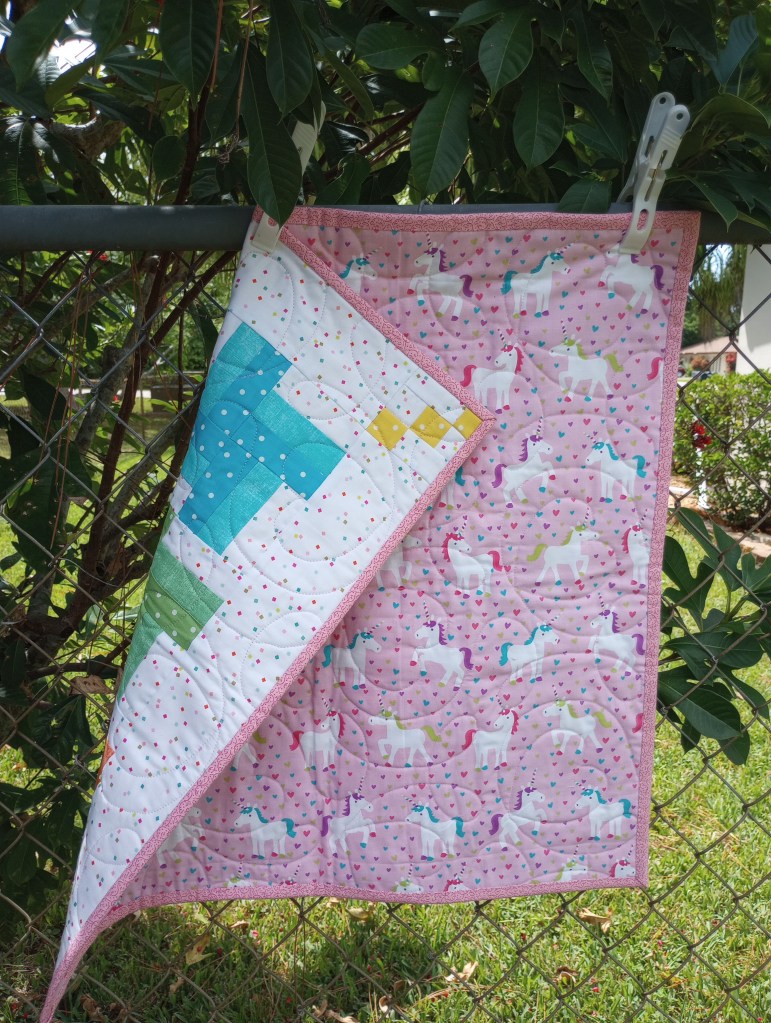
Unicorn quilt

Here are the simple instructions to create the Huggable unicorn quilt top. This is not meant to be a formal pattern and it’s intended for quilters with basic quilting knowledge. I’m sharing it here so you can make one too if you want without having to calculate the math. 🙂

I used width of fabric for some of the pieces and fat quarters for others. To make it less complicated, the cutting info is written as if all the pieces are cut from fat quarters.

Please note: if you’re using a directional fabric, one of your two prints will be rotated 90 degrees. In this example, blocks made the unicorn fabric will remain horizontal but, the blocks made using pink calico will be rotated.

All strips listed below need to be at least 21″ long. The border is optional, omit it if you plan to use a half width of fabric for the backing.

Cutting Info:

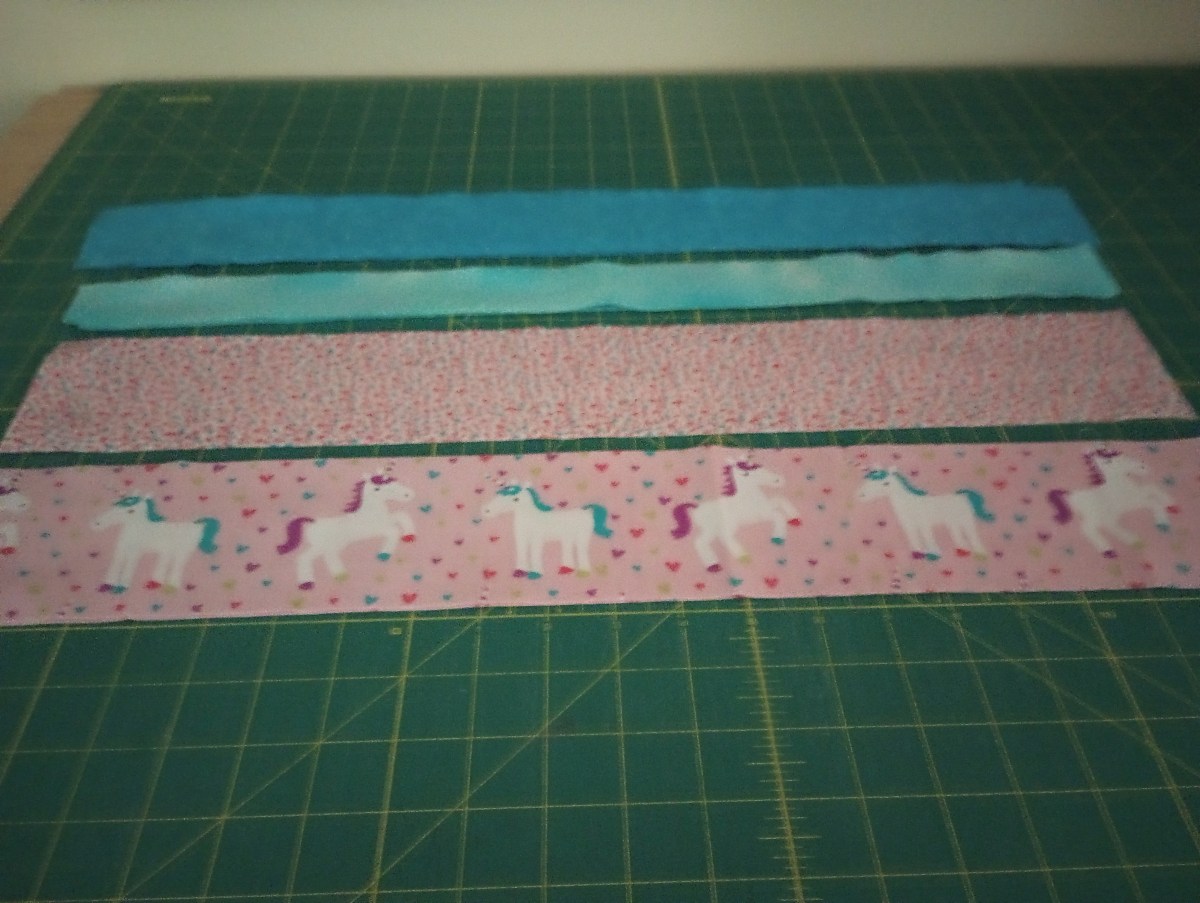
2 strips 3 1/4″ x 21″ focus fabric (unicorn)
2 strips 3 1/4″ x 21″ coordinating fabric (pink calico)
4 strips 1 1/2″ x 21″ framing fabric (light teal)

4 strips 2 1/2″ x 21″ optional border (dark teal)

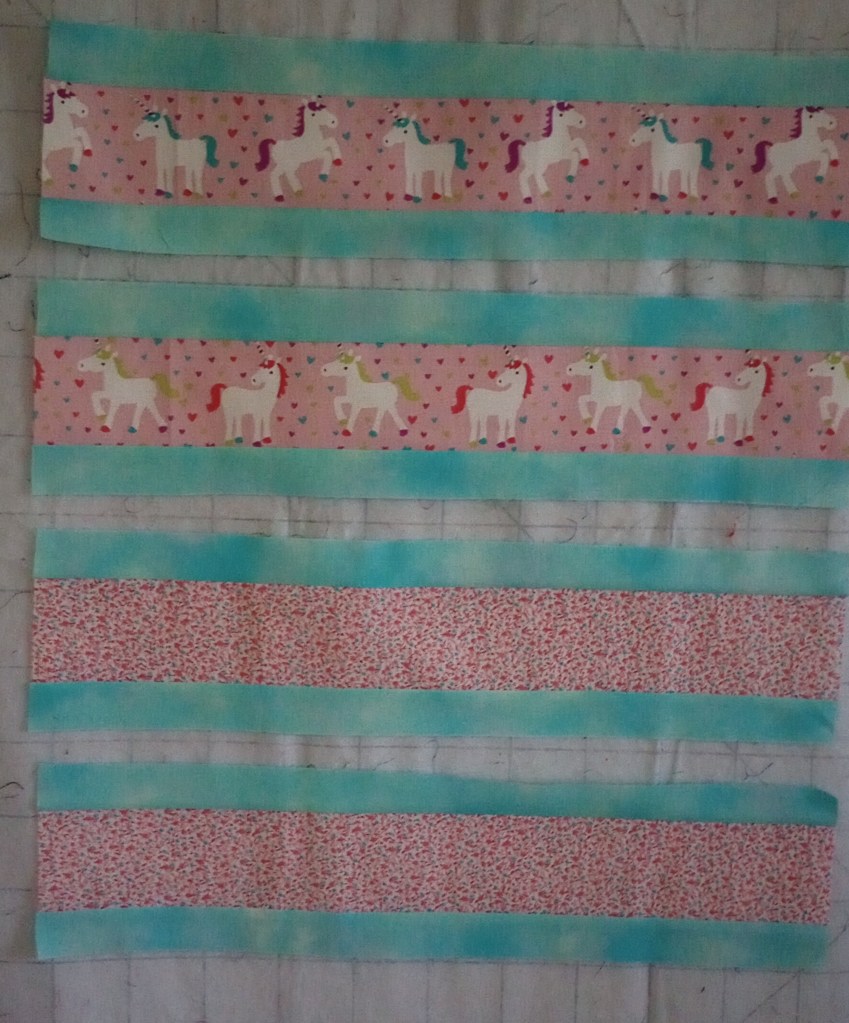
Begin by sewing the 1 1/2″ framing strips to each side of the 3 1/4″ strips.

It doesn’t matter which direction you choose to press the seams. I pressed everything to the framing pieces (the light teal in the example) so the seams nest later when the rows were sewn together.

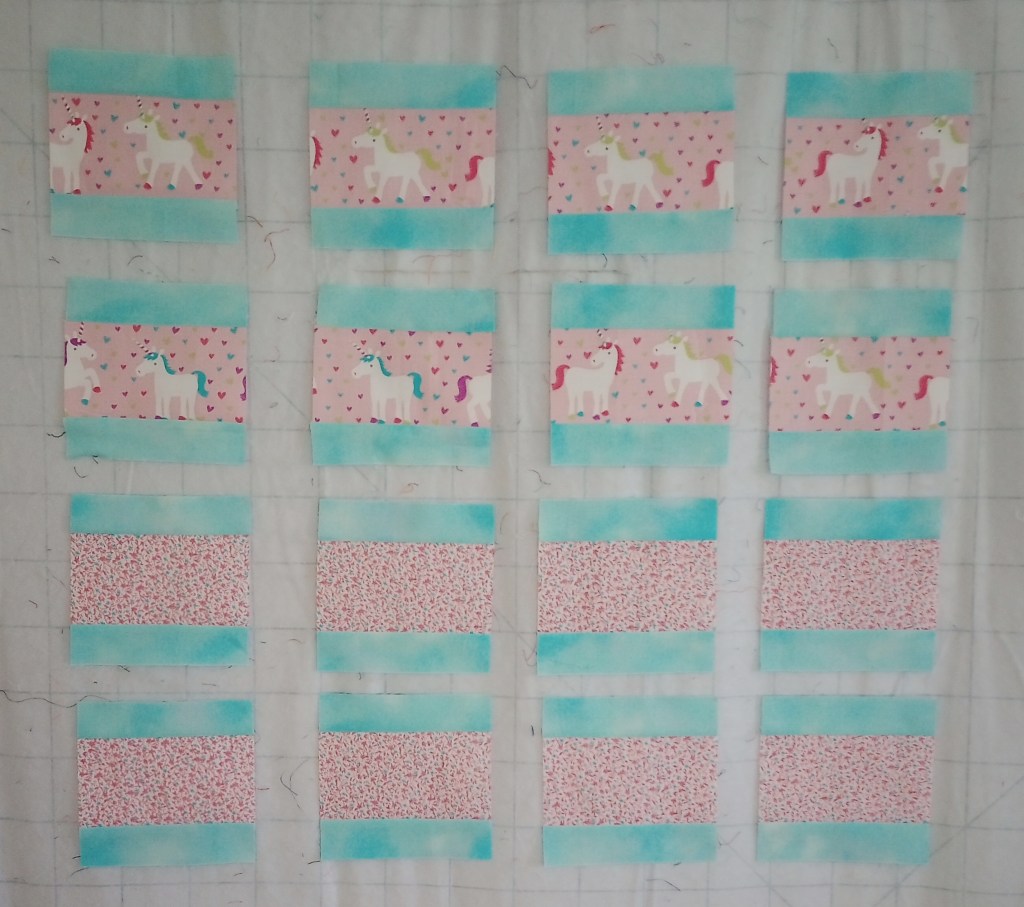
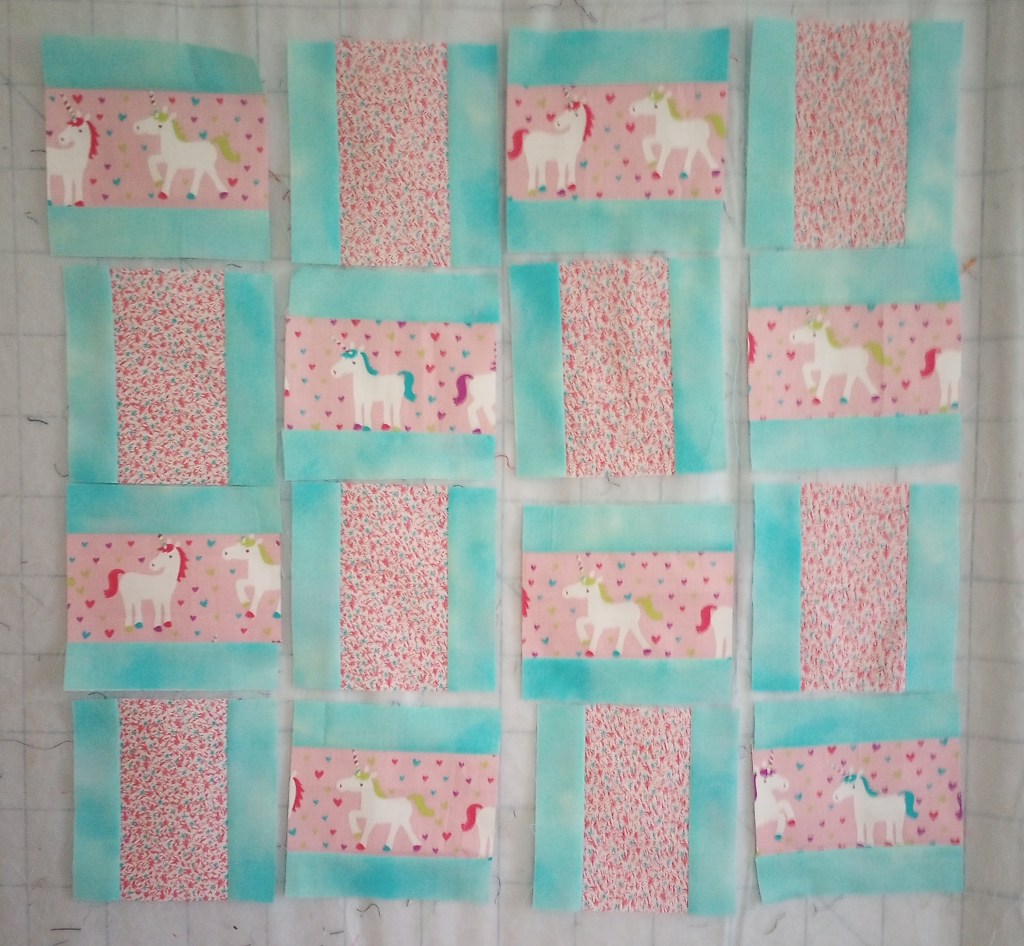
Cross cut each strip set into 4 pieces 5 1/4″ long.  There will be 8 squares from the focus print and 8 squares from the coordinating print.
Depending on your quarter seam accuracy, the units should measure 5 1/4″ square.
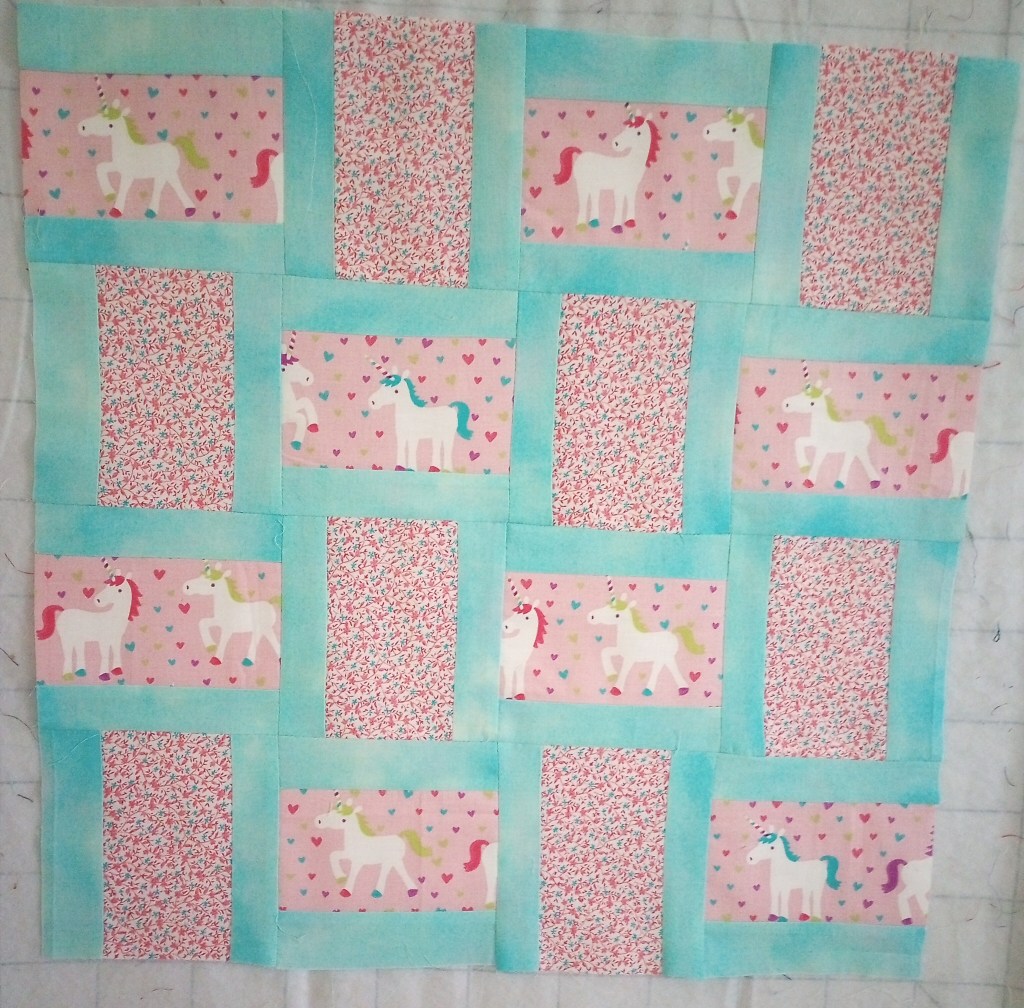
Arrange the blocks as shown, 4 blocks across and 4 blocks down. Notice that all of the blocks with the calico print were rotated  so they’re now vertical.  All of the blocks with the unicorn print remained horizontal. 

Sew the blocks into rows and then join the rows.  The top measures 19 1/2″ square at this point.

If you wish to conserve backing fabric, stop here. You can cut it on the fold for a half width, saving the other half for the next little quilt.


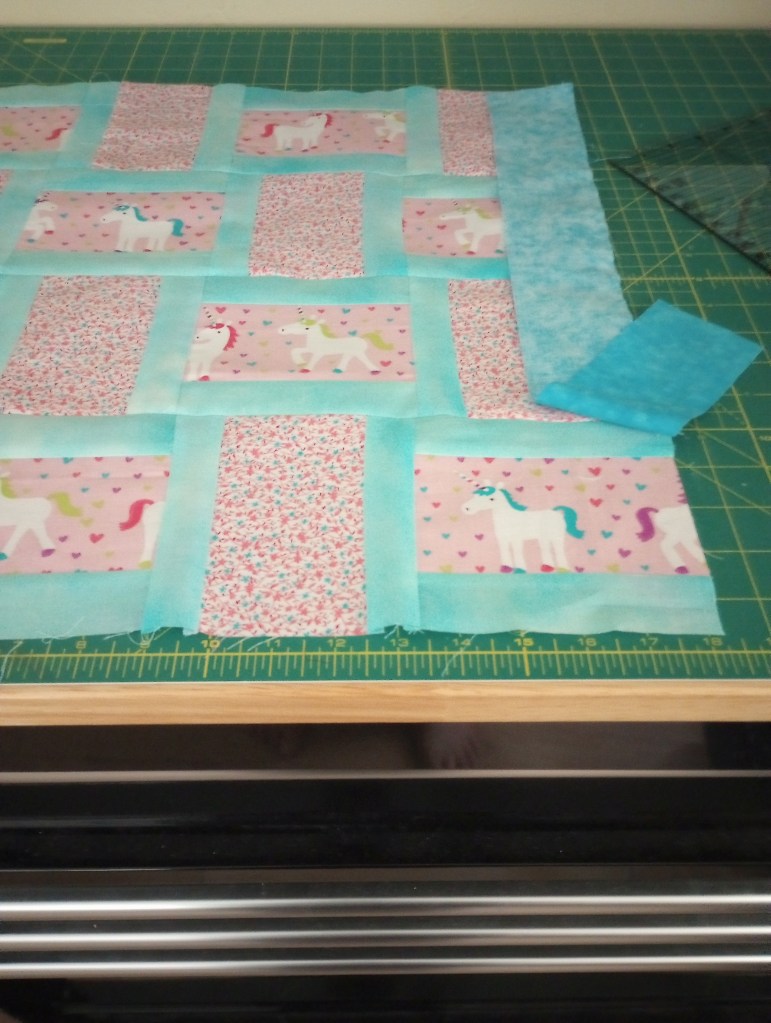
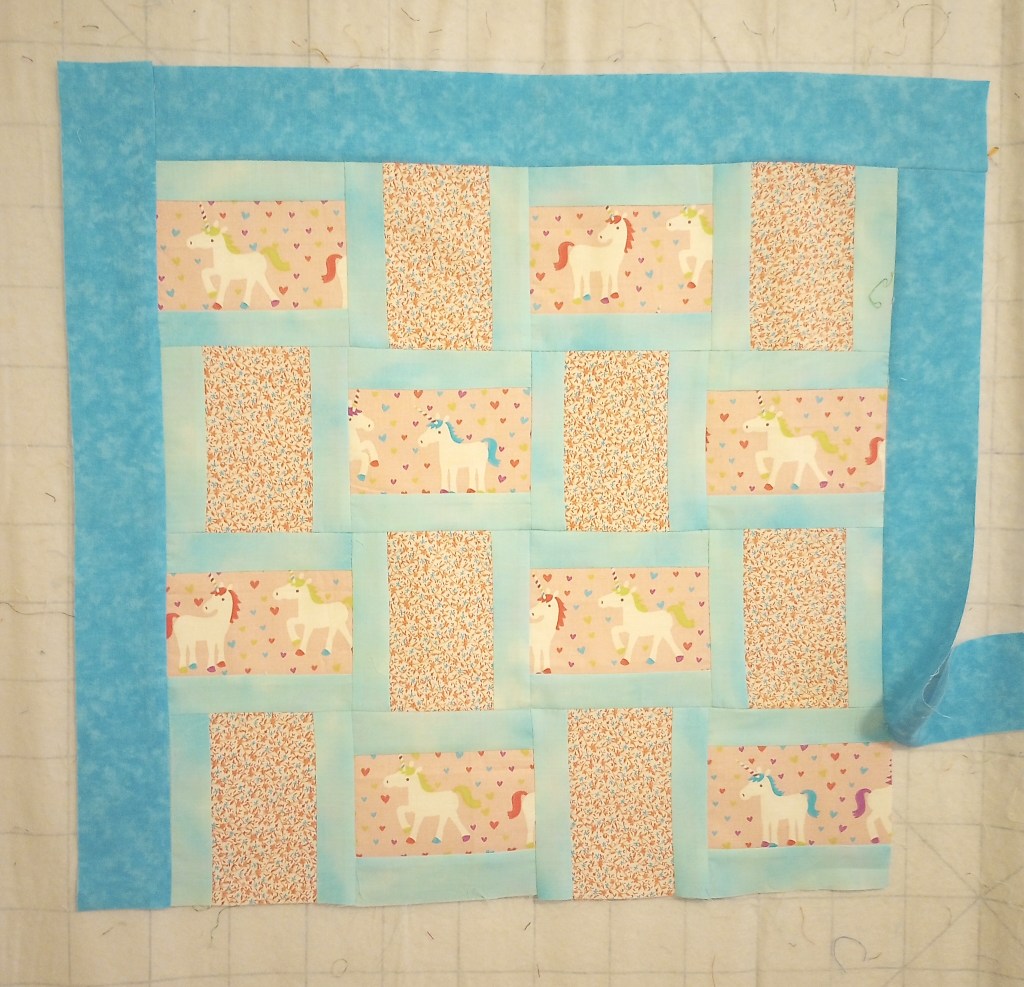
To continue with the optional border, begin by sewing the first 2 1/2″ wide strip to the right side of the quilt top.

Stop sewing a few inches from the end.   (The remaining length will be longer than the quilt top. Don’t trim it off!)

This partial seam will be completed after all the border strips have been attached.  This first border strip is the only one sewn with a  partial seam. The other three borders will be  sewn all the way to the end.

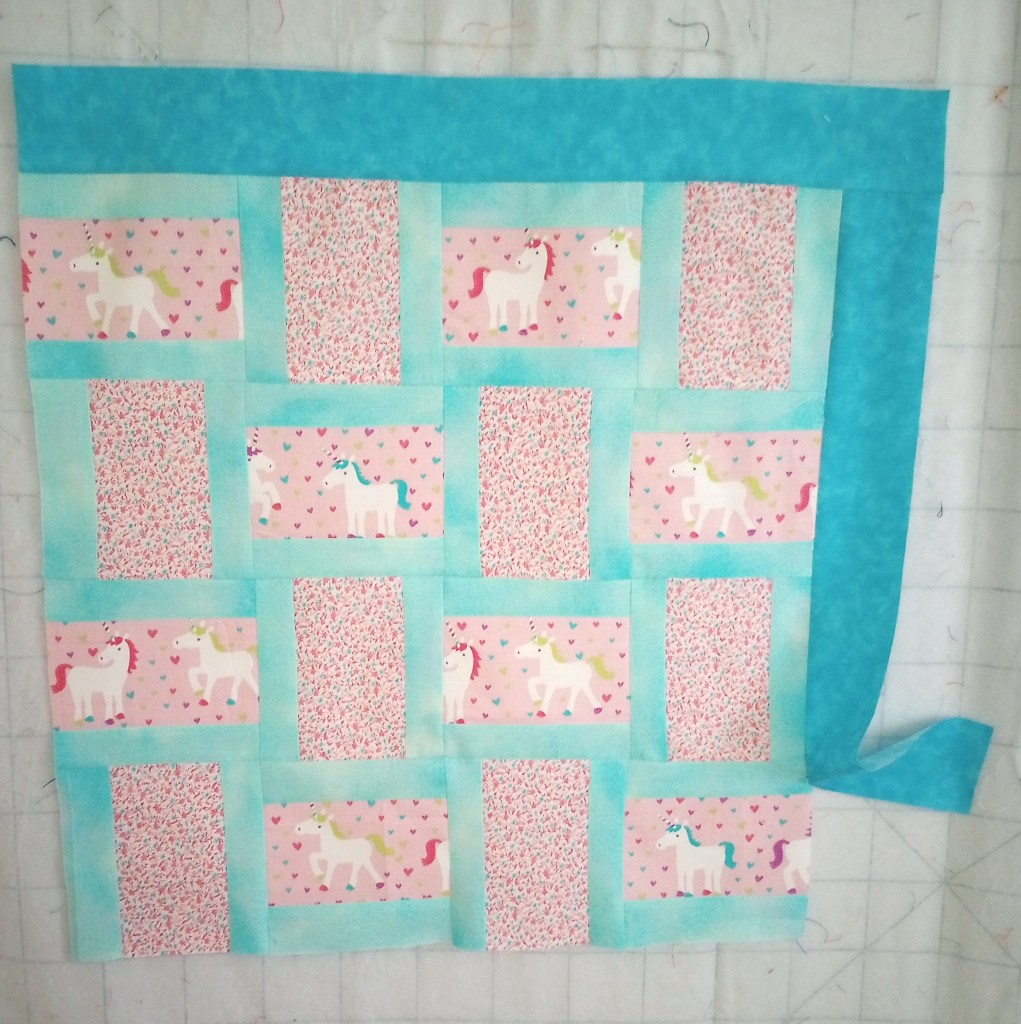
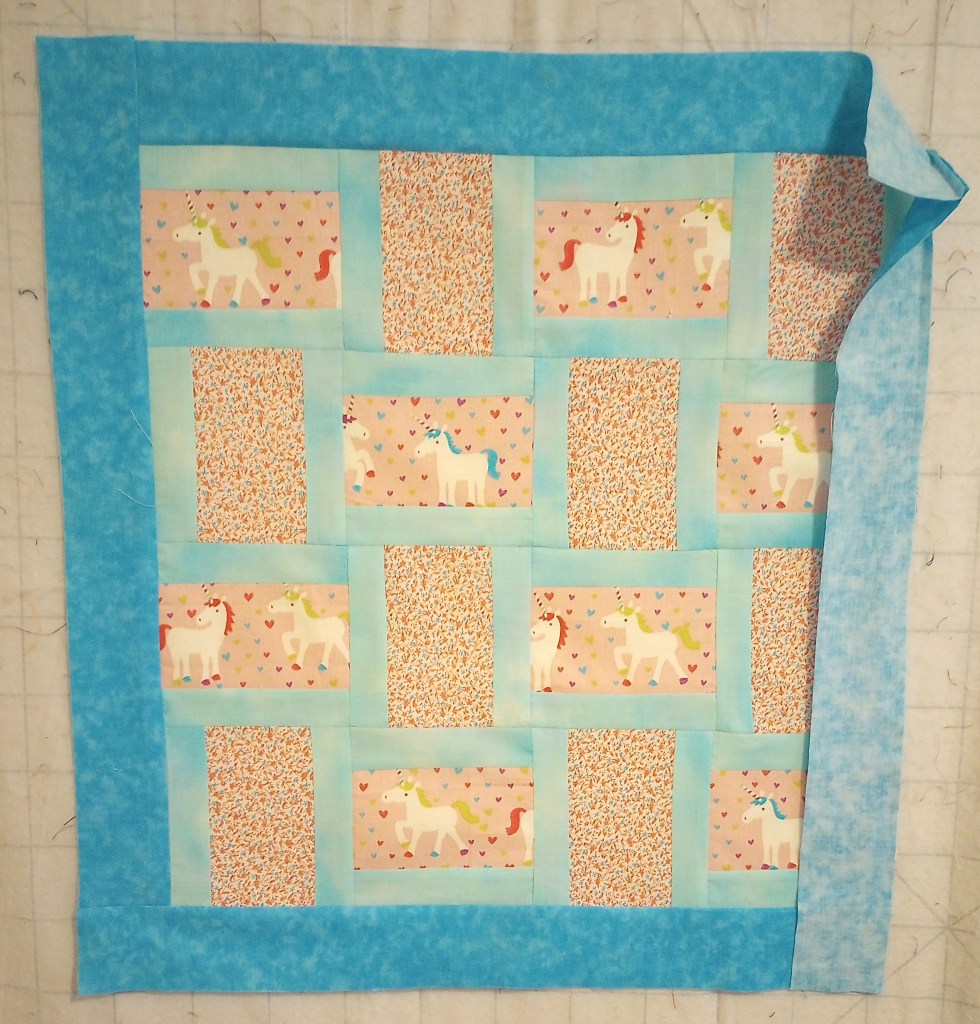
Press the seam open and add the remaining border strips in the order listed below,  pressing each seam open as you go.

  • Top border – Figure 1
  • Left side border – Figure 2
  • Bottom border – make sure that tail end from the partial seam right border is out of the way. – My apologies for neglecting to take a photo for Figure 3
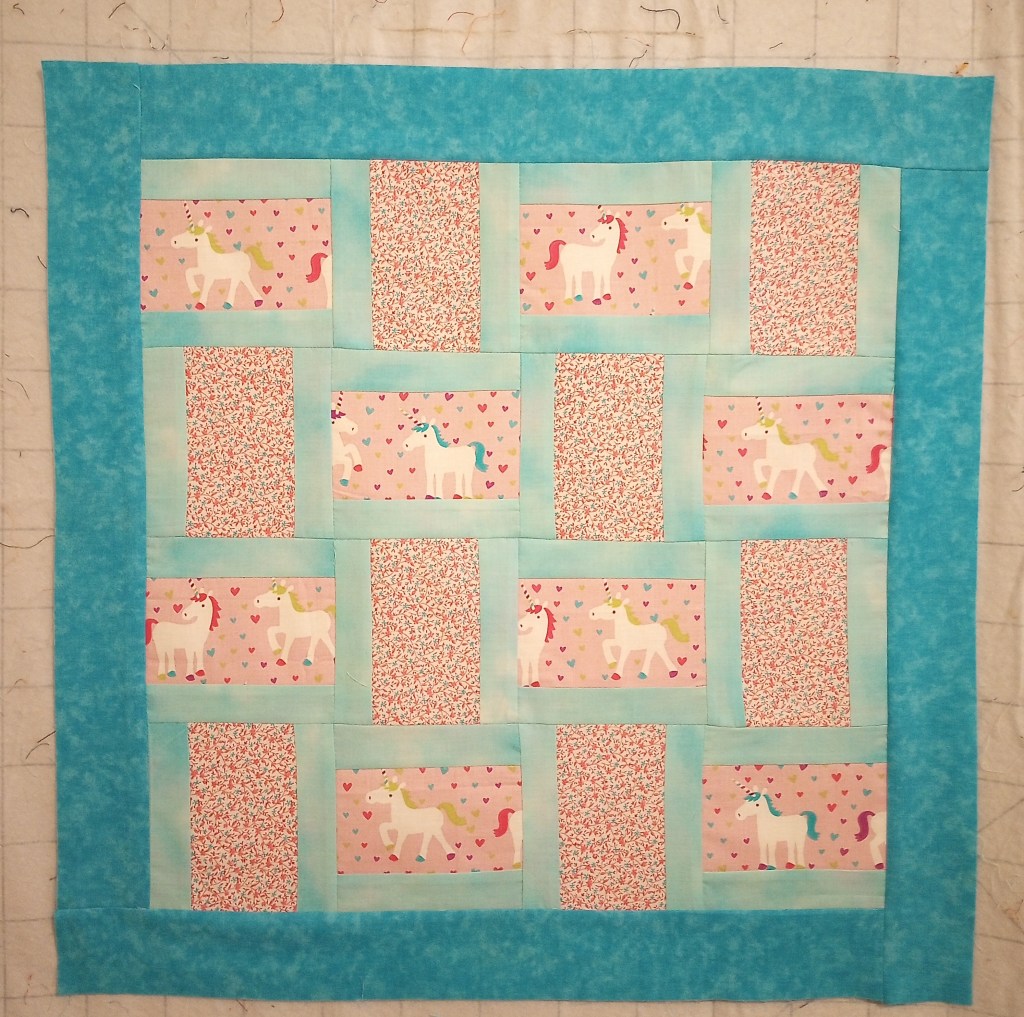
  • Lay the partial seam tail end of the  right border fabric in place and finish sewing the partial seam all the way to the bottom. (Stitching across the previous bottom border strip.) – Figure 4

Your little top is complete and should now measure 23 1/2″. ♥

Consider experimenting by using all the same print for the 3 1/4″ wide strips (rather than two different ones), or by using two different sets of the 1 1/2″ framing strips (one set for the horizonal blocks and one set for the vertical blocks) to highlight the woven look.  I plan to try this option next time!

This is always a fun design to make and I hope you enjoy making it as much as I did!

Little quilts aka Huggables

I love making these little quilts! I’m glad I finally started, even though it took me a while. Mary has been making them for years, and you can find many ideas on her blog at this link. If you scroll to the bottom, she shows how to bundle them for donation.

I’m calling them “Huggables”. Our quilt guild is joining me in making them to donate to the sheriff dept, fire rescue, and the state’s Division of Children & Family services. The guild also has other small quilt projects, like the yearly challenge and themed quilts for events. Giving this project a name, rather than calling it “little quilts” ensures the quilts paired with stuffed dolls and animals won’t be confused with any of our other little quilts.

This little quilt is loosely based on the 3 Yard Quilt pattern by the Fabric Cafe called Brick Street. The original pattern finishes at 49″ x 59″ and has been a favorite of mine for several years.
My revised version finishes at only 23″ square.

I sliced off a quirky 3 1/4″ strip from the cute unicorn print and from the pink calico. After making strip sets with 1/2″ teal pieces, I cross-cut the sets into 5 1/4″ blocks because, let’s be real, who doesn’t love a good challenge with odd dimensions? I managed to squeeze out 8 blocks from a single 42″ strip set of each print (and yes, it also works with fat quarters if you cut two strips each ).

At first, the idea was to cut 3 1/2″ strips and then 5 1/2″ blocks, but alas, that plan would only yield 7 blocks from each strip set! Not the 8 I was dreaming of… since most of my ideas initially start while I’m sleeping. It’s pretty disappointing to wake up and find, that after all the work in my sleep, the quilt hasn’t even been started much less finished! 😦

Sure, I had enough fabric for a second strip set, but I didn’t really like the idea of tossing the left over strip sets into the scrap bin. I decided to channel my inner mathematician for a quick re-calculation.

If ya wanna be a quilter – you better love math! 😊

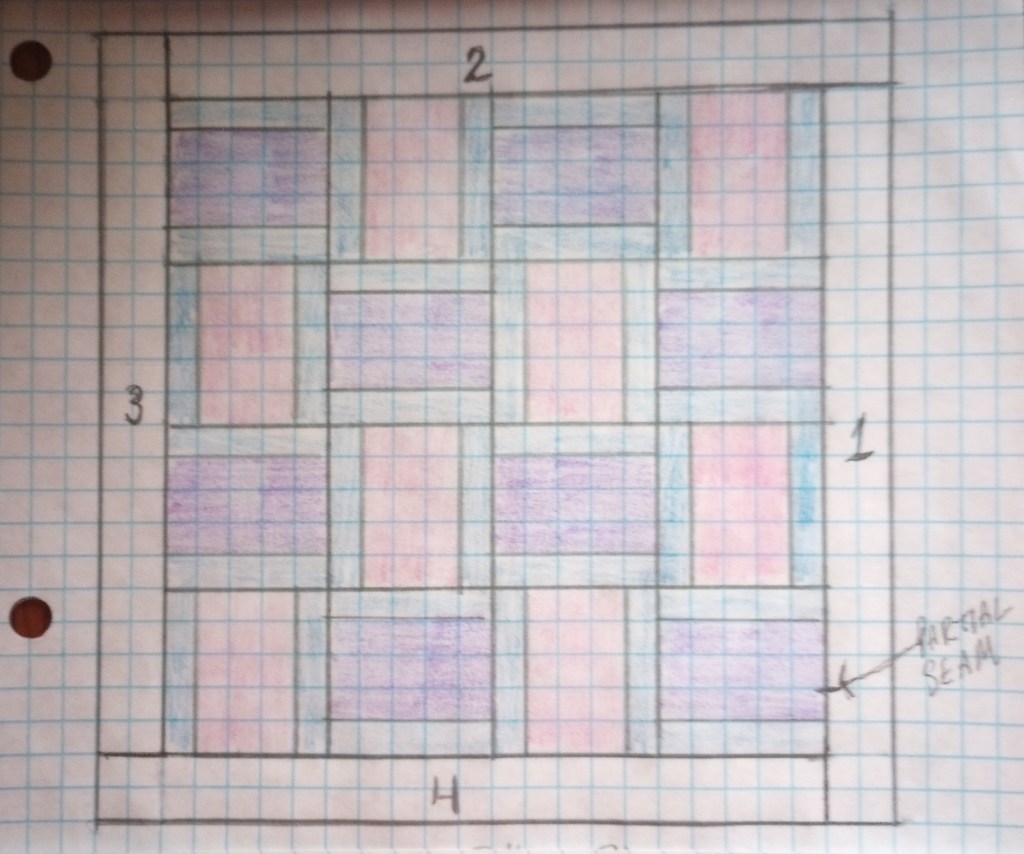
This is my rough diagram. If you notice, the borders were added counter-clockwise rather than sides and top/bottom pairs:

  • Right side
  • Top
  • Left side
  • Bottom

The first seam is a partial seam. Once you add the last border (on the bottom) you go back and complete that first seam on the right side border.

It also allowed me to maximize the 2 1/2″ strips for the border since all four borders were cut from only two strips of fabric. (Luckily, the border fabric was 43″ wide.)

Huggables

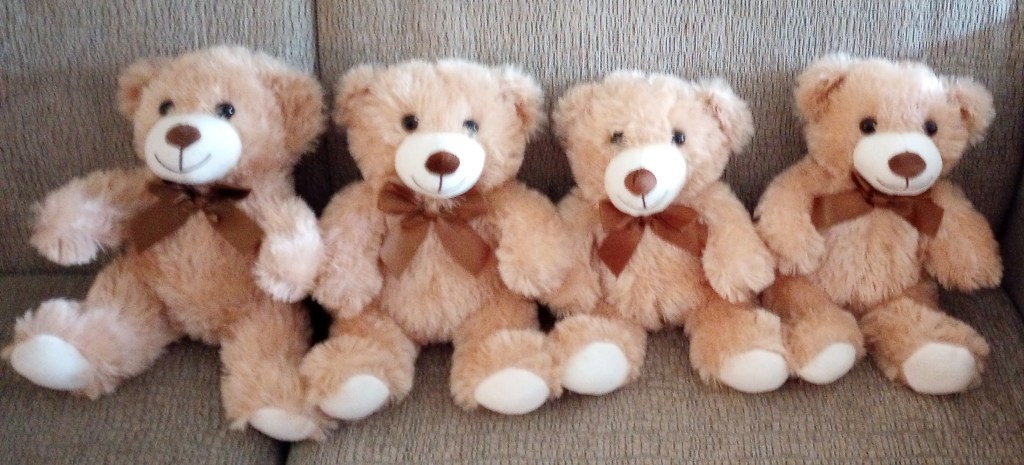
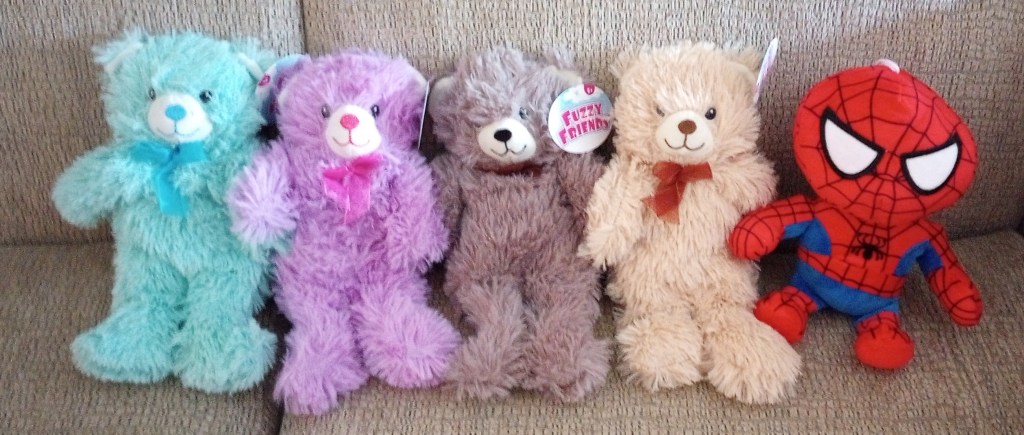
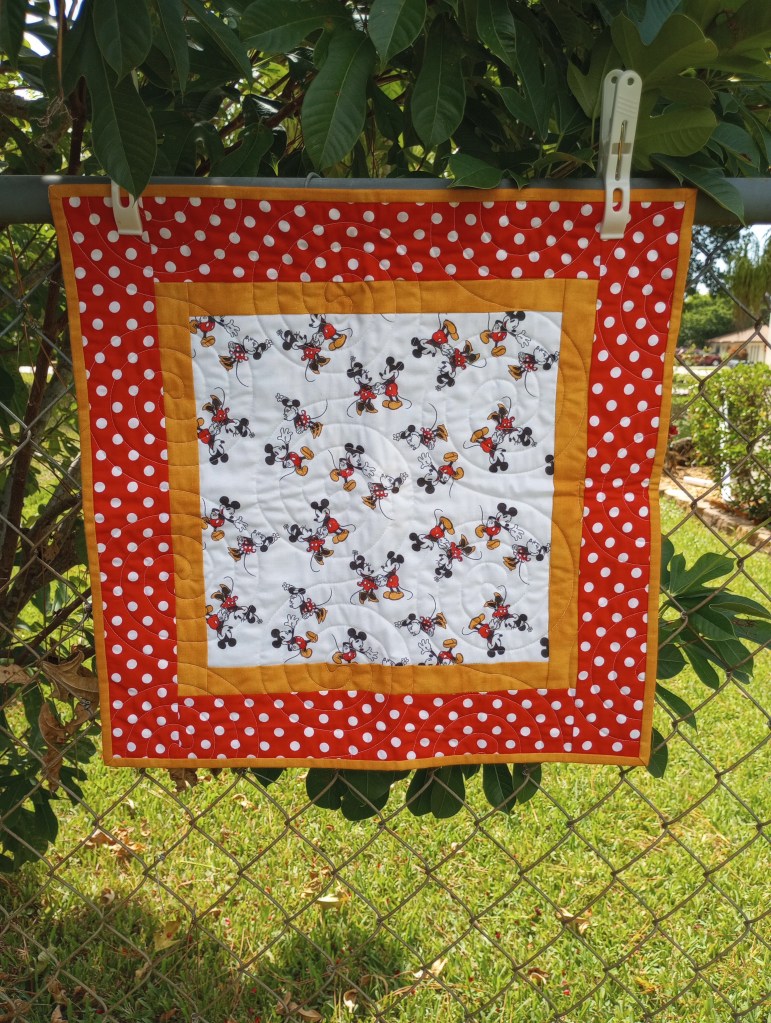
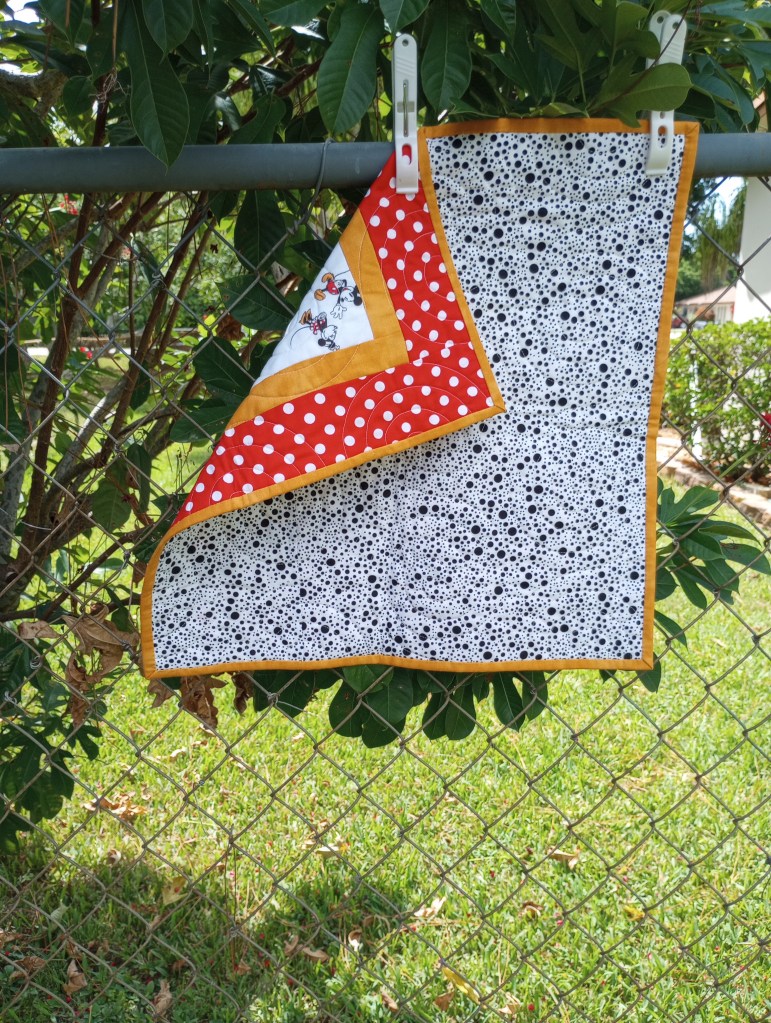
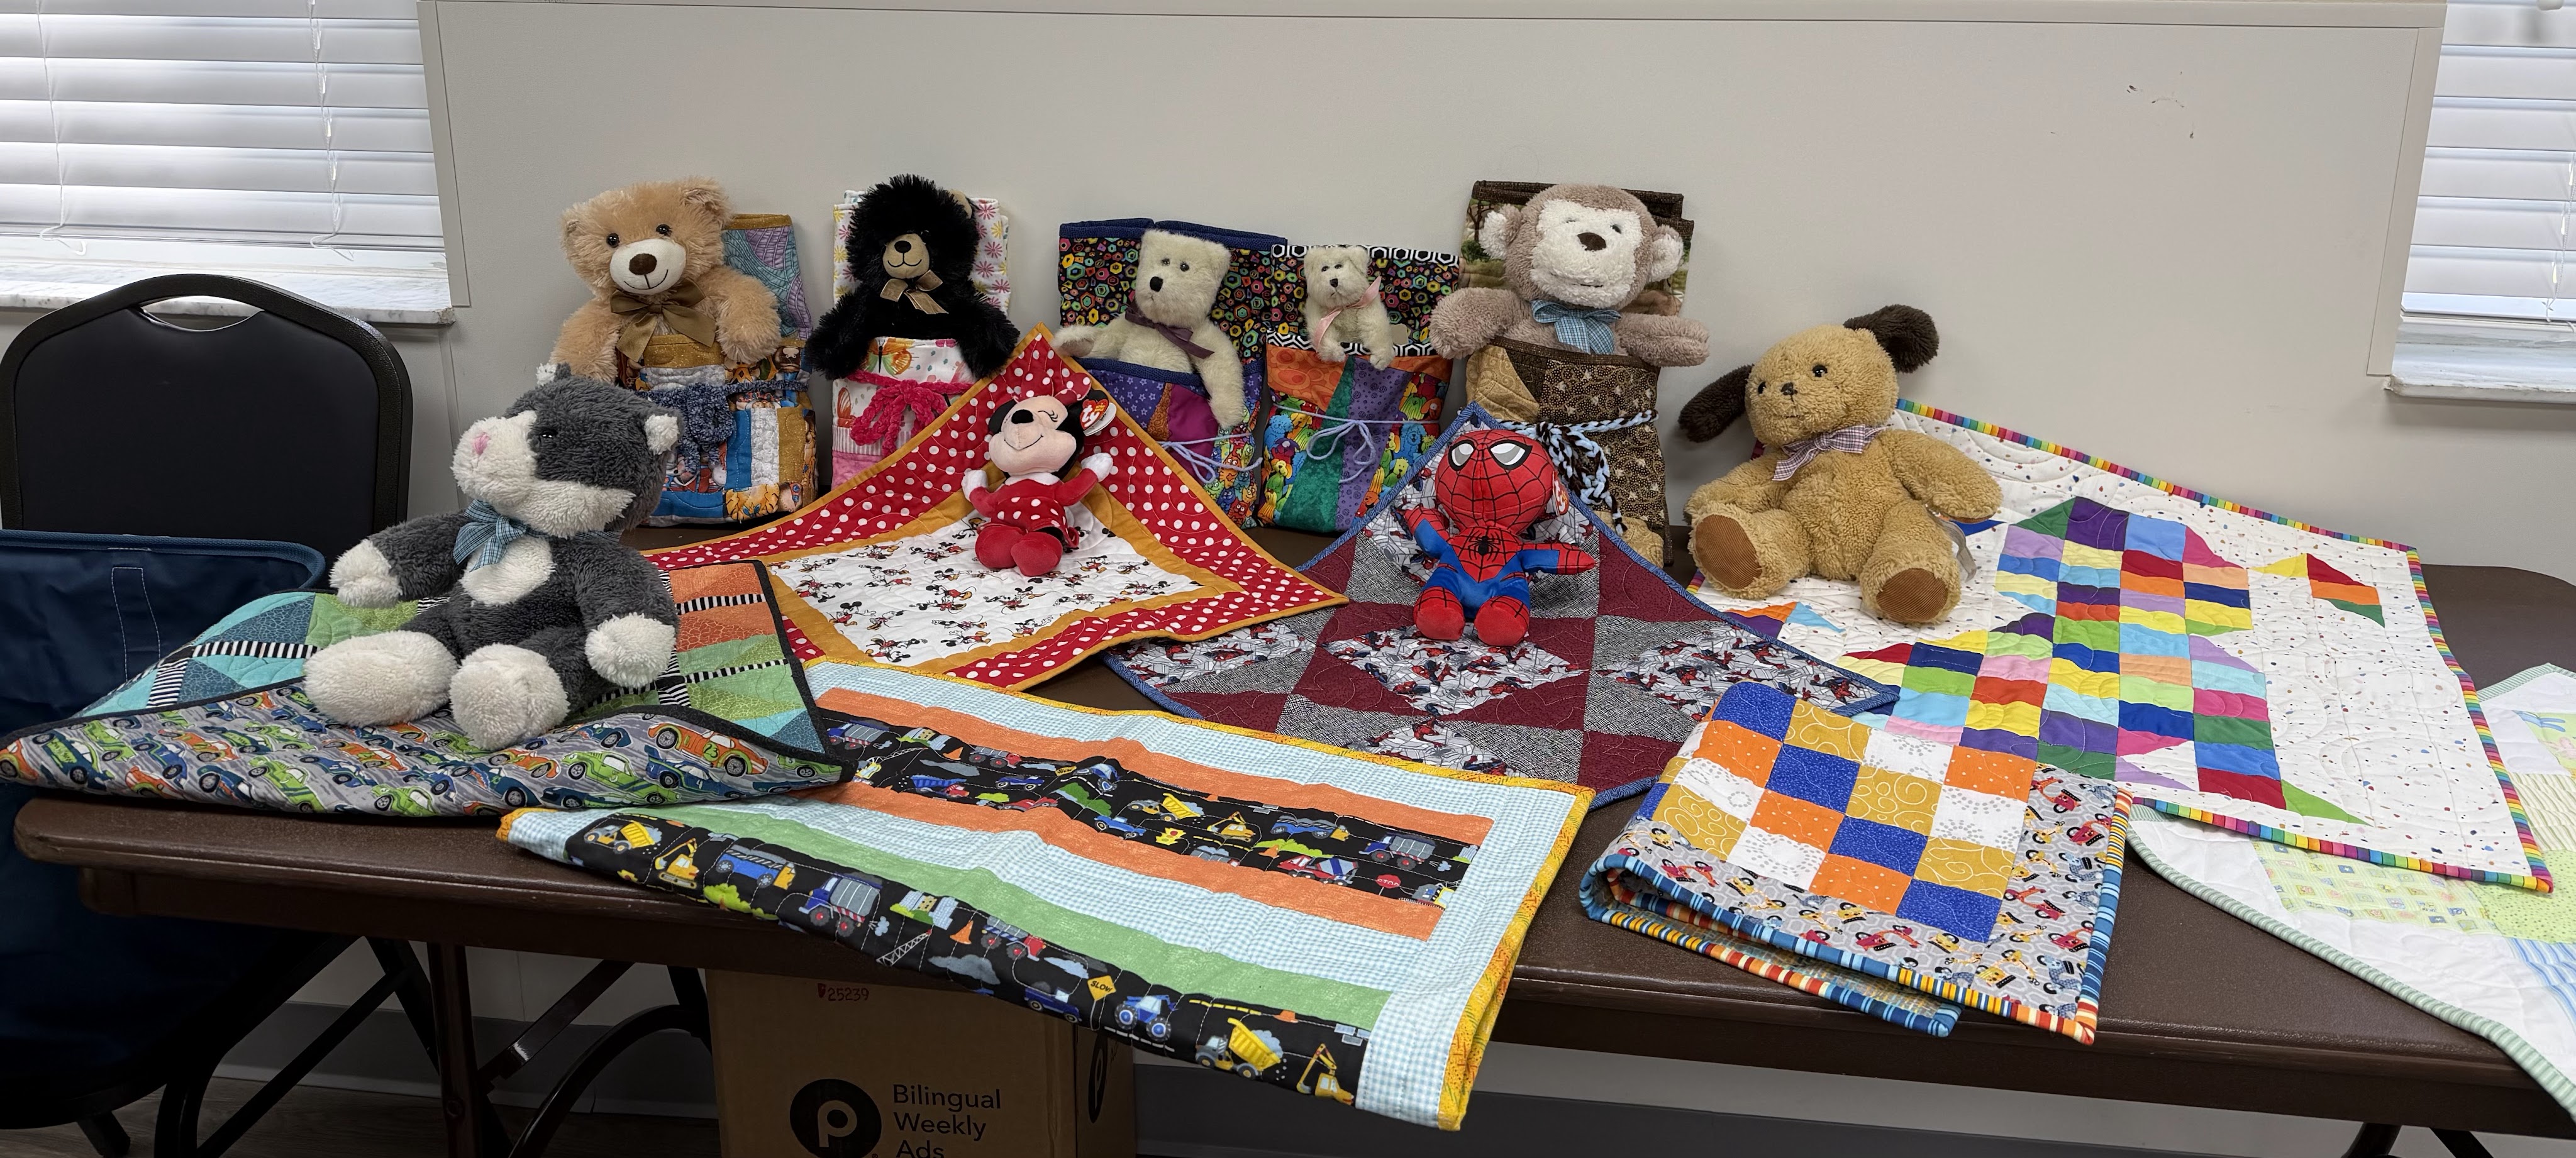
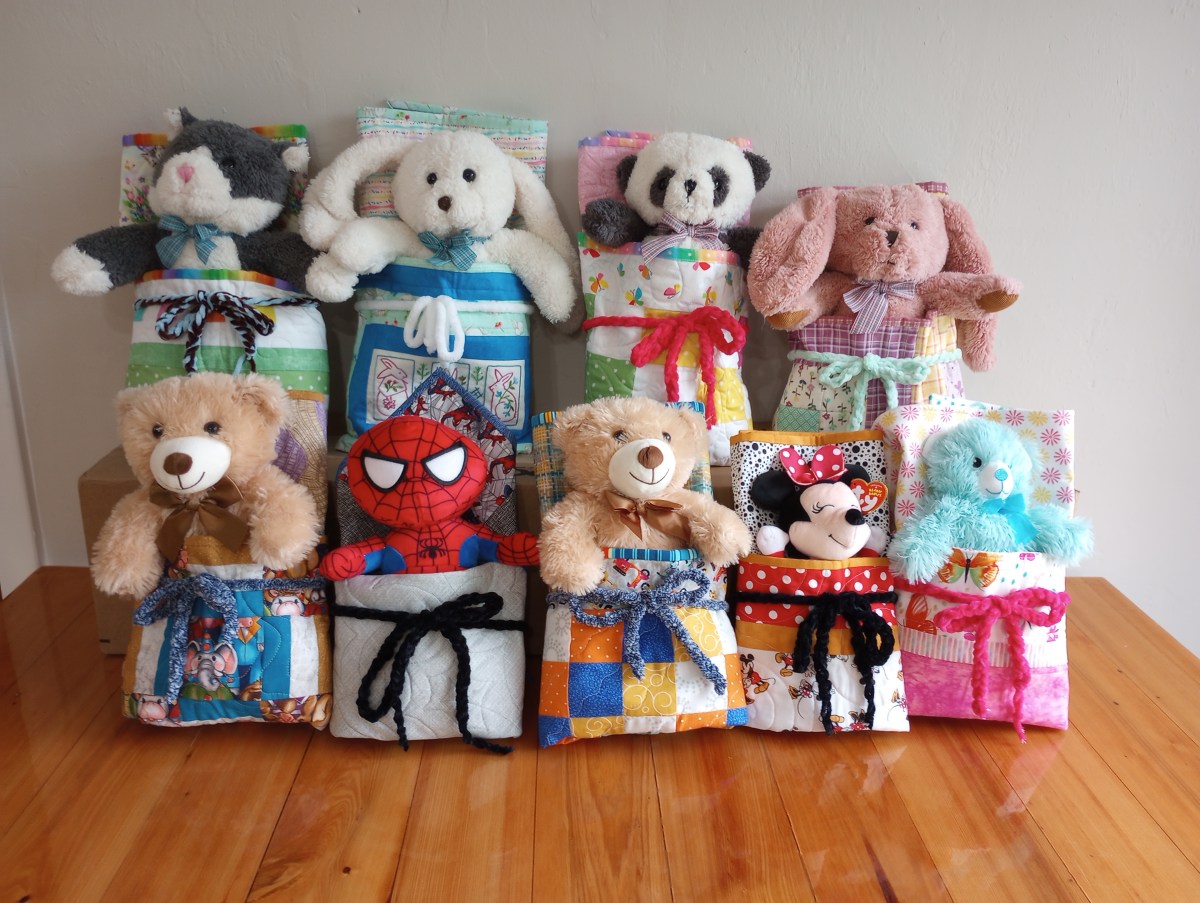
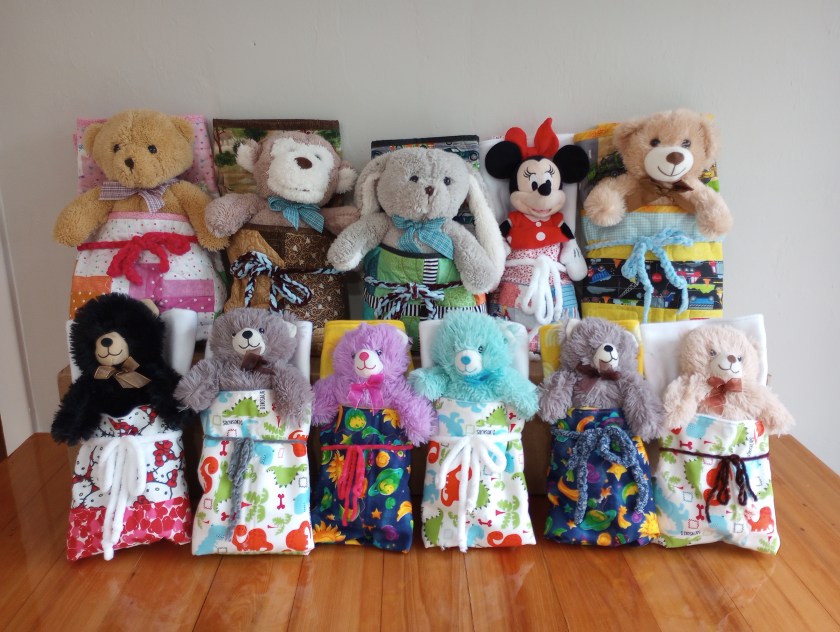
Let me show you some delightful little quilts that might just make you smile and warm your heart. Crafted to accompany adorable stuffed animals and destined to bring comfort and joy as they are donated to first responders to distribute when they’re most needed.

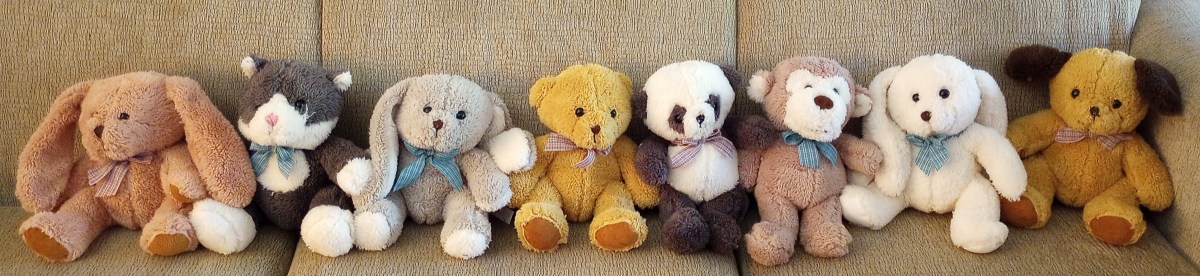
I have some duplicates set aside, but this collection of fuzzy friends I’ve been purchasing recently is a testament to my commitment to this project! The whimsical little quilts that my quilting friends choose to join me in making (in any of the ranges of sizes below, either square or rectangle) will also be wrapped around one of these cuties and tied with a bow. My greatest hope is that a little heart will feel every ounce of love that was stitched into each one of them. ♥

Large for 22″ to 24″ size quilt

Medium for 20″ to 21″ size quilt

Small for 18″ to 19″ size quilt

I hope to update these images with better photos soon~

Quilts Pieced with Purpose

A community-focused quilting project dedicated to creating and donating quilts.