Have you ever begun with an idea and have it morph into something you didn’t quite expect? Here’s how this one began – late last night.

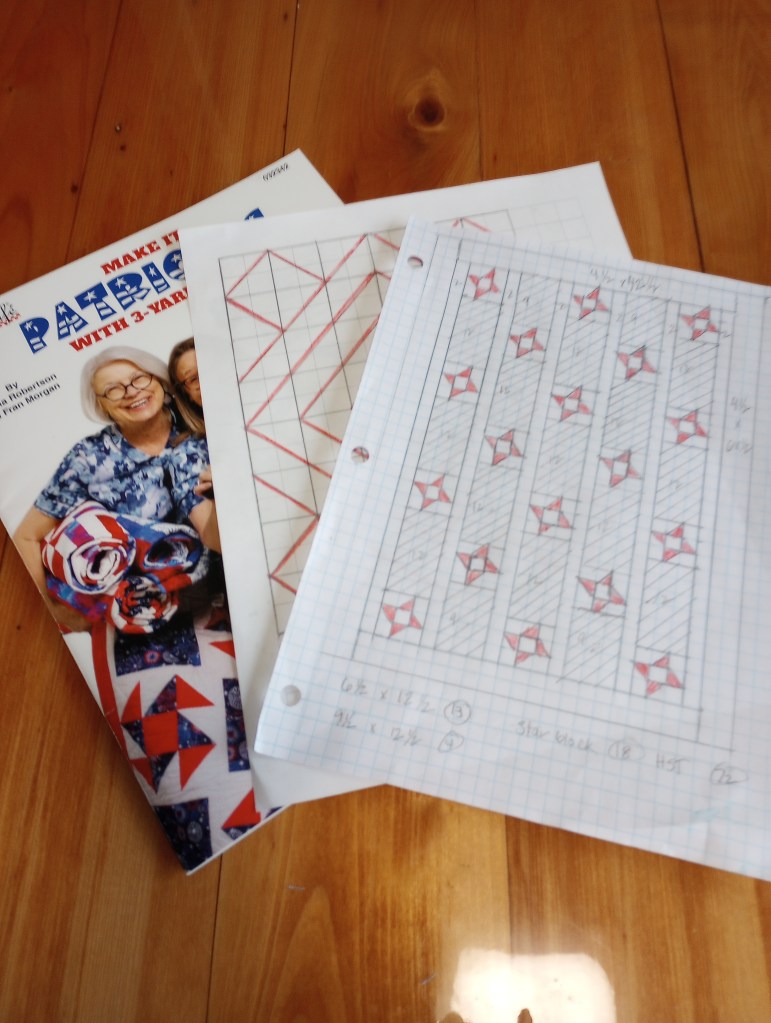
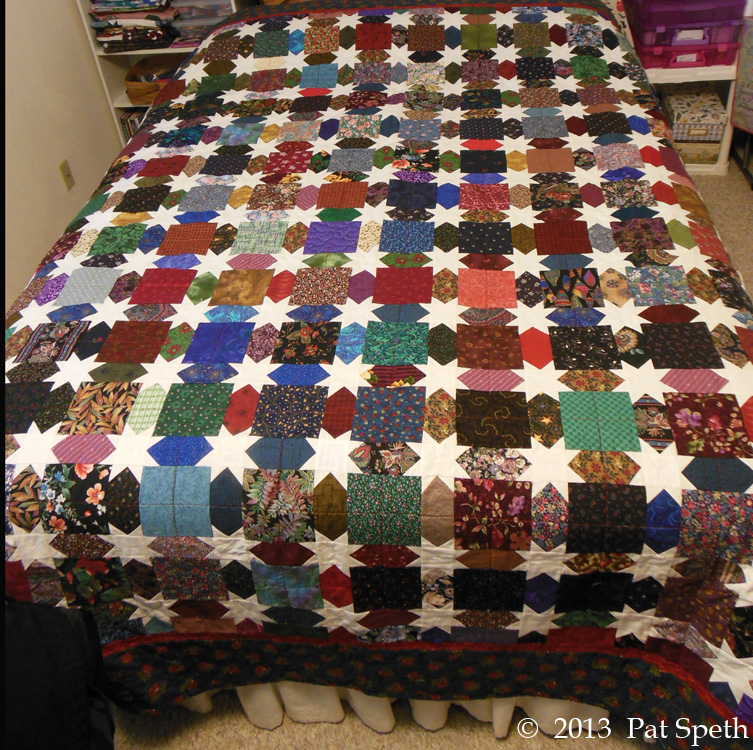
I’d seen a photo on Facebook of a pattern by a company that didn’t have the rights to it. The actual pattern is called Petal Pop and designed by Melissa Corry. I liked it and noticed it used jelly roll strips, which I thought might be perfect for our guild’s strip challenge program in the spring.

Last night, I considered buying the pattern but chose not to when I saw the quilt shown on the cover was 98″ x 98″. The 50″ square version only had one “flower” in the center and I didn’t like it nearly as much.
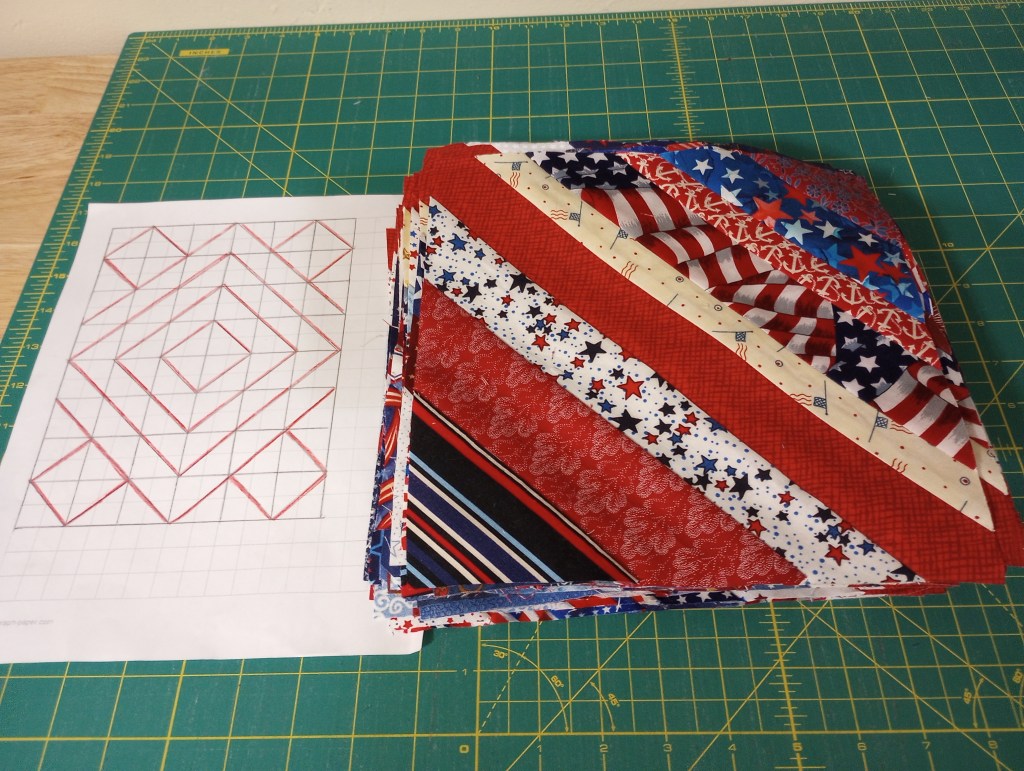
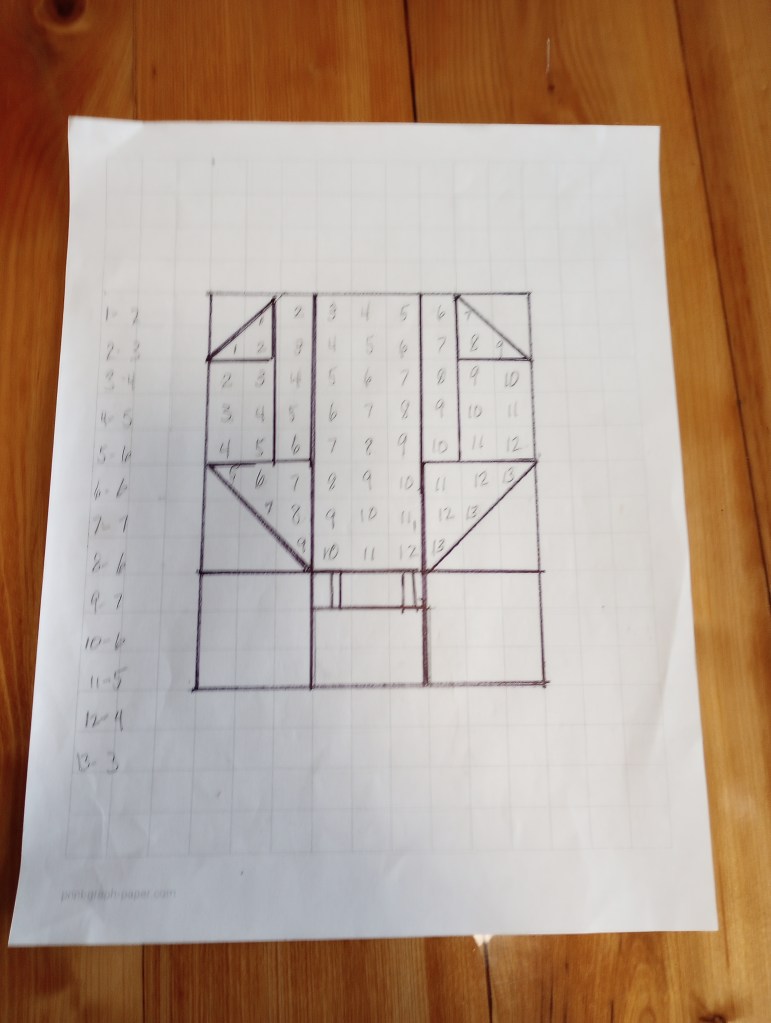
I considered cutting the strips in half, 1 1/4″ wide, but that would make them really narrow and involve a lot of extra math! 🙂
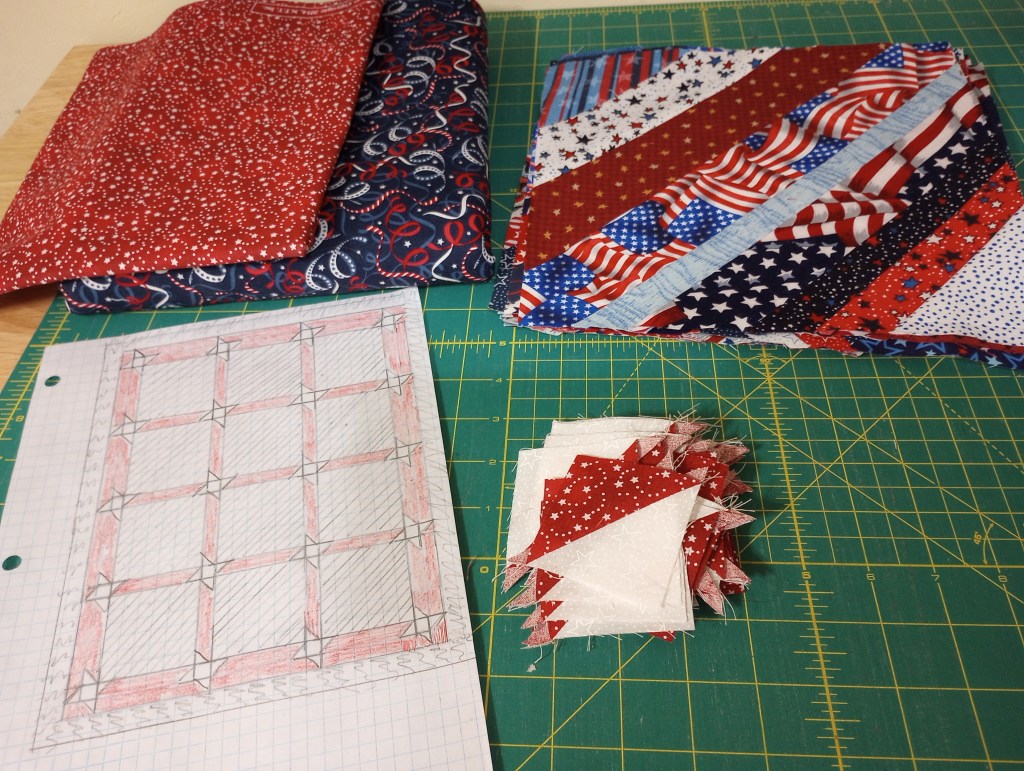
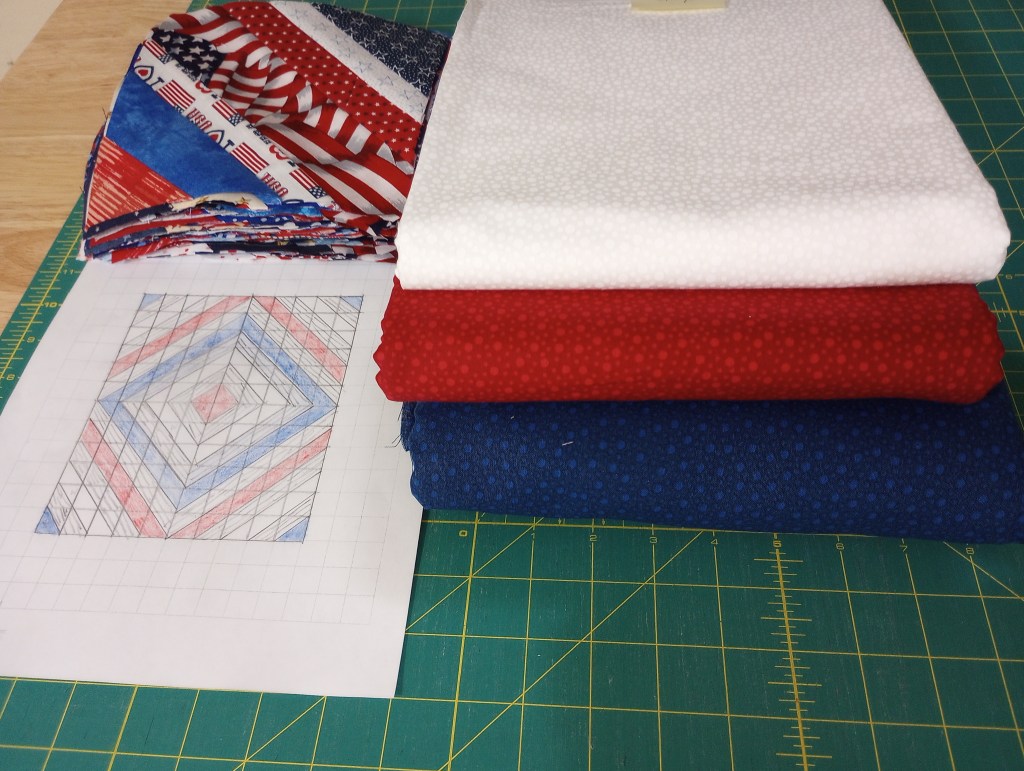
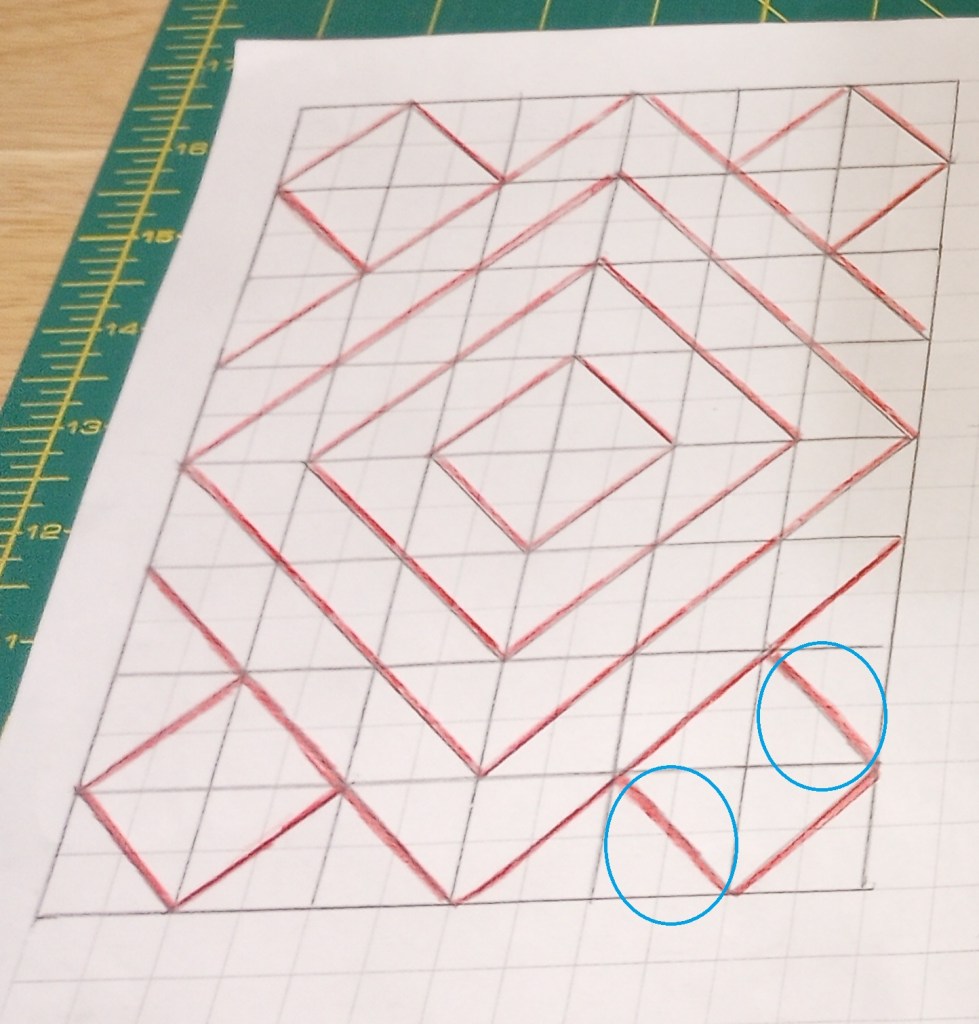
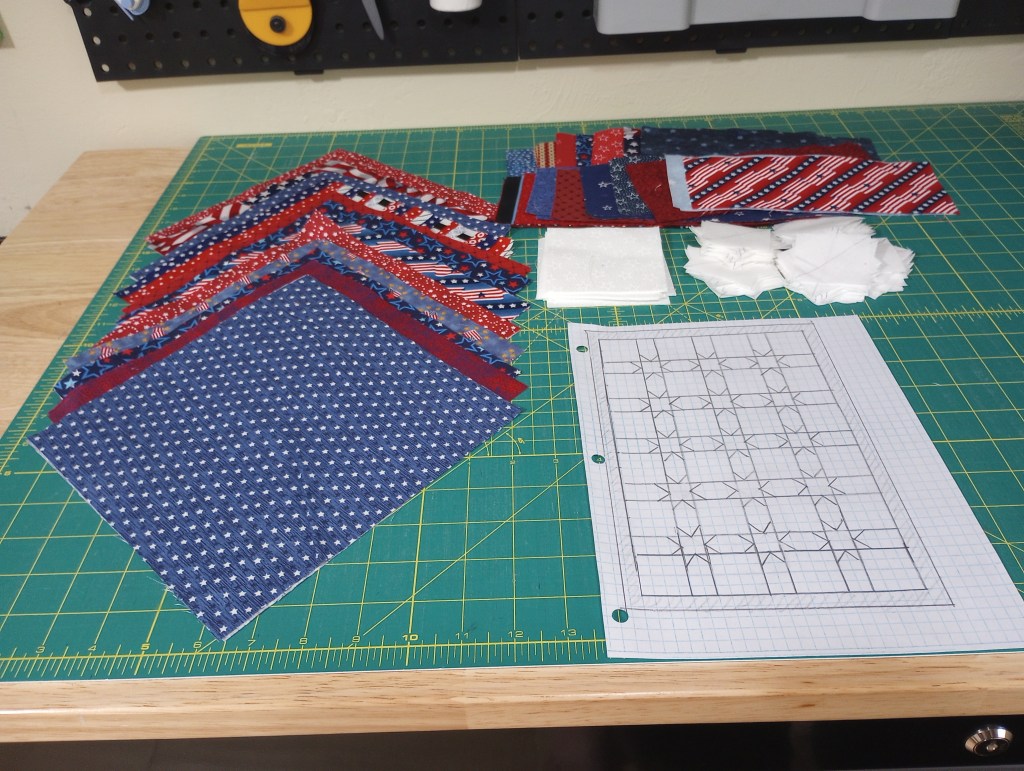
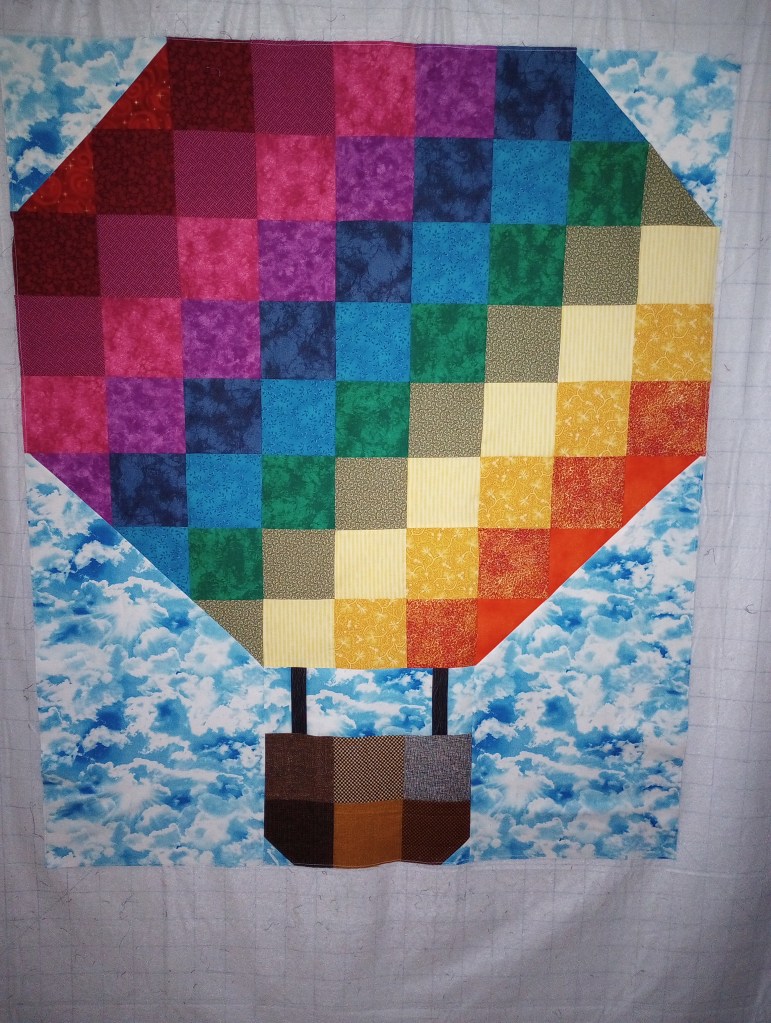
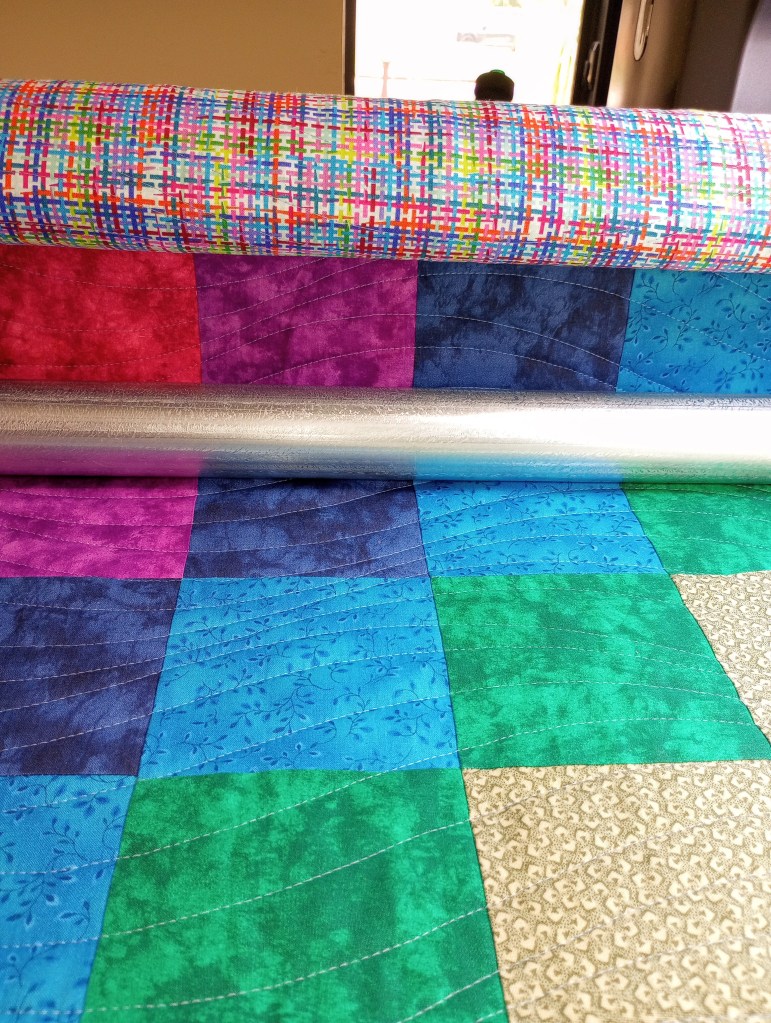
Instead, I stayed up late and graphed a block that would use 1 1/2″ wide pieces. The block is an usual one, but looking at where the sashing and cornerstones are located helped to define it.
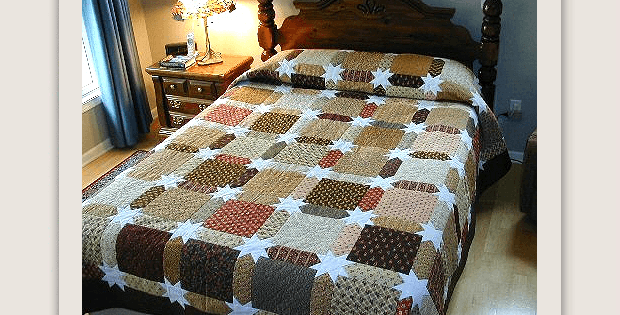
A few months ago, I saw a picture of some quilt blocks in progress. The quilter didn’t mention the pattern, but I recognized immediately that it was this same block. Looking at that photo also helped me figure out how the block was probably pieced.
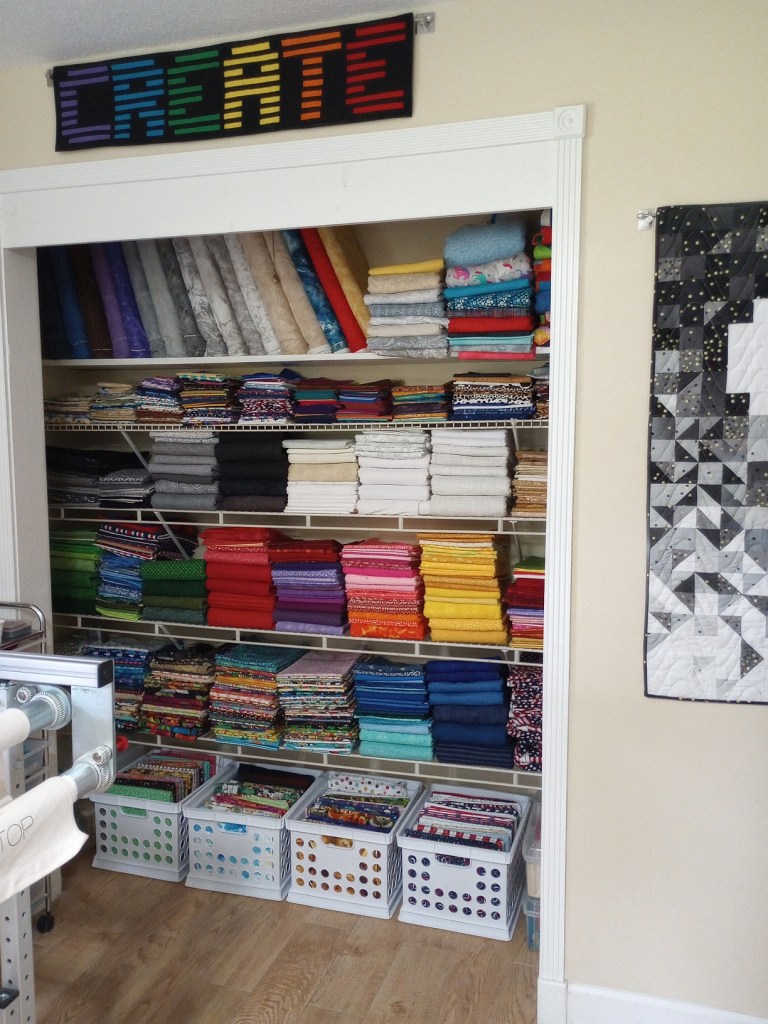
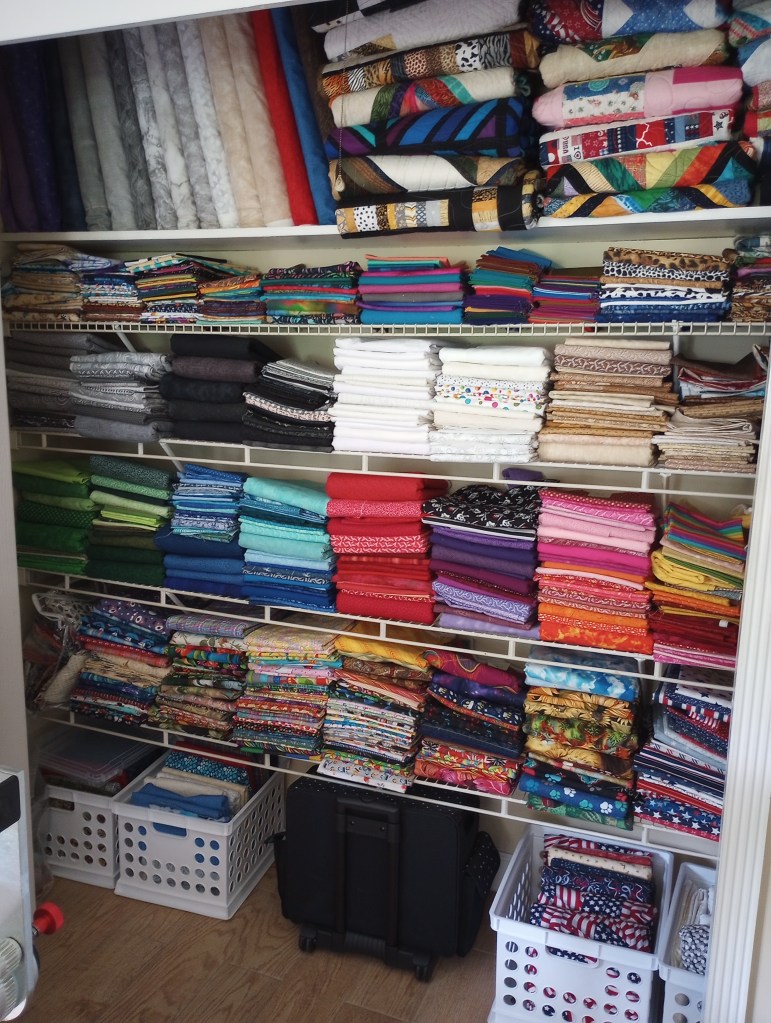
I went to bed wondering how the blocks would look using some of these scraps??? Most of them read as solids though and I didn’t think that was the look I wanted.
A honeybun of 1 1/2″ wide strips would be perfect for the finished size I hoped to make. Problem is, I already own plenty of fabric. Buying something new would be going in the opposite direction of my goal – that is to try and use scraps and strings as often as possible.
I went to bed and put the idea to rest too.

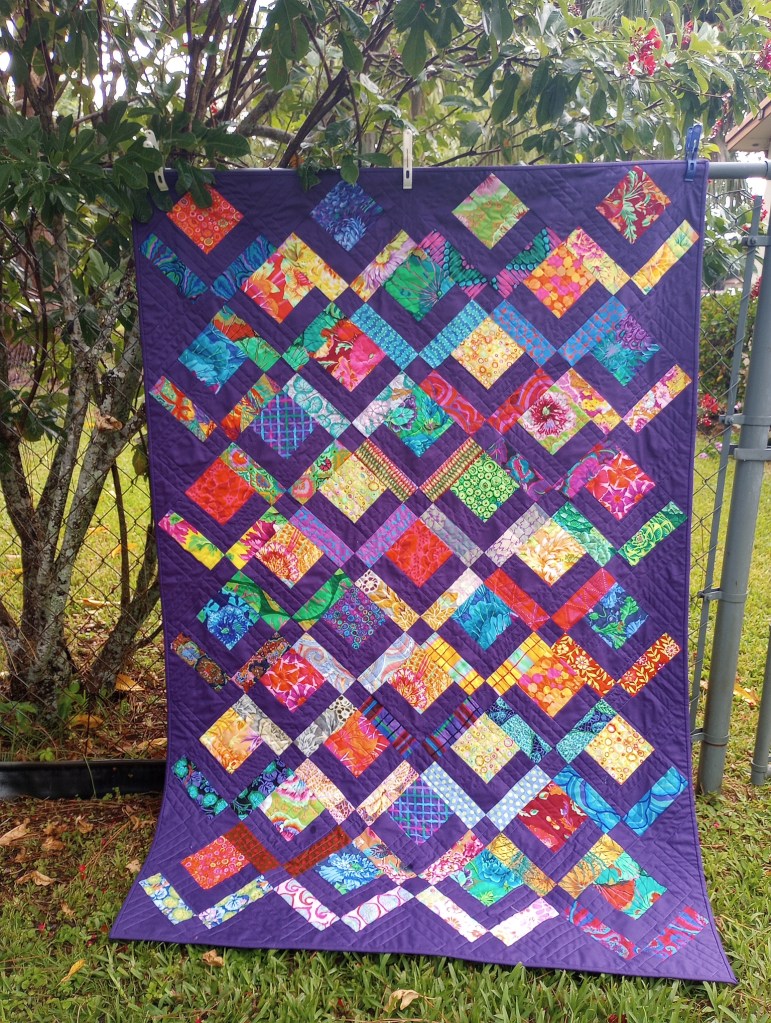
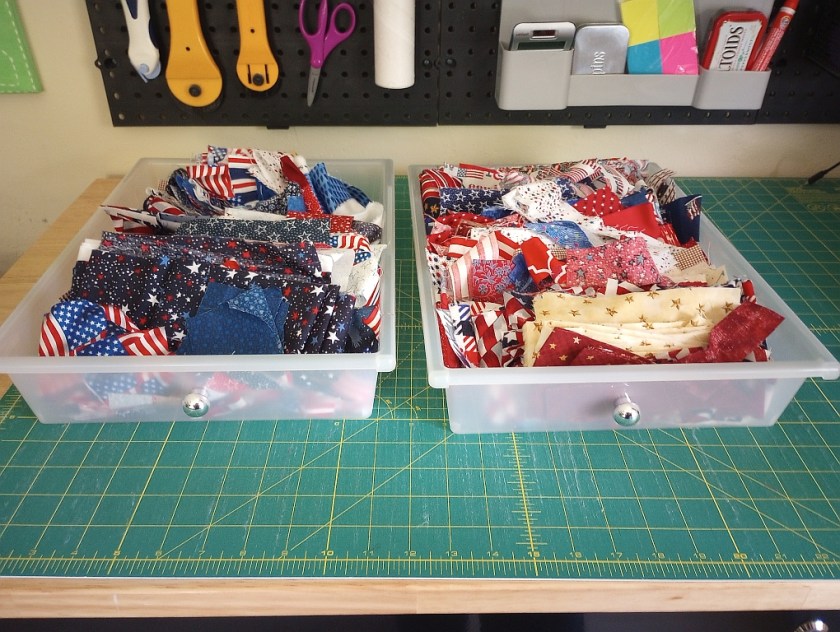
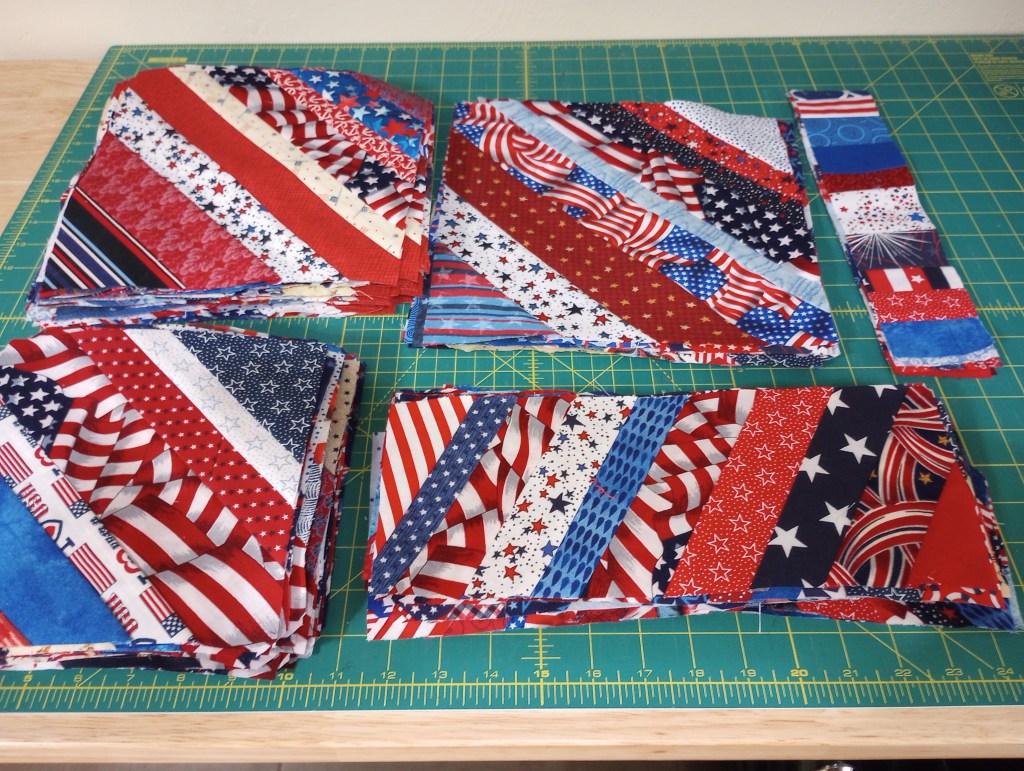
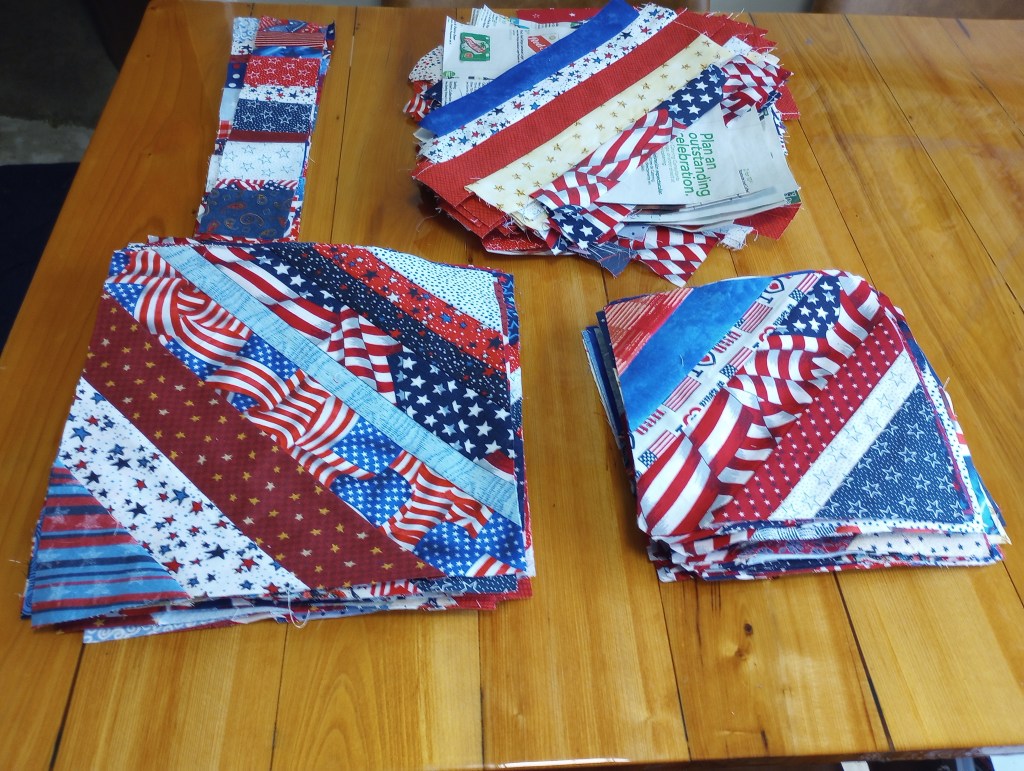
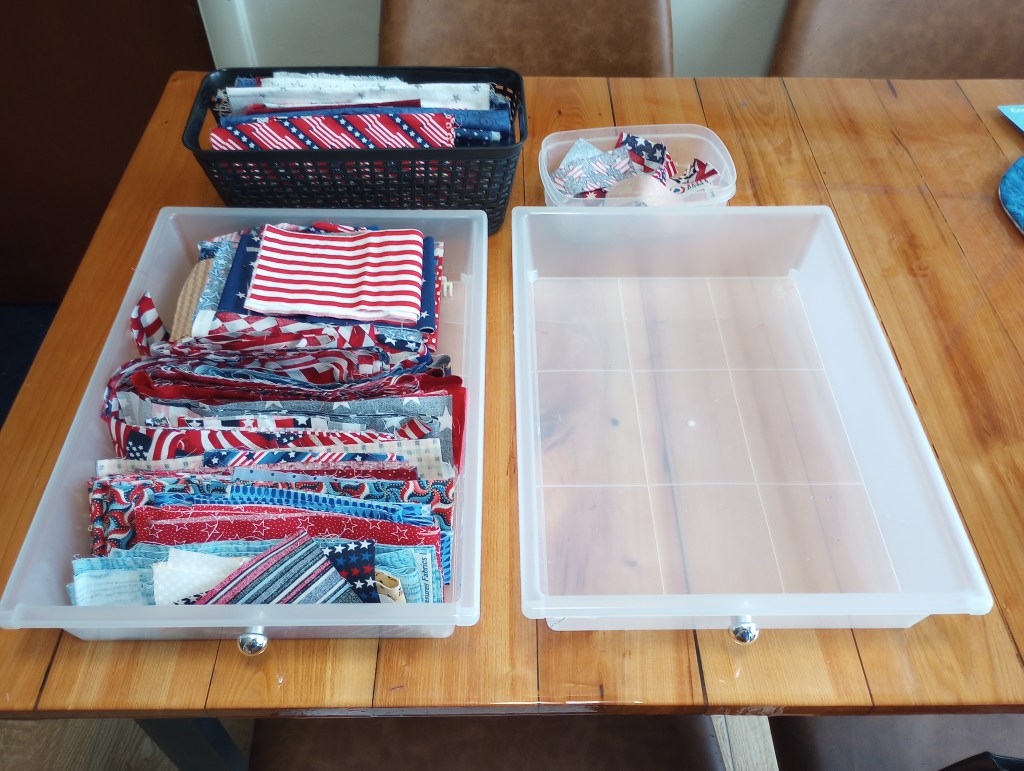
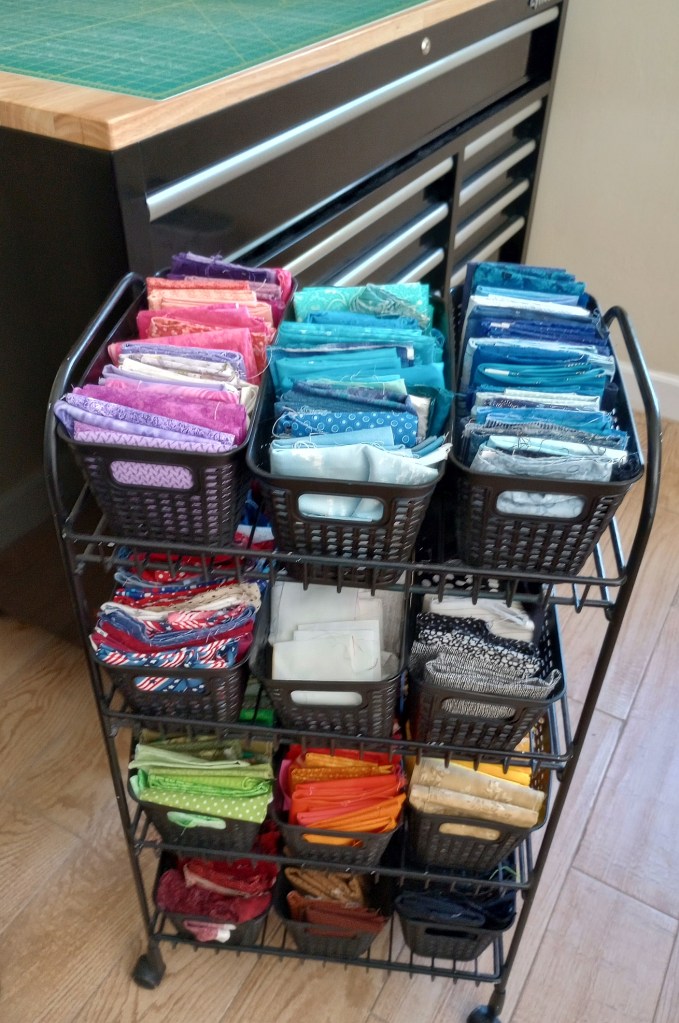
Remember seeing these photos? I received those Kaffe scraps back in July from an online friend with whom I had shared some Civil War-type background pieces of fabric. I made one quilt with the Kaffe prints and mentioned being a little disappointed with it in this post. I put the rest away in a box to use in the near future for string blocks.

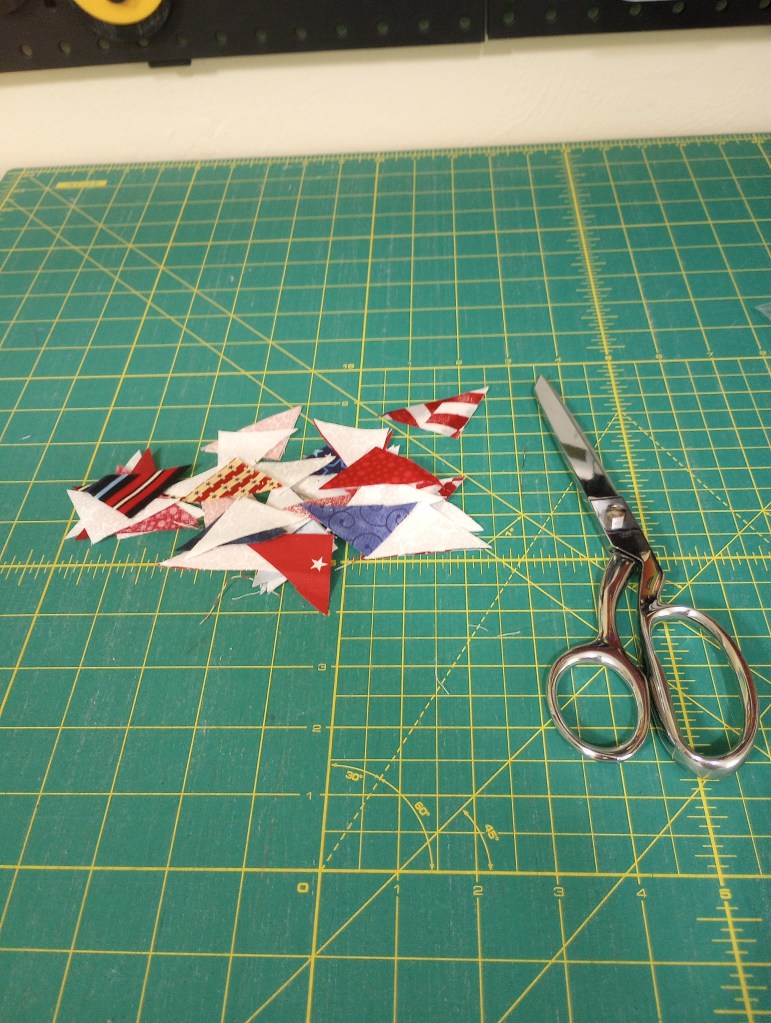
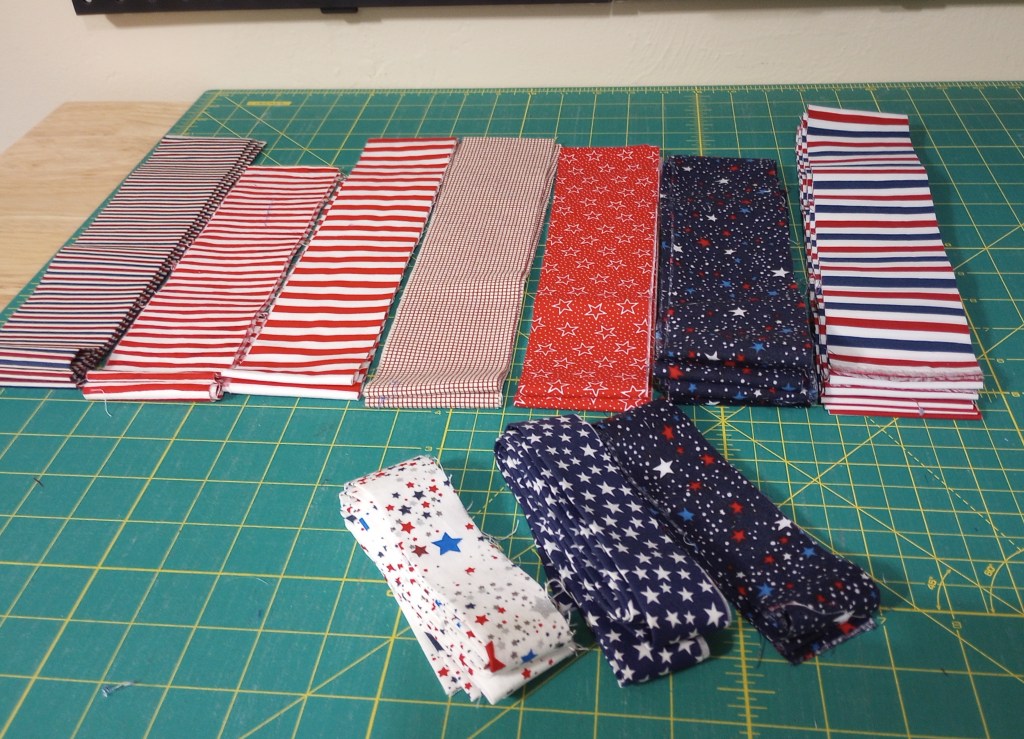
This morning I remembered them and decided to layout what I had left to see if they might work for this quilt. Other than a handful of pieces that are 3″ and 4″ wide (not shown here), these are what’s left.
These strips are all shorter than 40″ and less than 2 1/2″wide.
I counted them and I have plenty to make the quilt top since they are all at least the 17″ I’ll need for the block size I drew. Yay!
Kaffe prints are usually too busy for my taste. There’s a lot of background fabric in this quilt so I’m hopeful that it will tone them down just a bit.
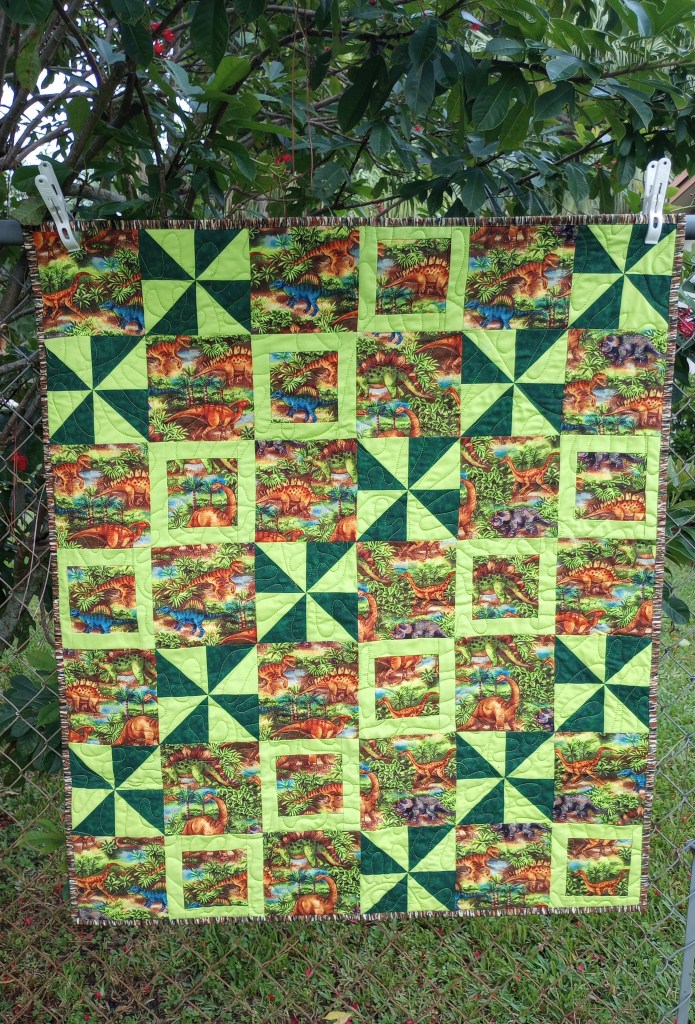
The quilt in the pattern reminds me of a Lori Holt farm/country style project. Mine is much more likely to look like a garden you’d see in the tropics.
For fun, I used artificial intelligence to create a picture of a typical south Florida garden. It sure ooks a lot like those Kaffe fabrics above, doesn’t it? The photo caption was AI generated too. I had to laugh when I read the “tranquil meadow scene” description. I don’t see a meadow, do you?😂

The funny thing about how all this evolved is this .. I had jist texted my friend Robin a day or two earlier about wanting to try something different but I wasn’t sure what that “something” was. We discussed a sew along of a quilt a blogger was making but I tend to turn projects like that into UFOs that I have to deal with later, so I avoid them. I also mentioned a quilt shop class that looked interesting or maybe even a block swap with friends, but neither of those felt like what I really wanted to do either.
Maybe what I needed was in front of me all along, a project like this. One that was interesting and something I hadn’t done previously. A quilt that would take a while to complete but didn’t require me to put it aside to wait on some one or some thing.
I do still want to continue focusing on making scrap and string quilts because I enjoy making them. This will give me a needed break from focusing so much on those they start to get boring. I can work on cutting and piecing a block at a time and watch the quilt grow gradually.
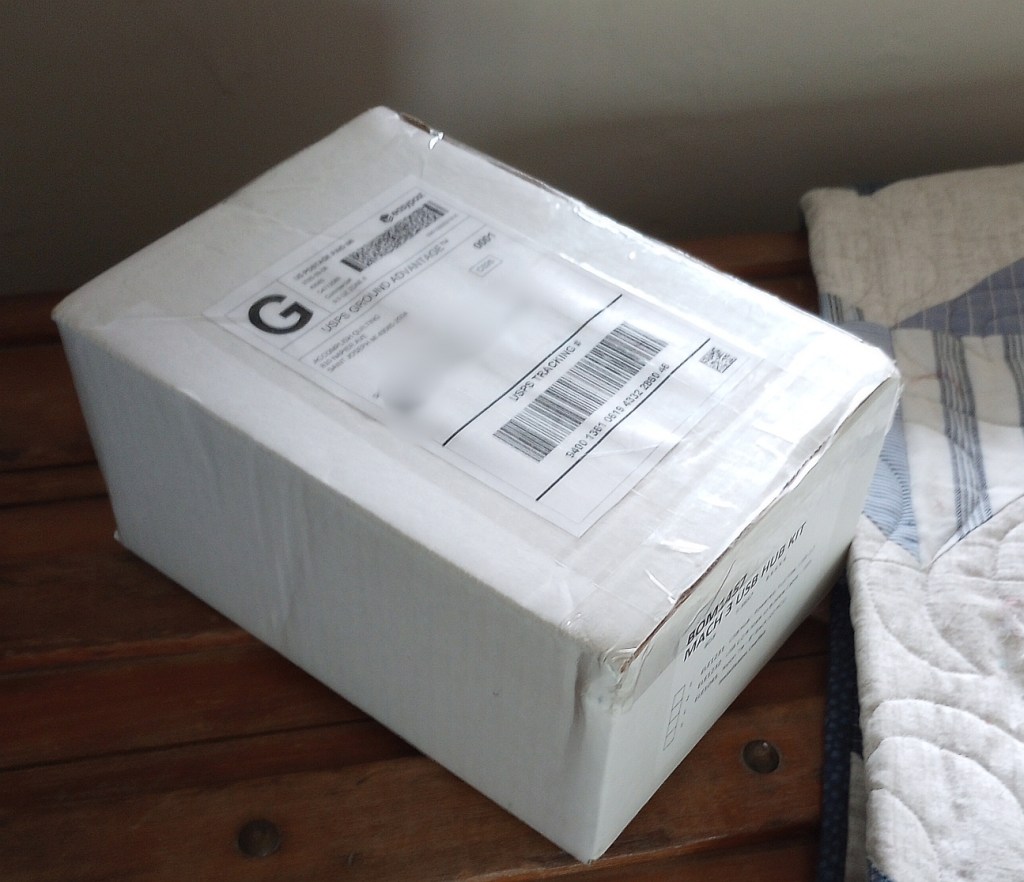
My new bobbin case just arrived while writing this post. I’m eager to try it but I need to do some housework first because if it works, I’ll want to start quilting the guild donation quilt I have loaded. If it doesn’t, well…that could also consume the rest of my day.
Fingers crossed! &&