How to add a flange binding

This “how to” is not meant to be a full tutorial on how to attach a binding by machine. A simple Google search will bring up many, many existing pages and videos on the process. Instead, the goal is simply to share information on how to add a flange to your binding.

Why add a flange? Two reasons…

1. Sometimes you have the perfect fabric for your binding but don’t quite have enough of it. Flange binding to the rescue! With this method you only need cut your binding strips 1 ½” wide. 🙂

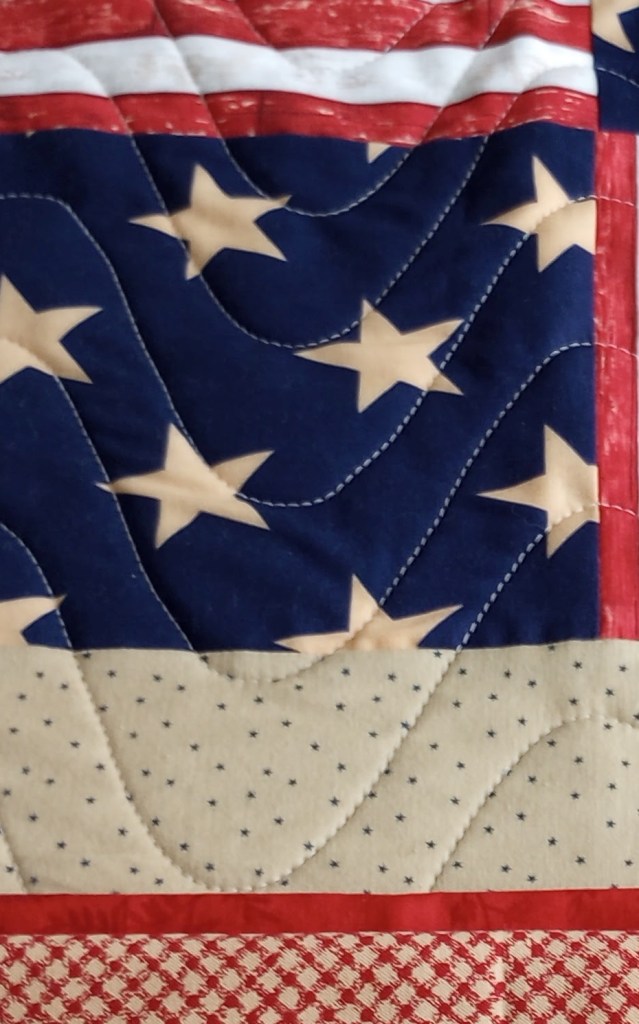
2. In other instances, your quilt border and binding may not look great next to each other, but a bit of flange separating them is all that’s needed. That was the case with this quilt.
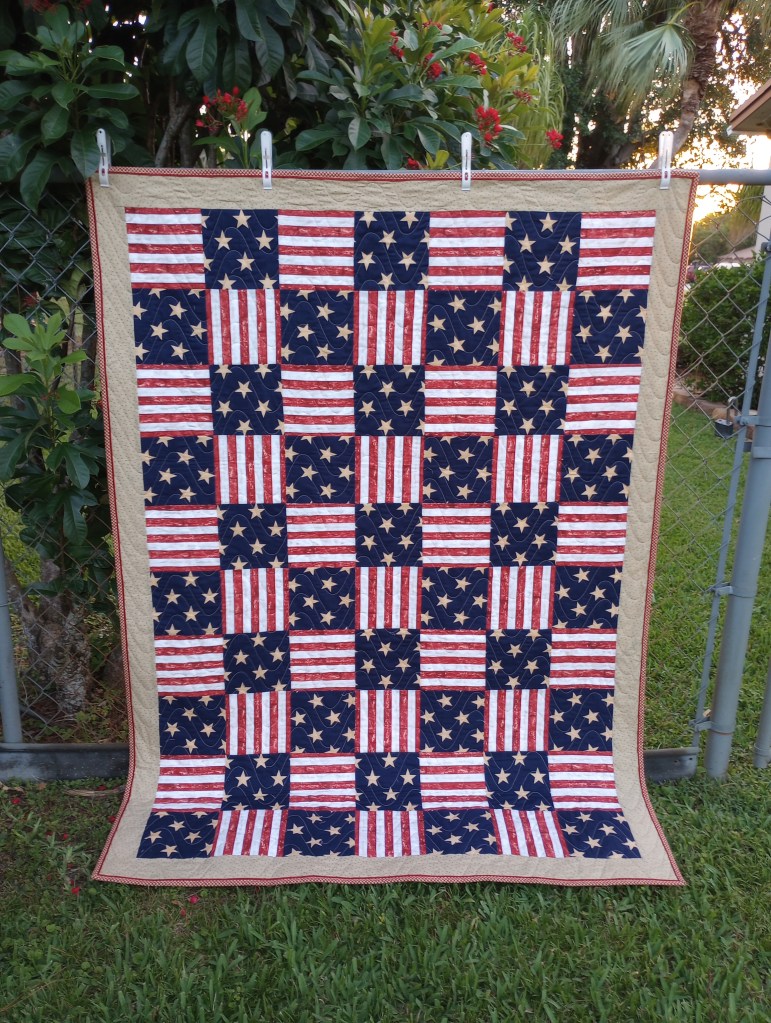
I auditioned the binding I wanted to use and then, laid a piece of red fabric under it to see how it might look with a red flange. It was an easy decision.
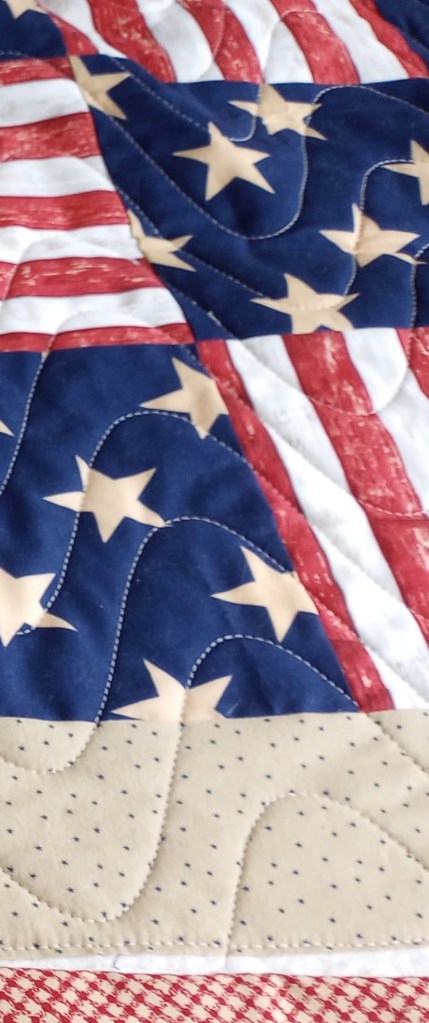
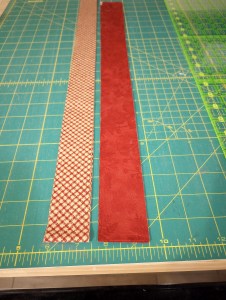
Here are the measurements to cut your binding and flange fabrics. The flange is cut wider than the binding fabric. Cut as many strips of both fabrics as needed to get the length of binding needed for the quilt.

Flange: 1 ³⁄₄” wide strips

Binding: 1 ½” wide strips

Sew all of the flange strips together end to end. Then, sew all the binding strips together, end to end.
Next, sew the two long strips together and press toward the flange fabric. In this example, it’s the solid red.

Fold the binding in half carefully matching the raw edges and press.

The flange is very narrow so careful pressing is important.It’s easier to press from the flange side – with the seam underneath.
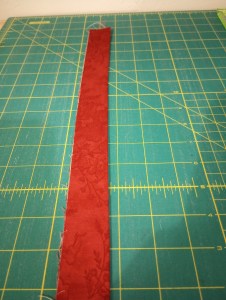
When you turn it over, you’ll see your narrow flange.
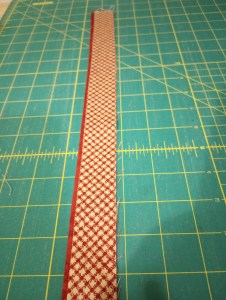
Sew the binding to the back of the quilt with the binding side down and the flange side facing you.
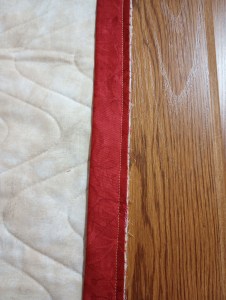
Press the binding away from the back of the quilt.

(This is applicable to all machine-bound quilts and makes it much, much easier to pull over to the front and stitch down.)
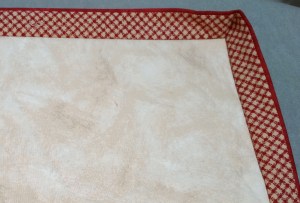
In this decade old Missouri Star video, Jenny Doan demonstrates the exact same process described above. The only difference is, some people prefer to stitch close to the edge of the binding rather than using the “stitch in the ditch” method described in the video.

Here’s a helpful tip for the binding’s mitered corner.

If you have an adjustment on your machine, move your needle position one click to the right. It’s not required to achieve a good corner but, it is helpful when stitching very close to the edge of the fabric.

Start by sewing the binding to the front of the quilt as usual.

As you reach the corner, fold the binding edge facing you upwards.
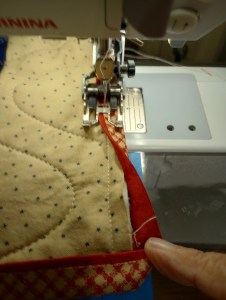
Next, fold the side binding over and secure it with a large head pin at an angle, ensuring the pin catches both the bottom and side binding to hold the miter in place.
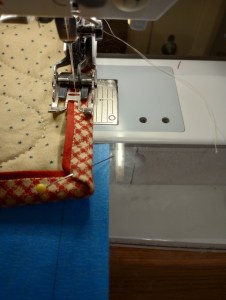
Begin stitching but, stop a couple of stitches before you reach the pin. Finish those next few stitches by hand using the machine’s needle up/down functions or by the handwheel (so you don’t accidentally hit the pin and risk breaking the needle). Leave the needle in the down position.
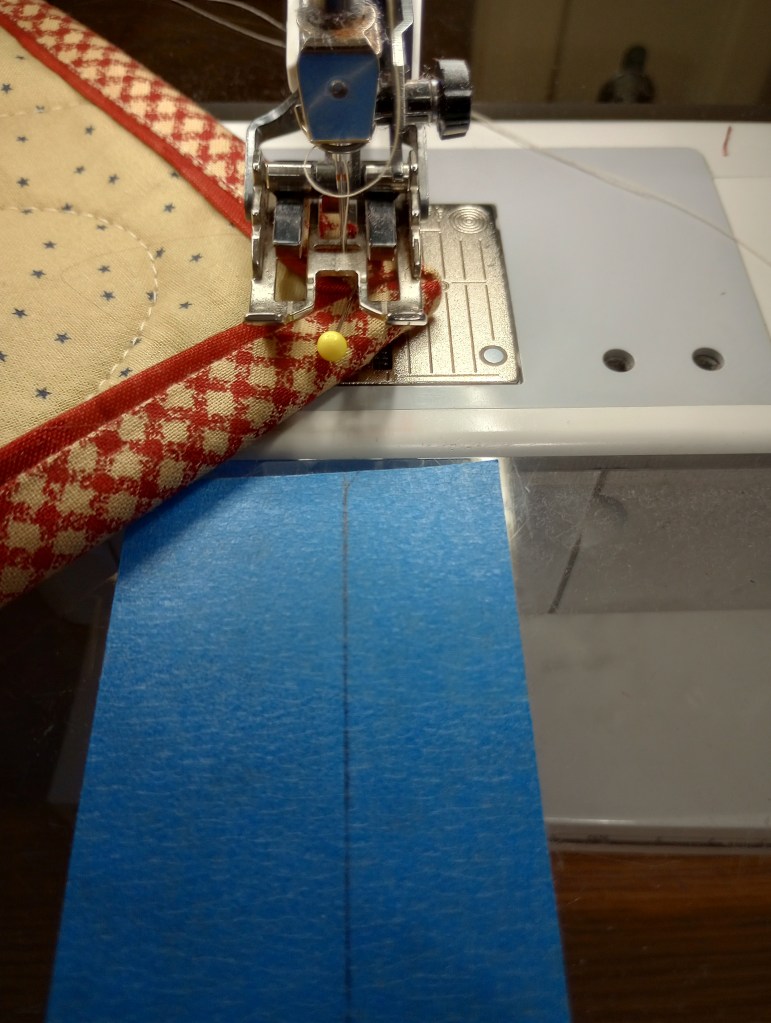
With the needle down, pivot, and pull the pin out when it’s facing you. Prepare to stitch down the other side but – DON’T BEGIN STITCHING YET!

Important! Ensure your first stitch starting down the other side is positioned to stitch on the binding.

Skipping this crucial step will prevent you from achieving your desired result.
(Ignore the blue painter’s tape; yes, I misplaced my quarter-inch tape. I’m sure it will turn up the day I purchase a replacement.)
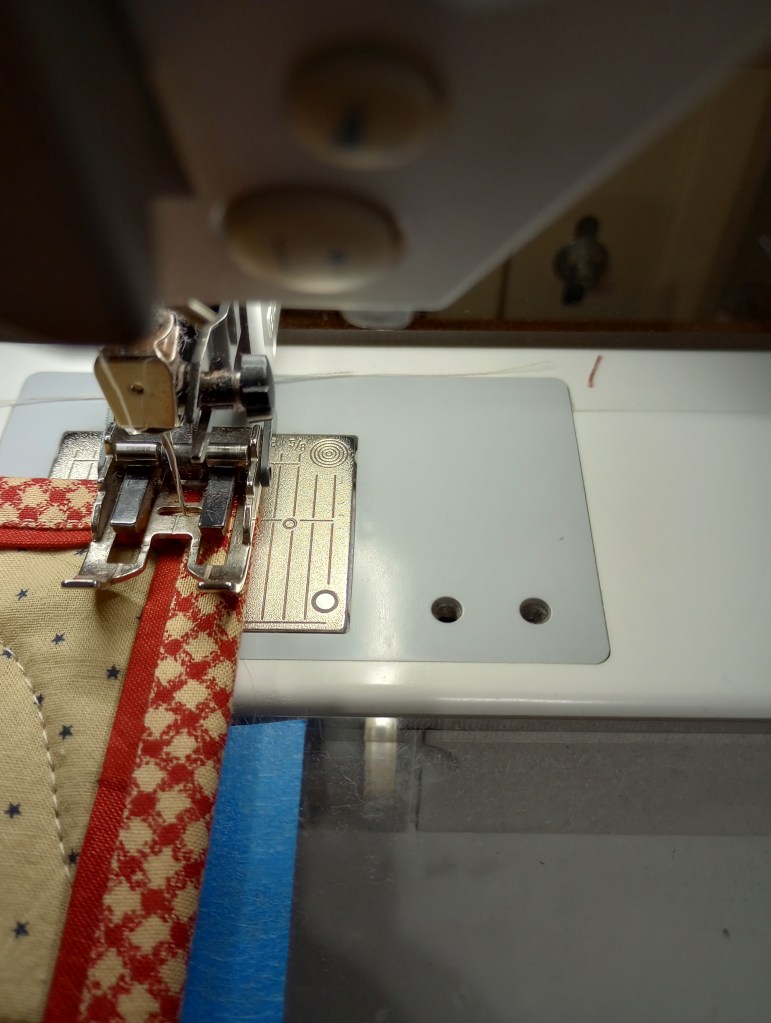
Notice where the needle is in this photo. The quilt was pivoted just one stitch too soon. It required turning the quilt back again in order to take just one more stitch.

This happens often – so go slow and take your time here. Look closely to see that your next stitch is going to be exactly where you want it. Had it not been corrected, the next couple of stitches would have landed in the flange, not on the binding where they belonged.
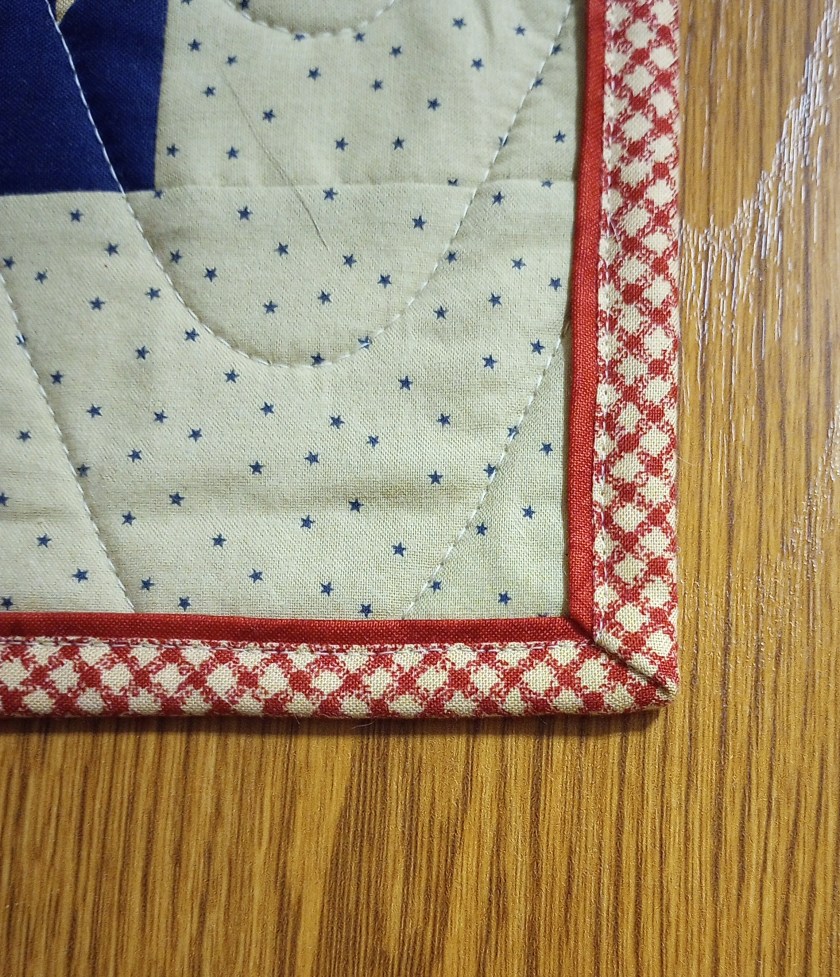
Here’s the finished mitered corner. Taking your time and using this one simple trick makes all the difference!
Conquering decision fatigue

I started sorting through my patterns today. There are a bunch I’m ready to get rid of, plus a stack I want to scan and ditch the physical copies. I kicked off that whole process a year or two back, got a bit sidetracked, and just never wrapped it up.

In the middle of all this supposed organizing and decluttering, one can’t help but wonder: does making choices and decisions ever get easier?

My focus has primarily been on donation quilts for far too long, delaying the quilts I truly want to make. In order to change that, I need to establish some boundaries and accept that “limited help” in a group setting truly means just that—limited… help.

I plan to embrace a “both, but not equal” approach that feels right for me. My bucket list of quilt projects represents the ones the future me would likely regret never having made if I don’t do it while I still can. The donation quilts tug at my heart because I find joy in playing with fabric and watching my ideas come to life, then giving it away to someone I hope will love the finished quilt as much I do.

🎯Bucket list = priority projects

🎨Donation Quilts = creative breaks

My quilting schedule is still a work in progress but, the plan is to alternate between the two types of projects. I’m not going to want to wait until I finish one of the more tedious quilts to work on a fun, quick project. But, as all quilters know, it’s dangerous to put a project aside for “later”. That’s how we create a UFO.

I’m leaning toward deciding in advance to use strategic places to stop the bucket list quilt, take a creative break, and then back to the priority project.

These would be my pre-determined places to pause.

  • Prep & cut out pattern
  • Piece blocks
  • Set blocks & add borders
  • Quilt
  • Bind


The three quilts that I most want to make have been chosen – patterns and fabric for all three are ready to go!

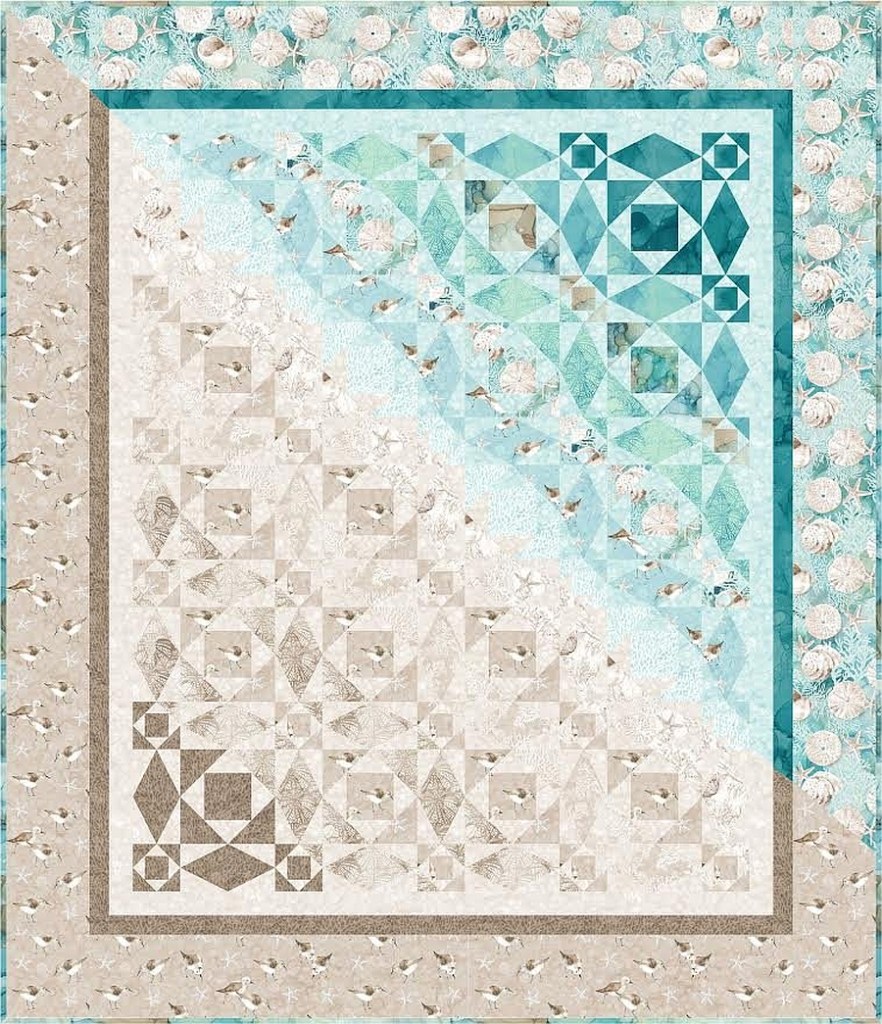
I’ll wait to start one of them until after the holidays. The storm at sea quilt will likely be first. Until then, I’m still very much hoping I can to squeeze in two Christmas projects.

With my top three projects selected, the decision fatigue I was beginning to feel has begun to fade away. Having a clear vision about what comes next makes the entire process feel much more manageable and that the hardest part is now behind me. 🙂

All the things…

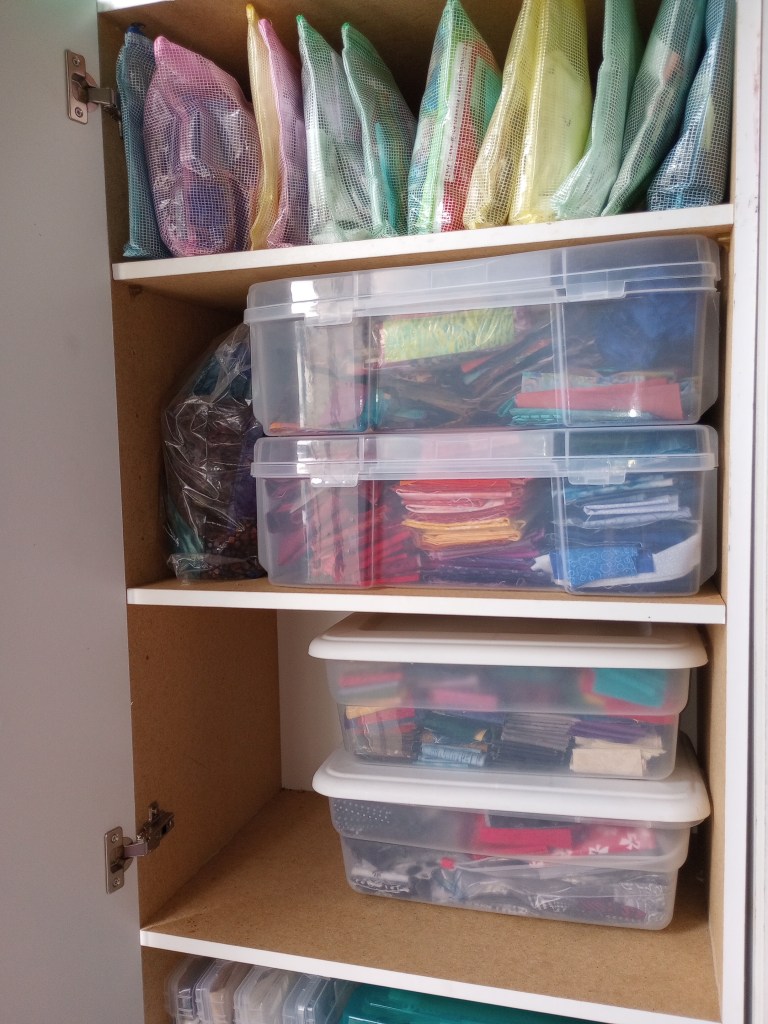
Things in bins, bags, and piles are finally decluttered and organized. There is still a lot to go through – precuts, patterns, tools, and the “who knows what” stuff that hides in drawers but – I’ll get to it – eventually!

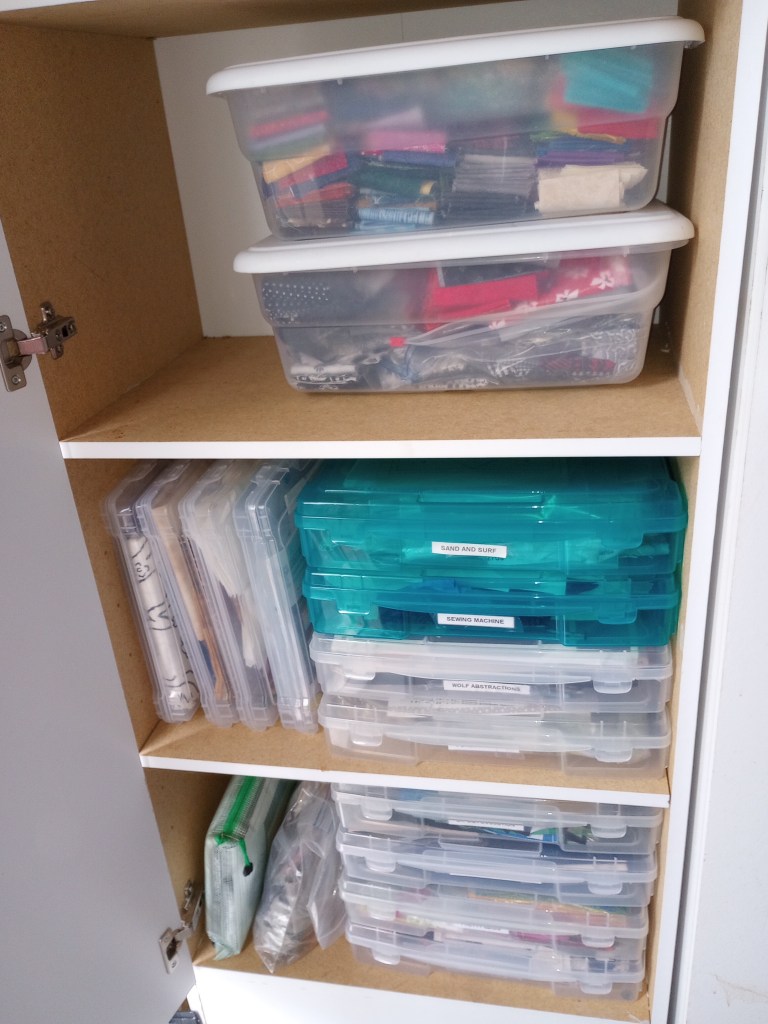
It’s a relief to get all my kits and projects out in the open and listed. Some have been started while others are either fabric groupings I put together with a specific pattern in mind or, store purchased kit. The small scraps and strips that I’m keeping (from the baskets pictured at the bottom of this post) are also stored in the same cabinet.

The cabinet is in my laundry room and I intend for it to be temporary, even if “temporary” translates to a year or two. I’m not going to pretend that I won’t chase a new squirrel but I really want to focus on things stored here.

The reason you’re seeing two photos is because I couldn’t capture the entire cabinet in one shot.

I still have a long way to go but I’ve started focusing on one task a day. Yesterday I moved some batting to the bar under my quilt frame. I’ve used quite a bit the last few months but that should begin to slow up. More tedious and/or larger quilts but I definitely won’t be quilting as many. I’ve had some of these projects on a bucket list for quite a while and it’s time to say “no” to some things so I can say “yes” to others. I also want to plan quilts around the scraps I’m keeping. I’ll still make quilts to donate but, I’m setting boundaries and not letting it consume my entire quilting life like it did this year.

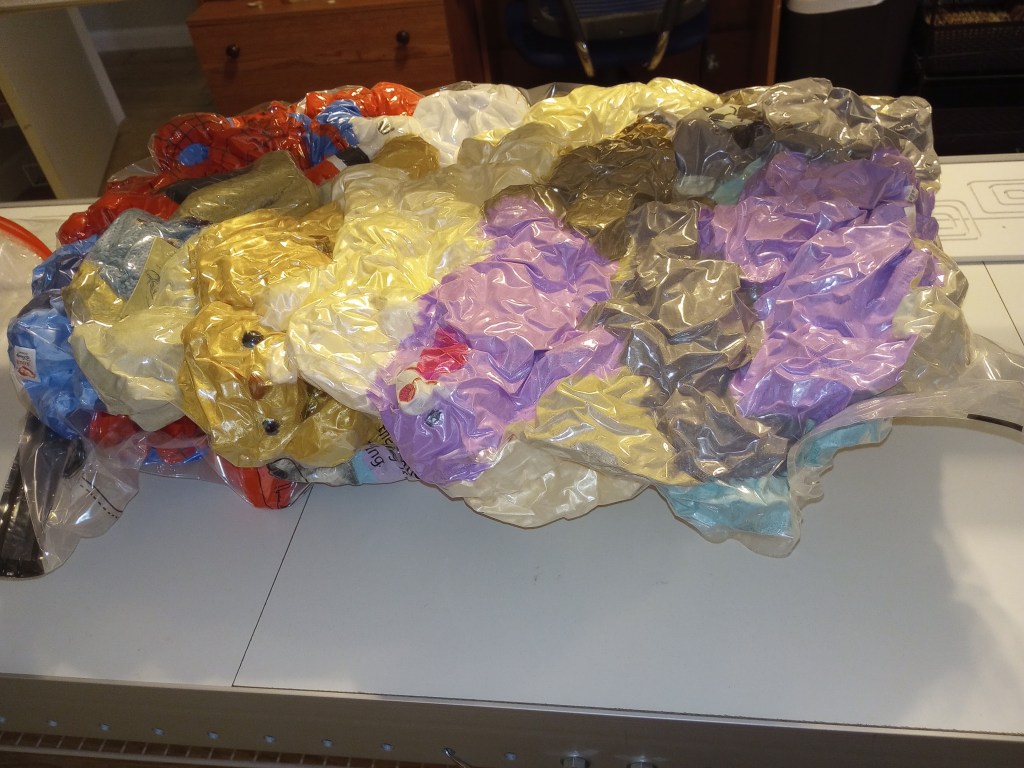
Moving the batting yesterday allows me to store the stuffed animals in that spot. Easy access for quick delivery if needed but out of the way.

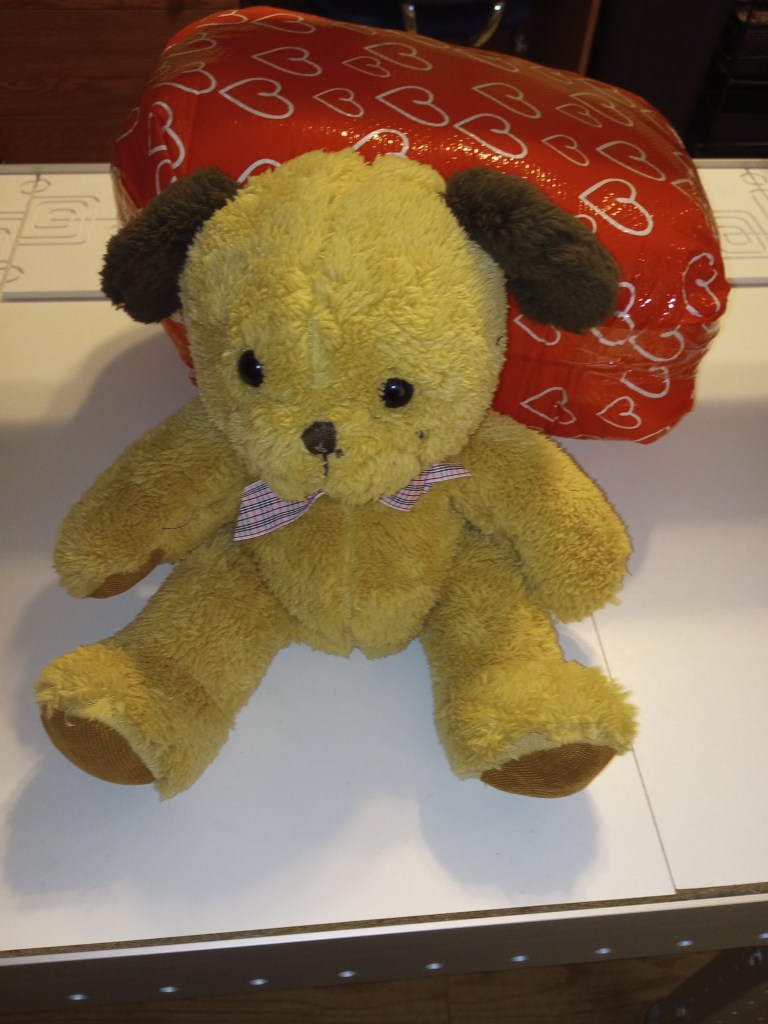
My friend Robin had the wonderful idea of using vacuum seal bags to store 40 stuffed animals. It’s a fantastic solution to a temporary problem! The puppy in the second photo was shipped vacuum sealed just like the red package behind it. There are 9 huggable stuffed animals inside that small package, and they fluff up beautifully, even after being stored away like that for a couple of months.

Tomorrow, I’m anxious to move the 6 quilts for a Veteran’s Day event, along with 50 little quilts for the December donation, plus a few extra quilts I plan to donate this year. The shelf under my long arm is a much better place to store them now that the stuffed animals have been moved. It will be such a relief to clear the quilts off the bed in my guest room/home office!

Next week, I’ll go through additional items in my guest room/home office. I was hanging onto a few things thinking our guild was going to have a “yard sale” that had been postponed until the fall but that never happened. I’ll decide what to keep & where to put it and, what to let go of & where to donate it. I really want to restore that room to its original purpose and not being used as an extension of my sewing room!

I’m also enjoying the process of piecing my pixel quilt top a tiny bit at a time and cutting scraps in the evenings. While I don’t have anything to show for those projects yet, I’m happy with my little but steady progress!

I can’t help but sing the last line of this commercial! LOL


Scraps & Strings

I managed to sort through my scrap and string storage. My focus was on how I use them, not on storage.

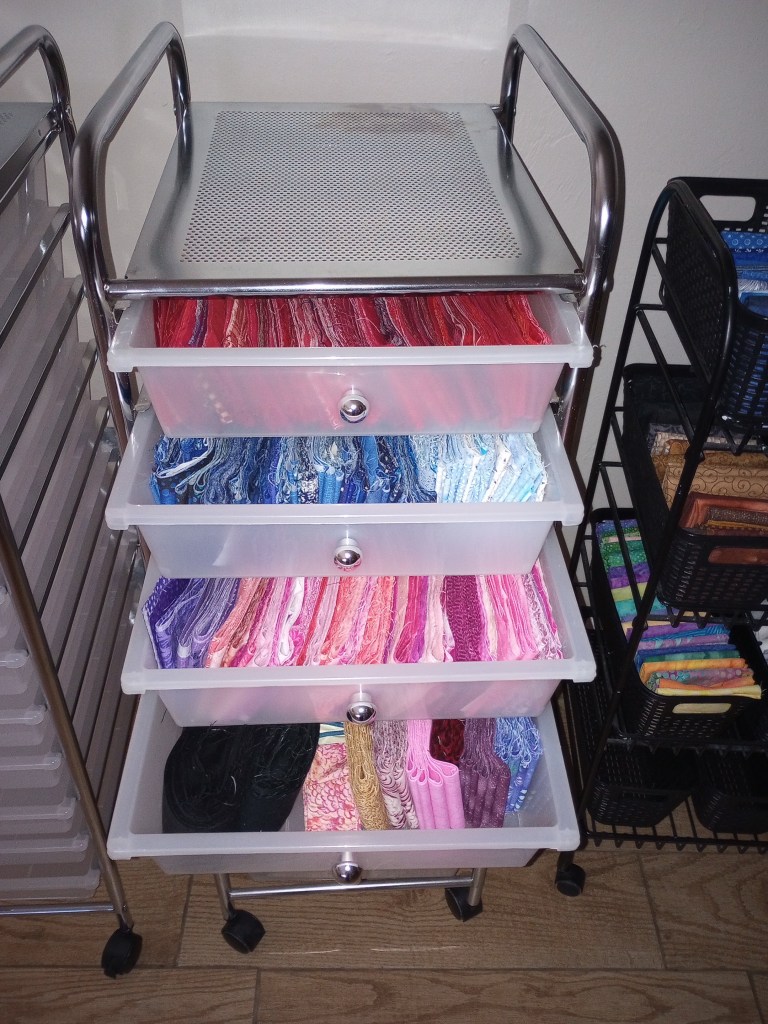
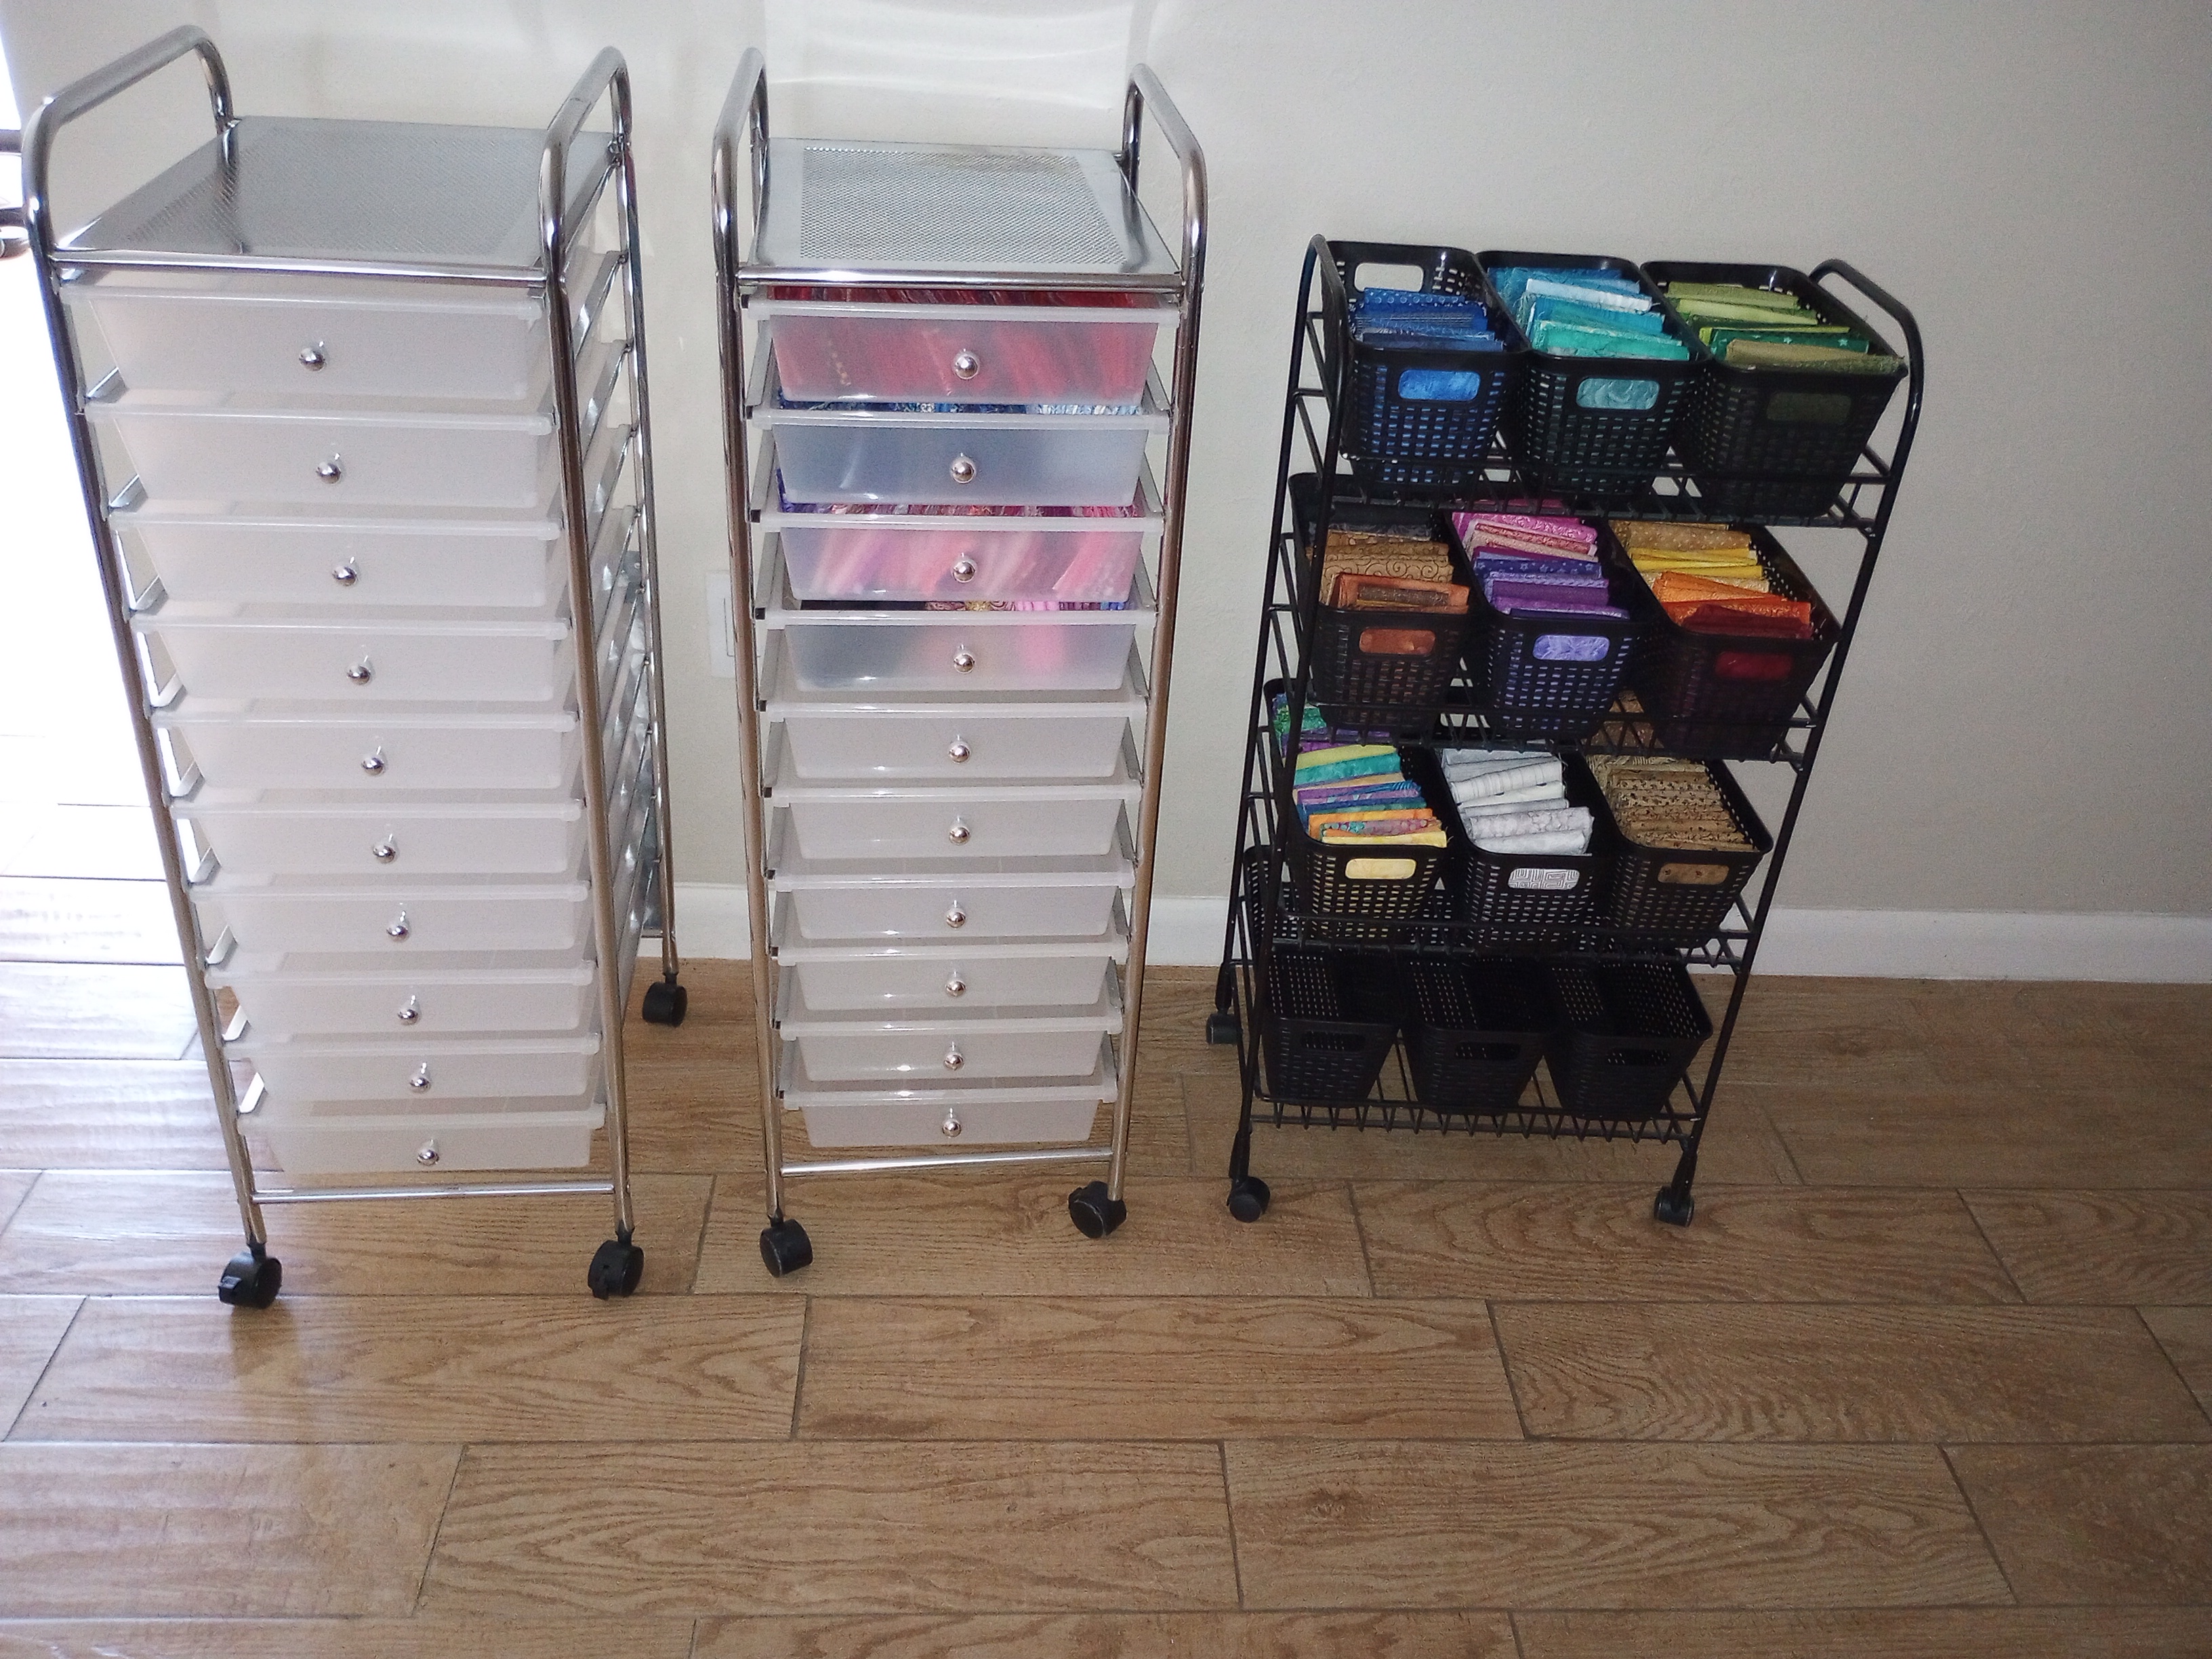
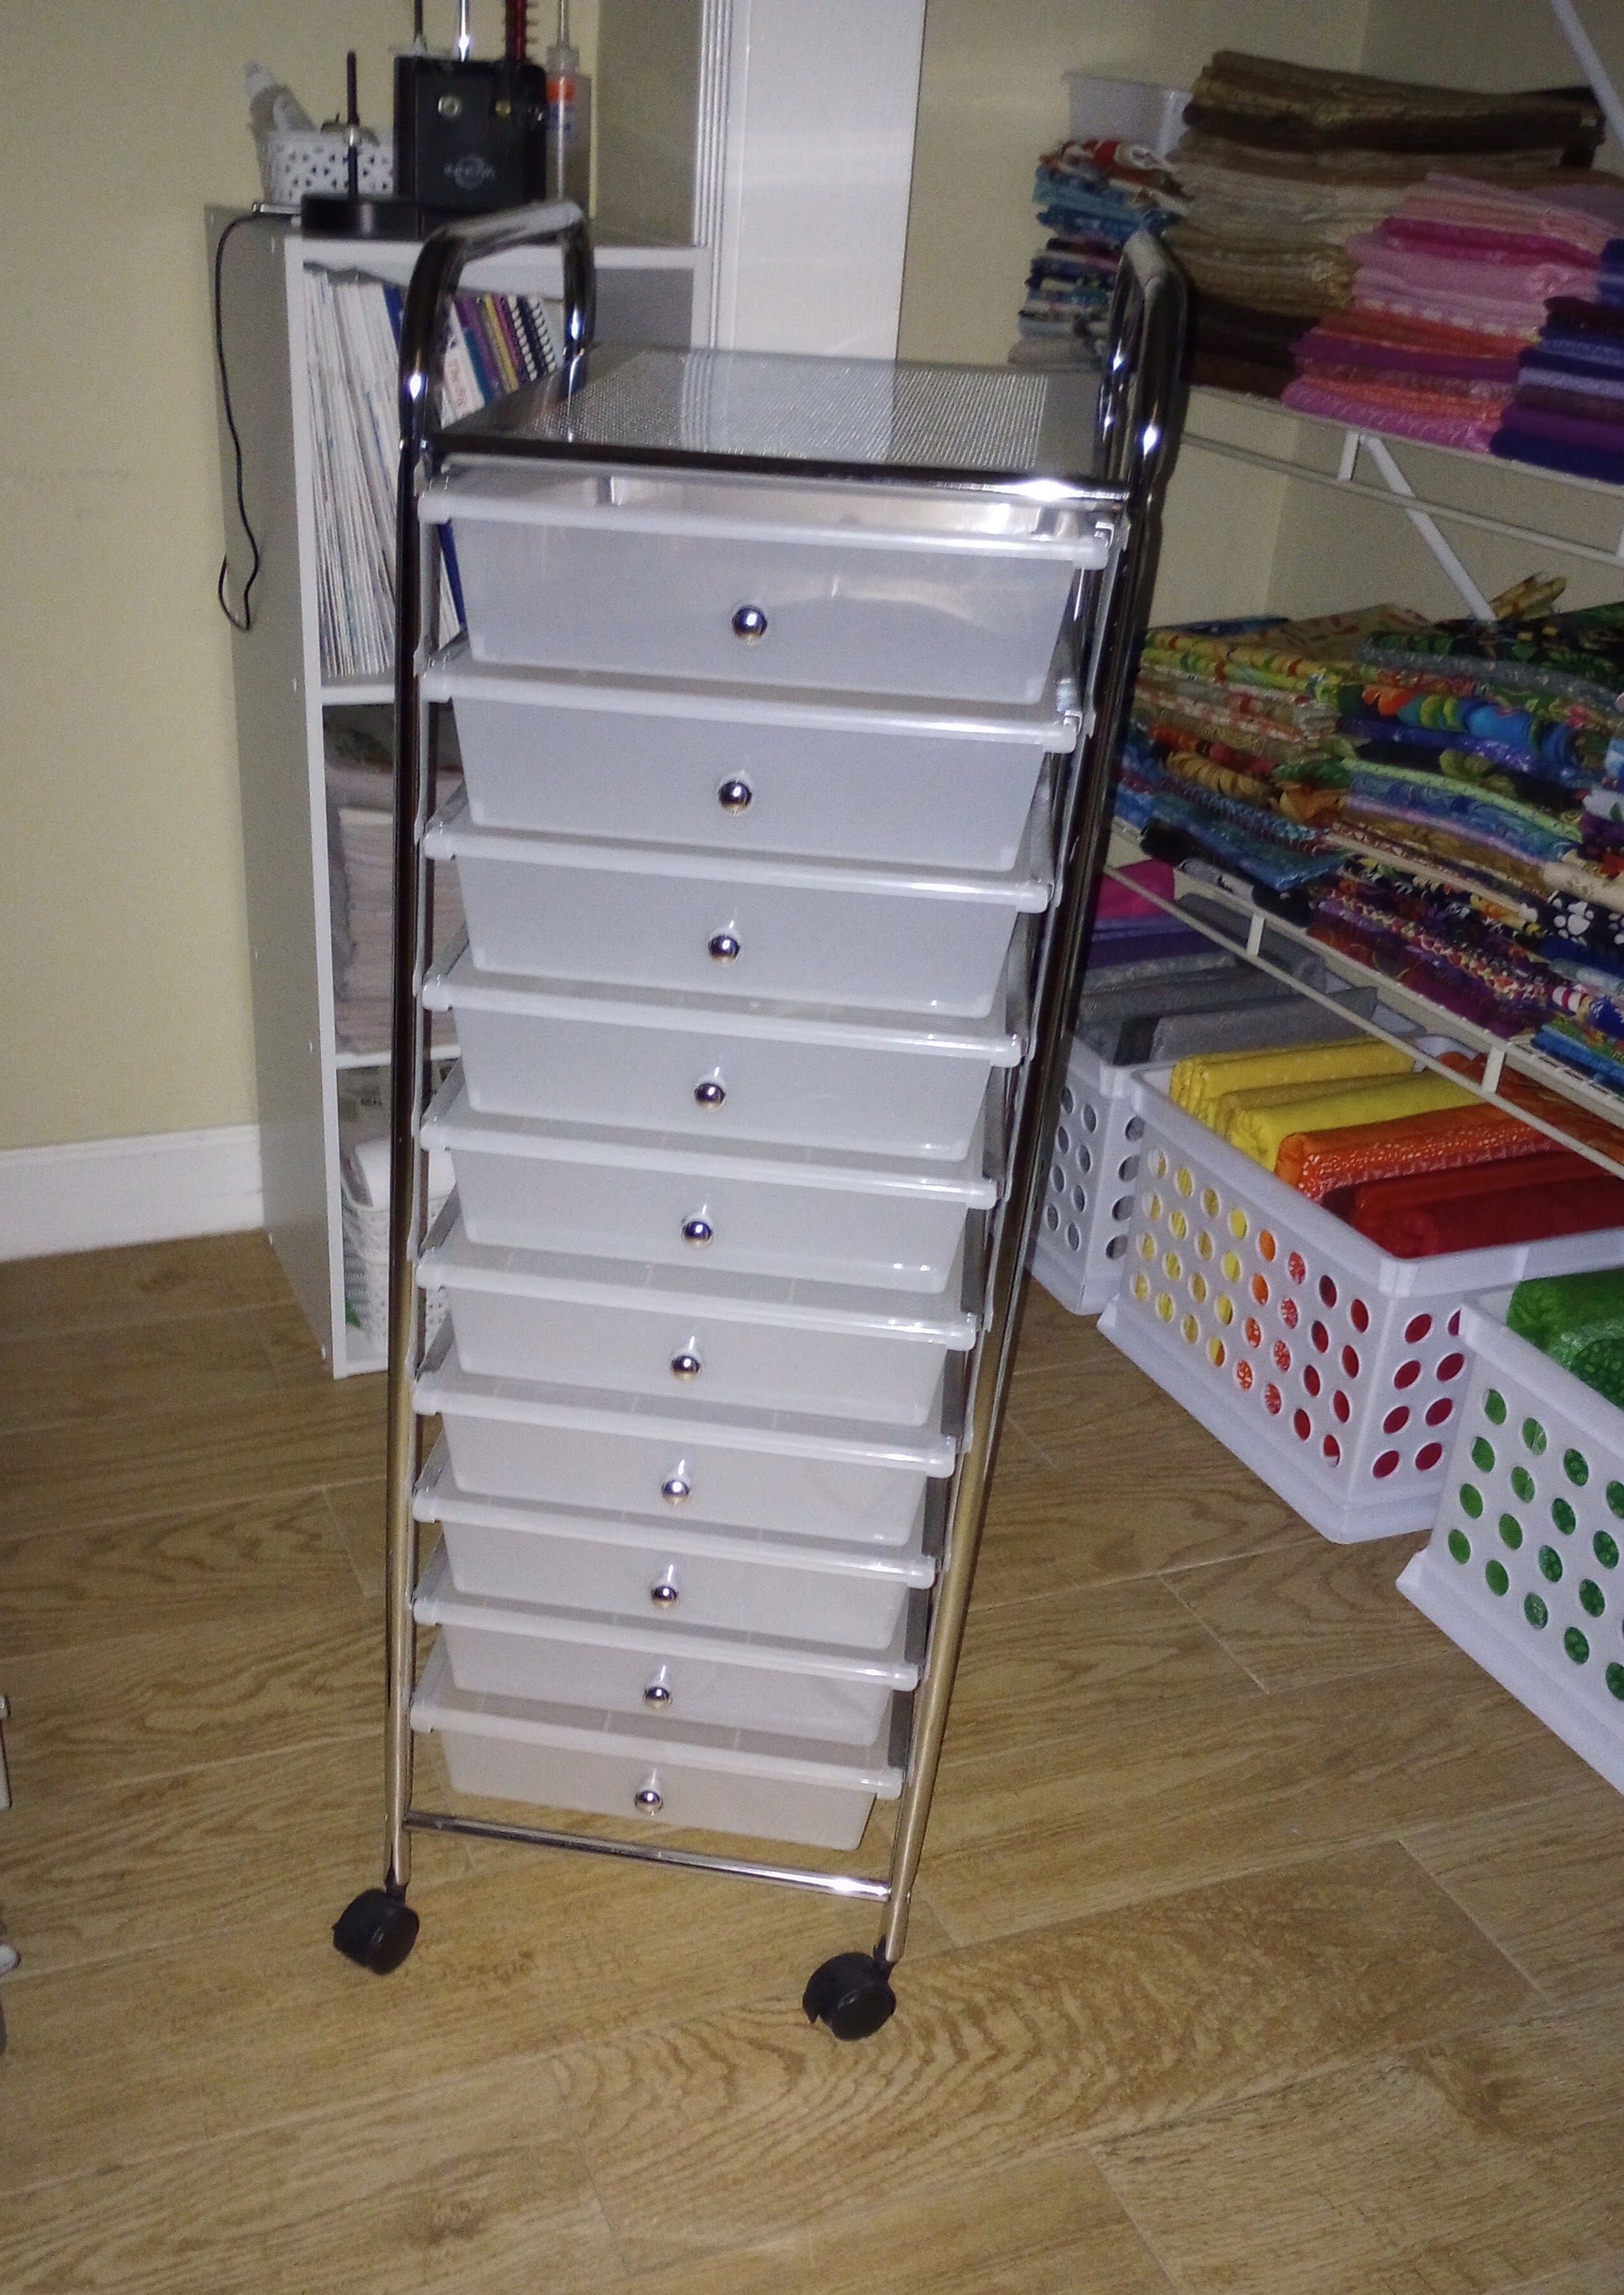
I emptied one cart of drawers and, surprisingly, half of the second cart. I knew that if I kept the empty cart, I’d just fill it up again rather than think about what I was keeping and why. Normally, these inexpensive carts are a bit wobbly. My husband riveted sheet metal to the back to stabilize them, so I like using them. I just had more storage than I actually needed. I asked a friend who likes to use scraps for her leaders/enders if she could use the empty cart, and she said yes so I dropped it off to her yesterday.

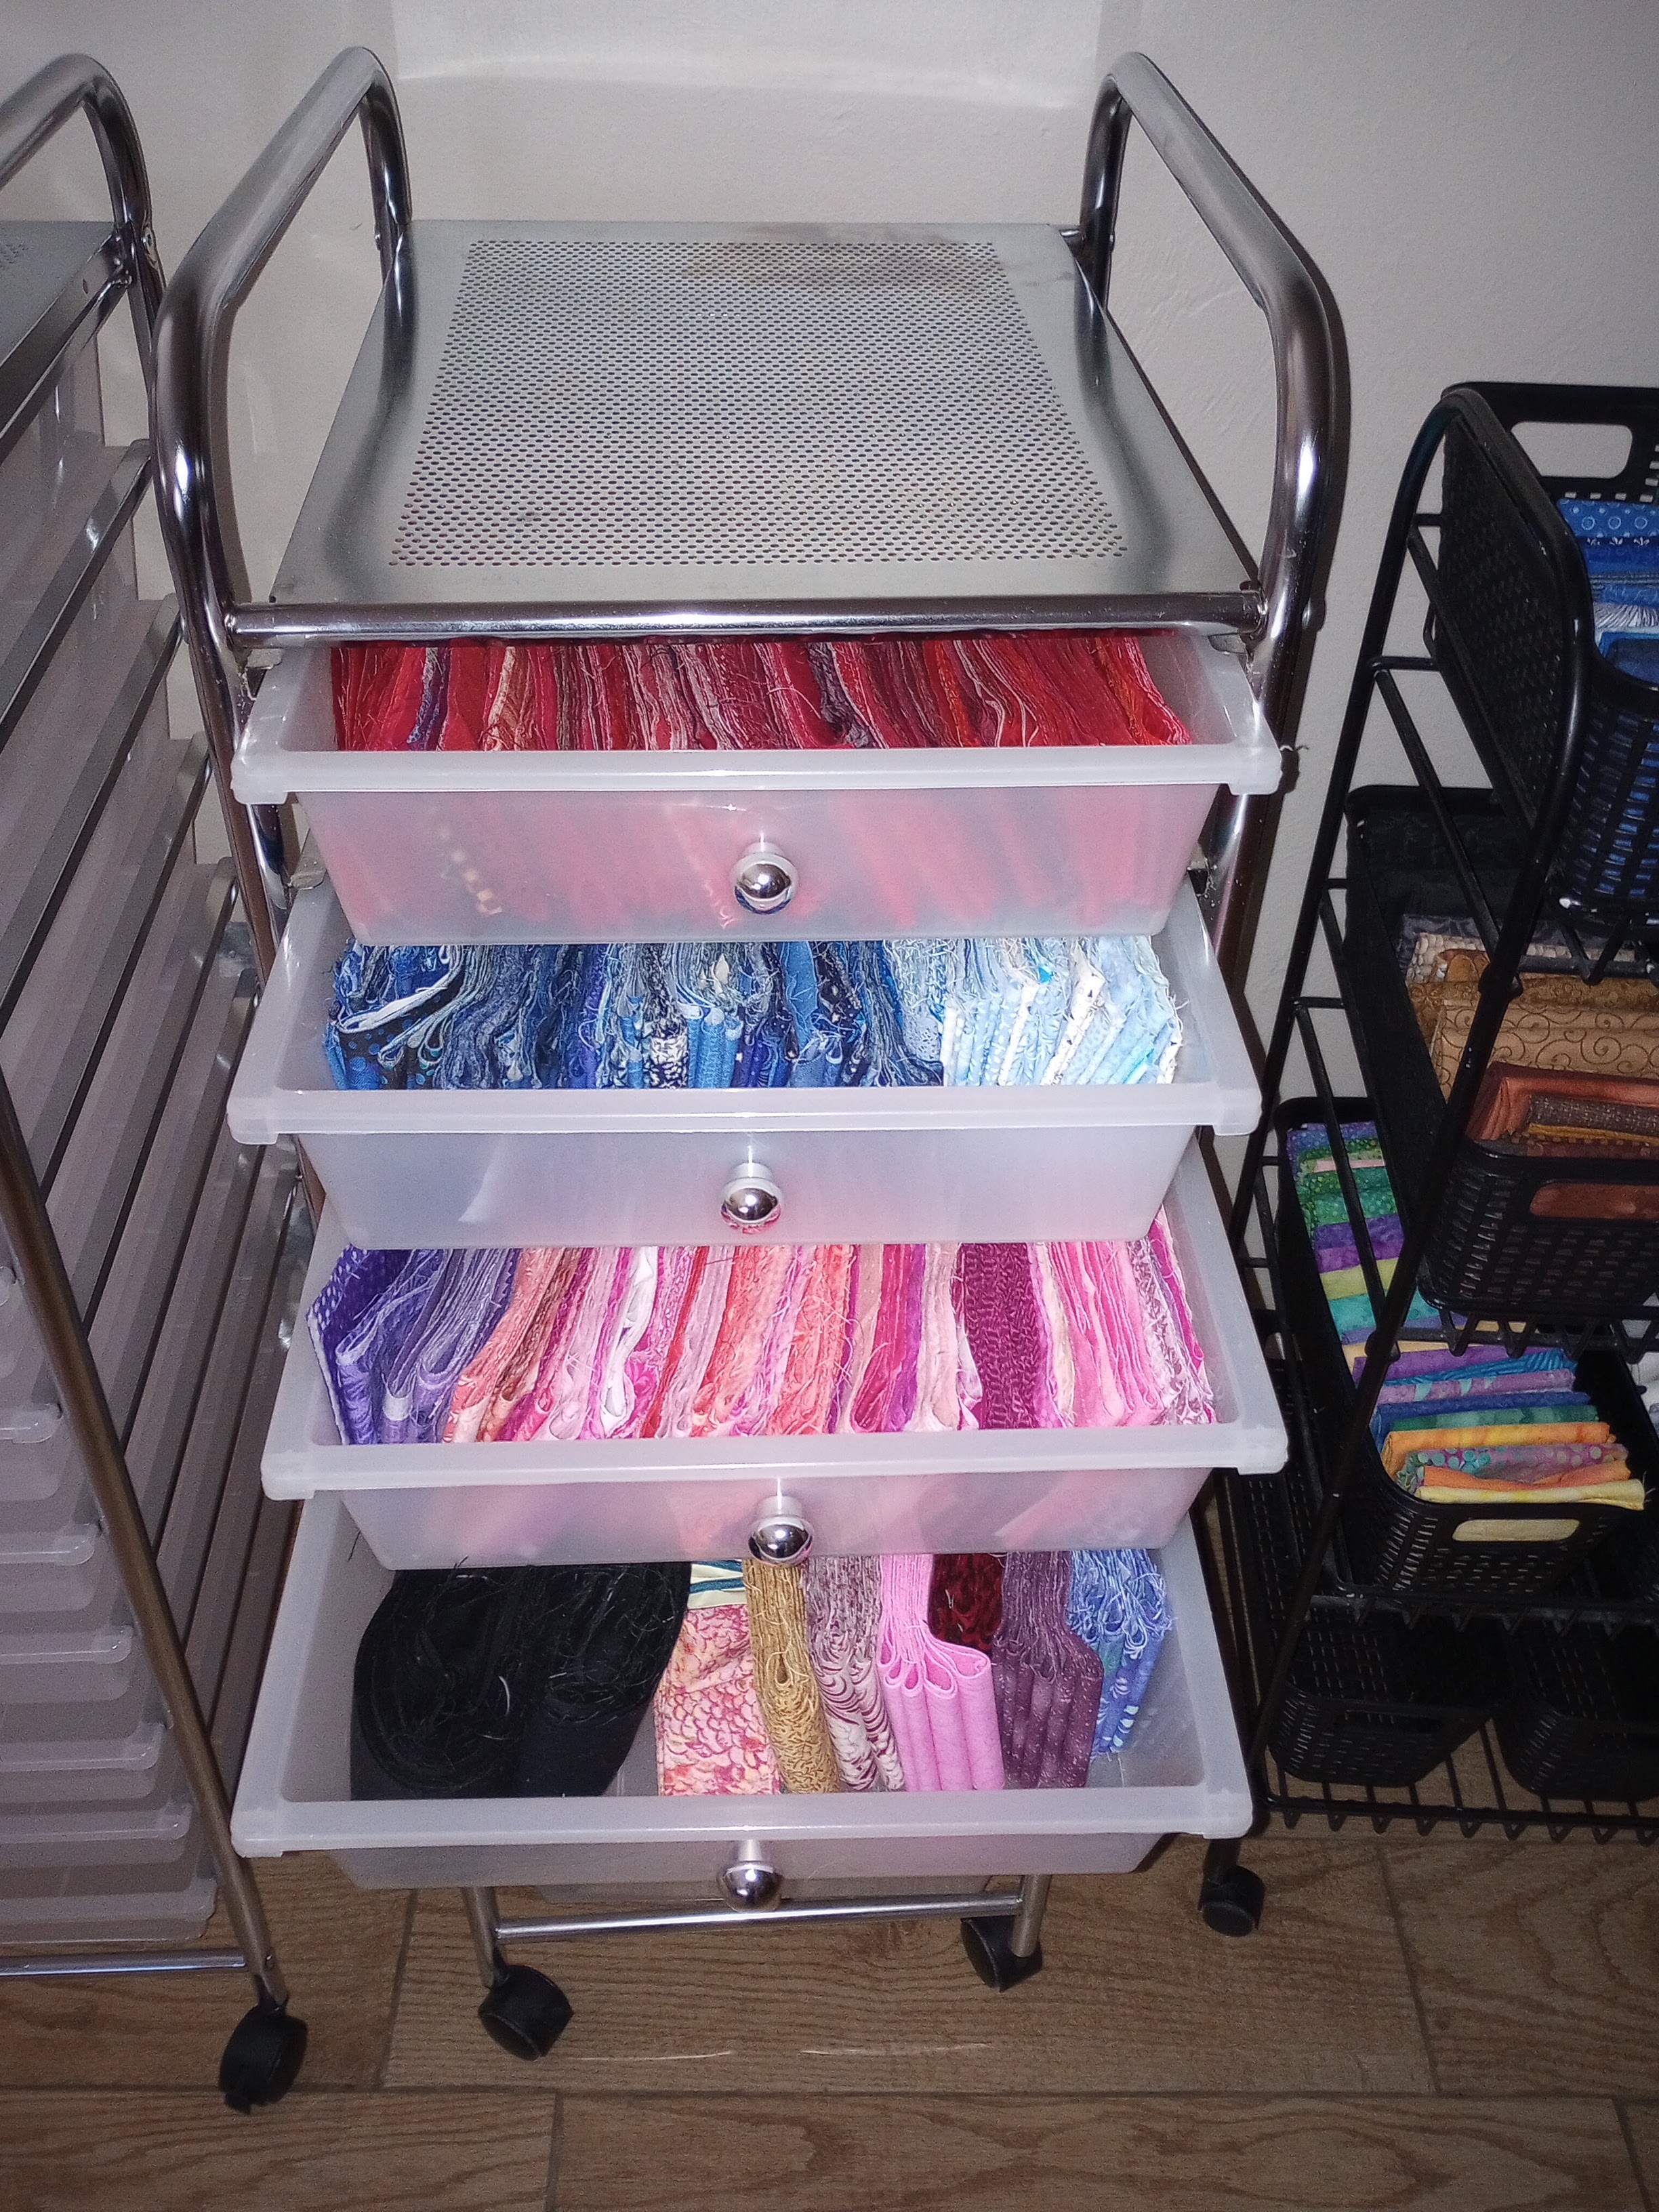
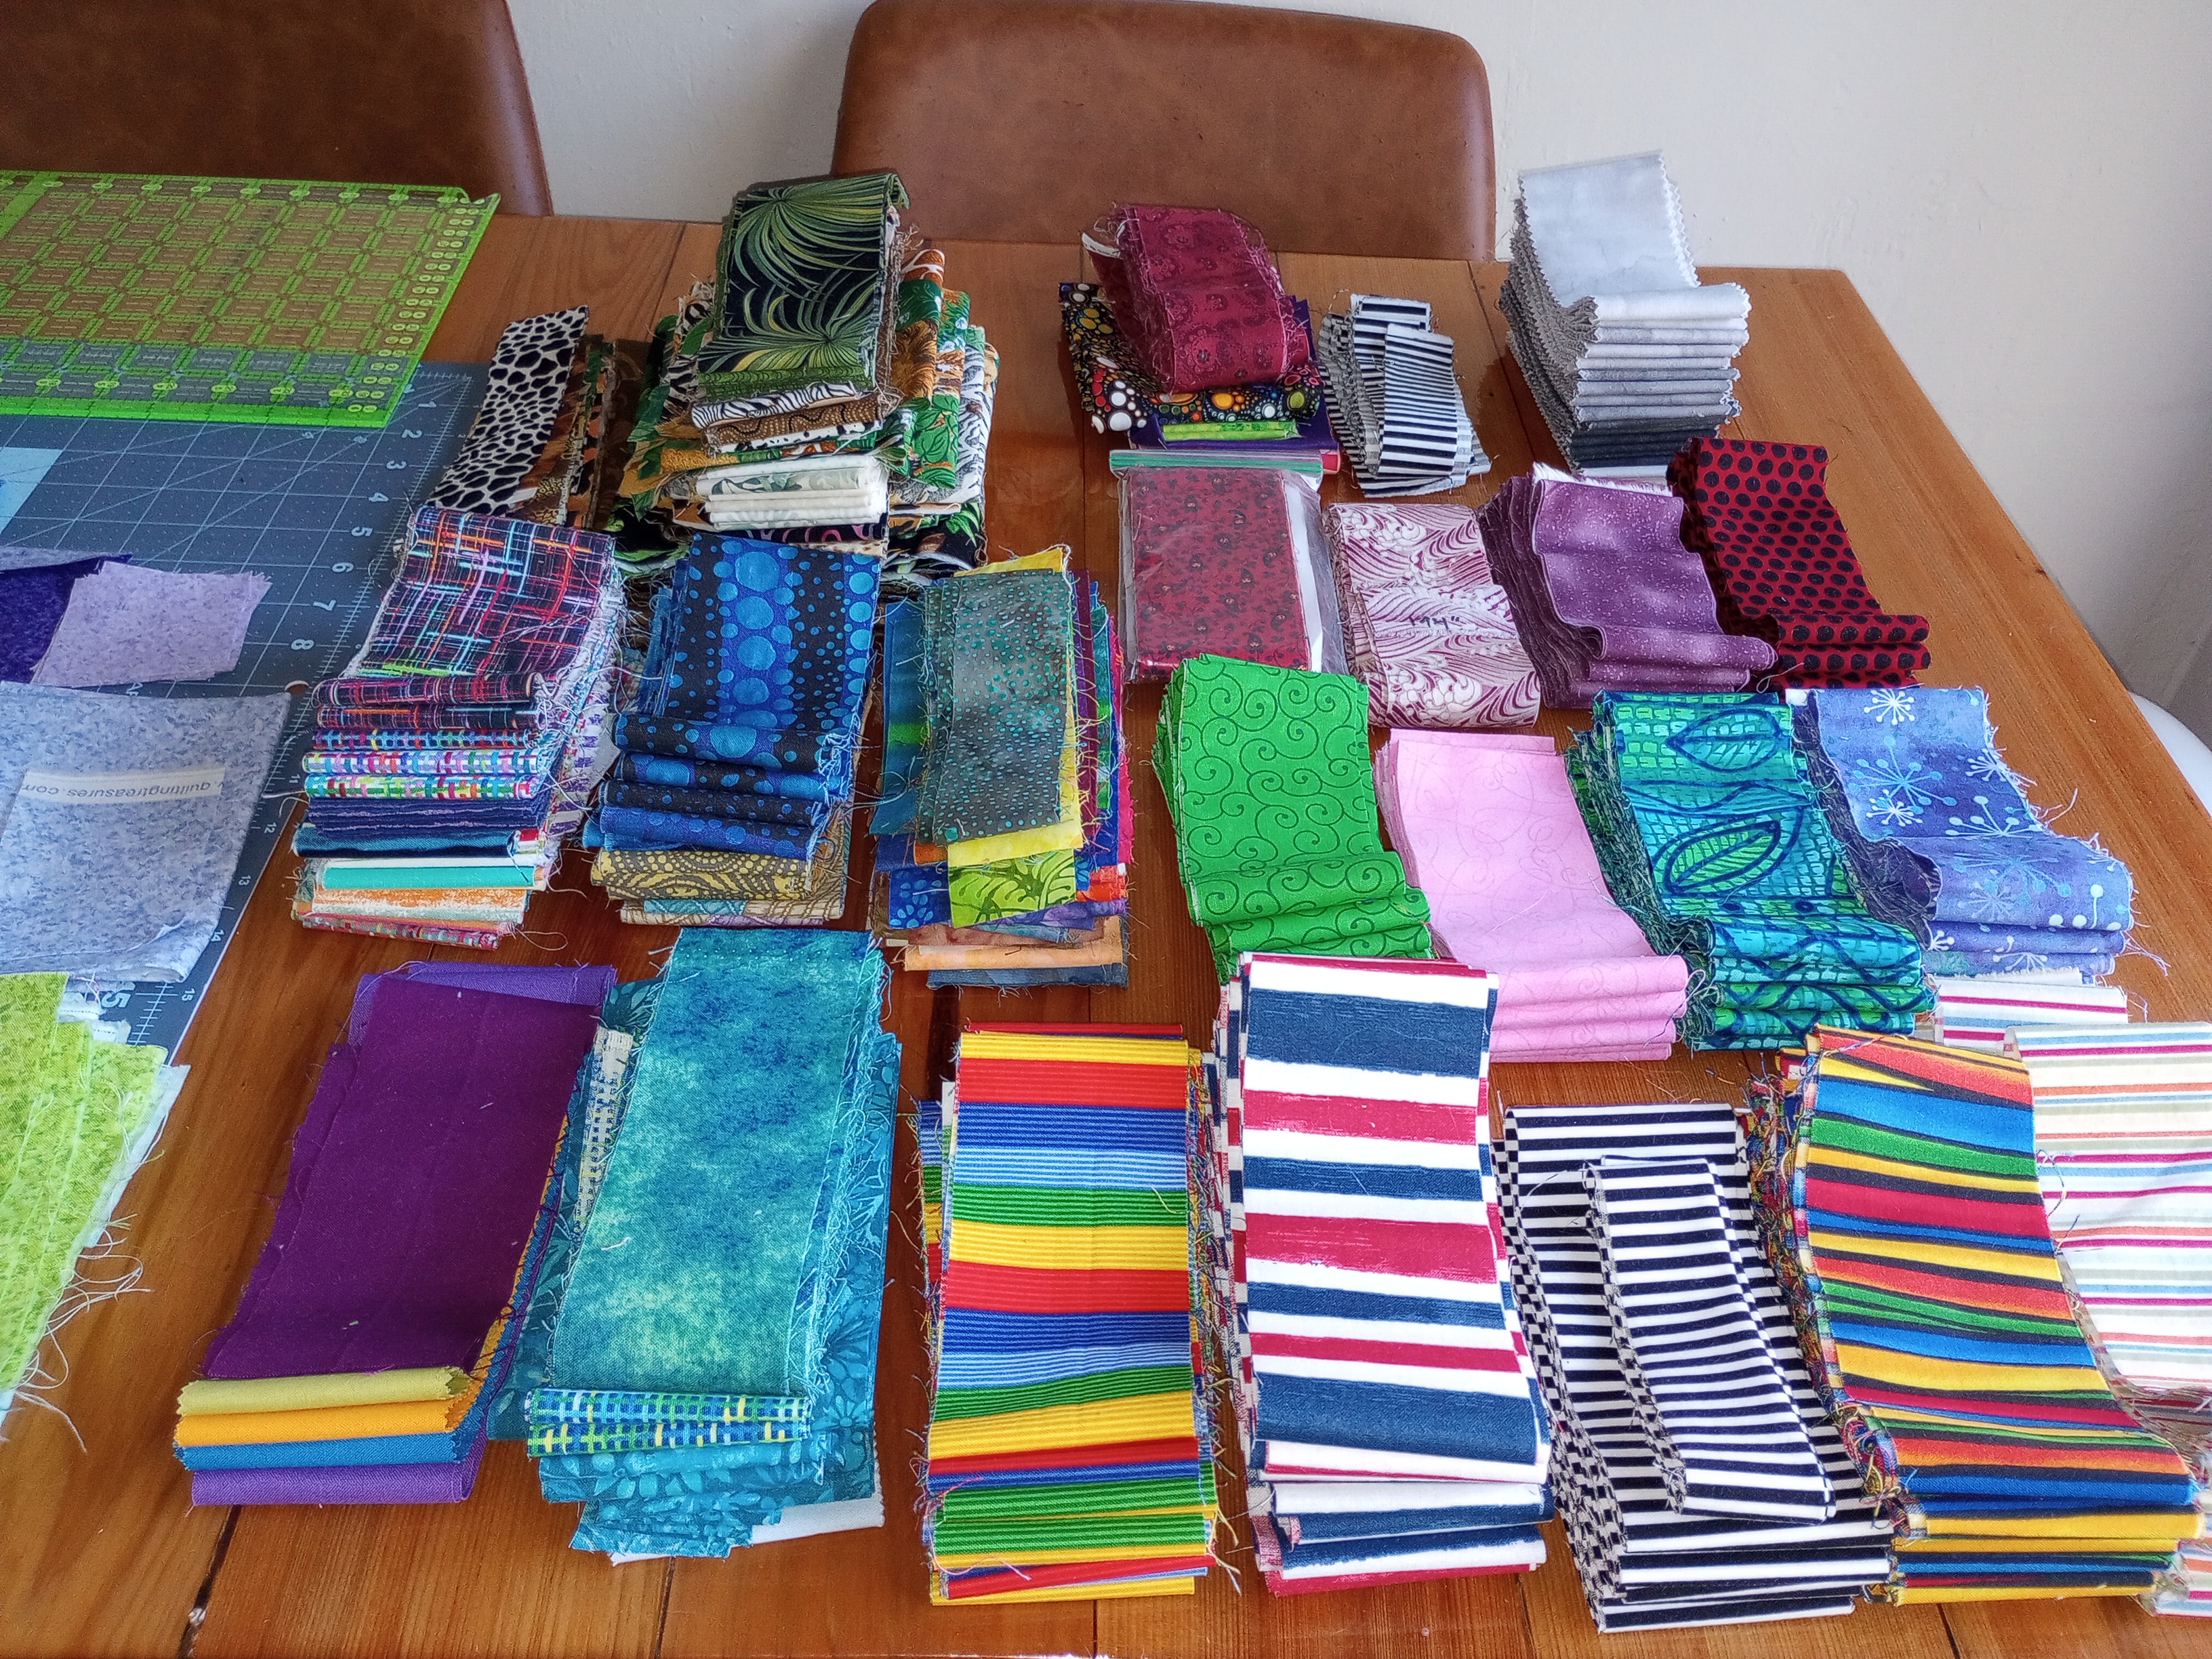
The carts were always intended to store strings by color, but I thought my future included making a lot of string blocks with friends so I was tossing larger scrap pieces in as well and those quickly filled the drawers.

Flattening the strings and stacking them neatly also helped reduce the amount of space they consumed. The fourth drawer was temporarily holding some possible quilt bindings but I decided to add them to my scrap bins and use with 2 1/2″ strips instead so that drawer is empty now too.

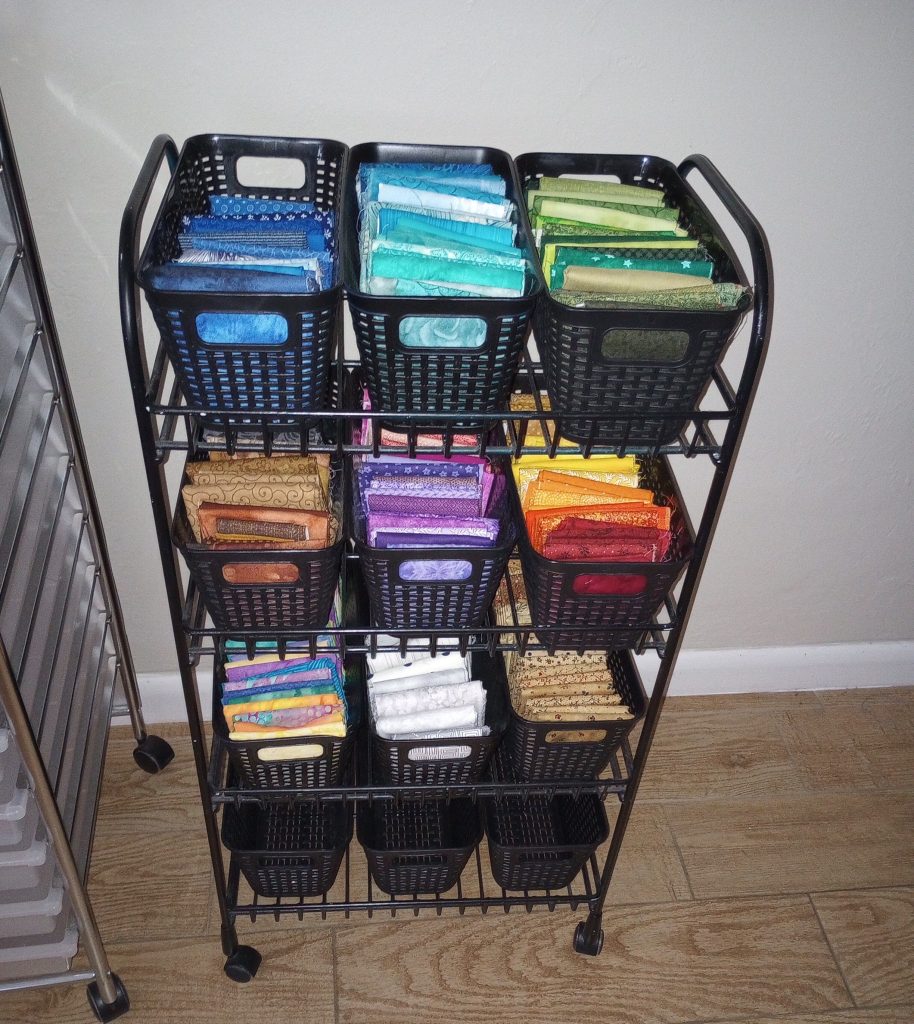
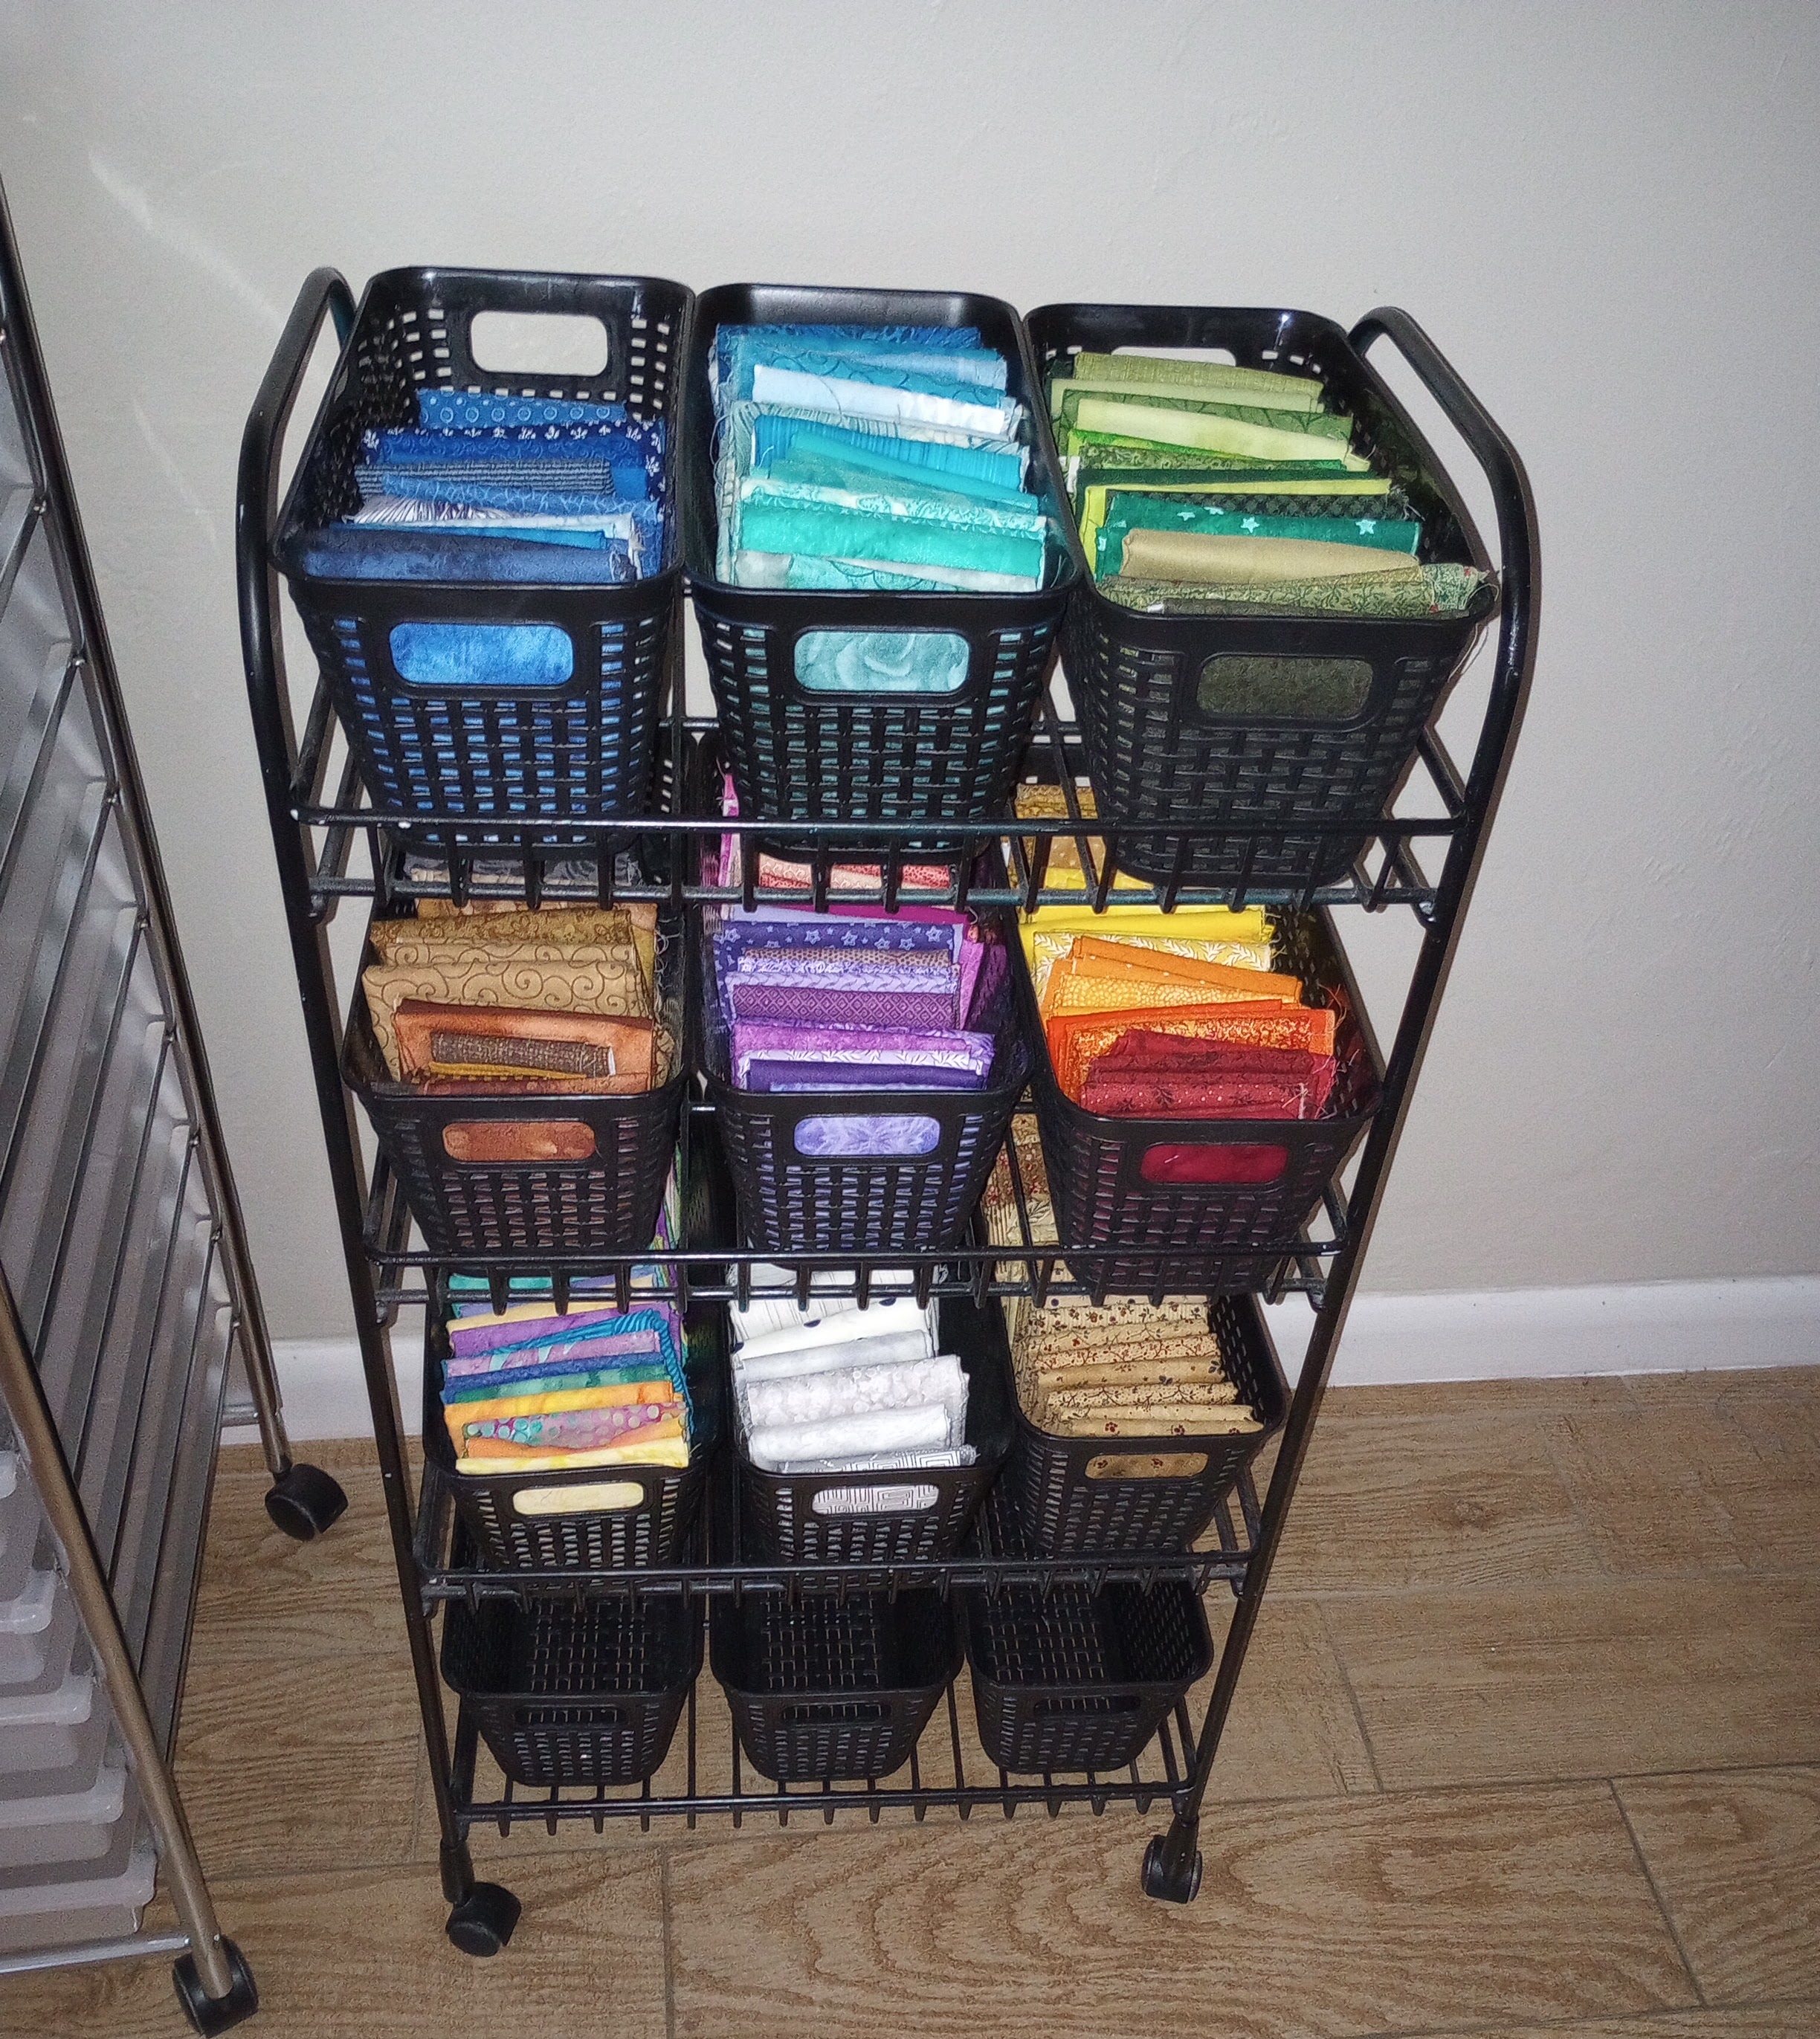
This cart contains scraps that are smaller than quarter yard but at least 5″ wide. I decided to only keep batiks or scraps that read as solid so the three bins that once held a lot of mixed prints are now empty.

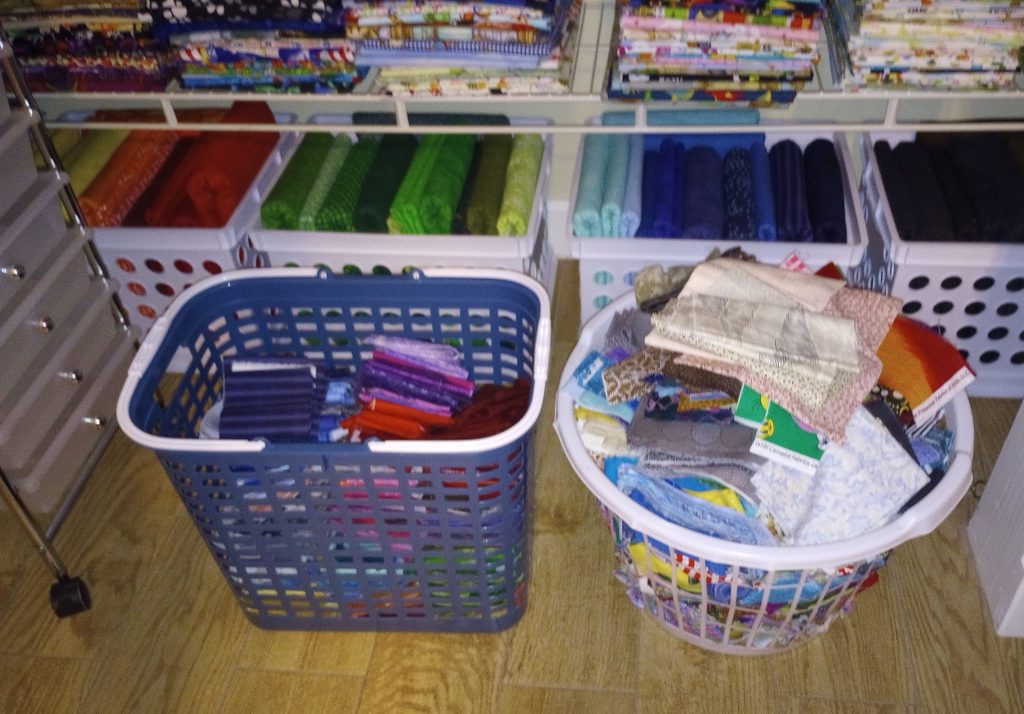
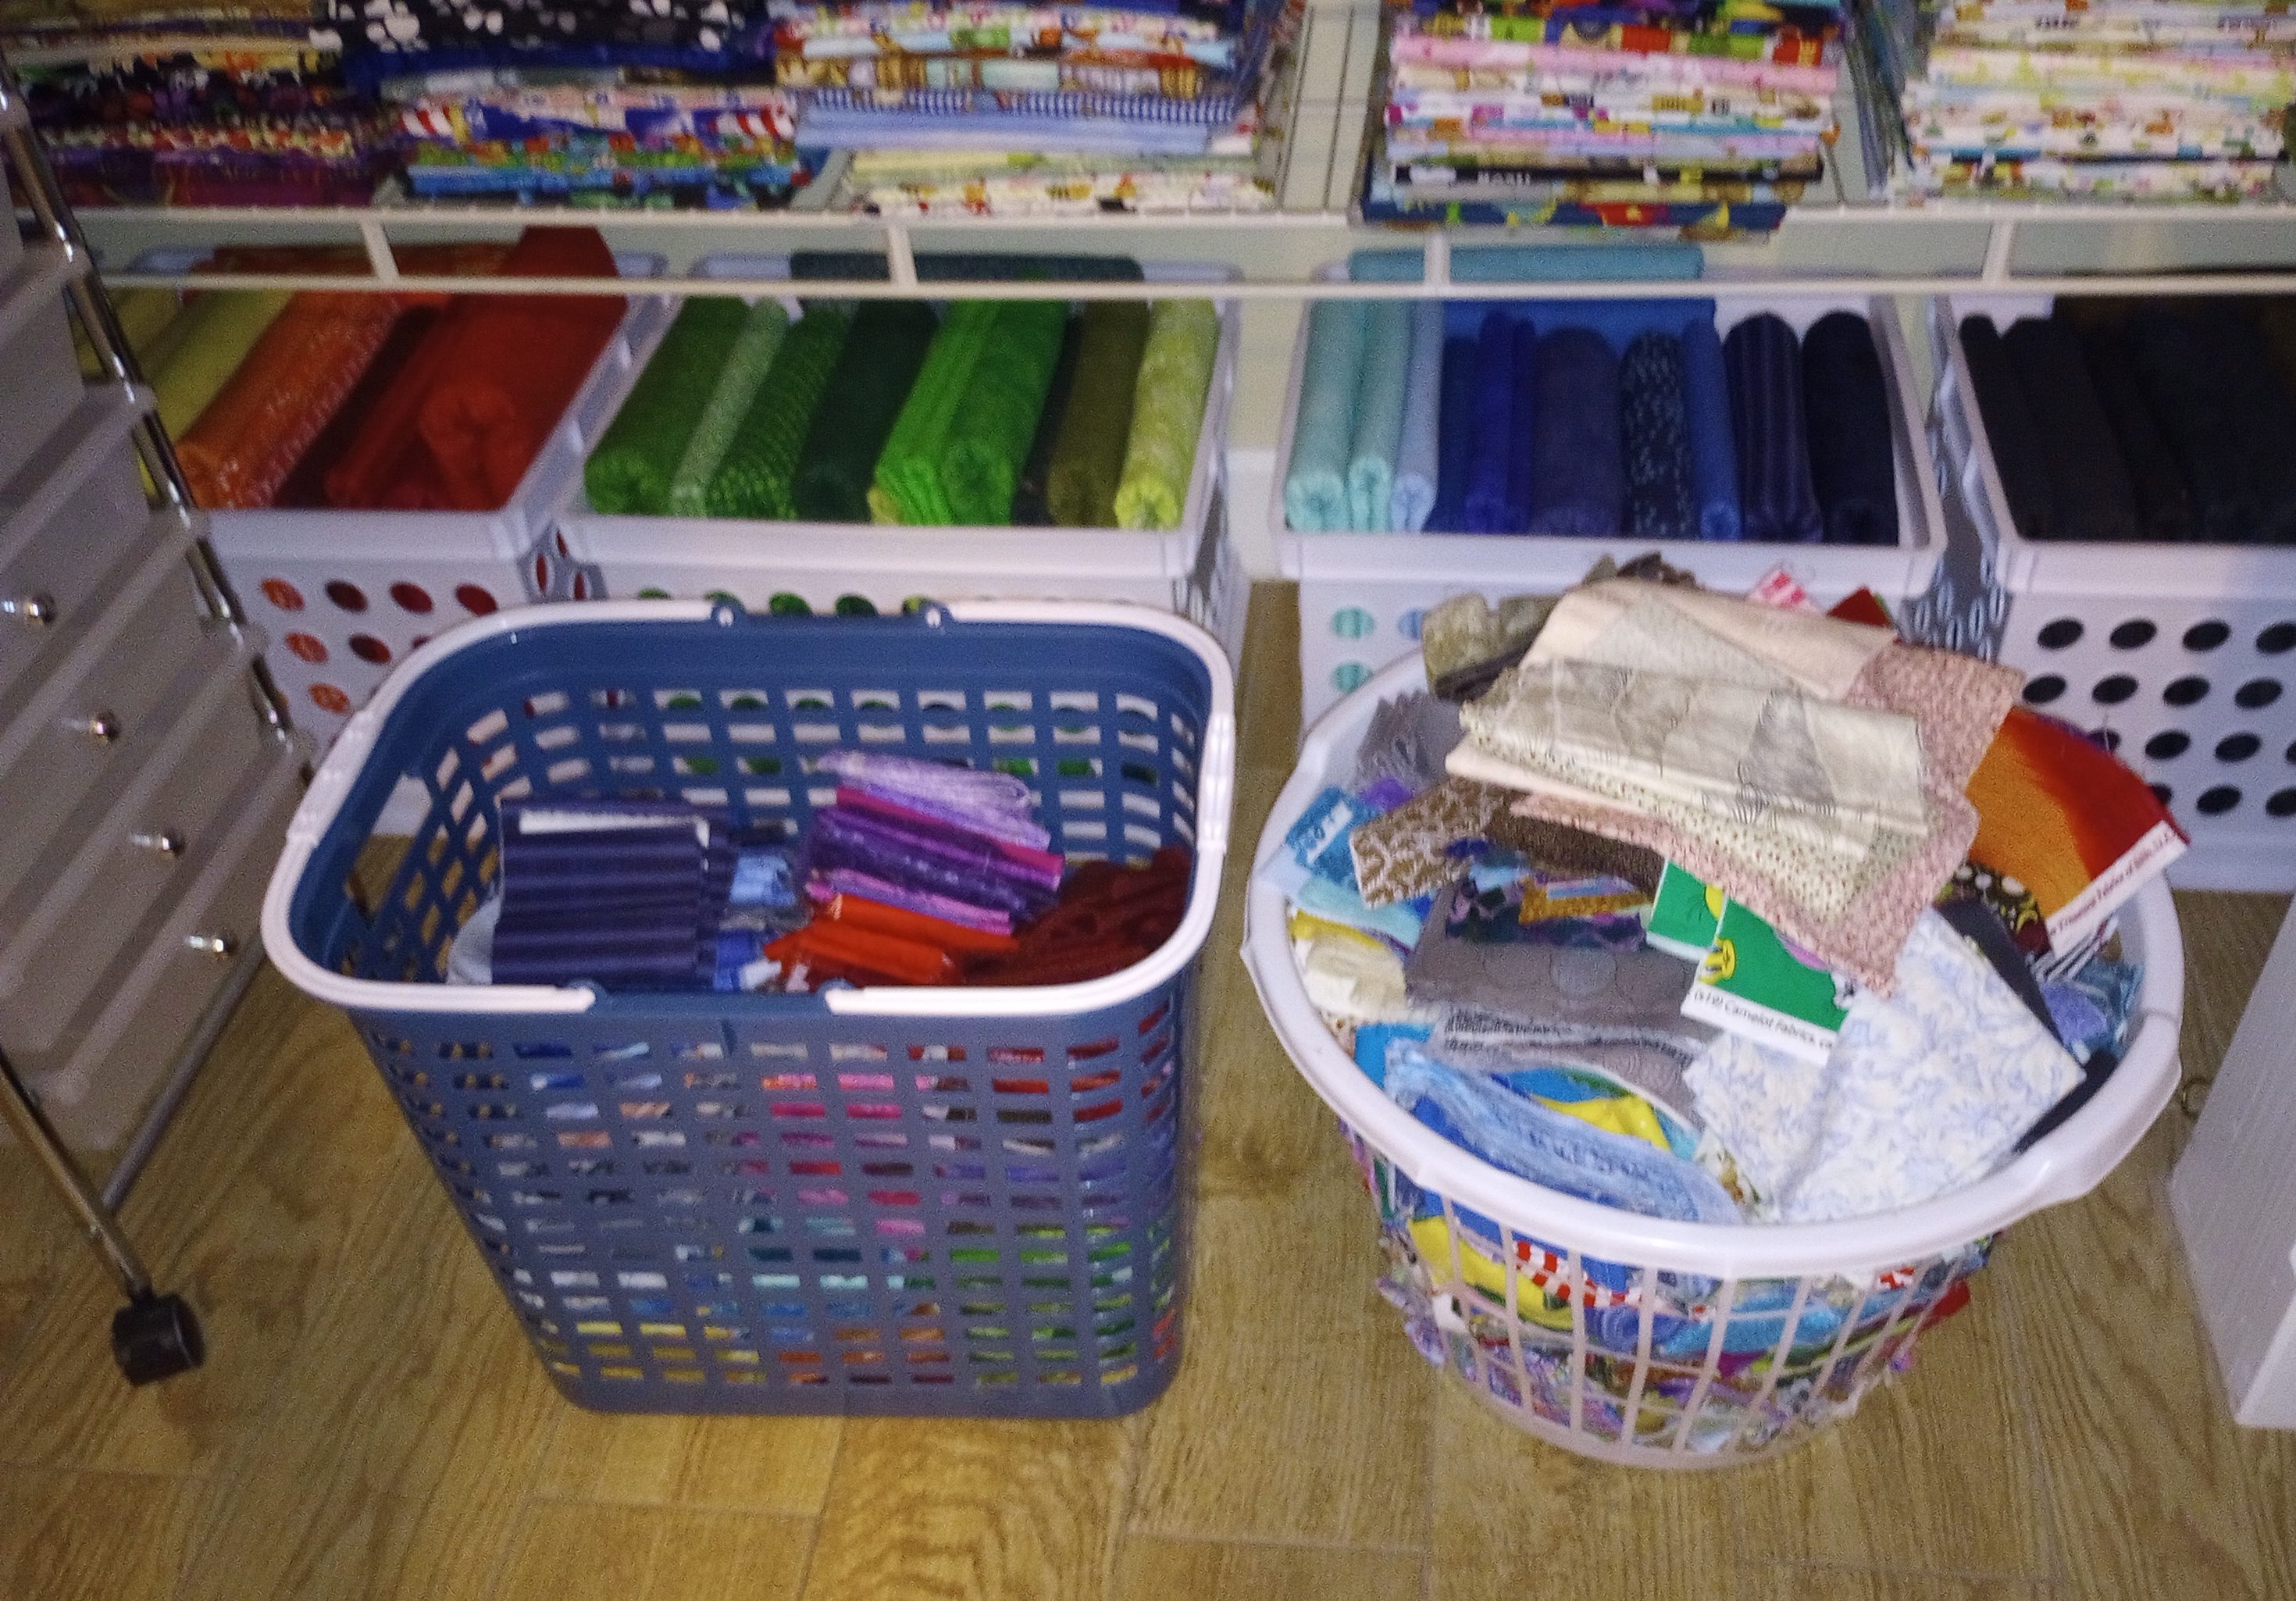
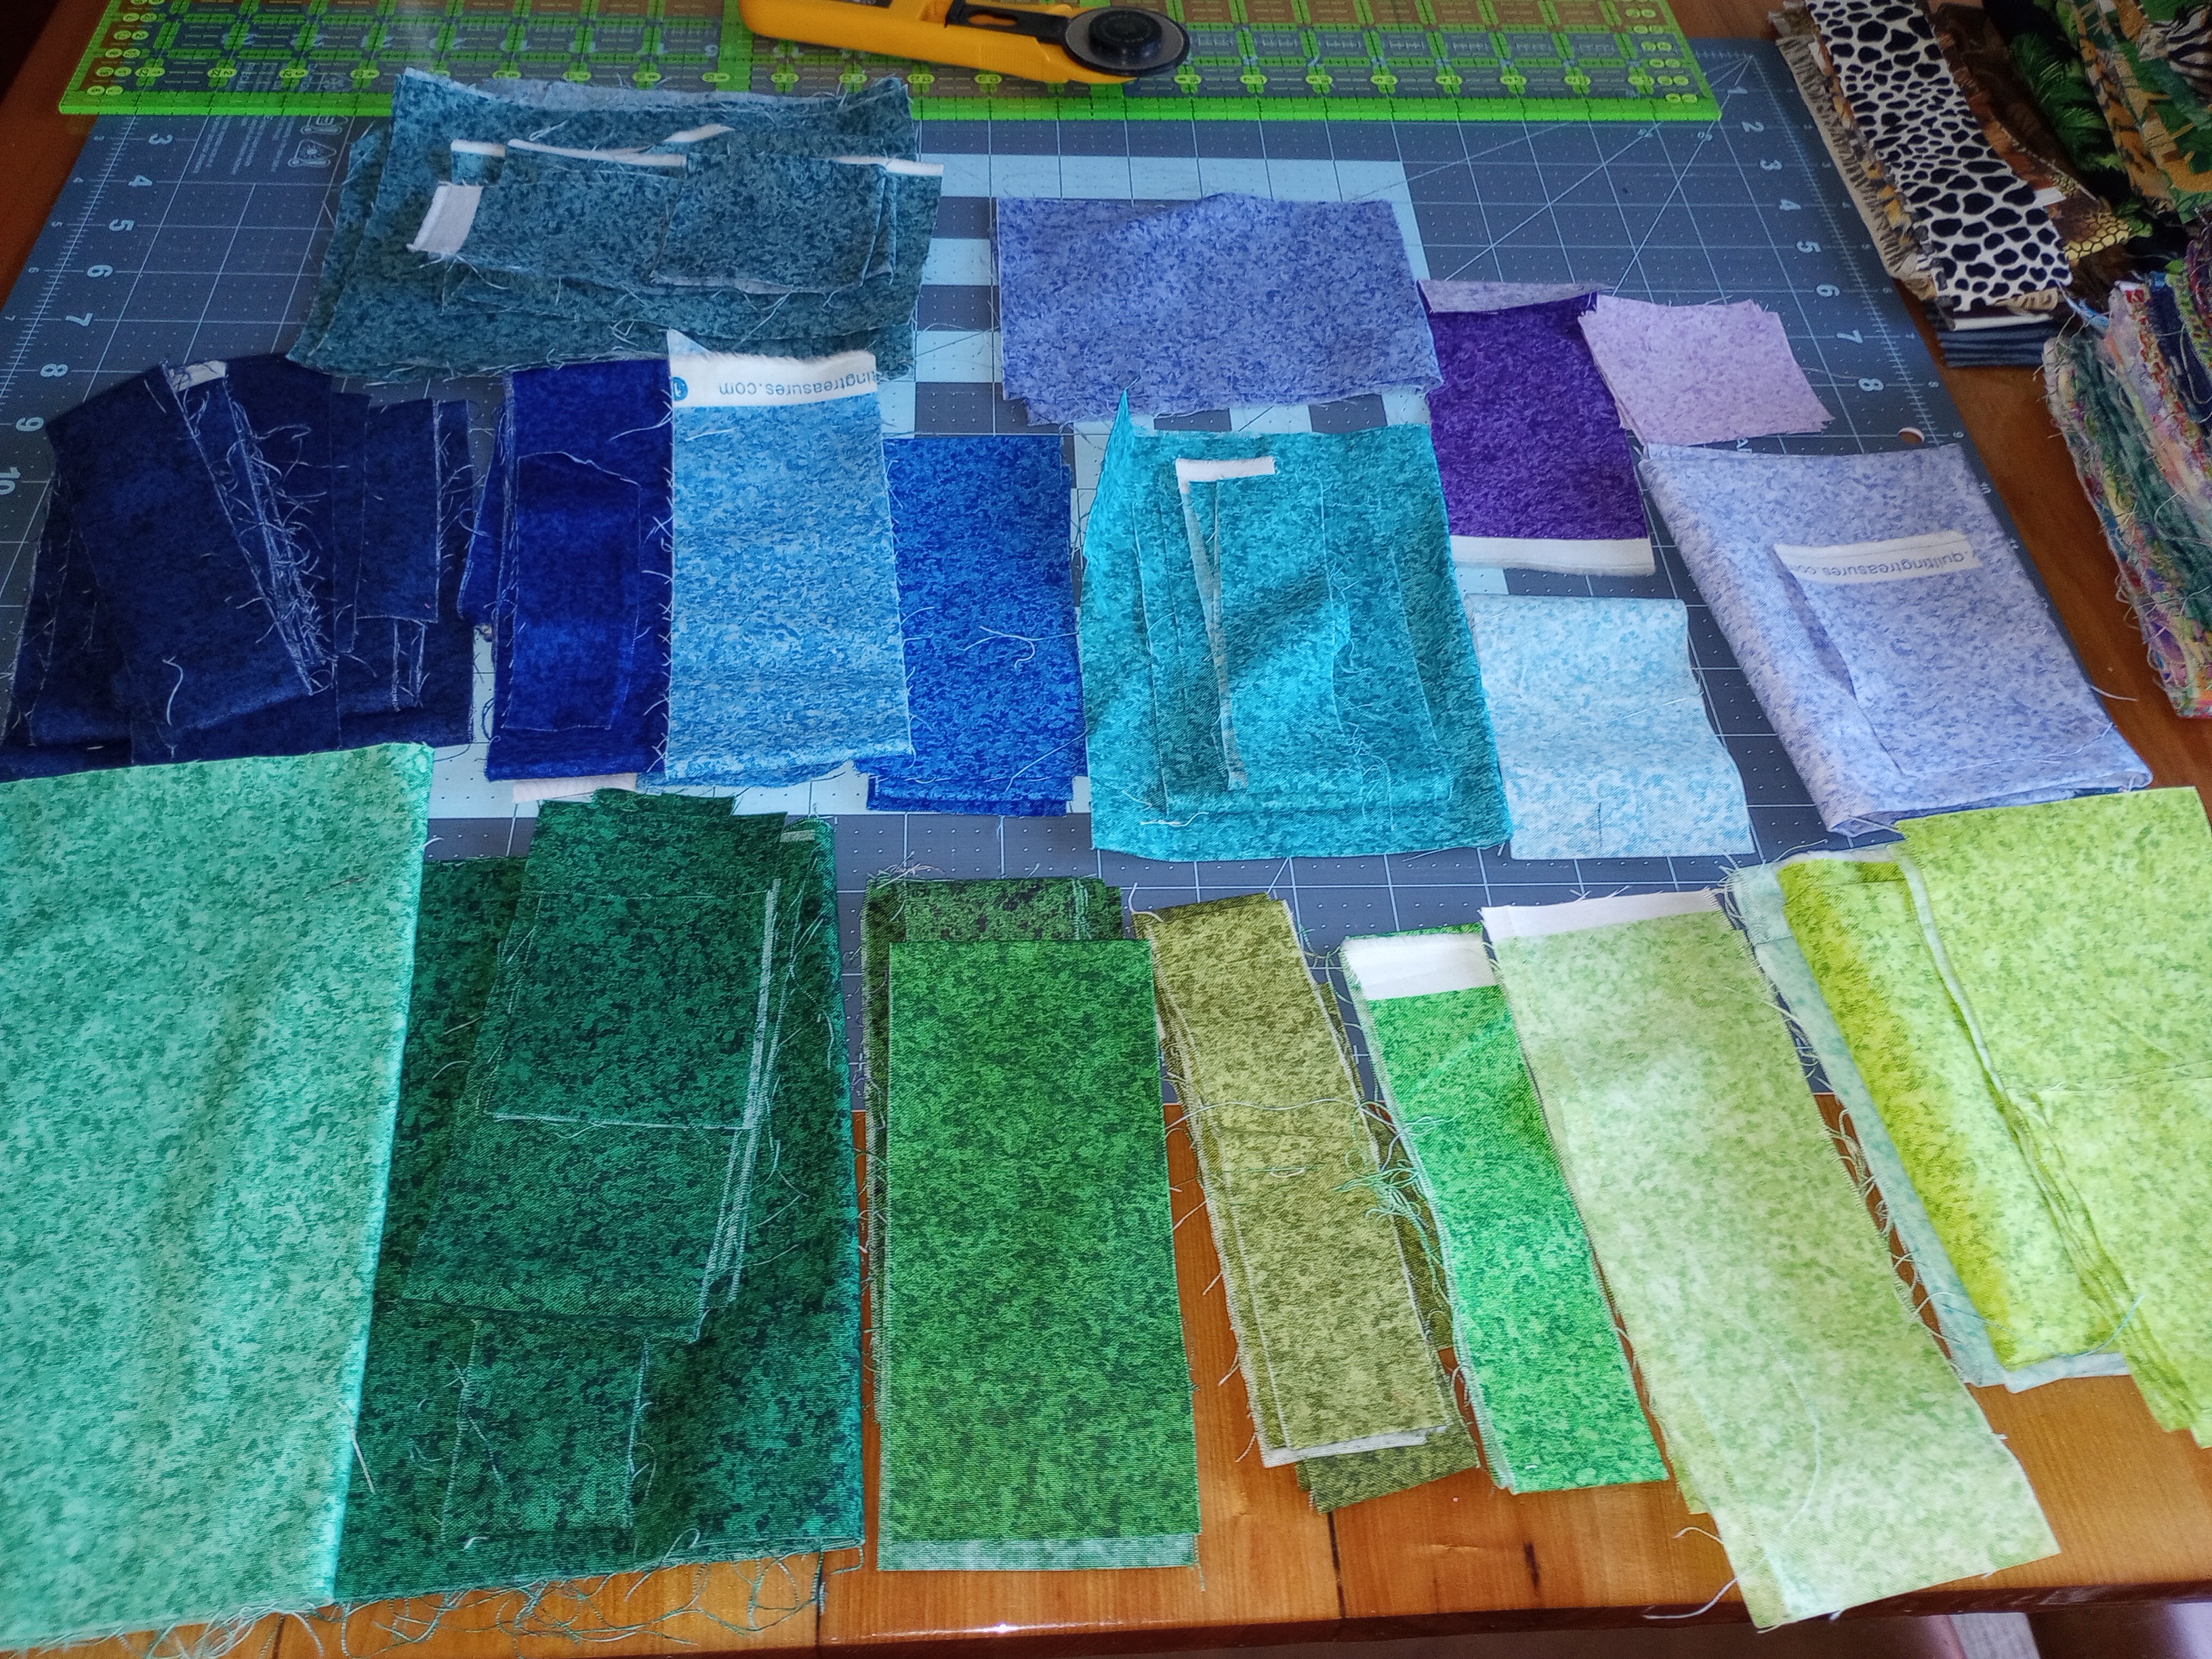
These are the fabrics I removed from the scrap and string storage. I’ll go through them a little at a time. It’s going to take a few days because I need to be intentional and realistic about what I decide to keep.

I enjoy making coordinated scrap quilts with contemporary designs and I also love spectrum quilts, so the blue bin on the left are keepers.

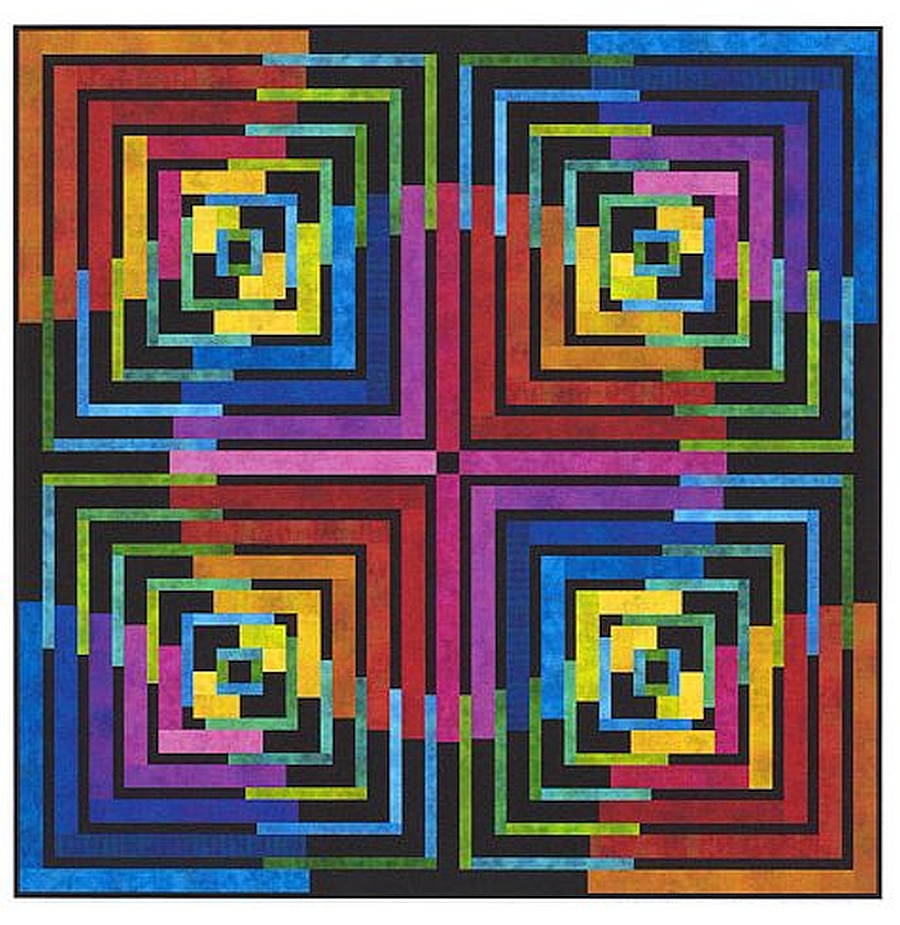
It’s the bin on the right that will be tricky. Tomorrow I plan to go through my inspiration photos and choose four scrap quilts I’d like to make. I’ll print pictures of those to keep them in front of me with four of those drawers from the sting cart about. I ‘ll add fabrics that will work with each design and the drawer will limit how much of those I keep too. I know one drawer is more than enough for a quilt top!

It’s unrealistic to think I’ll make more than four scrap quilts next year. I have a “top 12” list of quilts I want to make, some ideas for precuts I own that I’d like to get to, and no doubt I’ll want to mix in a couple of string quilts. All those projects will generate even more scraps!

I have a couple of other bags of scraps that I need to go through at the same time. Wish me luck! &&

Progress

Still at it. Nothing very interesting happened today, but I’m sharing so I can look back in a week or two and remind myself of the tiny improvements that are adding up day by day.

I used to work with a friend named Sharon at the post office. She passed away suddenly in her early 50s, shortly after learning about her rare blood disorder. The world never felt the same without her in it.. We were complete opposites, and perhaps that’s why we bonded so well. She regularly reminded me that “something is better than nothing,” a perspective I often struggled with as I leaned towards “all or nothing”.

Today I found myself reflecting on a conversation where I had asked her if it frustrated her to see me charge headfirst into obstacles. She replied with a warm smile “absolutely not”. She said she’d always admired my passion for things I chose to pursue and wished she had the same determination. I remember being surprised she valued my approach to things just as much as I valued her patience. As I thought “gee, I didn’t get much done” I could almost hear her say “something is better than nothing” and I felt better.

I consolidated the fabrics from the first cart, purged a few short strings, and took out some that didn’t belong there in the first place – mostly 2 1/2″ strips. Tomorrow I’ll begin working on the second cart.

These fabric will go into a bin for now because I haven’t yet decided where I want to keep them. A few oddballs on the left and remnants of a UFO, Surf and Sand, that I finished last summer on the right.

I’m not at all a fan of storing fabric or scraps in bins but I need to keep my focus on deciding what to keep—yes, no, maybe. The “maybe” fabrics tend to cause distraction so they’ll have to live in a bin until I cycle back around to them at the end.

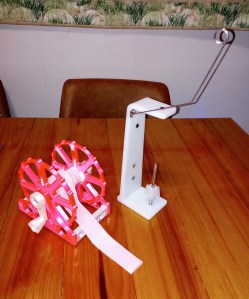
I’m not ready to go through tools yet but these two caught my eye. That pink thing is a binding wider. It’s handy to wind the binding on and then put it on the floor and let it unwind as I’m stitching it on to the quilt. There’s just never a good place to put it and, letting the binding twist up out of my lap is easier than digging this thing out.

The white thing on the right is a stand for using thread cones at your sewing machine. I never seem to feed the thread through the eye at the top properly and it’s annoying when it gets stuck there. I don’t want to keep either of these things so they’ll go on the de-stash table.

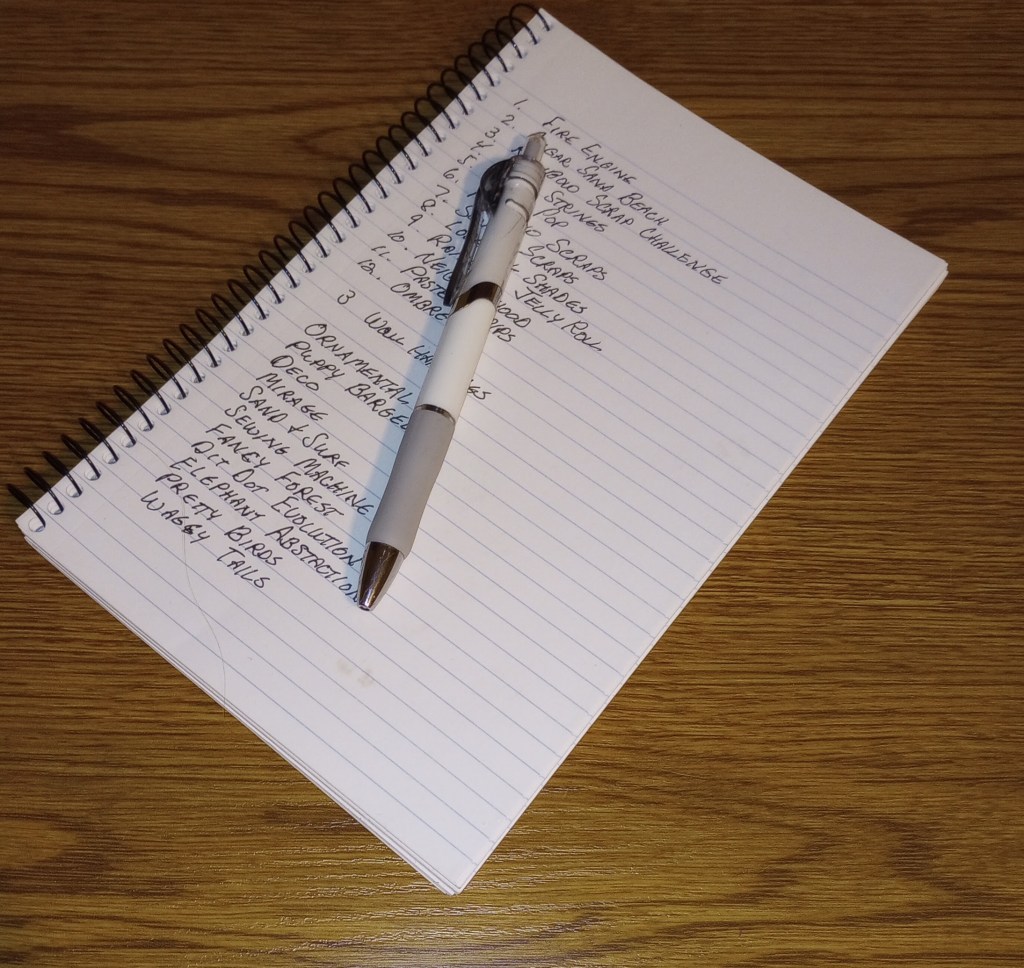
This is order I intend to follow as I go through everything in my sewing room… and I do mean EVERYTHING! It could change but it’s good to have a plan.

  • Strings
  • Scraps
  • Pre-cuts
  • Kits
  • Tools
  • Other “stuff” in my sewing machine cabinet and cutting table drawers
  • Books / Patterns

I organized the fabric on my shelves but didn’t check each piece to decide if I should keep it. I might do that later, but I want to first sort through the items that are harder to manage and easier to donate.


Wedding Dress Blue

Quilting and other things I love in this colorful world

Quilts Pieced with Purpose

A community-focused quilting project dedicated to creating and donating quilts.