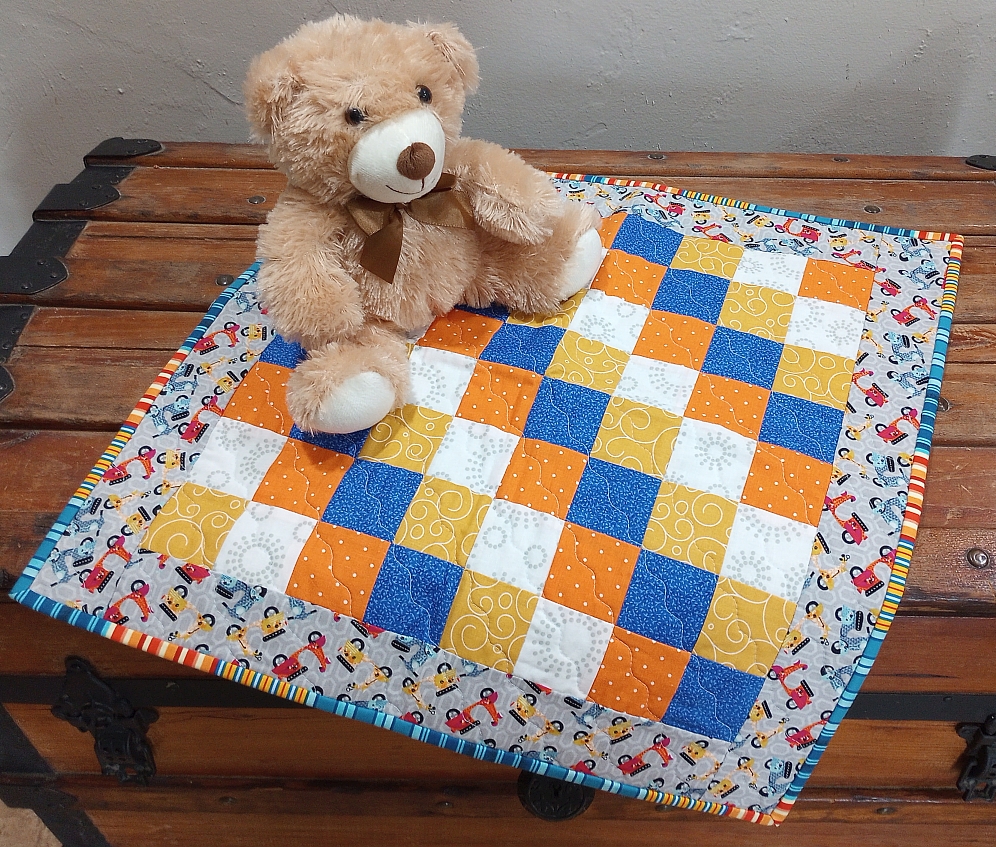
This little Huggable is based on the free pattern by Bonnie Hunter available on her Quiltville blog. The pattern is called Streak of Sunshine and you can find it here.
Fabric Requirements:
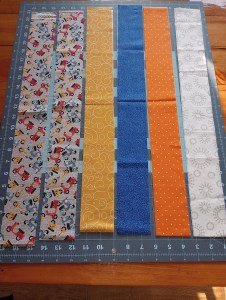
4 different strips 2 ½” by width of fabric (minimum 42” wide)
2 identical strips 2 ½” by width of fabric (border )
Piecing Directions:
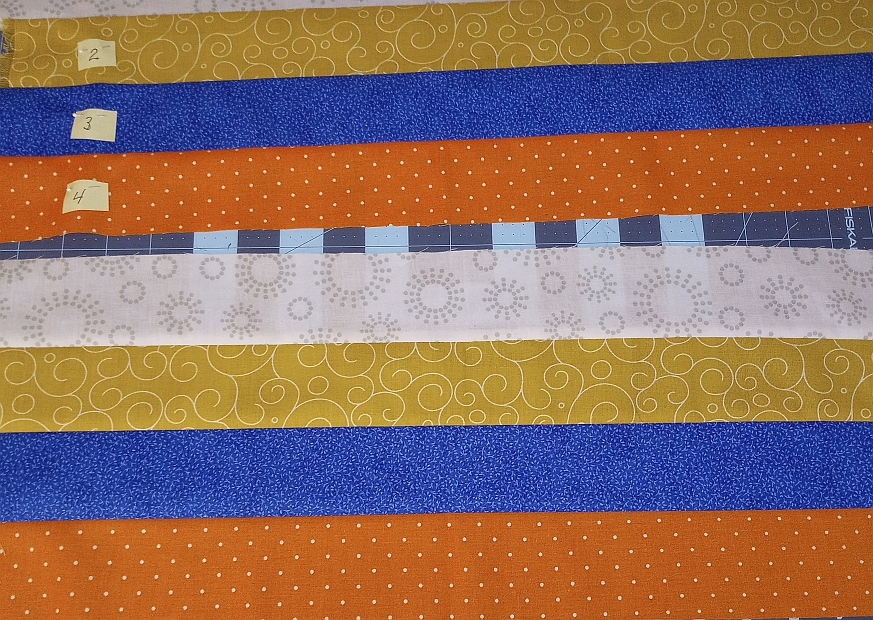
Step 1: Cut the set of 4 strips in half (approximately 21” long) and number them from 1 to 4.
Tip! If you read through the instructions, you’ll notice toward the end, I changed my arrangement of strips before I finished piecing the top. To avoid having to do this – place your boldest print in the #4 position as that will give your finished quilt more symmetry. If you look at the example, the boldest of the four prints is the bright blue.
Sew the first half of strips together and press the seams DOWN.
Sew the second half of strips together and press the seams UP.
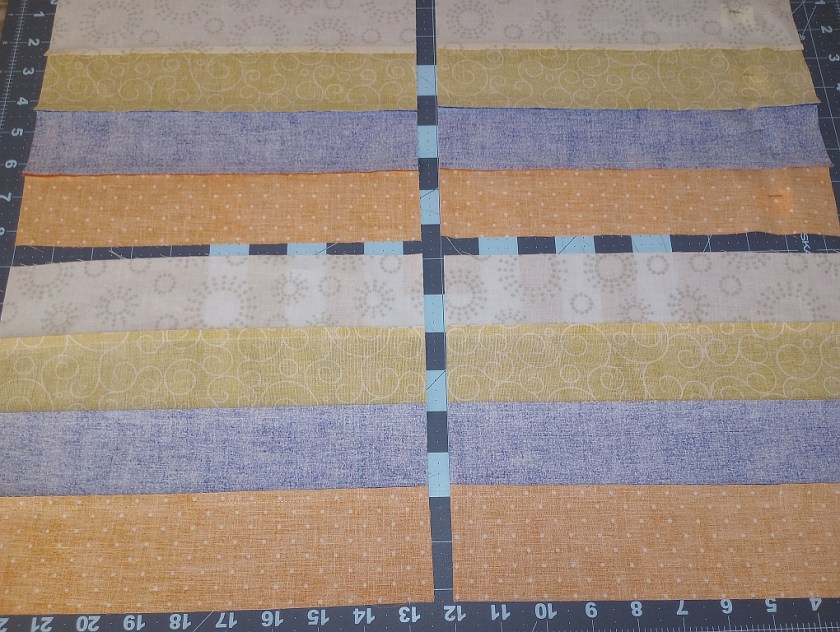
Step 2: Cut the strip sets in half so there are 4 identical sets approximately 10 1/2″ long.
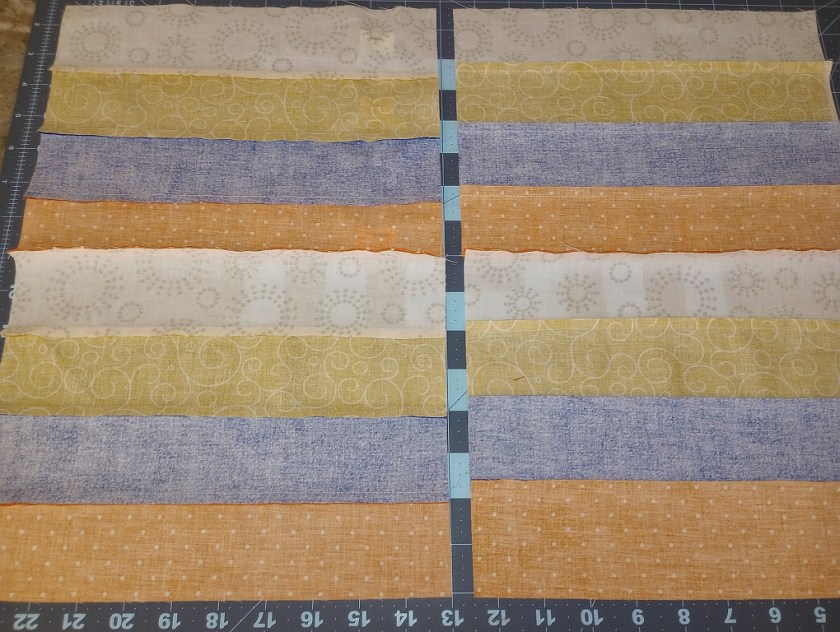
Step 3: Take the two sets with the seams pressed DOWN and sew them together keeping the fabrics in the same order. (The #4 fabric of the top set is sewn to the #1 fabric of the bottom set.) Repeat with the sets that have the seams pressed UP. Do not press these seams yet!
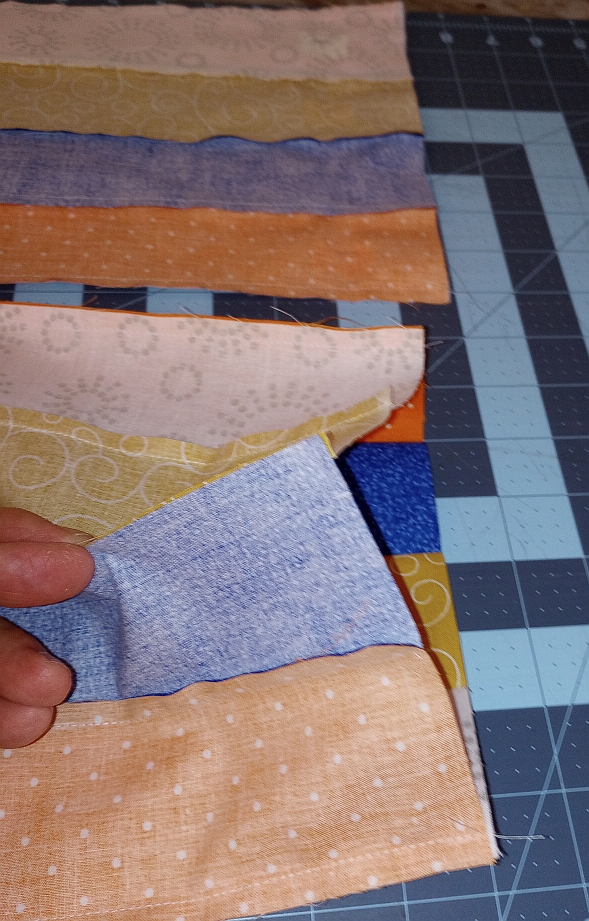
Step 4: Bring the bottom fabric up and sew it to the top fabric to create a tube. Repeat with the second set. Do not press these seams yet!
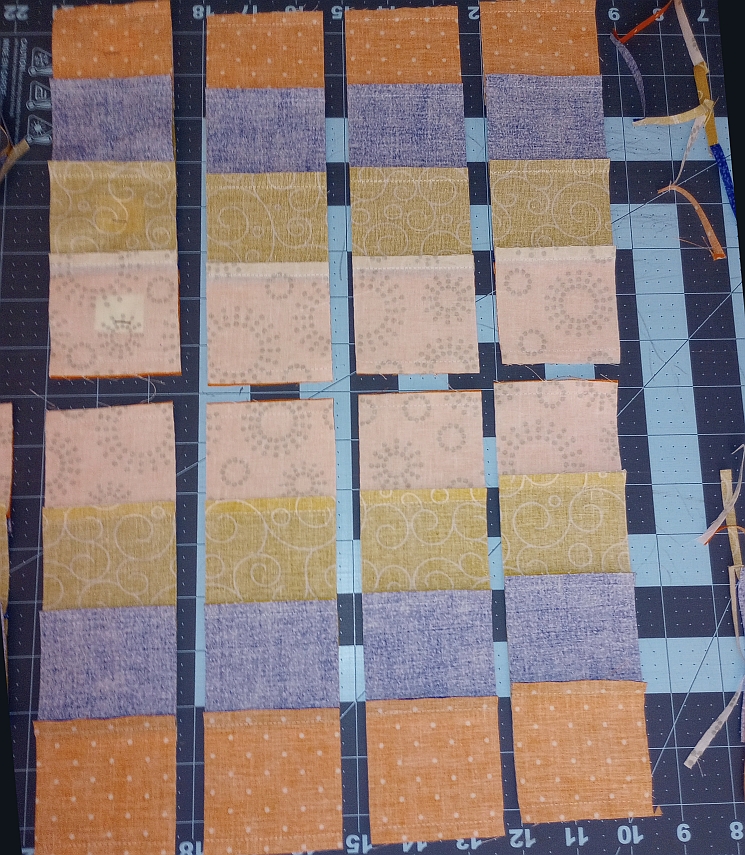
Leave the tubes inside out to make cutting easier. Fold in half so that the previous unpressed seams of the tube are at the top and the bottom.
Cut each set into 2 1/2″ wide segments for a total of 8 tubes.
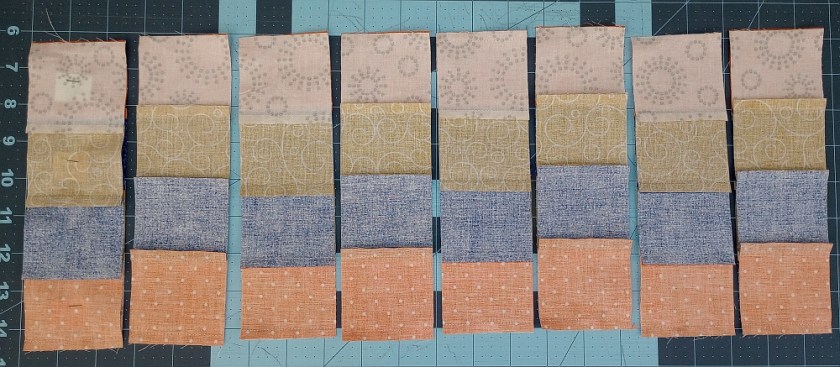
Turn all of the strip tubes so that fabric #1 is on top.
Alternate the tubes so that each one is next to a tube with the seams pressed in the opposite direction. This will ensure that your seams will “nest” later.
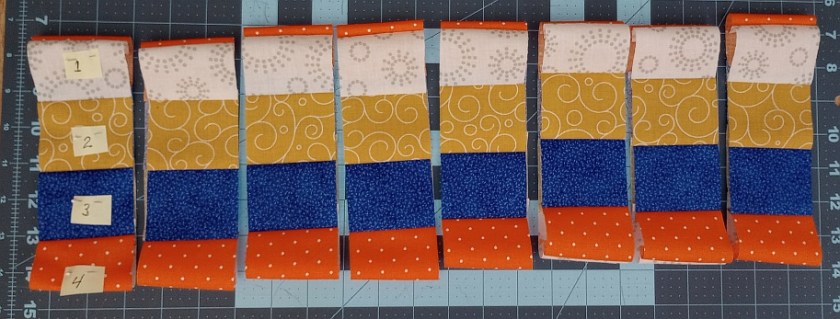
Turn the tubes right side out.
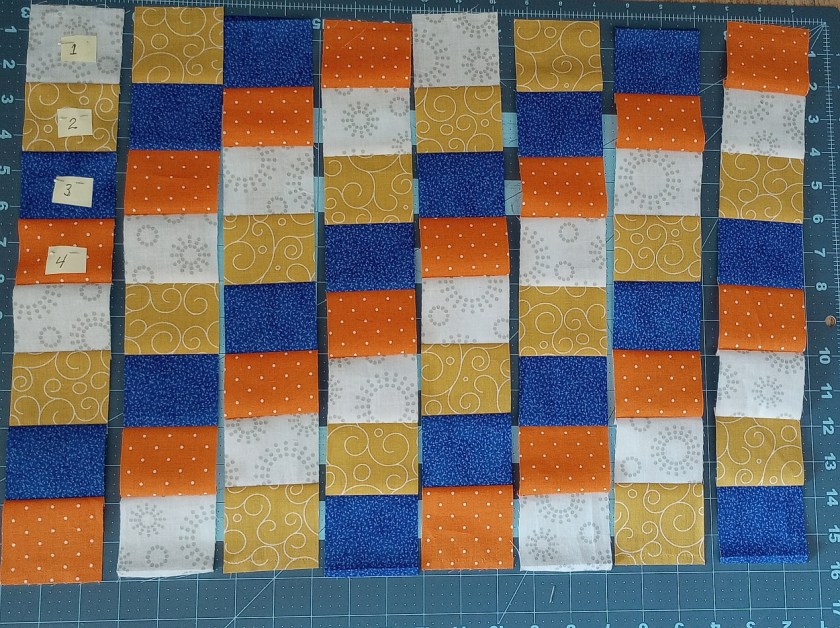
Use a seam ripper to open the seam of each tube between the two fabrics in the order listed below. This will create a stair-step design.
1-4
1-2
2-3
3-4
1-4
1-2
2-3
3-4
In this example, to help make sure I didn’t accidentally get one of the strips turned upside down, I kept checking to make sure the strips were always turned so that the orange fabric was below the bright blue fabric.
If you look at the top fabric in each strip set, you’ll notice they’re in this order from left to right: 1 – 2 – 3 -4 -1 -2 -3 -4
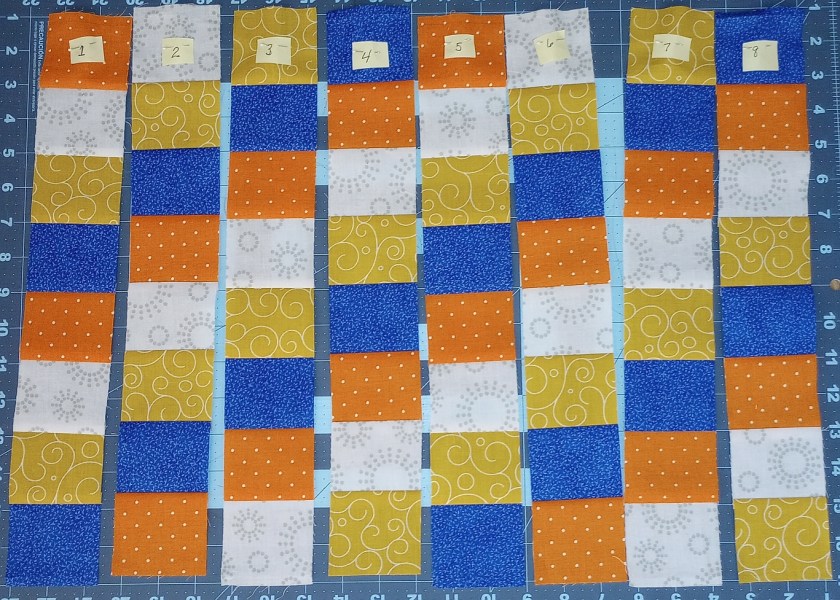
You can change the order of the strips now if you want. I chose to rearrange them so that the blue fabric would be in the bottom left corner and go diagonally to the top right. I only had to move the far right strip to the left side. Before finalizing my choice, I made sure the the orange fabric remained beneath the blue fabric in each strip AND that the seams were pressed in the opposite direction of the strip next to it.
Once you have the strips arranged the way you want, number them from 1 to 8 to keep them in the correct sequence. You can now press the seams from steps 3 & 4 above, in the same direction as the rest of the strip.
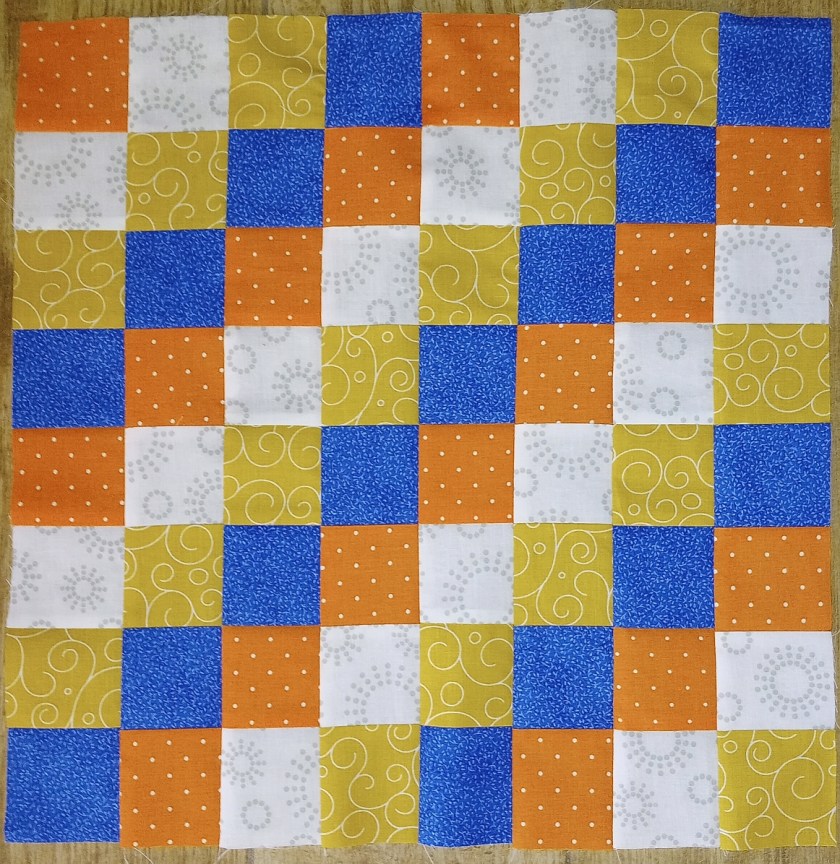
Sew the long strips together
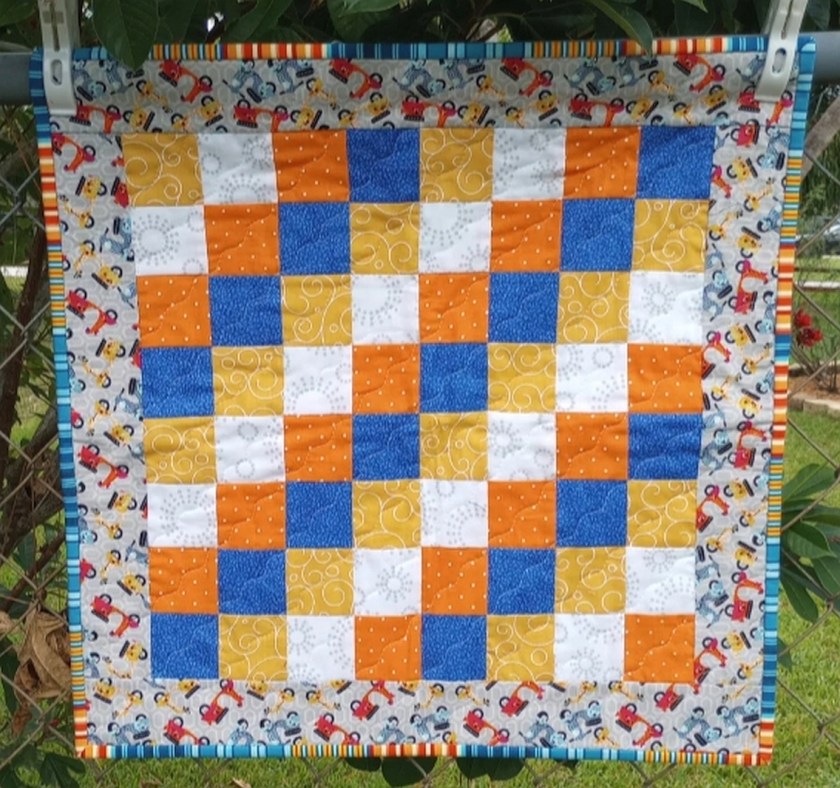
From the border strips cut:
2 strips 2 1/2″ x 16 1/2″ and sew to sides of the top
2 strips 2 1/2″ x 20 1/2″ and sew to top and bottom
Quilt and bind!
The finished Huggable measures 20″ square.

The mini top is ready to quilt and bind! 🙂
 Time to Quilt