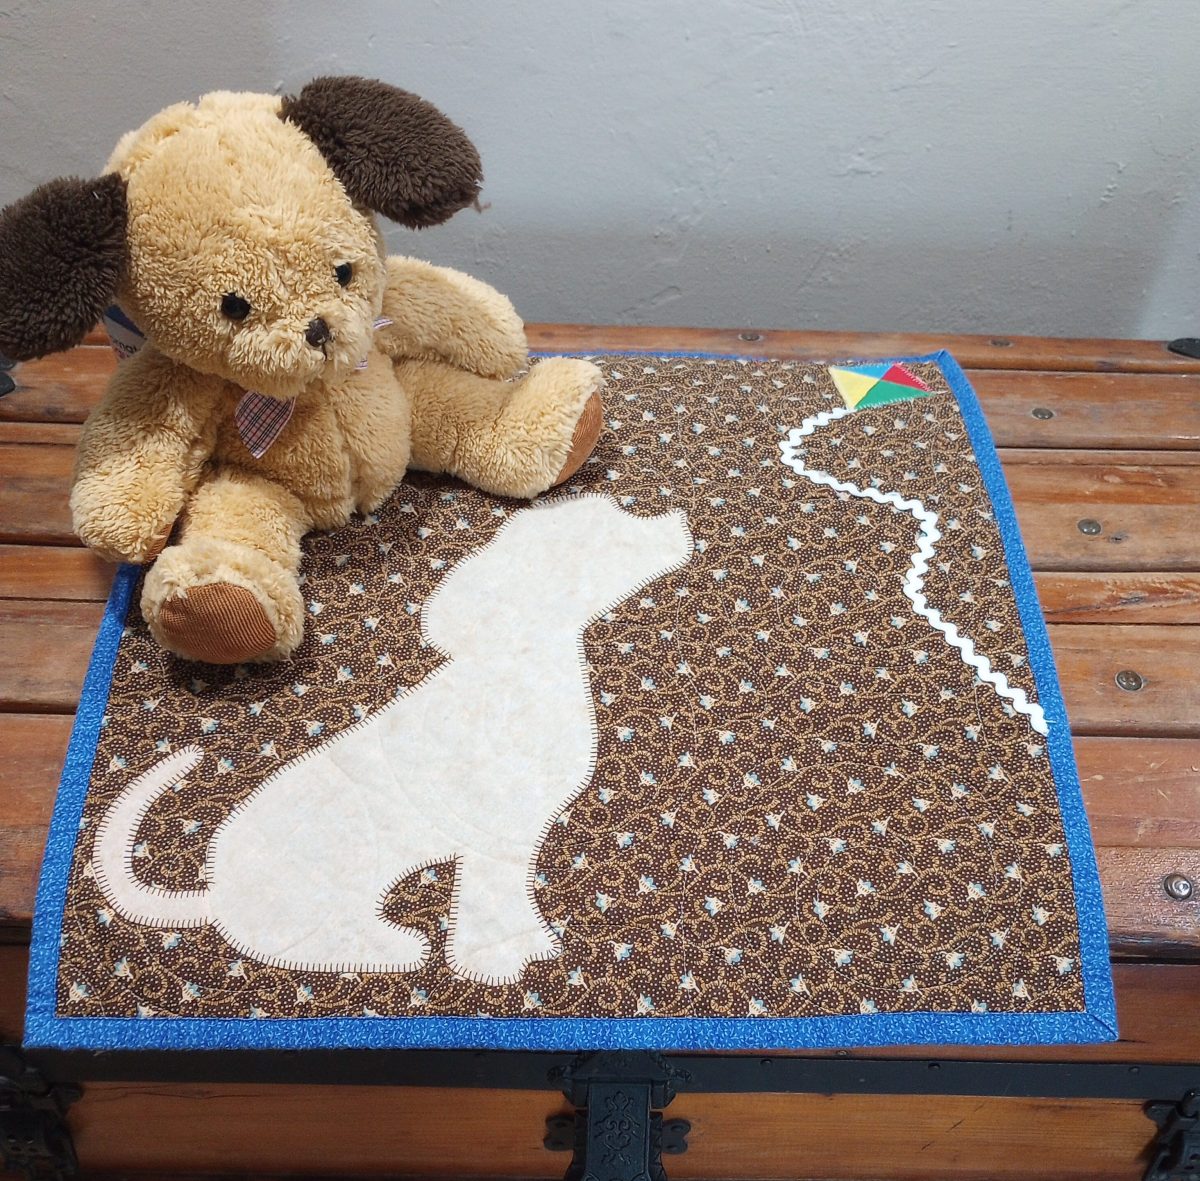
The results of yesterday’s experiment were about as thrilling as watching paint dry, but I learned a few things, so I suppose it wasn’t a total waste of time.
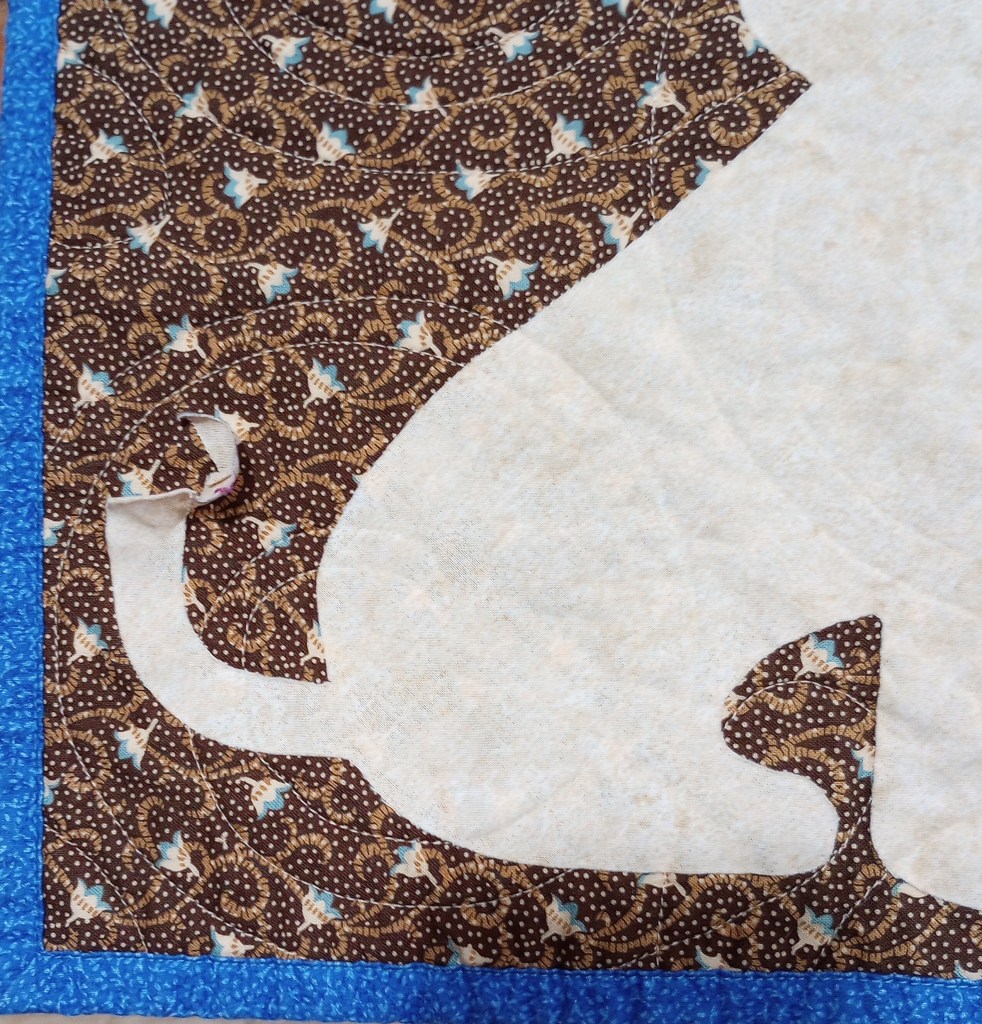
After washing and drying the little quilt the tail came loose and stuck to itself so I couldn’t just stitch it down. I had to pull it back to the dog’s butt and attach a new one. (Luckily, it peeled back rather easily.)
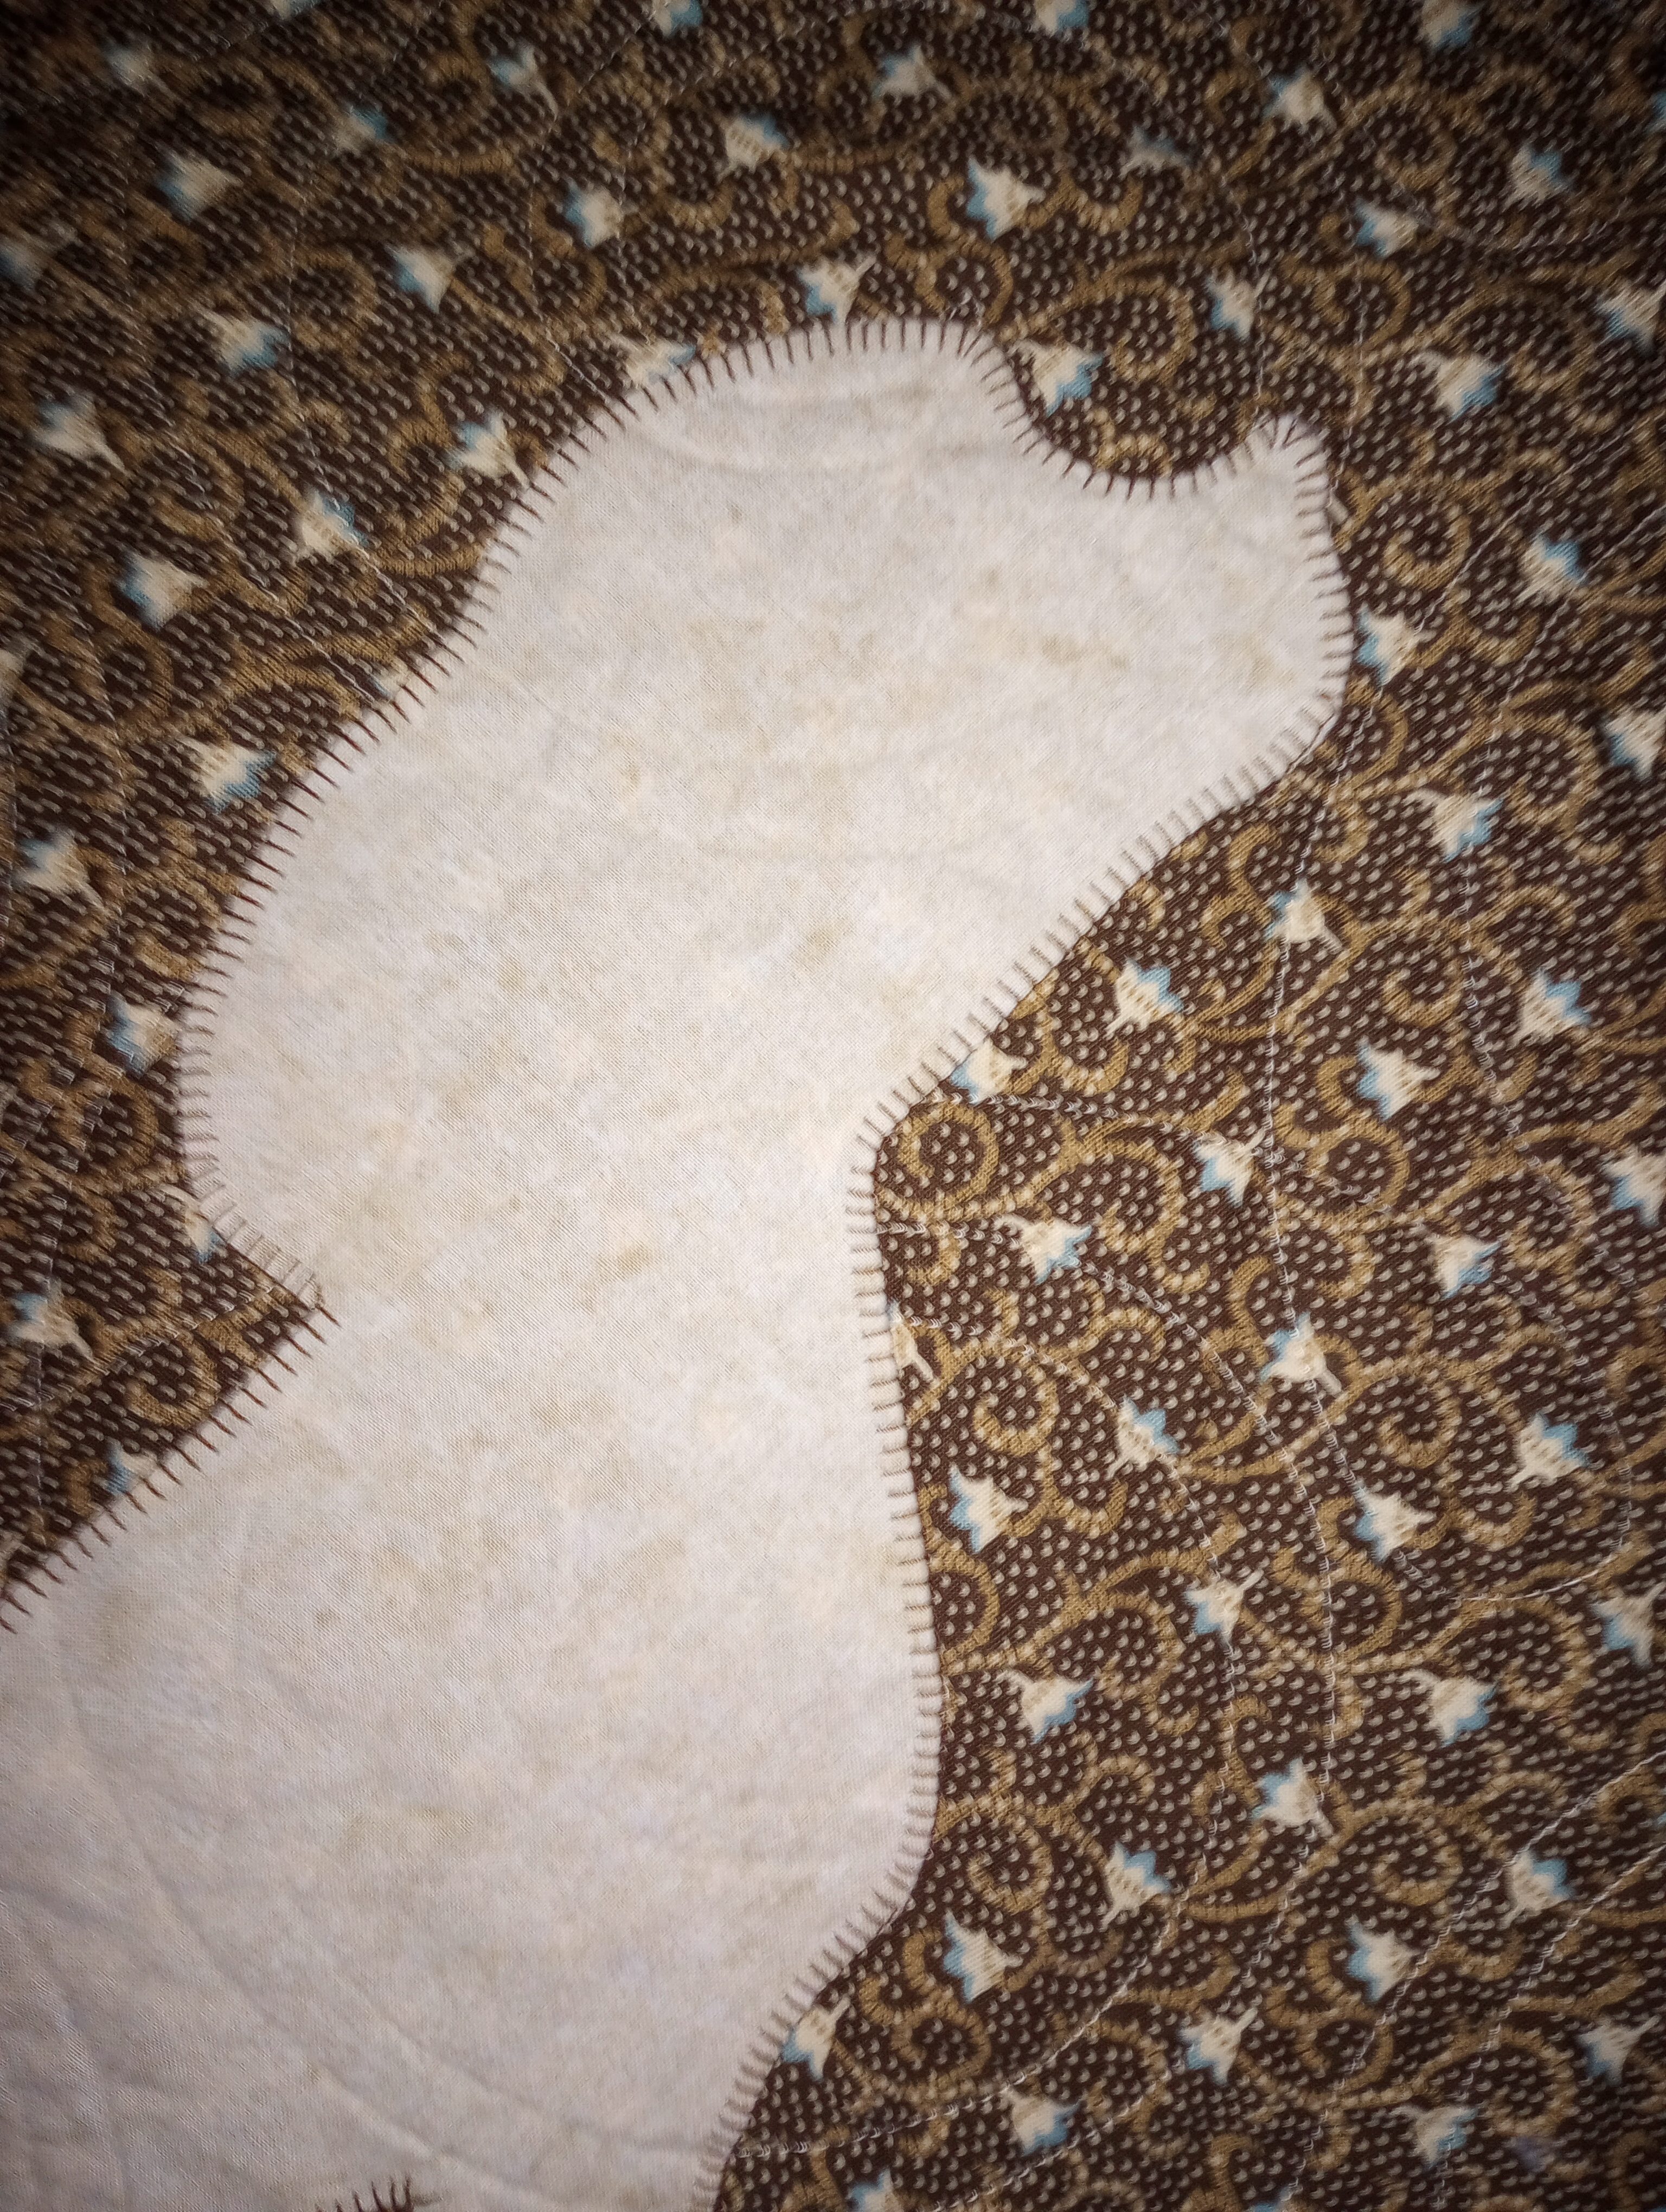
I machine blanket stitched the edges to enhance my plain tan print. I was happy to discover it was super easy to stitch through the top, applique, batting, and backing without using a walking foot. That, and the small, easy to manuever size gave me a lot more control around the curves.
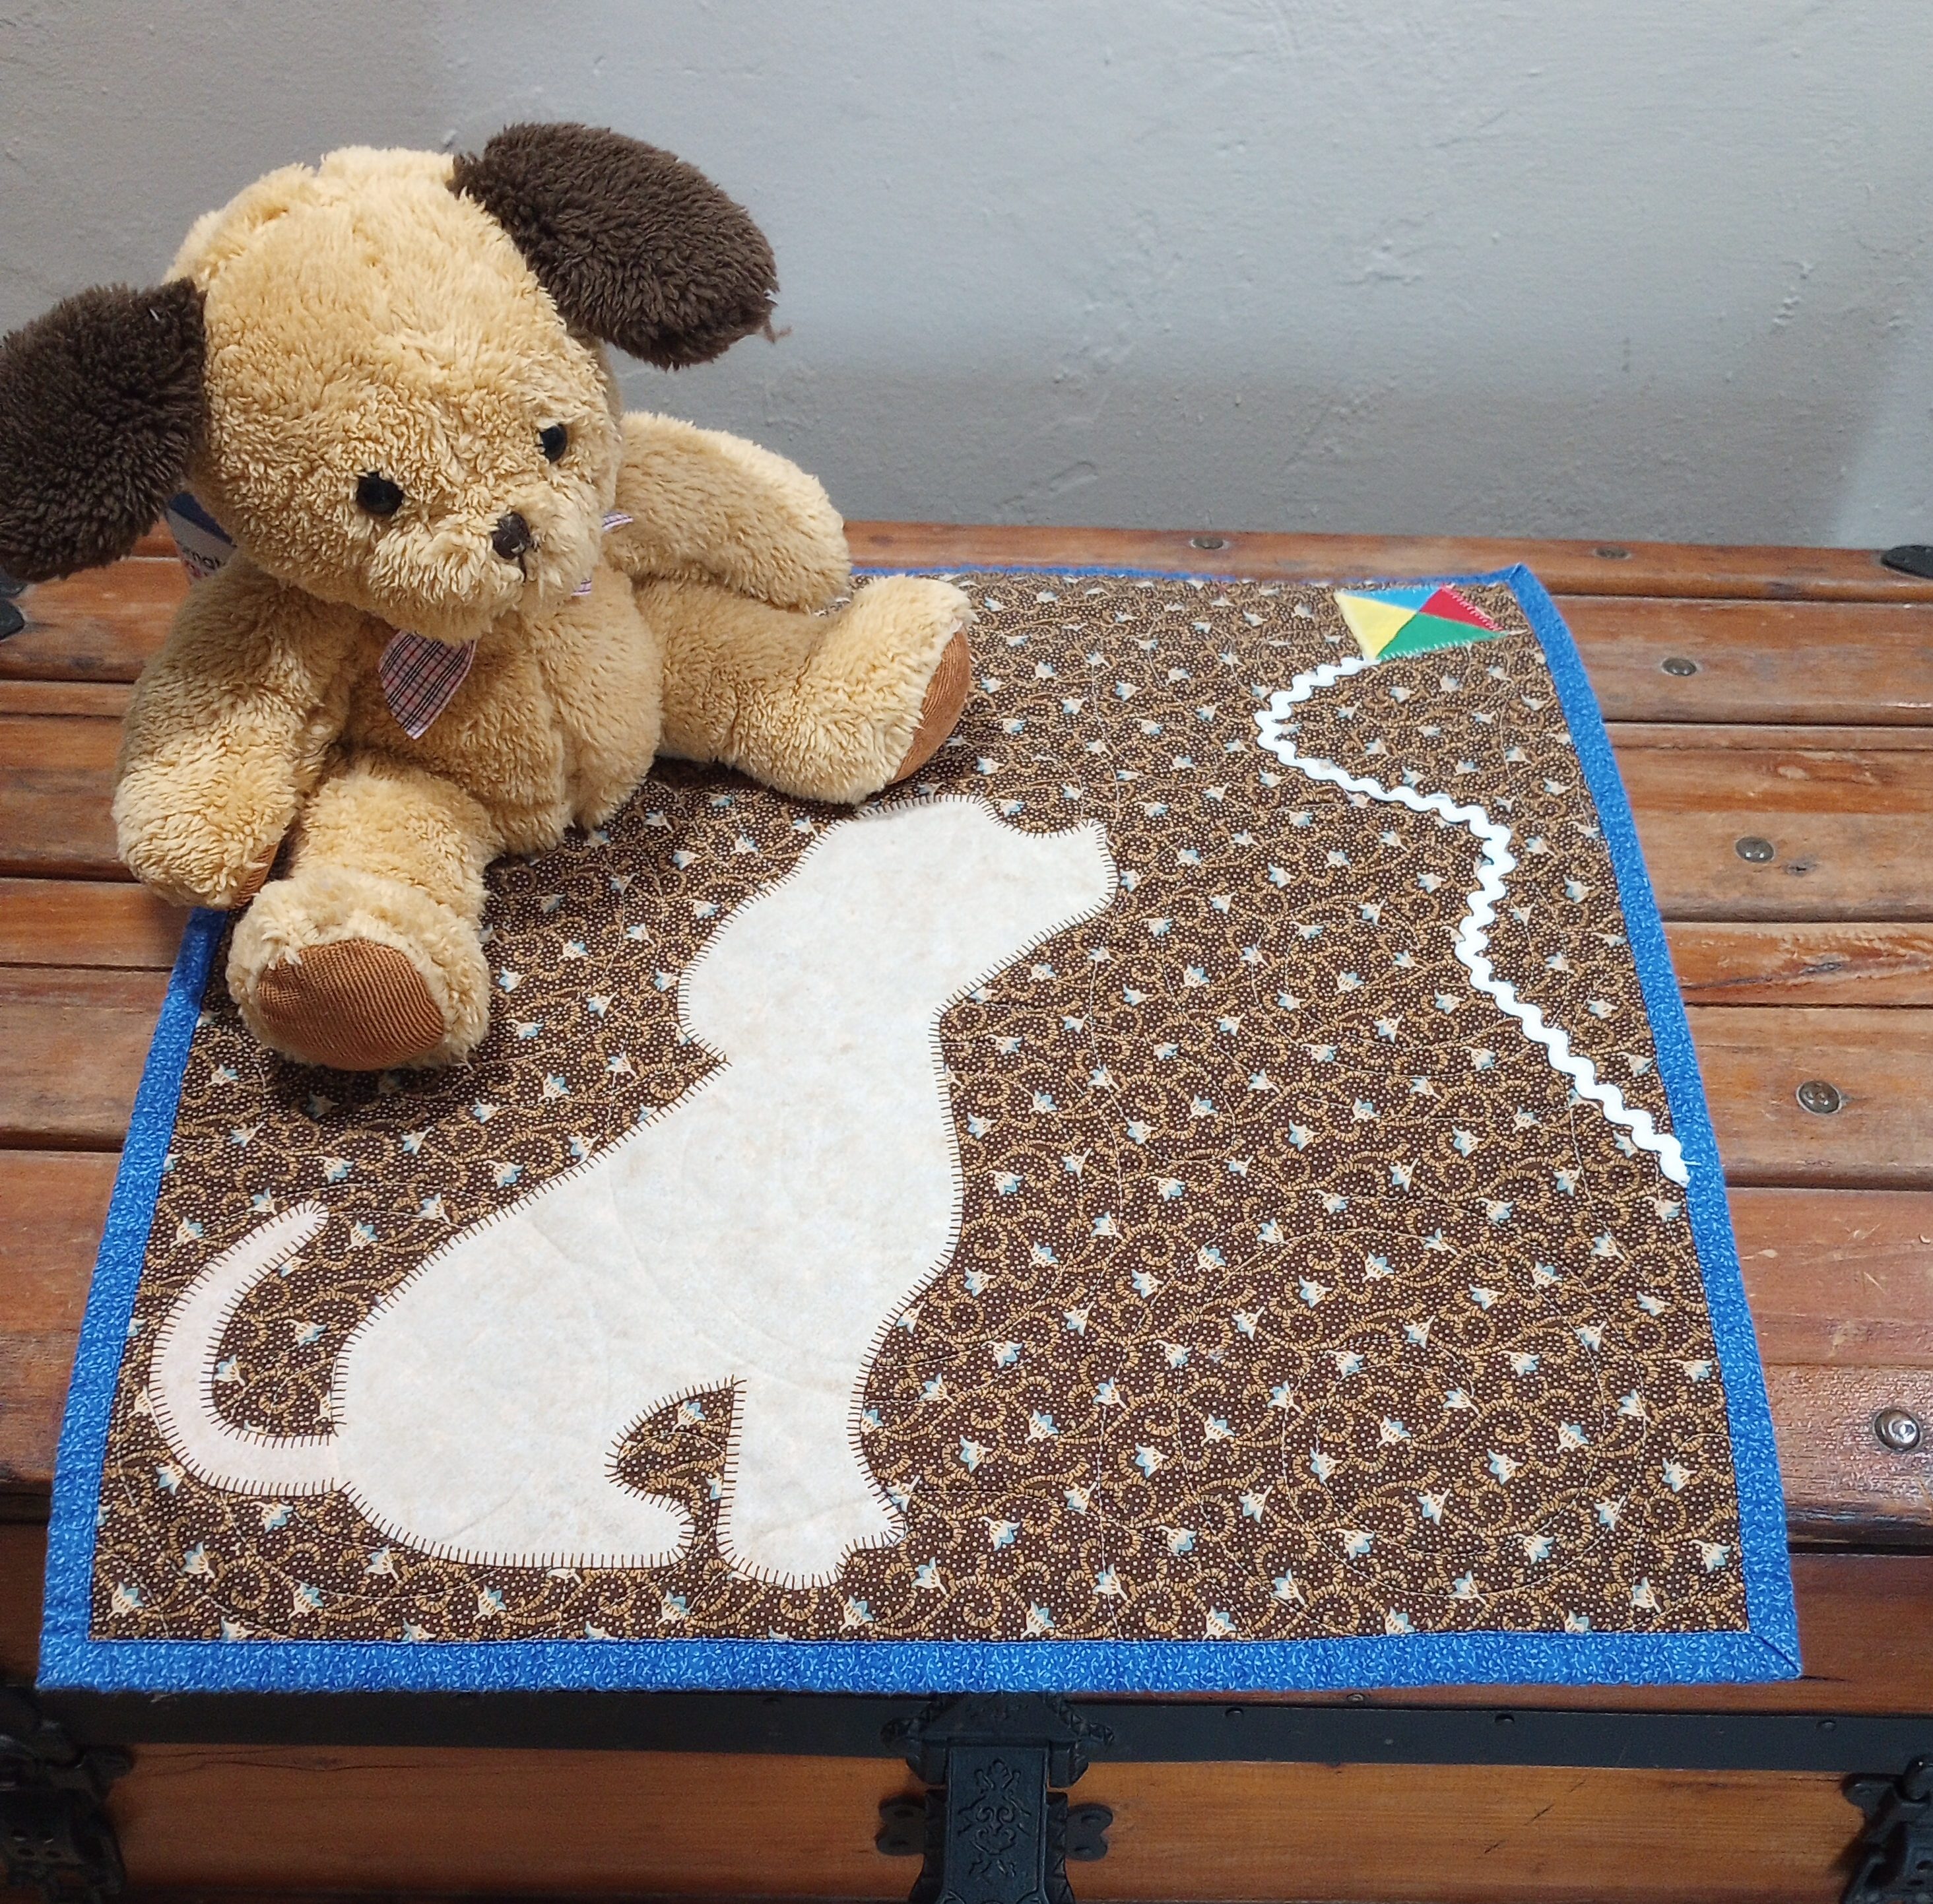
I had sewn the rick rack for the kite string down before washing it (also through all the layers) and it held up surprisingly well with no curling of the edges.
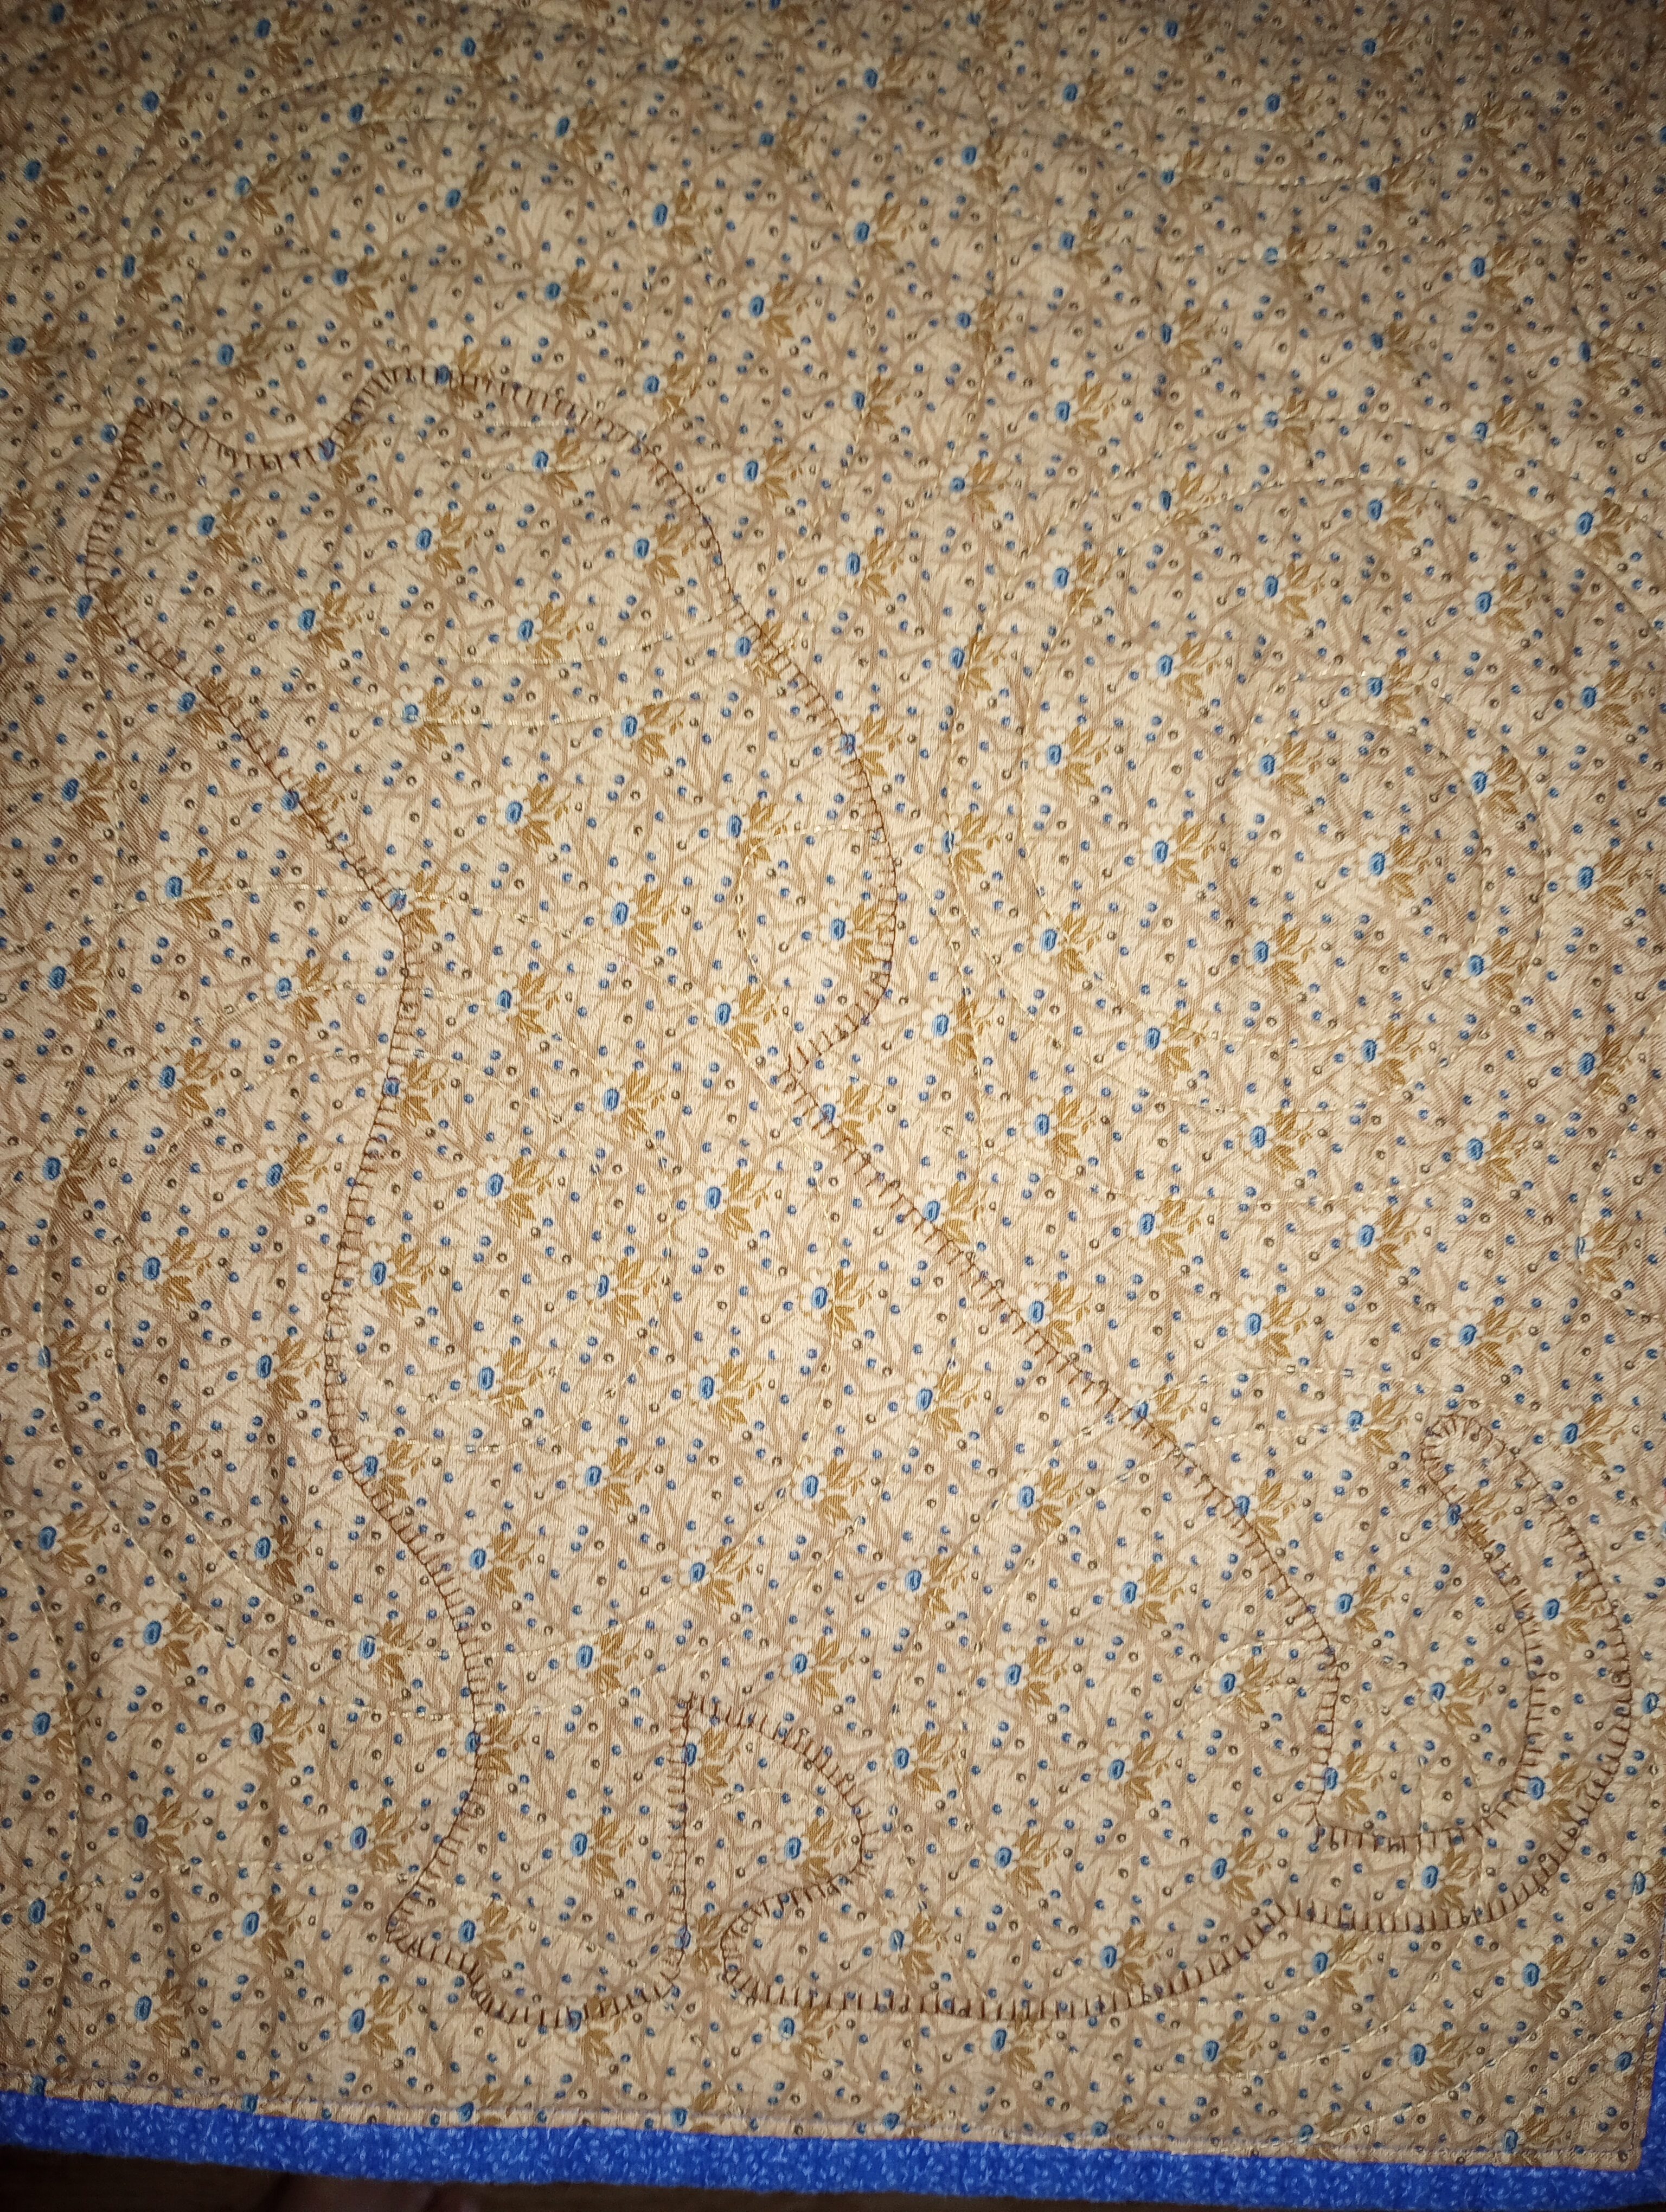
Another thing I found was that stitching the applique down after quilting has a big advantage. Using a contrasting thread on the back makes the design visible there as well.
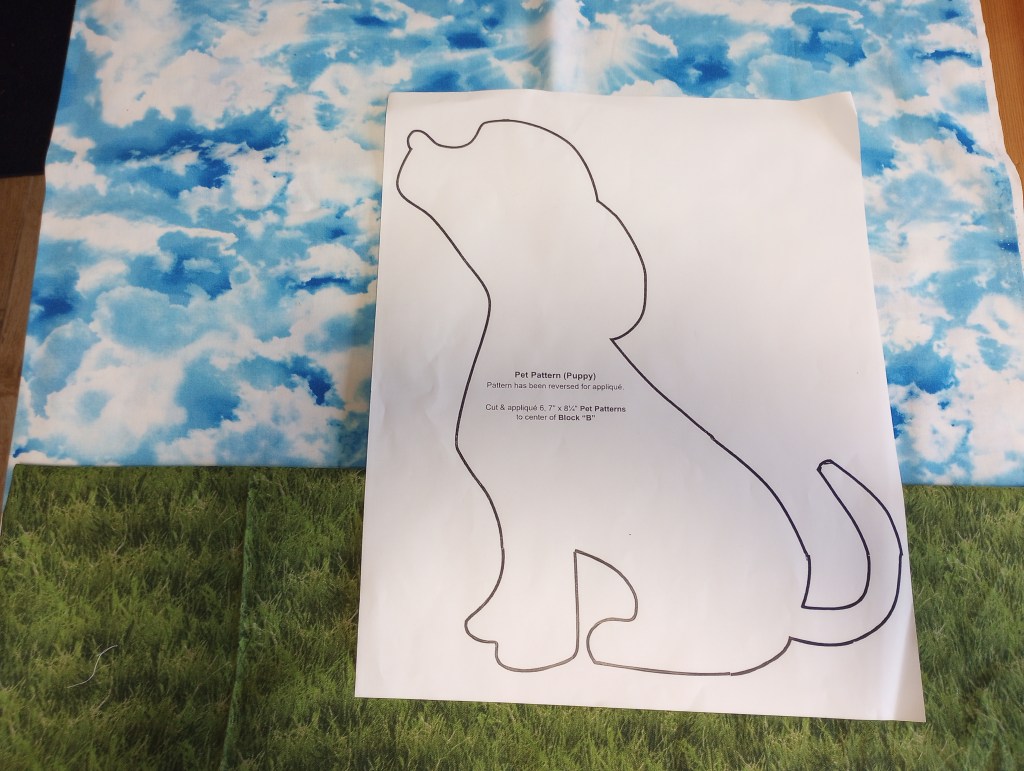
Now that I know what to expect, I want to try it again with my original idea of using a grass and sky background.
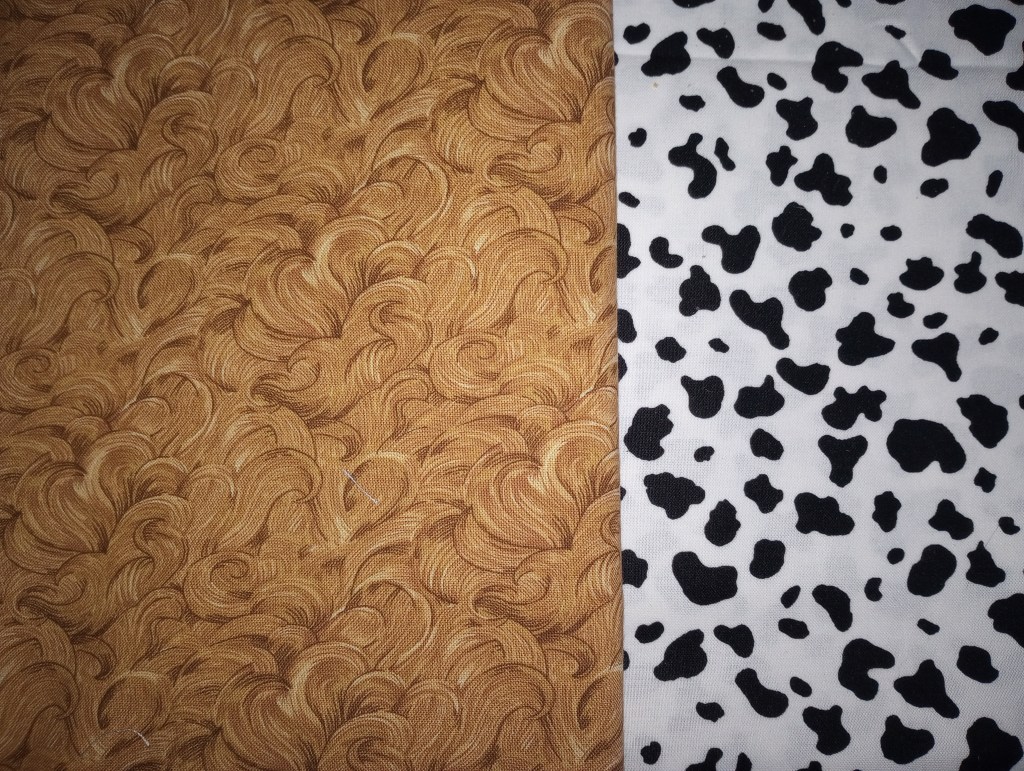
I just need to decide… it he a golden retriever or a dalmatian? 🙂
There needed to be something in the sky since the dog shape is looking up. I was thinking about a bird until, ironically.. my friend, ROBIN suggested a kite! LOL
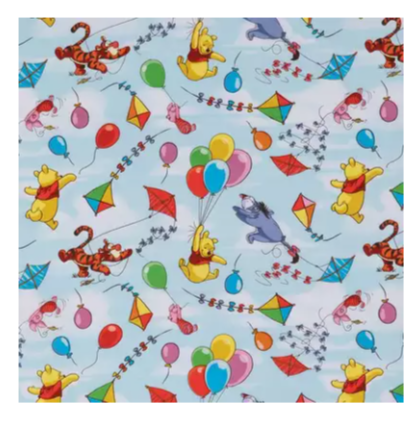
Of course she was right. The kite is a better idea. I remembered seeing this fabric at Hobby Lobby that I can use for the back so of course I had to go buy a piece before I wait too long and it’s gone. 😉
If you want to play with some of the outline shapes I saved, I made a page for them here. You’ll be able to click on the one you want to try and save it to your computer to print.