Are there any quilters who haven’t said “finished is better than perfect” ?
Each of these three quilts showed me once again that despite my best efforts, things don’t always go as planned. What truly matters is how you respond in those moments.
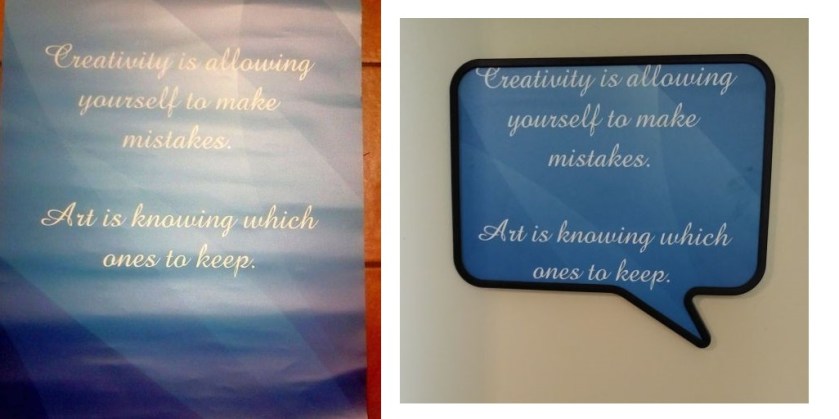
A few years ago, I had a poster printed. I framed it to hang on my sewing room door so I see it every time I walk in the room. It’s a constant reminder to enjoy being creative and accept that mistakes are going to happen. If you want to be a quilter, you’re always striving to get better but you learn pretty quickly that you have to leave perfectionism at the door.
My goal was to turn these unloved tops into useful quilts for people in my community.
When you gift a quilt, the receiver sees kindness, they’re not looking for flaws. That’s reason enough to keep going.
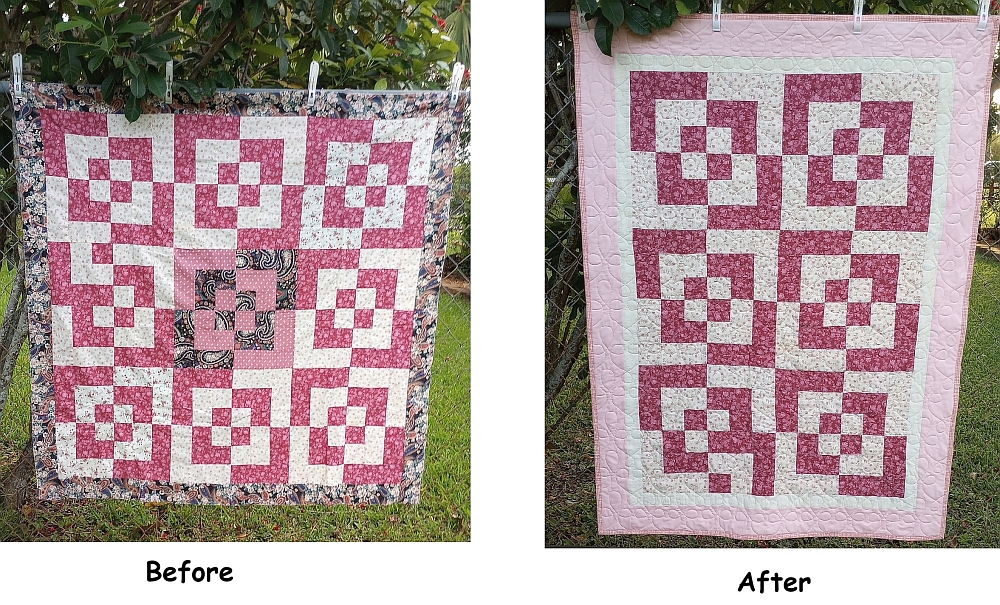
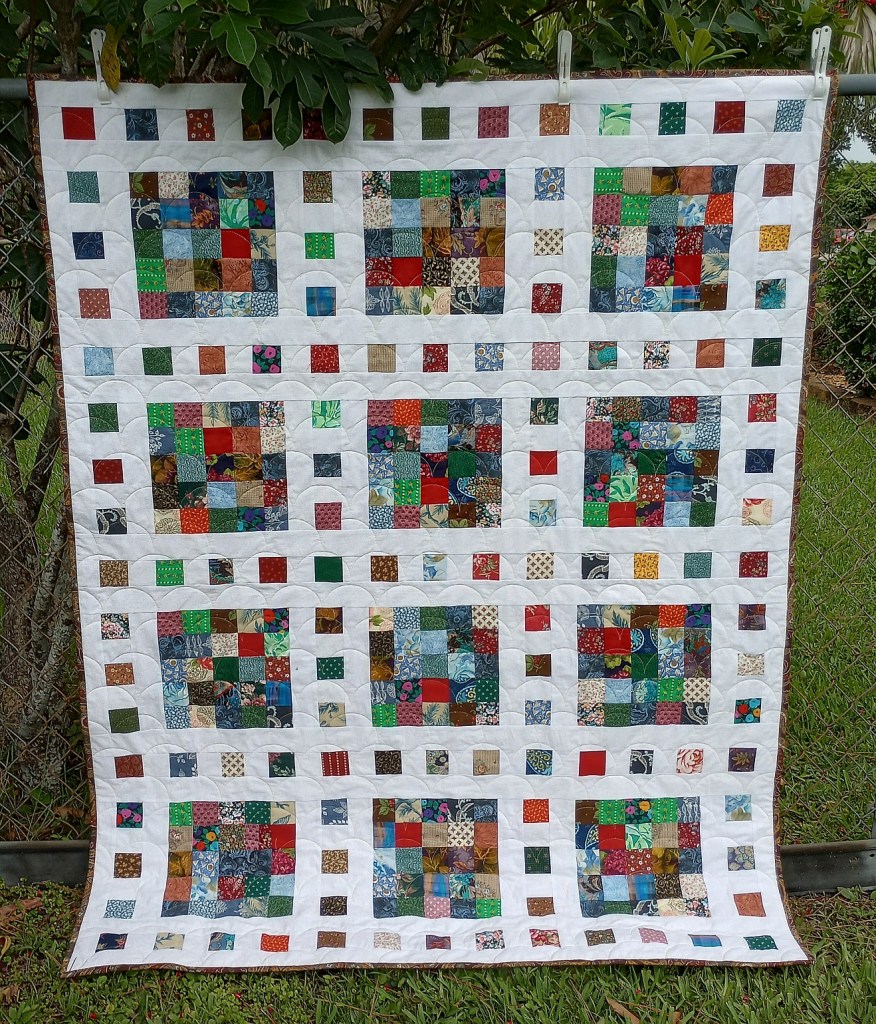
This was a large square quilt. I’ve never made Bento blocks but recognized the pattern. I thought if I kept only the six blocks that had the same fabrics it might look a little less busy and using a soft pink in the border and backing would make it appropriate for a little girl.
Two blocks had red and blue print in the neutral rather than pink. The black paisley in the center block was different that the paisley in the border.
I didn’t notice the piecing mistake in one of the blocks as I was working on it. It’s the second block down in the left column in the “before” photo. When I took the “after” photo I saw it right away. (The bottom left corner in the “after” photo.)
There was no going back at that point. Since I didn’t notice it right away, I’m hoping the recipient won’t either.
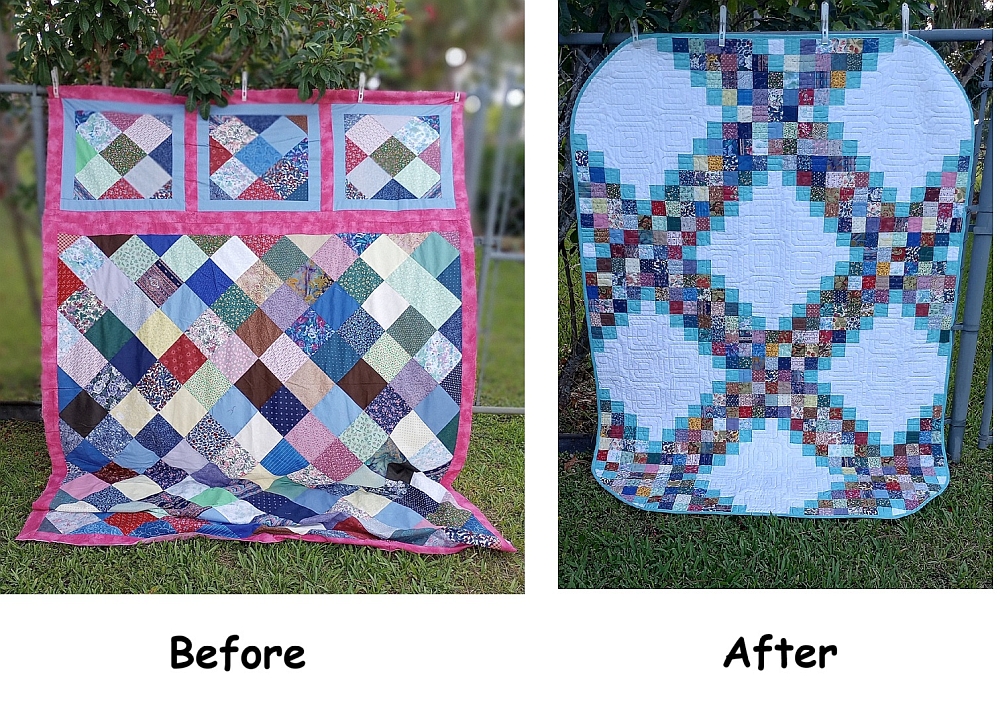
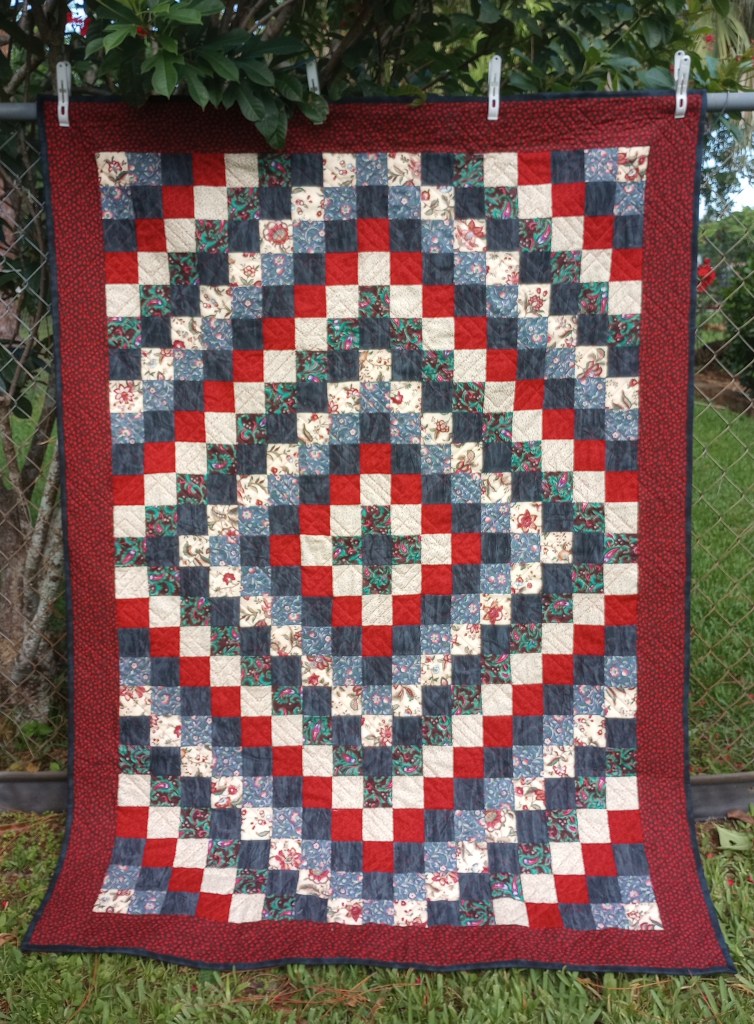
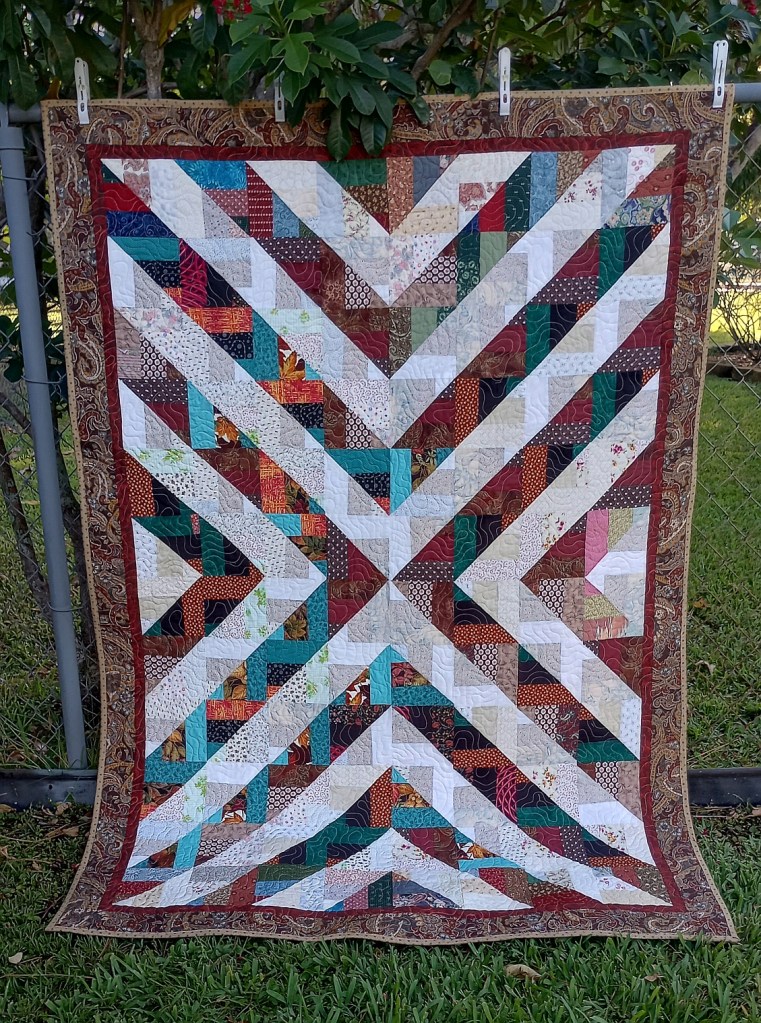
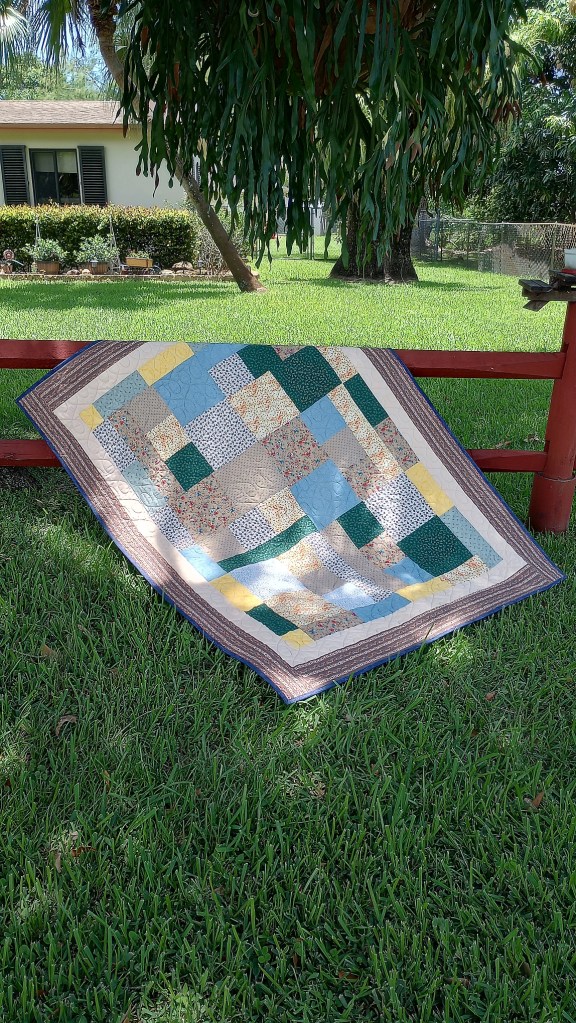
This top had problems both before and after. The original quilt was very puffy in the center. I knew would make it a nightmare to quilt. I took it apart, trimmed the squares to 2 1/2″, and created a triple Irish chain top with the pieces.
Everything went well until I attached the binding and started ironing it over to topstitch. My iron overheated and scorched the backing all the way through to the batting. The next morning my iron wouldn’t turn on at all so I knew it had burnt out and I’d have to replace it. . I prefer a hot iron, but not that hot!
The burnt section was too big to cover with a label, so I removed the binding, rounded the corners to cut off the burnt part, and sewed the binding back on. I’m not completely thrilled with the quilt, especially after all the work that went into making those 81 piece blocks. The disappointment was gone the next day. When I looked at it again I realized that that I was actually pretty lucky that the damage was in the corner. Instead of disappointed, I was grateful that I was able to save the quilt.
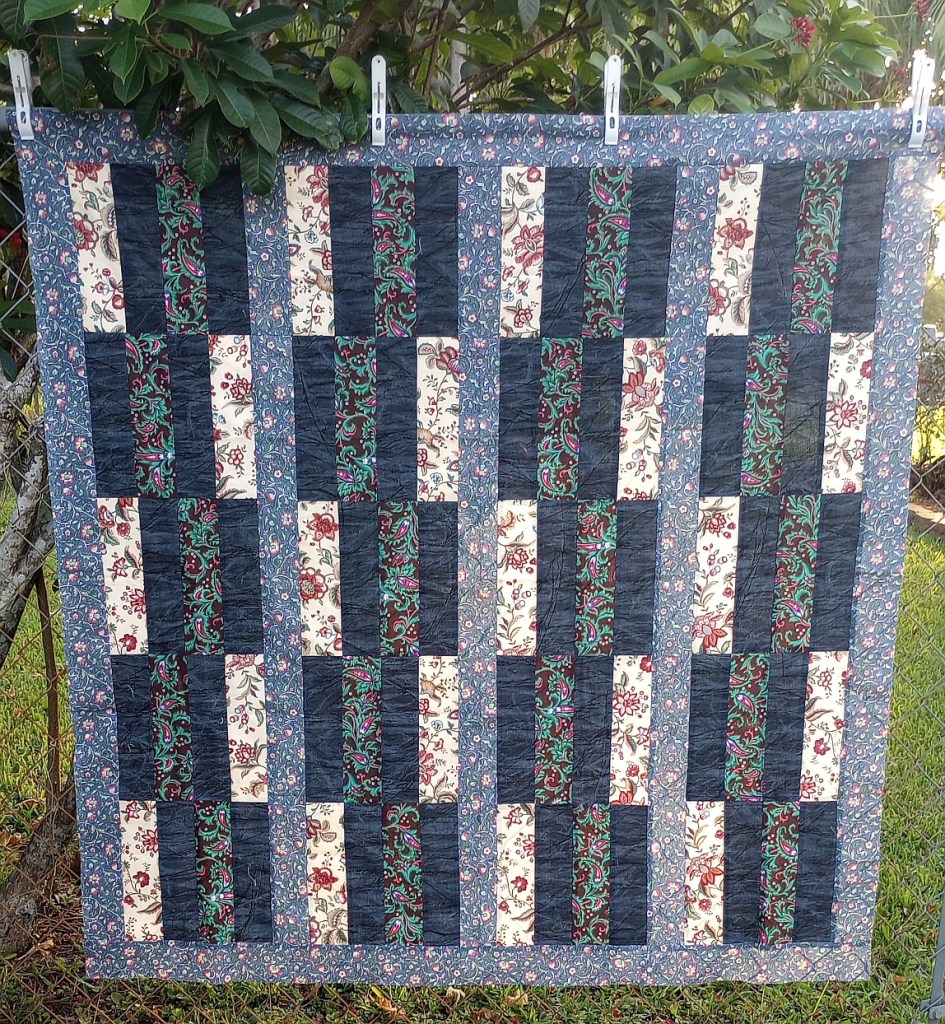
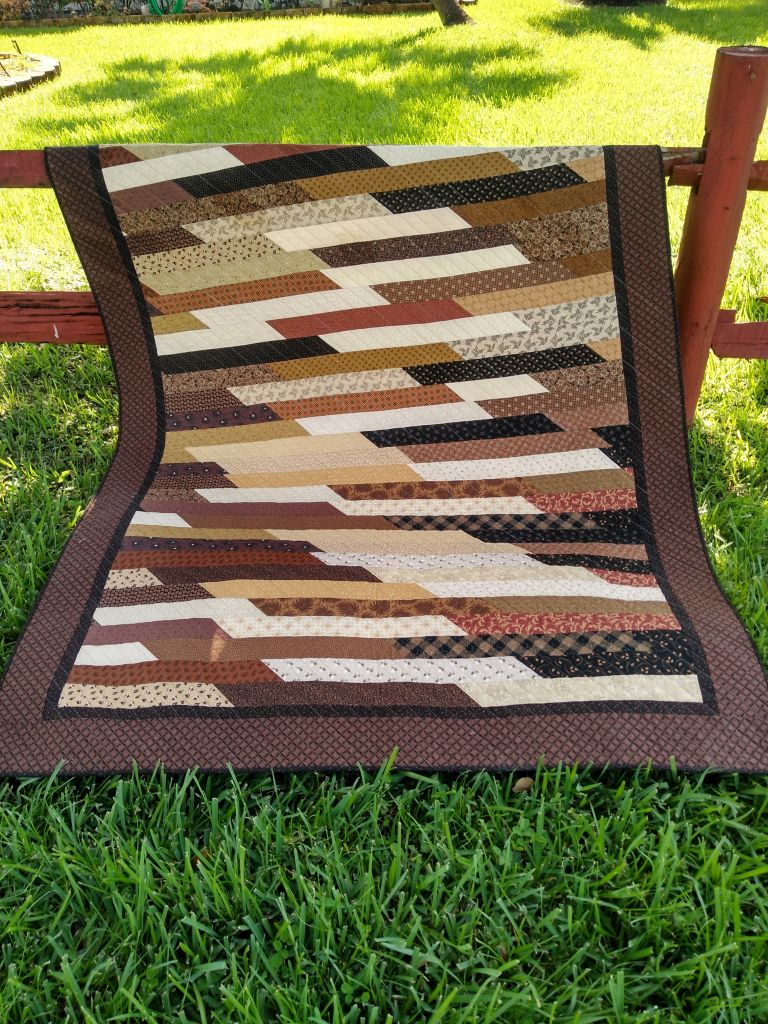
This was one of those first three tops finished before I decided to take “before” photos. The borders were sewn on but never trimmed. It actually made me laugh thinking someone must have been in a huge rush to just stop working on it and leave it like that.
The way the borders had been cut made it a challenge to trim them so they’d be symmetrical. The fabric matched the rest of the quilt top so I wanted to keep them.
I took the borders off, trimmed them to look as balanced as possible and reattached them to the top. After making the pink one above, I was glad to have this one to finish with lots of blues & browns for a boy.
Perfect? Not even close! But, they are finished and that’s a good feeling.
Here’s a recap of all 10 quilts.