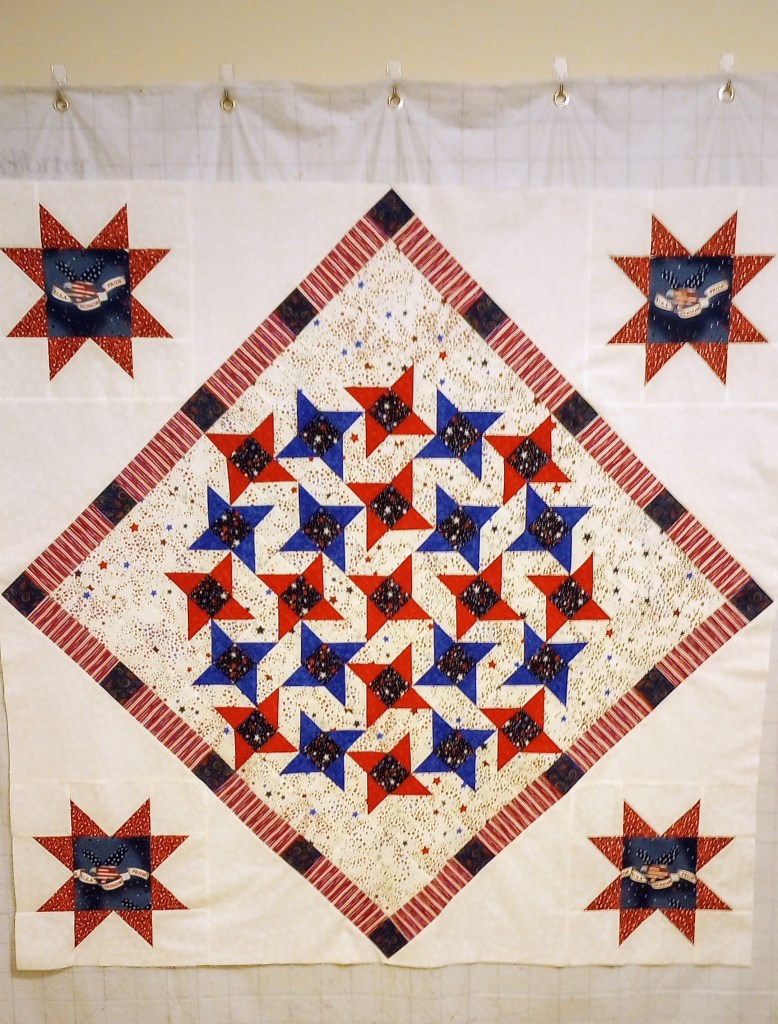
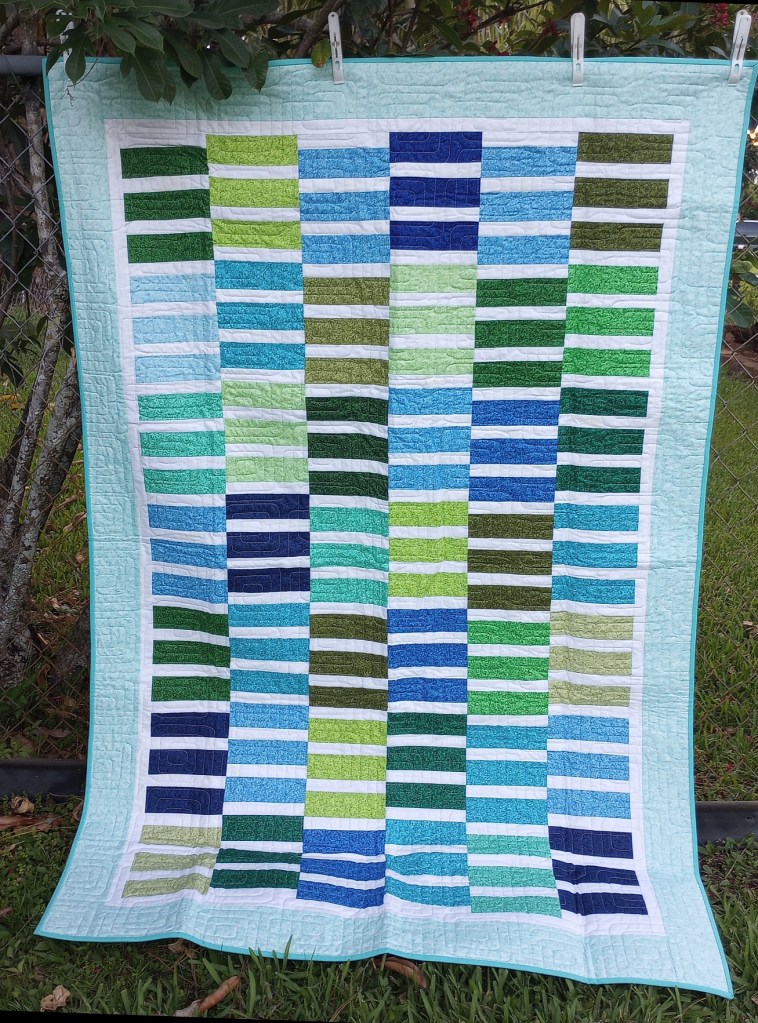
The 4 1/2″ squares for this quilt were free at the Palm Beach County Quilter’s Guild meeting about two months ago. I was surprised when no one picked them up by the end of the meeting, so I brought them home with me. ♥
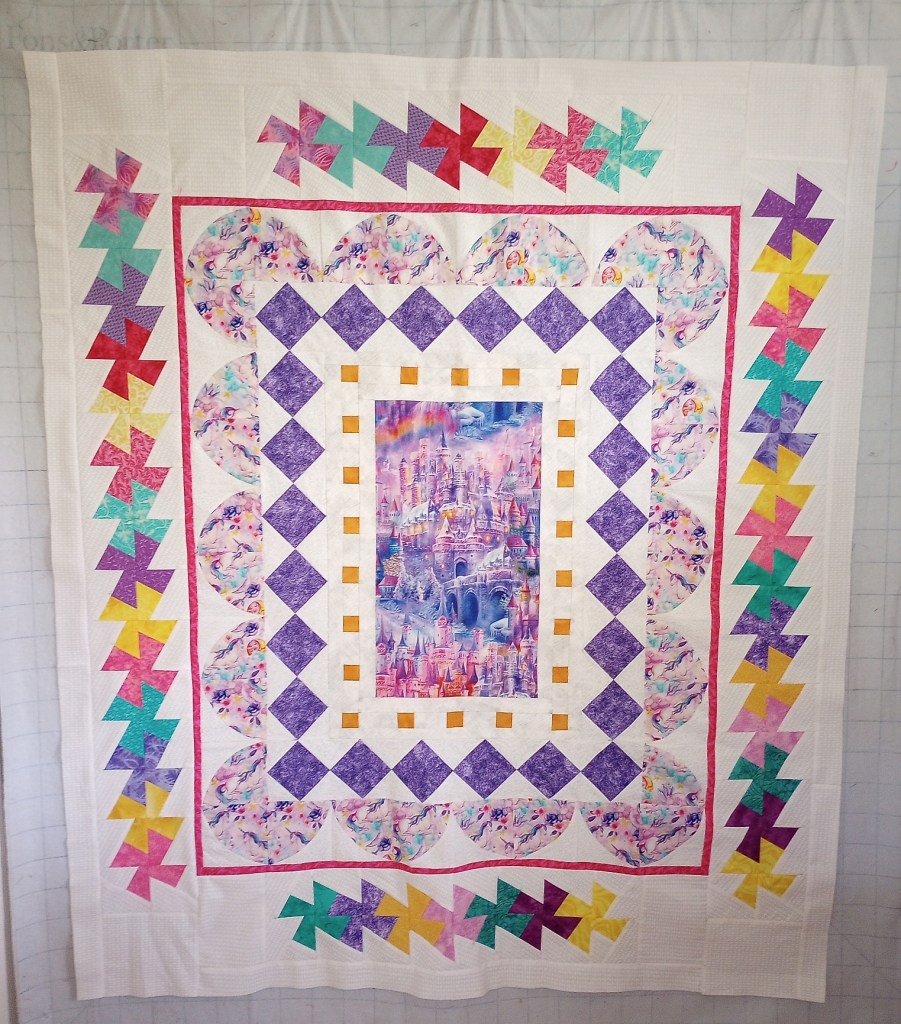
I wasn’t quite sure what I’d make, but I took them up to use, not to store, so I laid them out Wednesday night, started piecing a top at my quilting bee on Thursday morning. I finished the last couple of rows later that night. When I woke up today, I figured I’d try to get it both quilted and bound if I could. My cutting table is a bit of a mess, so I have a lot to do on my Saturday reset day and I really didn’t want to put this away unfinished.
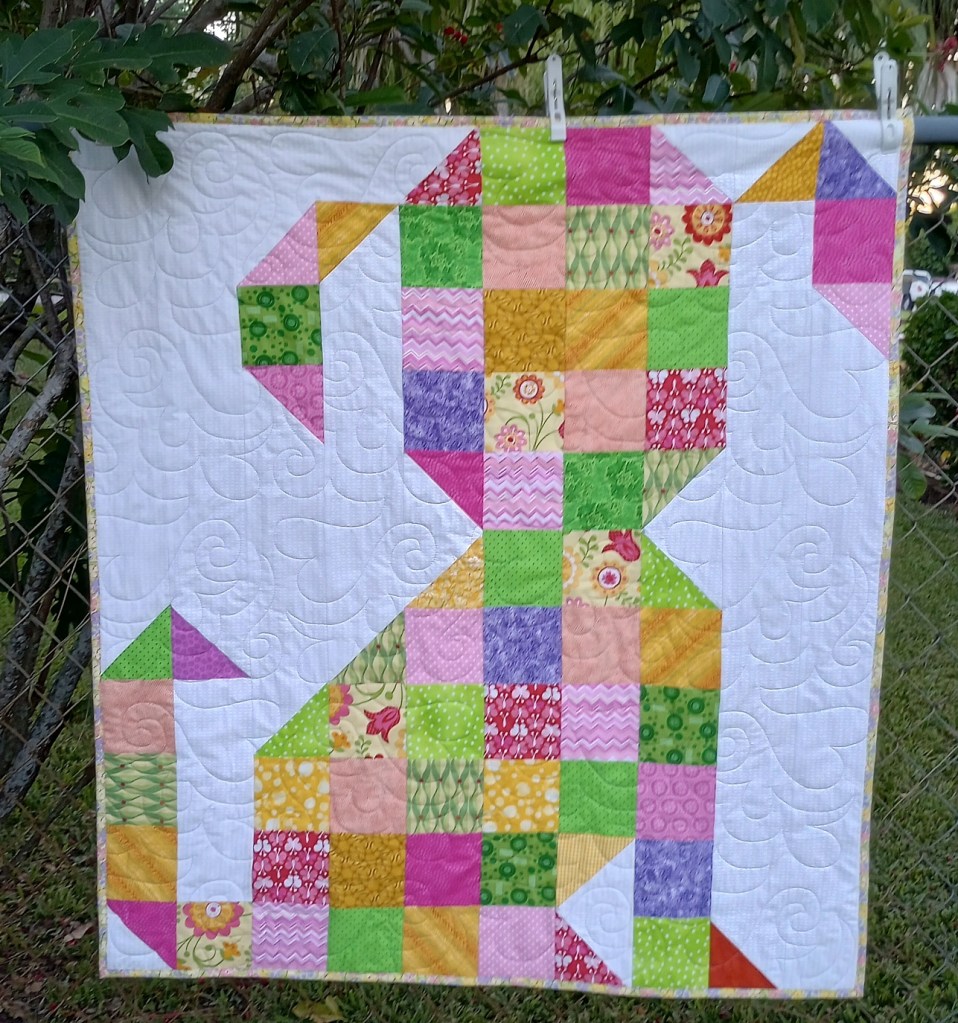
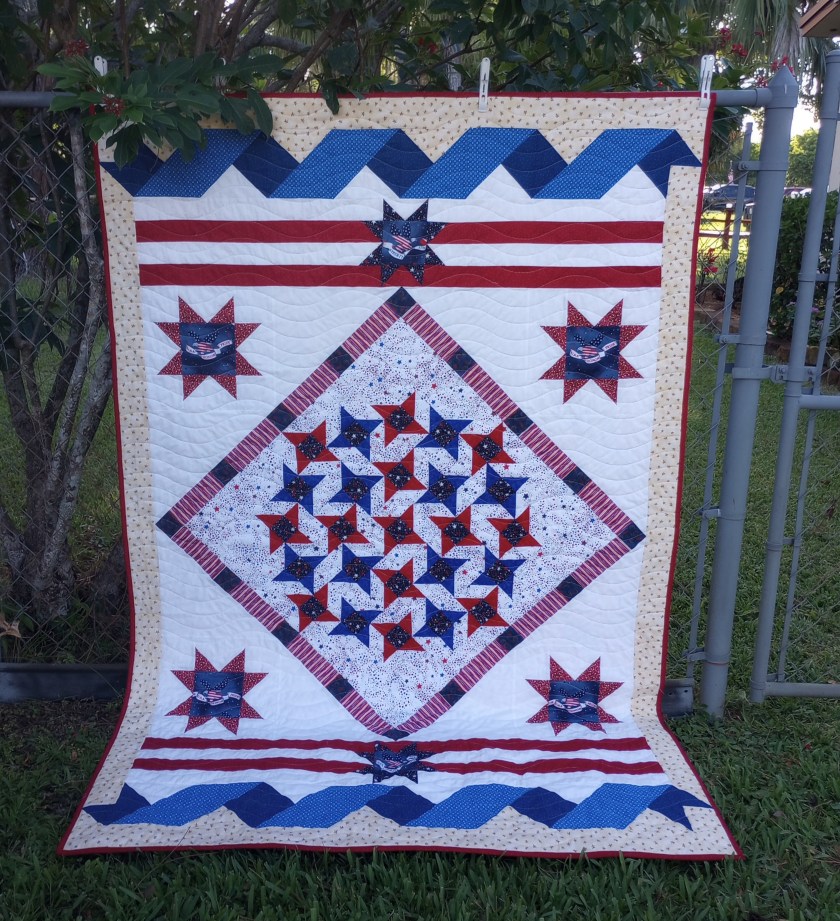
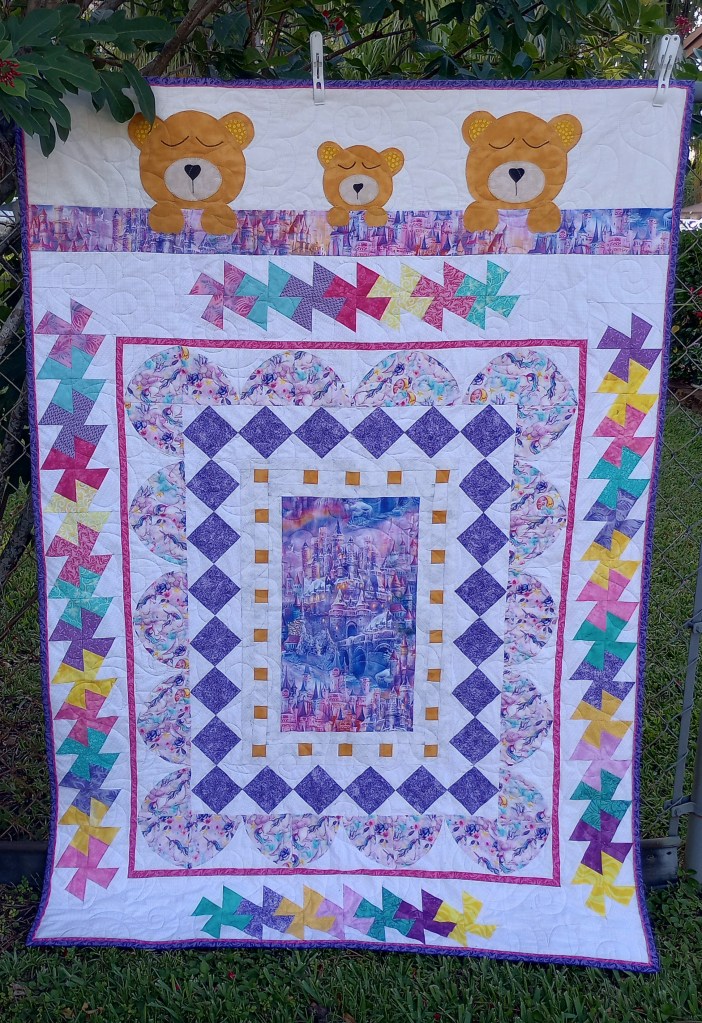
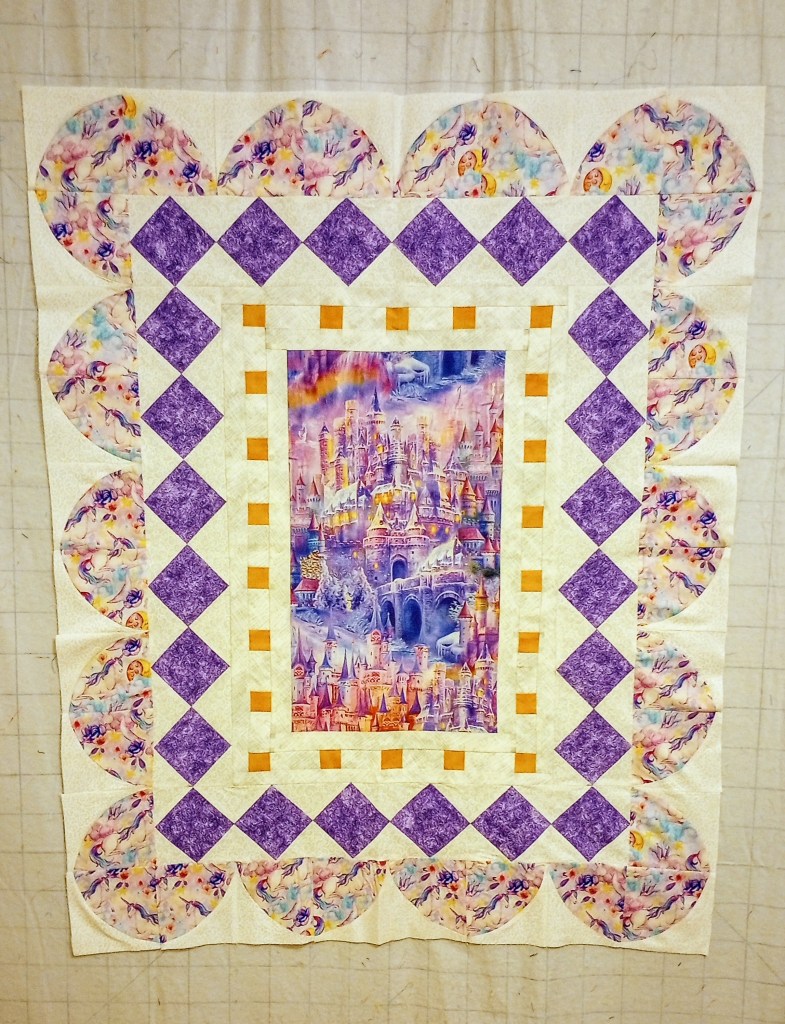
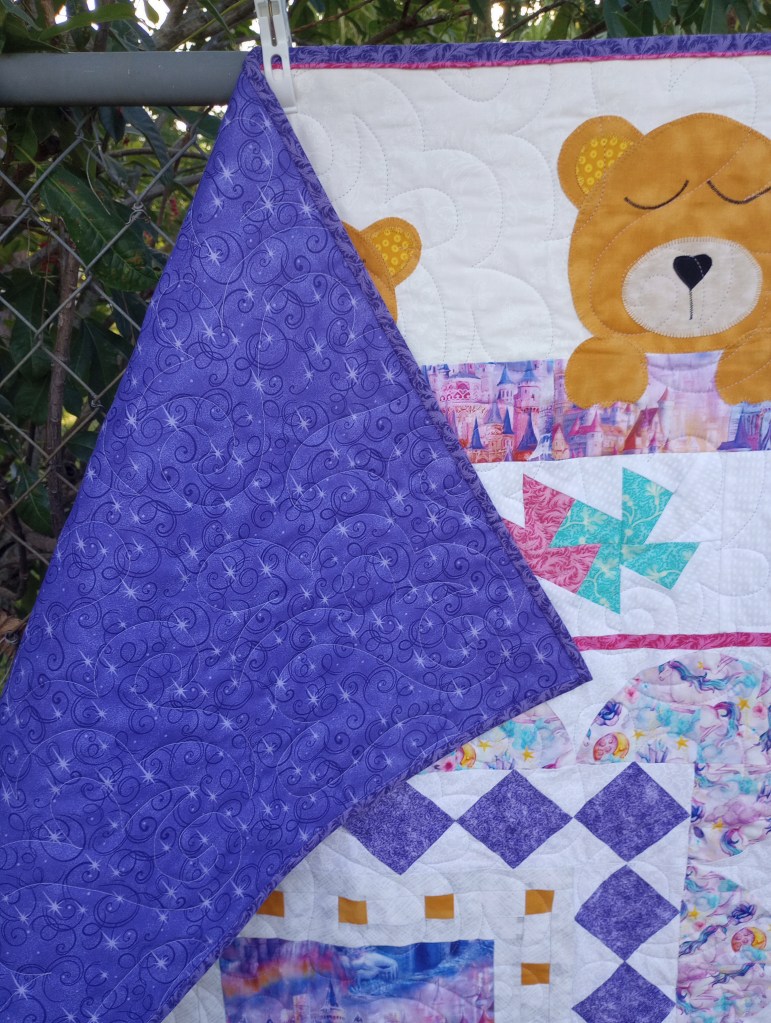
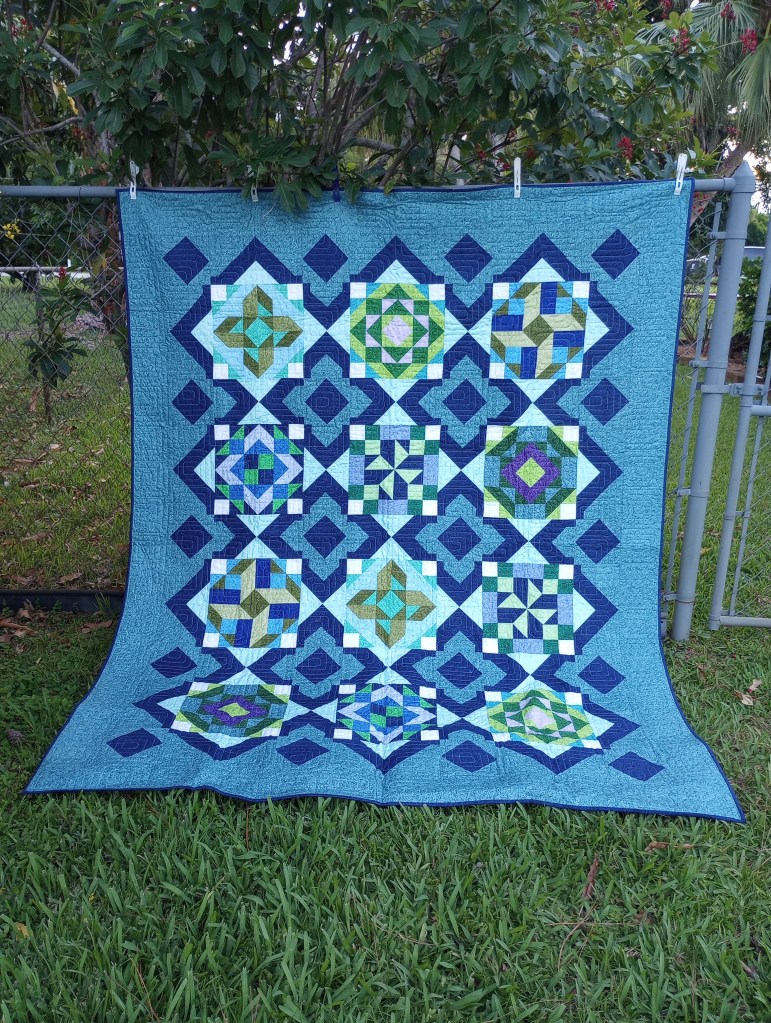
The quilting design is Hearts A Flutter by Urban Elementz. The pattern for the quilt top can be found at The Linus Connection. They’re a group from central Texas and they have a lot of free patterns available here. I’ve already decided on the one I’d like to make.
For being such a little quilt, 40″ x 45″, it managed to give me a few problems, like puppies tend to do!

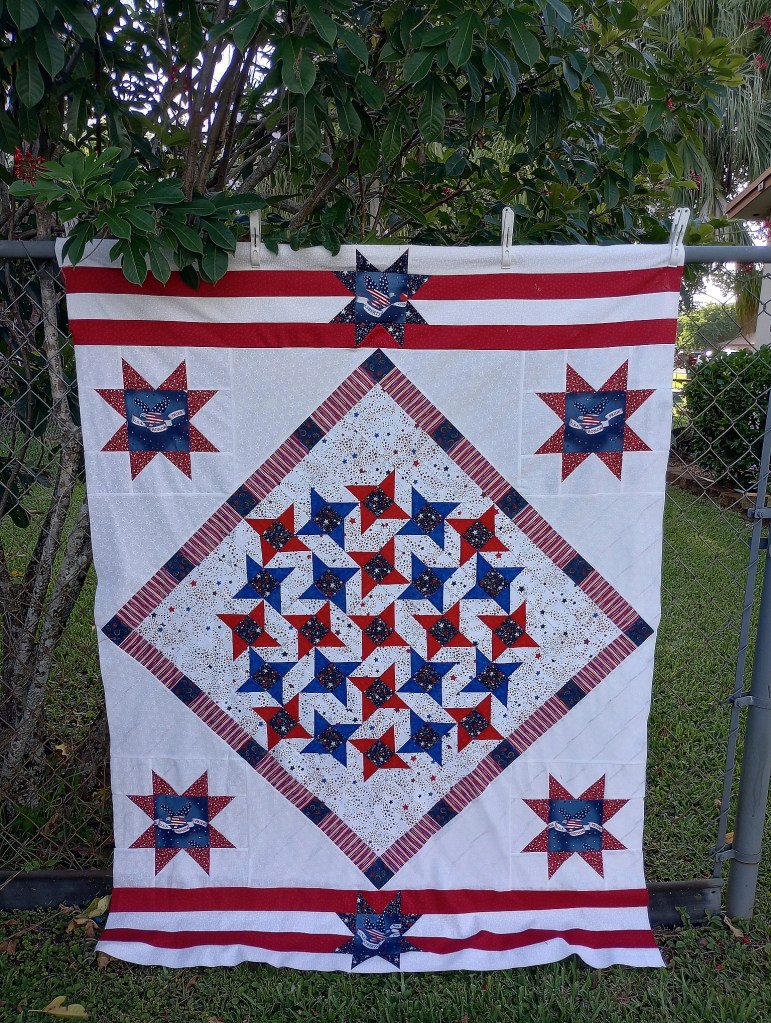
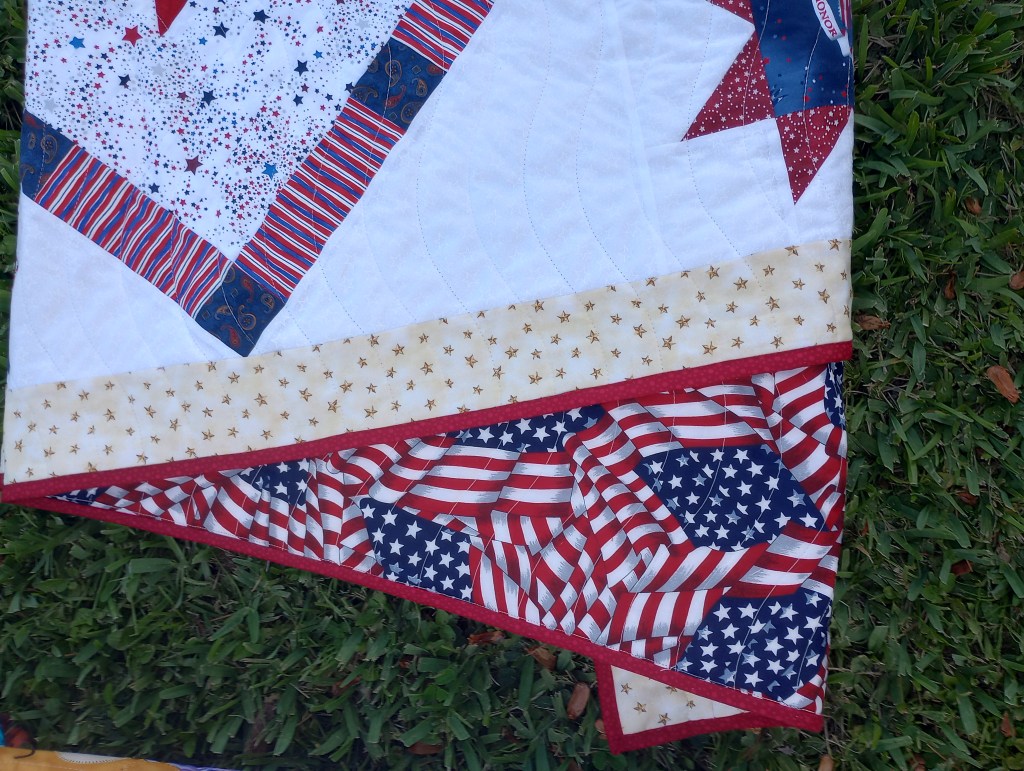
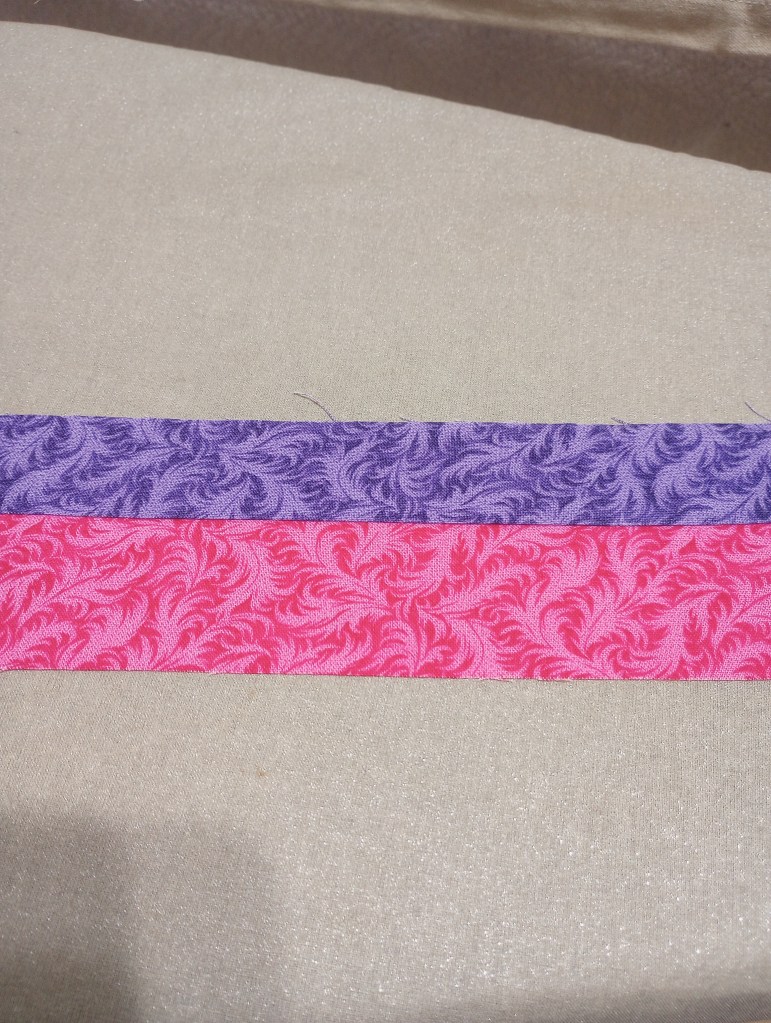
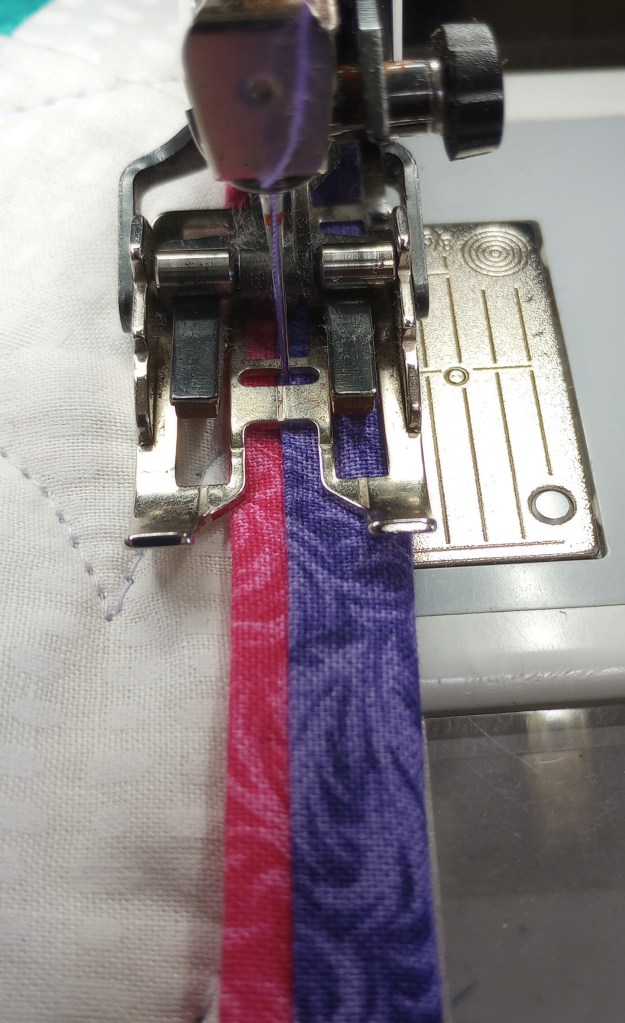
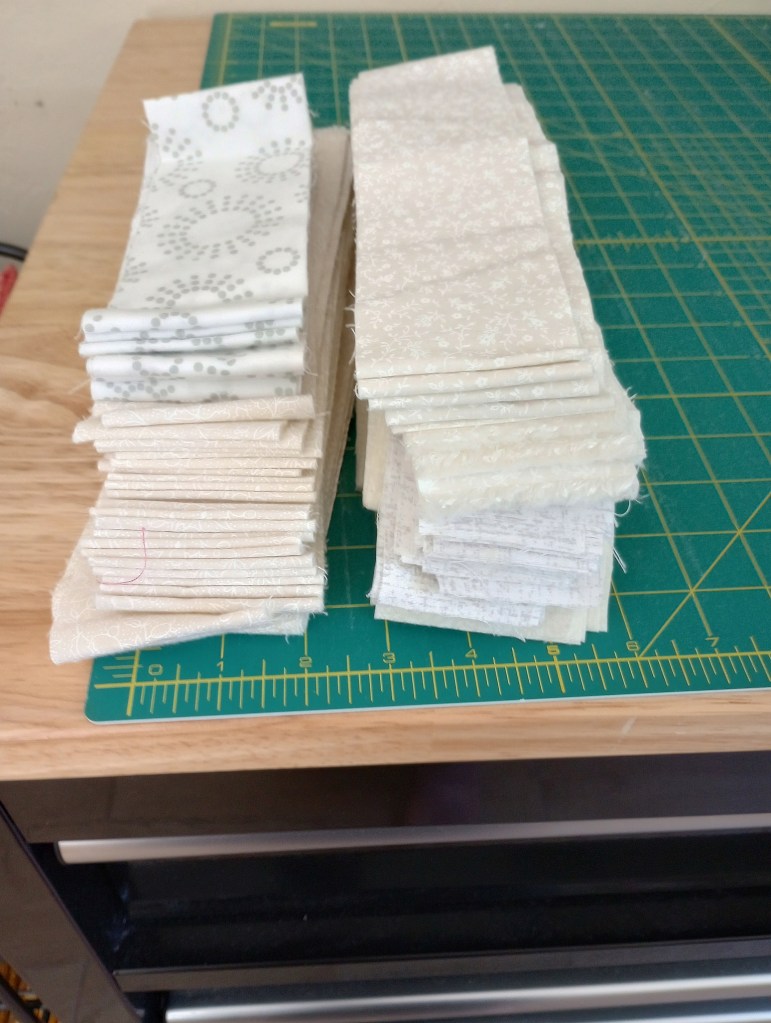
I thought I had enough backing left from the quilt I finished on Wednesday to quilt this one too – I was wrong. Yikes! I had to remove the quilt, add about six more inches to the backing, reload it, then try to match up the quilting design. Luckily, I had a package of that made reattaching it a lot easier. They’re those pink things you see in the photo above. They were also free on the guild’s de-stash table recently.
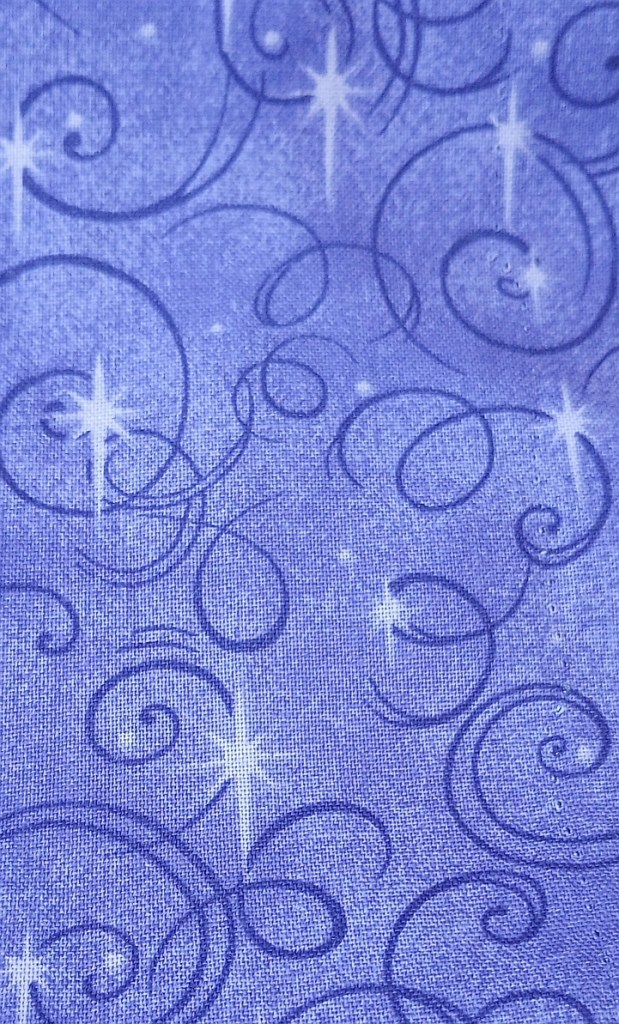
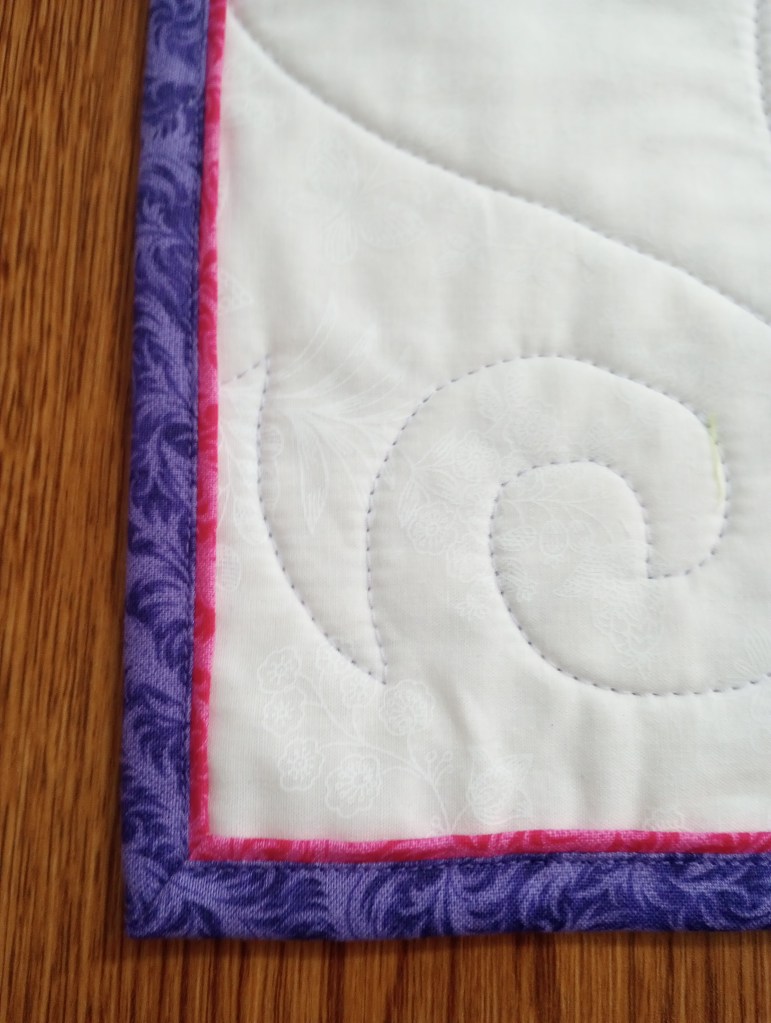
The purple is the backing. I was happy to find I had just the right fabric for the binding to go with the colors in the top and match the back.
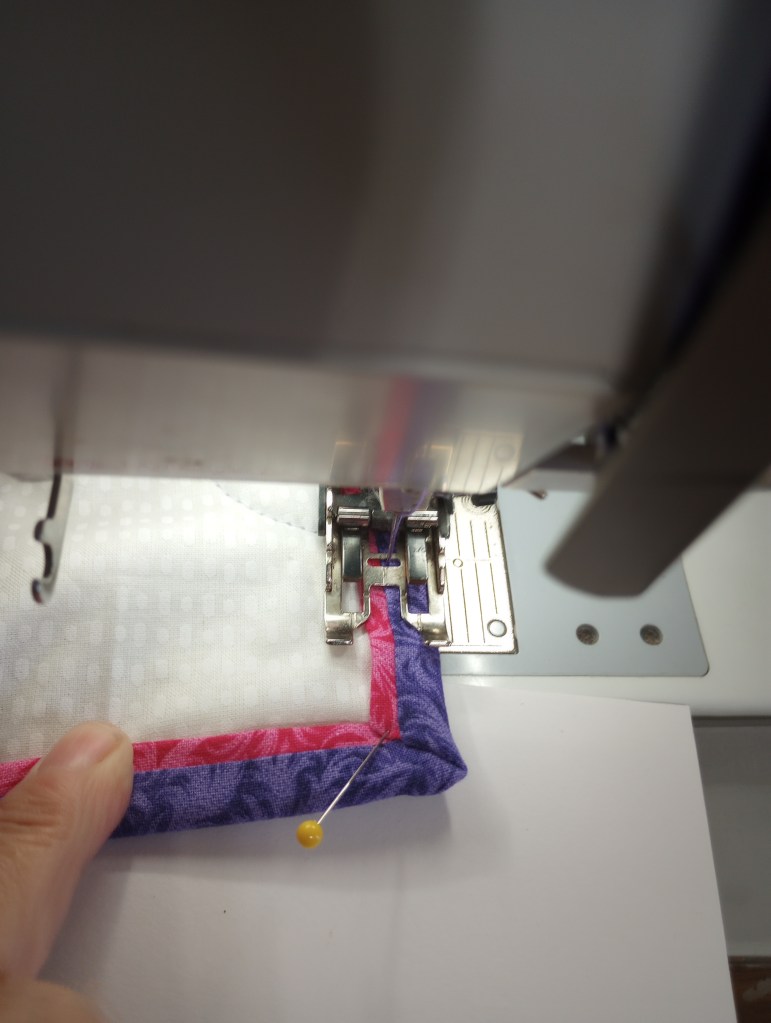
When I attached the binding, somehow I got the ends twisted when I joined them and had to stop, take out the seam, and restitch it. Grrrr… I haven’t made that mistake in years!
This little rascal is done though, and for all the trouble he gave me, I still love him. ♥