(Re -published. Original post dated March 14, 2023)
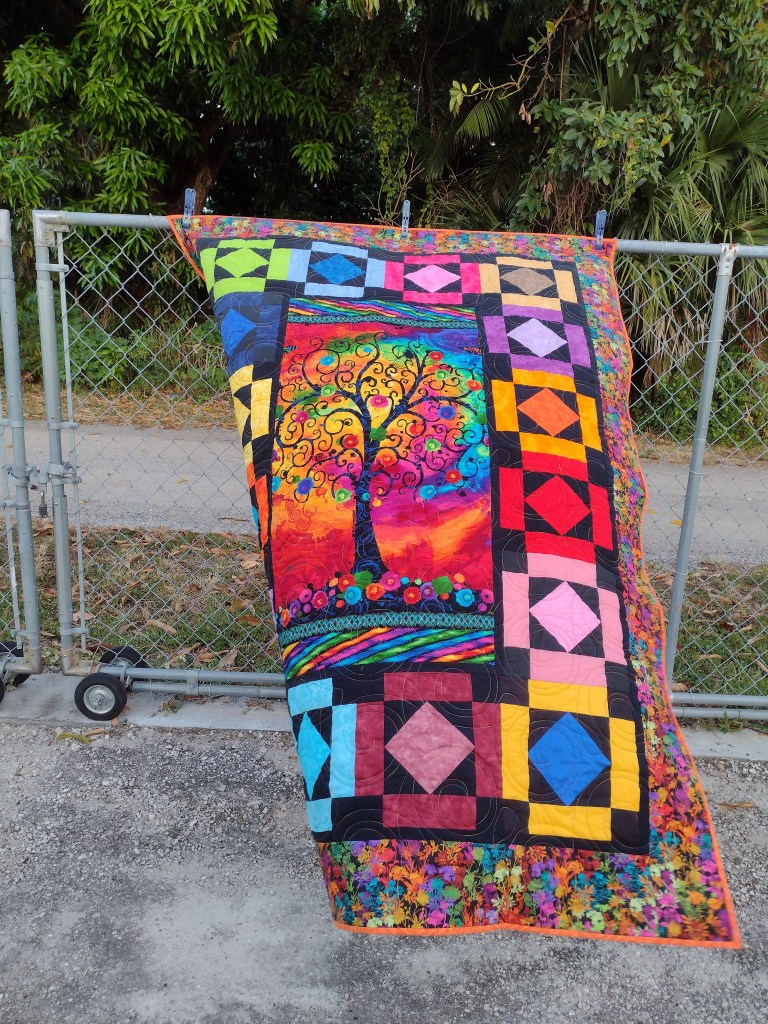
I finished the quilt from the blocks I won at last month’s guild meeting. The block pattern is Amish Diamond from the Quilter’s Cache website.

These were the 9 blocks I won. I really wanted to make something fun to donate that might appeal to a teen or pre-teen.

The original blocks finished at 12″. But, some were a little larger and some smaller so I chose to trim them all so they’d finish at 10″. Plus, the math worked out better.
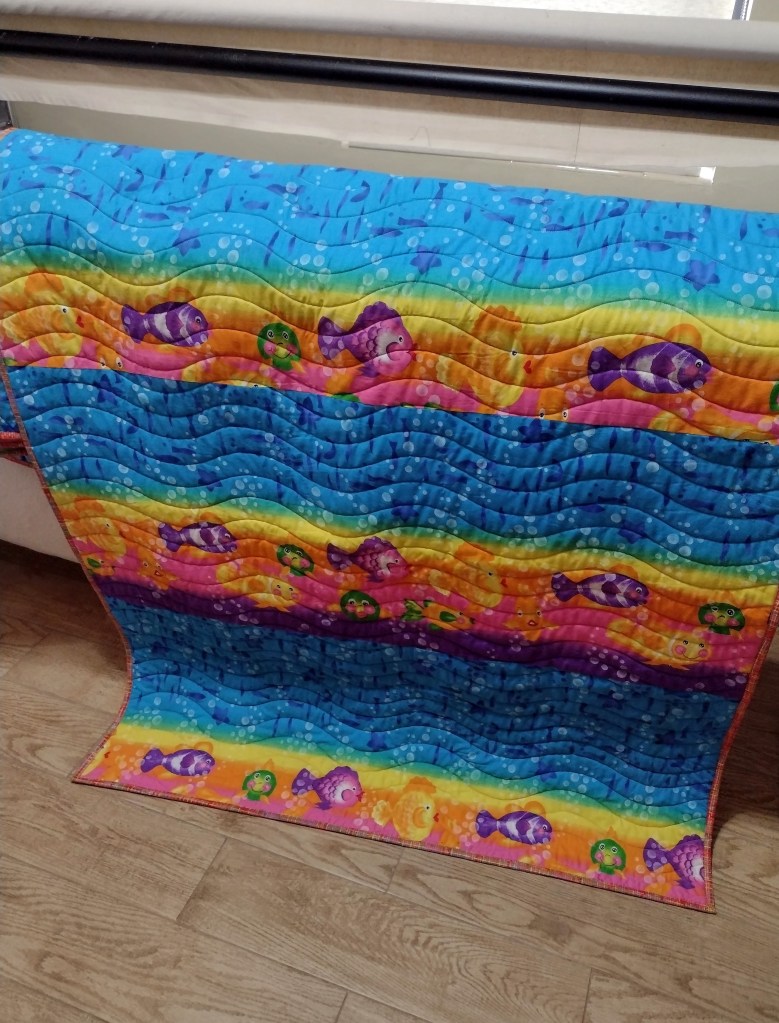
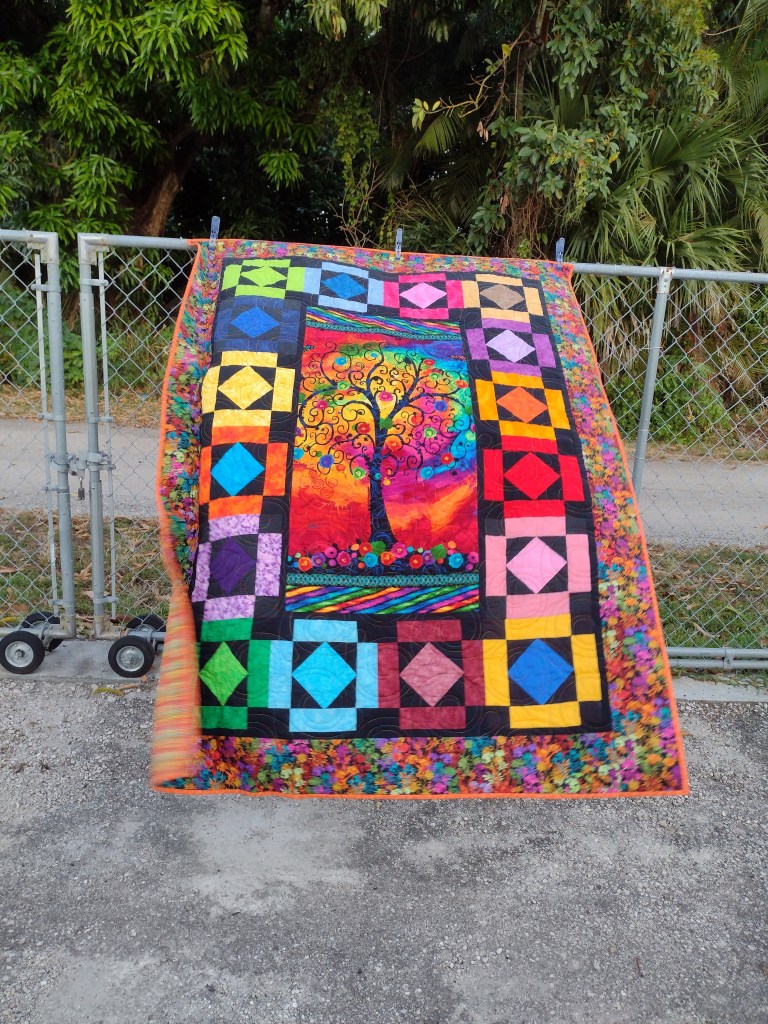
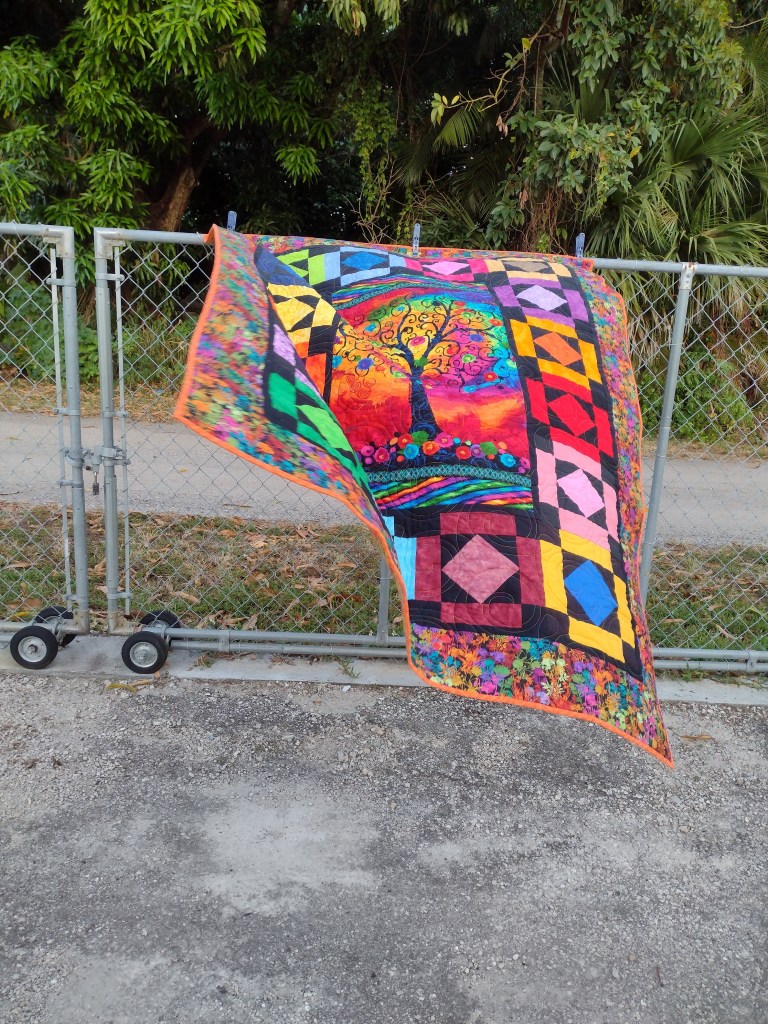
I made 7 more blocks so I could use them to frame this little panel I’ve had in my stash for several years. Two years ago I bought the fabric I used for the border at my local quilt shop’s end of the year sale.
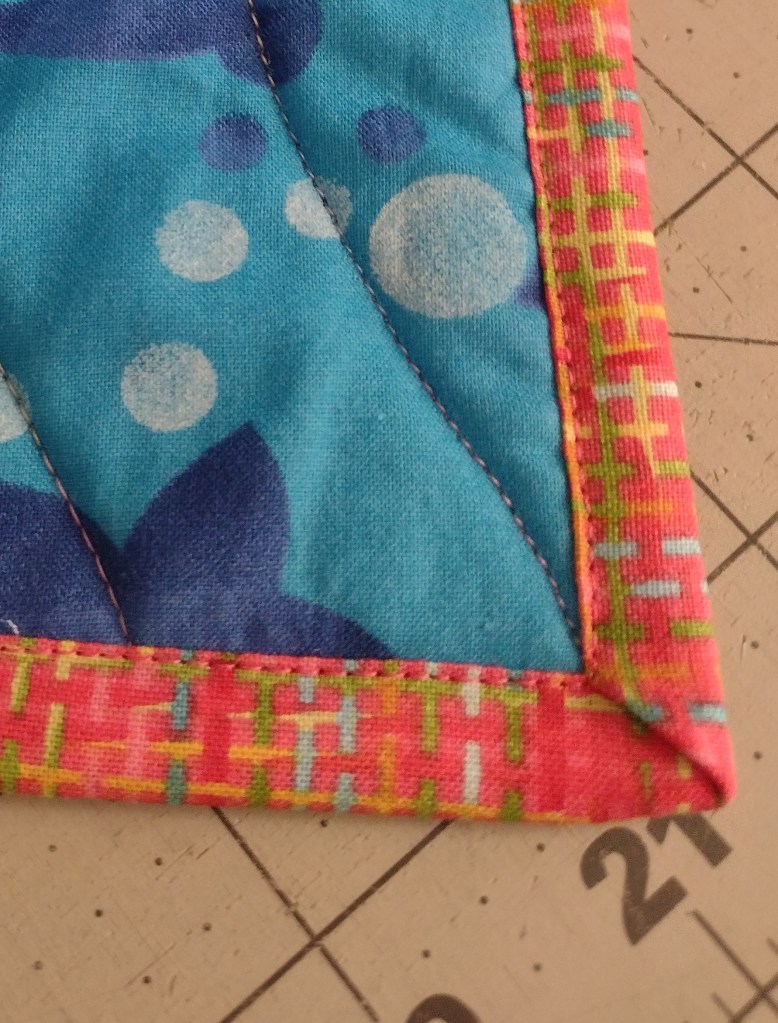
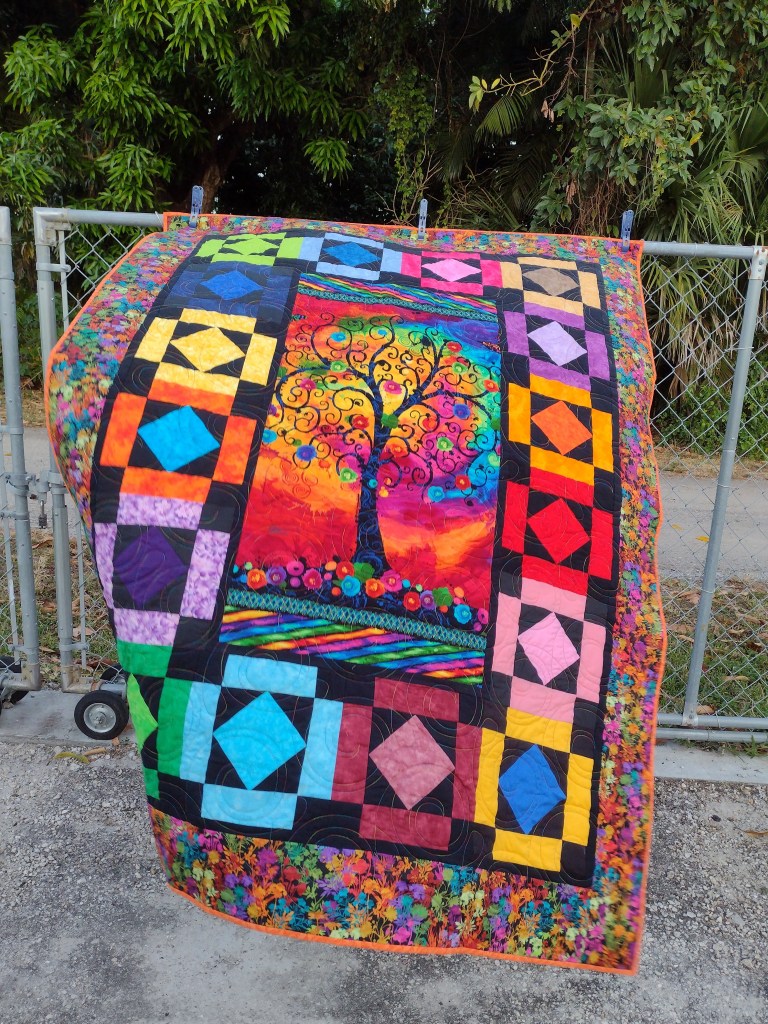
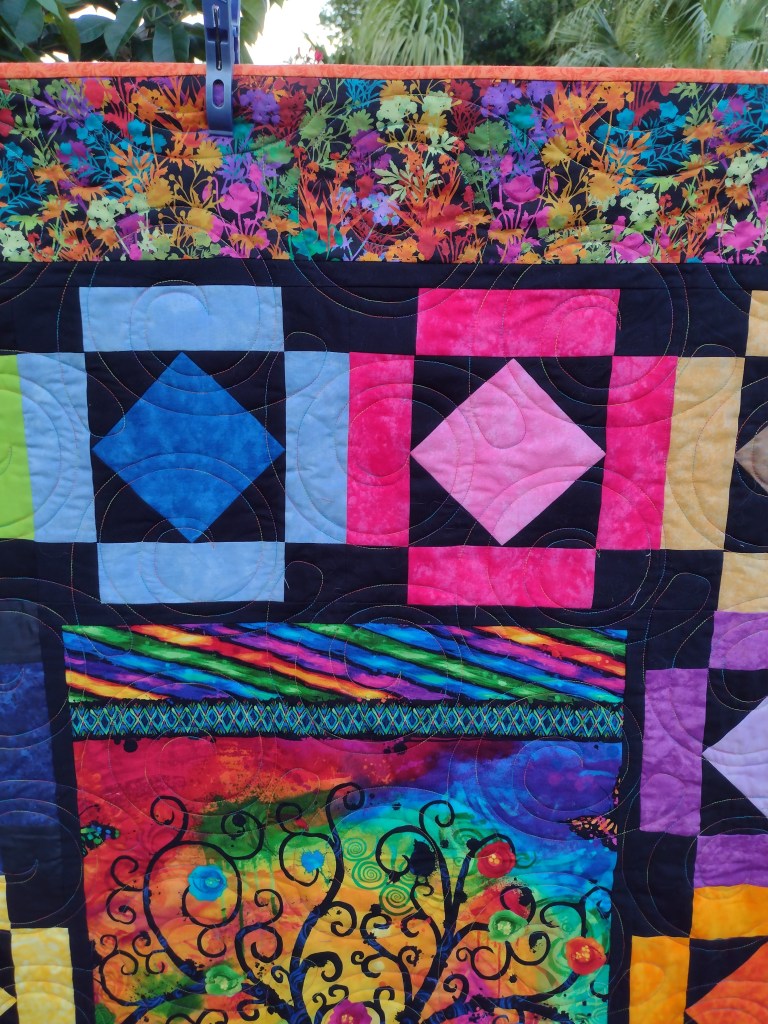
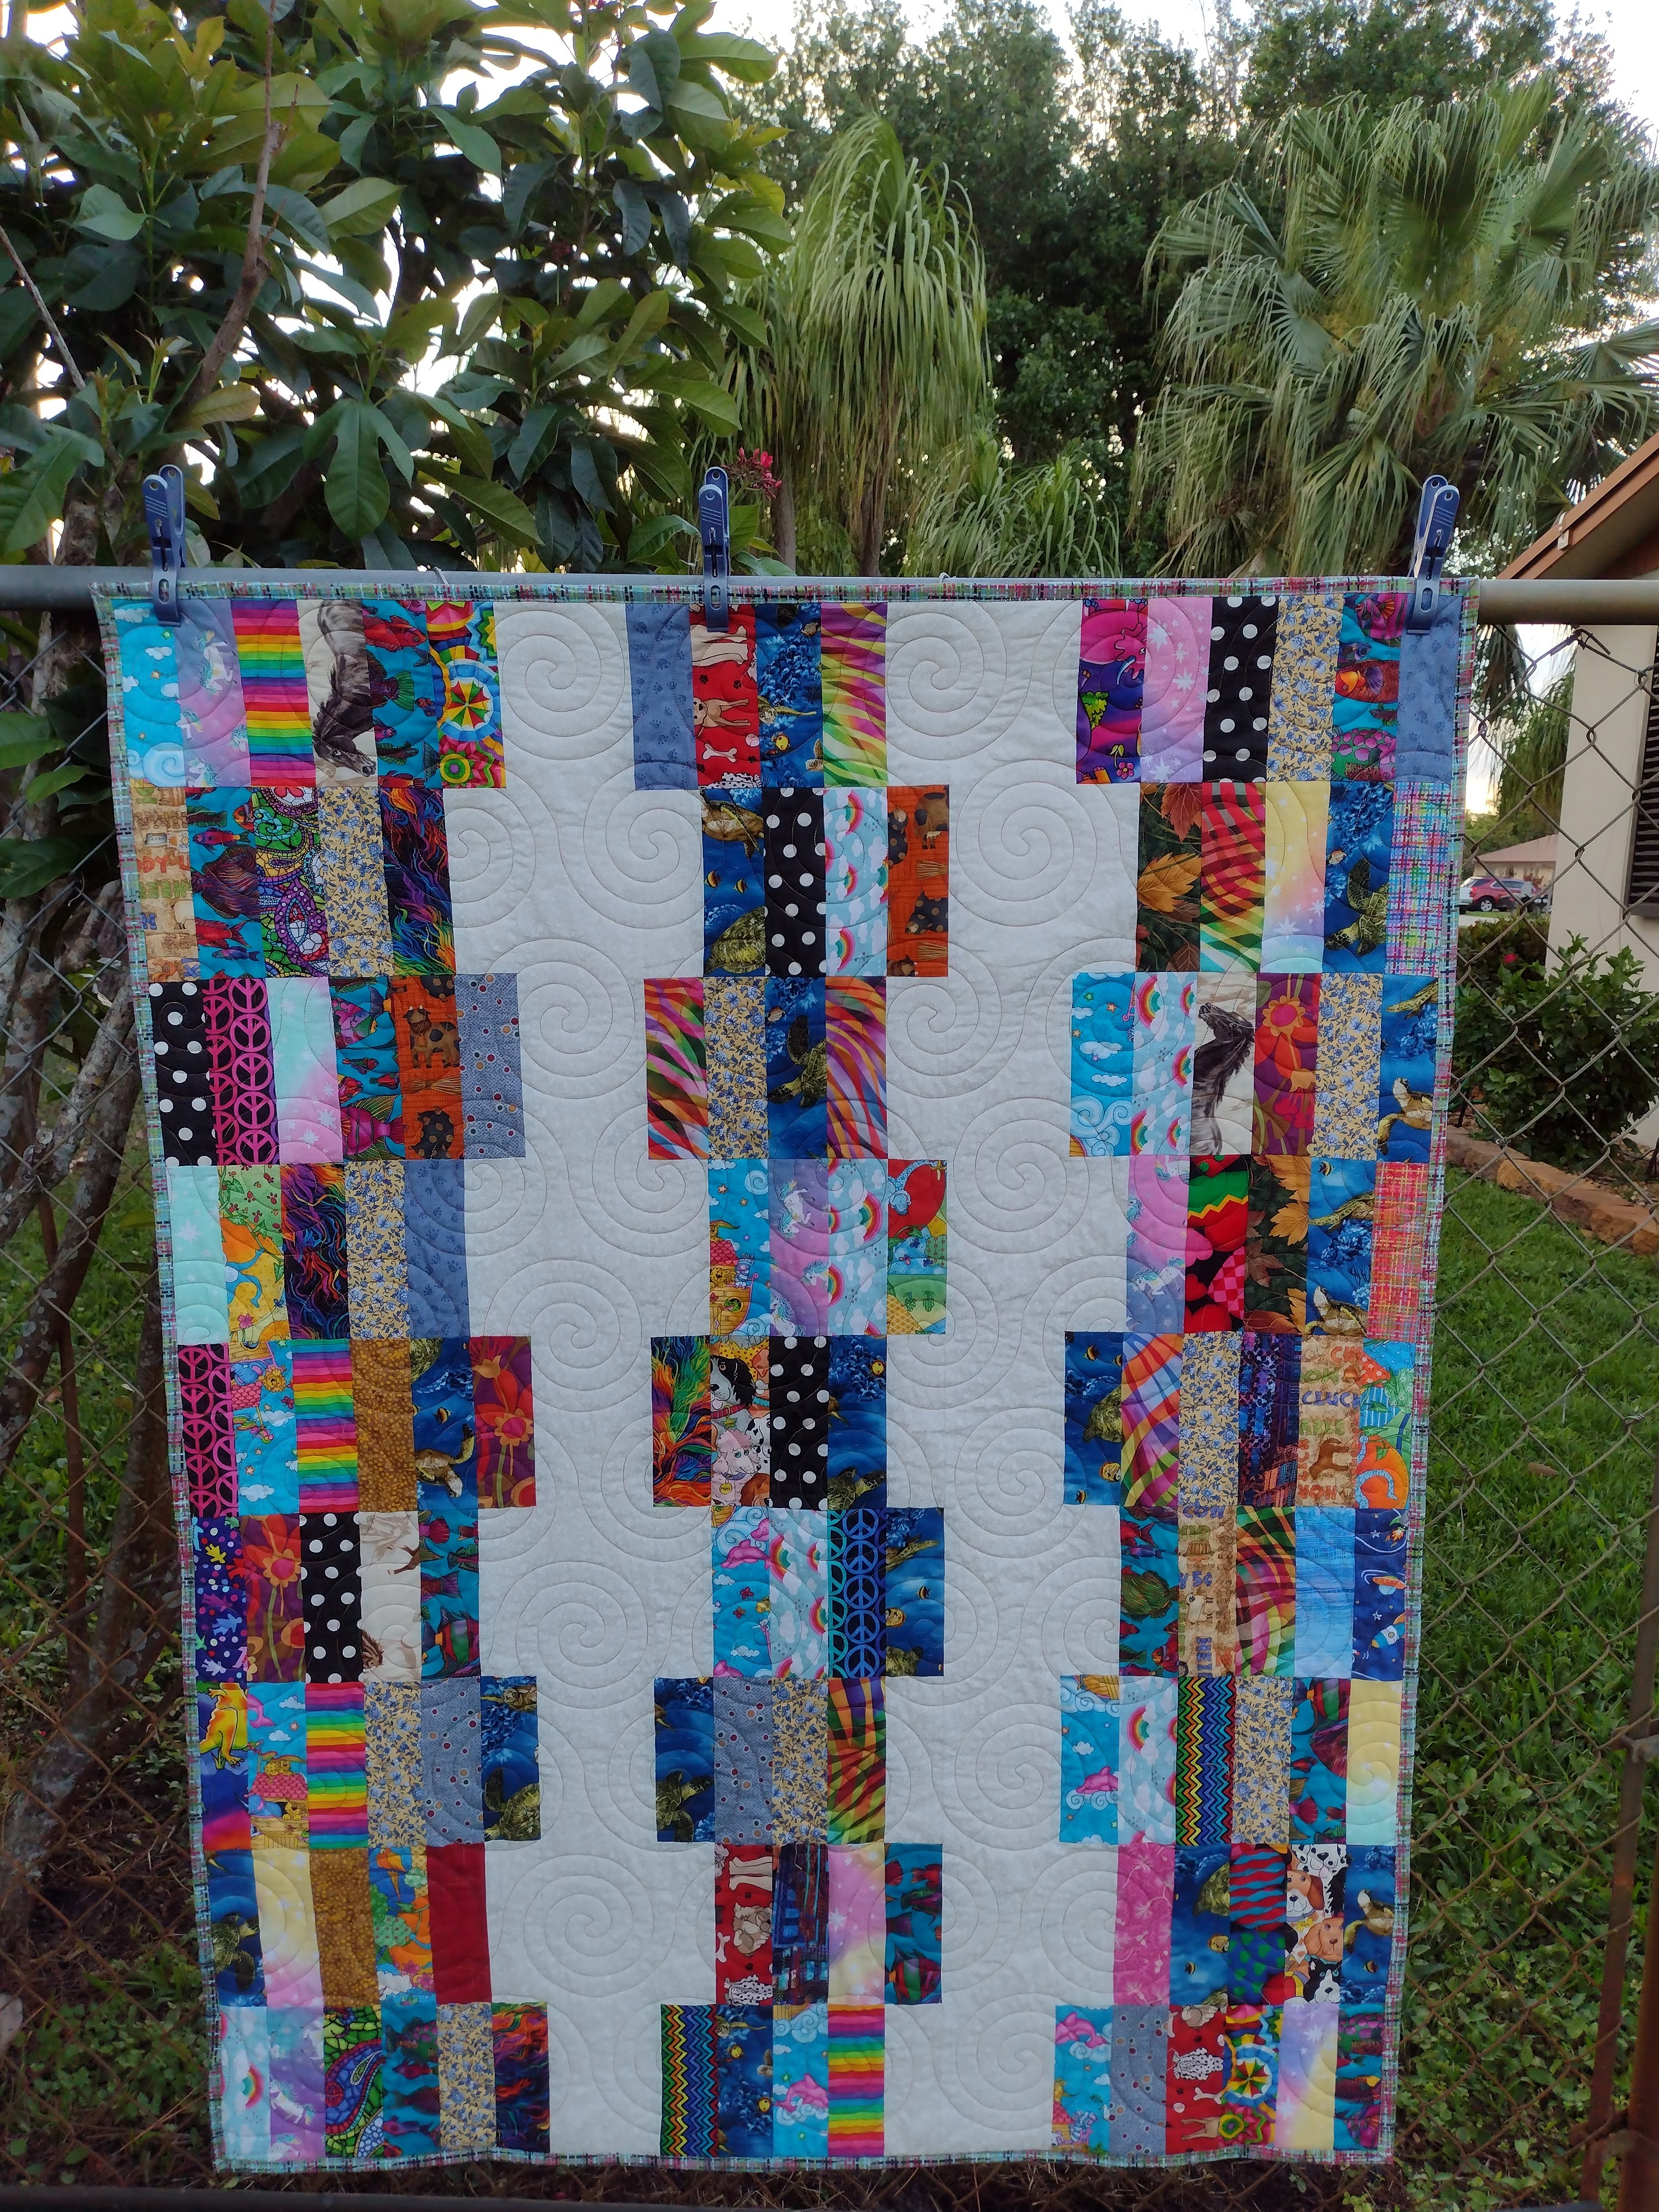
It was windy so hard to get a good photo. You can see the fabrics and the quilting a little better in the last picture.

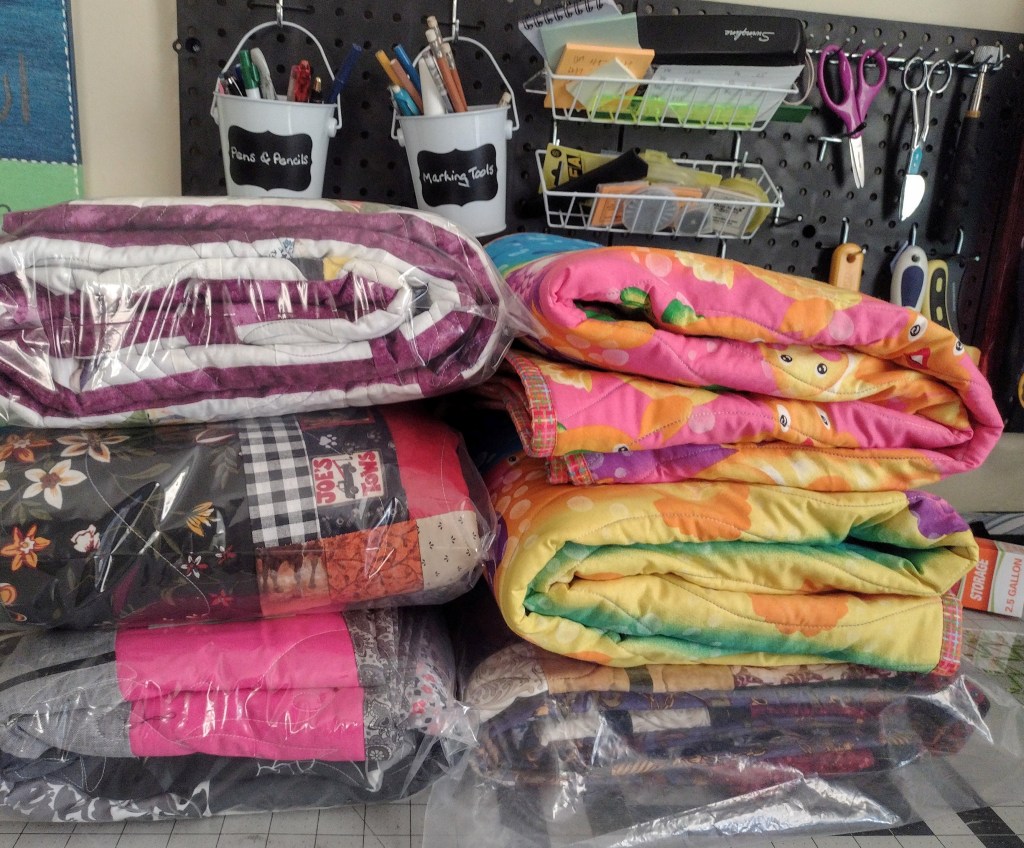
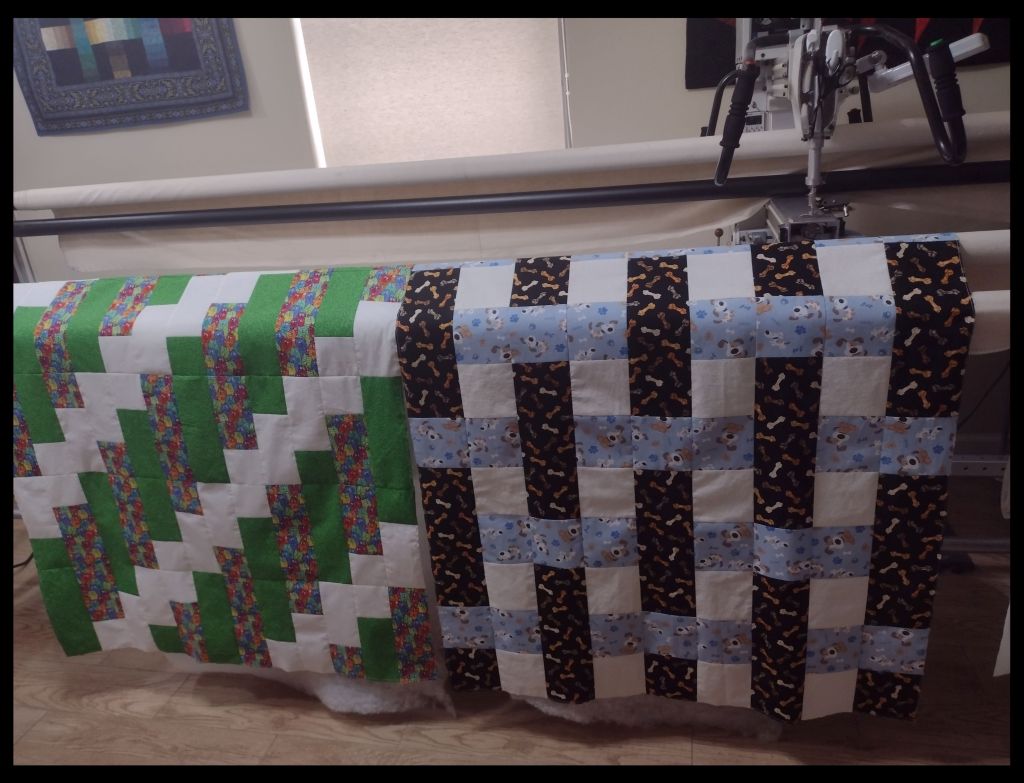
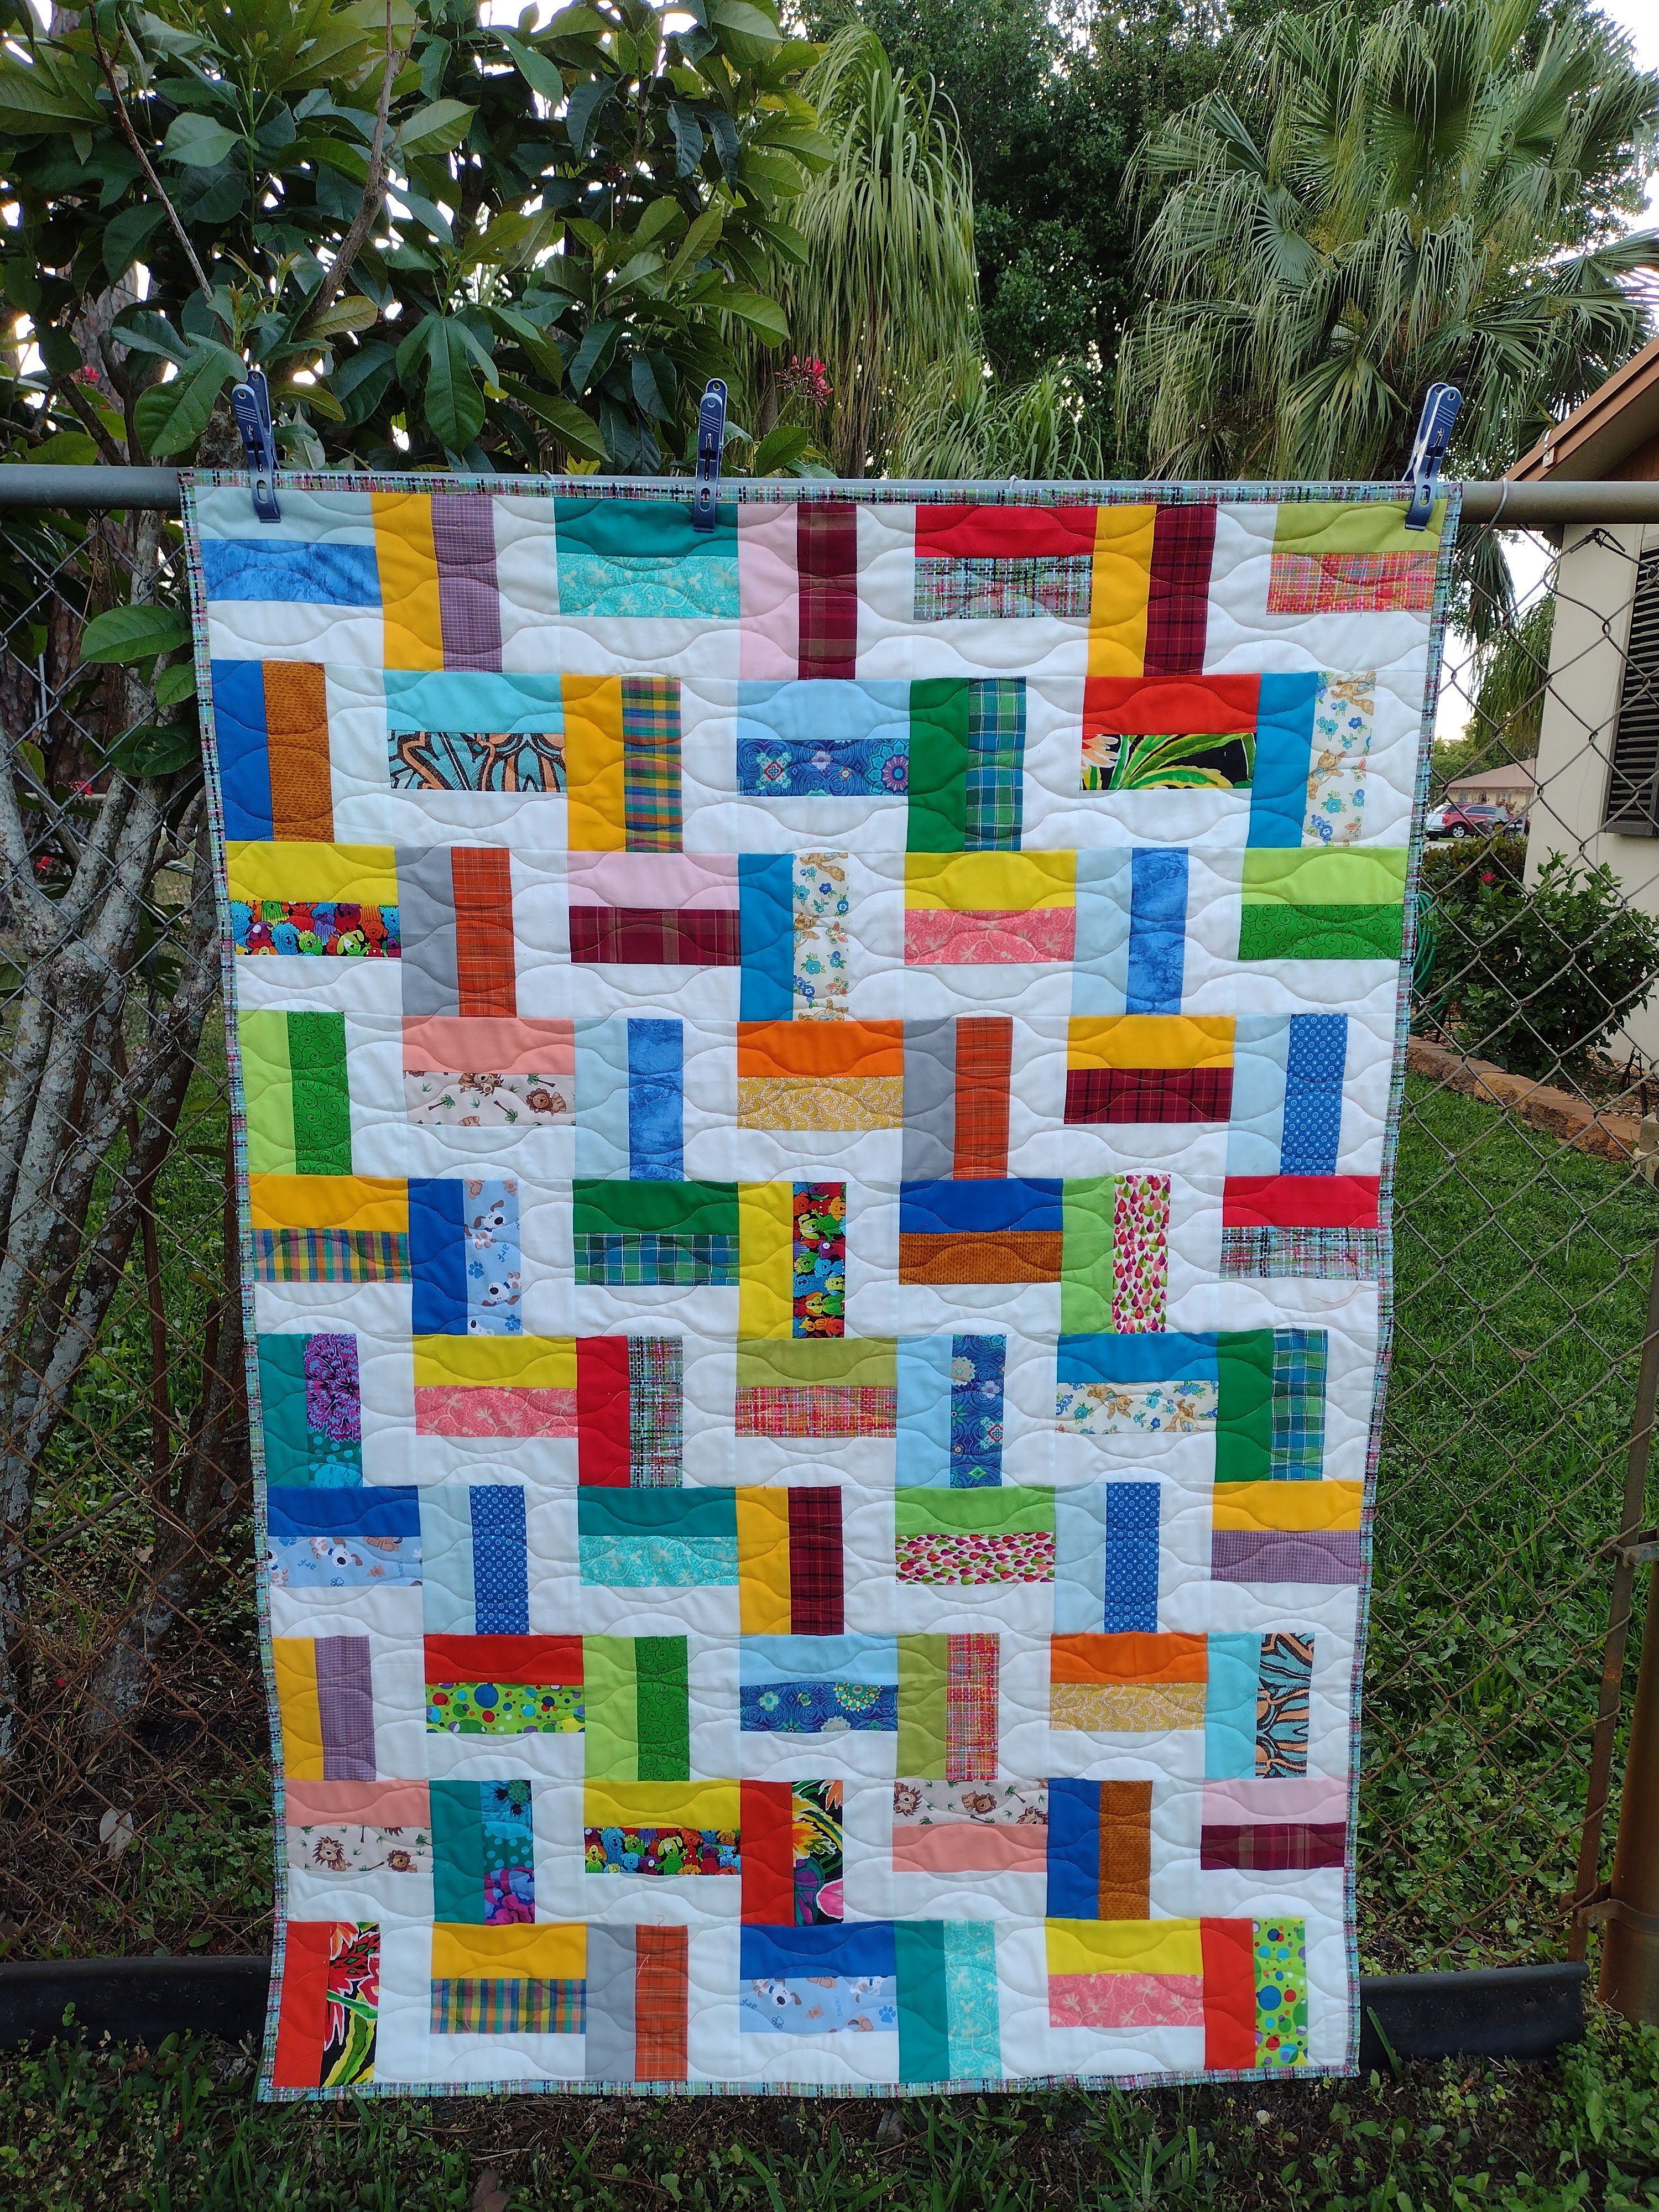
After making the extra 7 blocks, I decided to use the scraps left with some fabrics in the bin of bright scraps as my first group of scrap busting quilts.
The first one is a simple rail fence block using some 2 1/2″ wide scraps that are less than 10″ in length.
I used more 2 1/2″ scraps to make a smaller version of Jo’s Country Junction pattern Jimmy John.
After I finish a couple of string quilts from this bin I’ll be ready to move on to a different style fabric.
~Time to Quilt!