Makeover madness

Rescued quilt top #9 drove me a little crazy. It wasn’t the quilt’s fault, it was mine. Now that it’s finished, it’s really satisfying to have met that challenge.

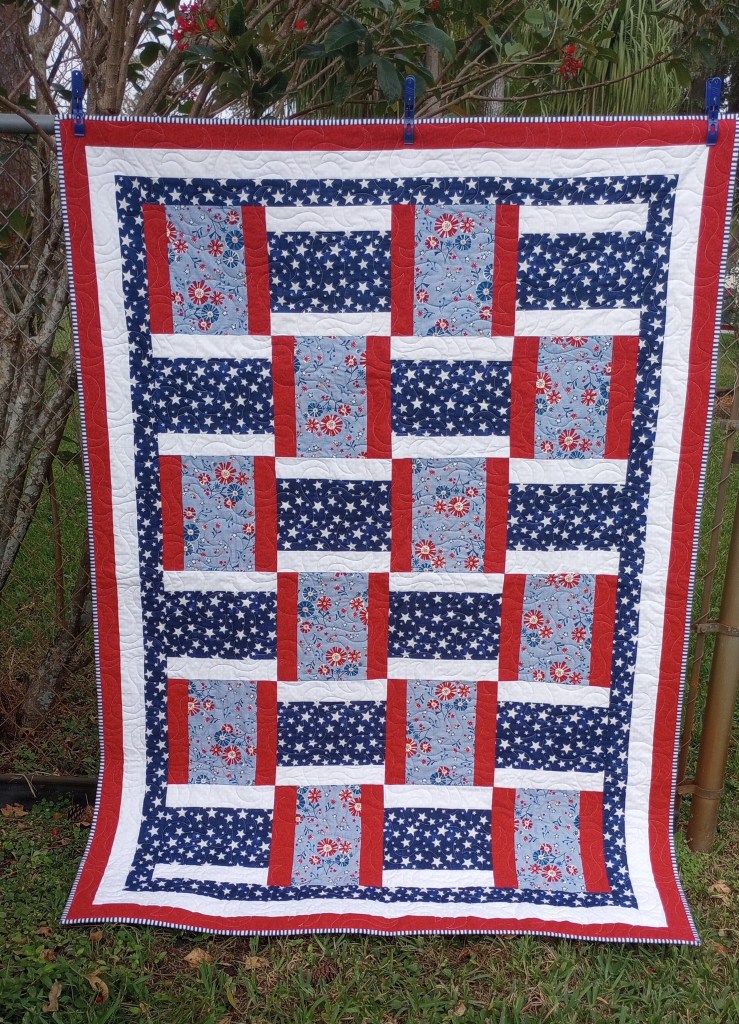
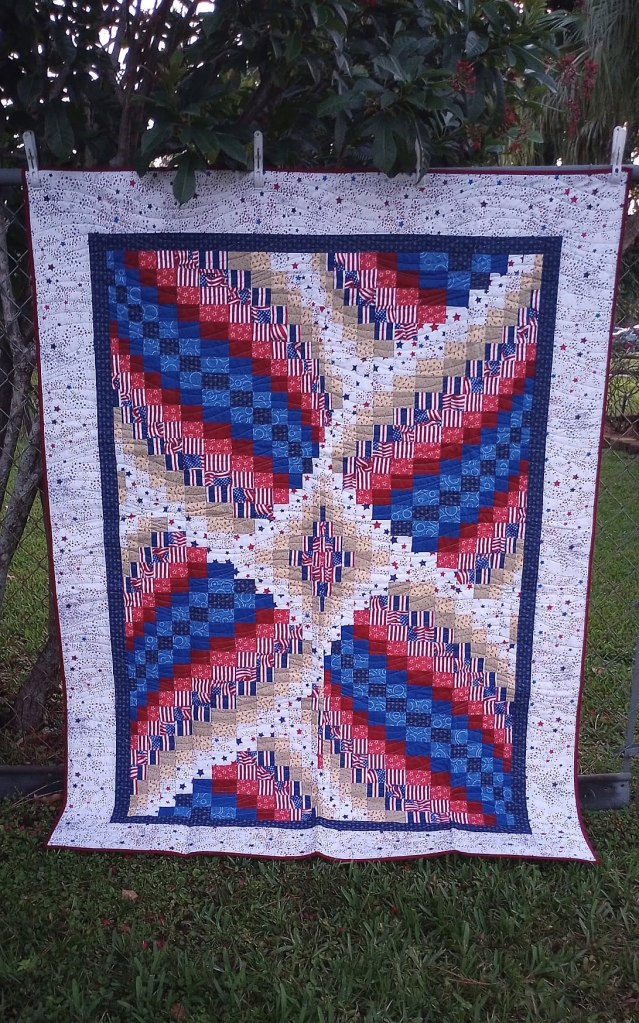
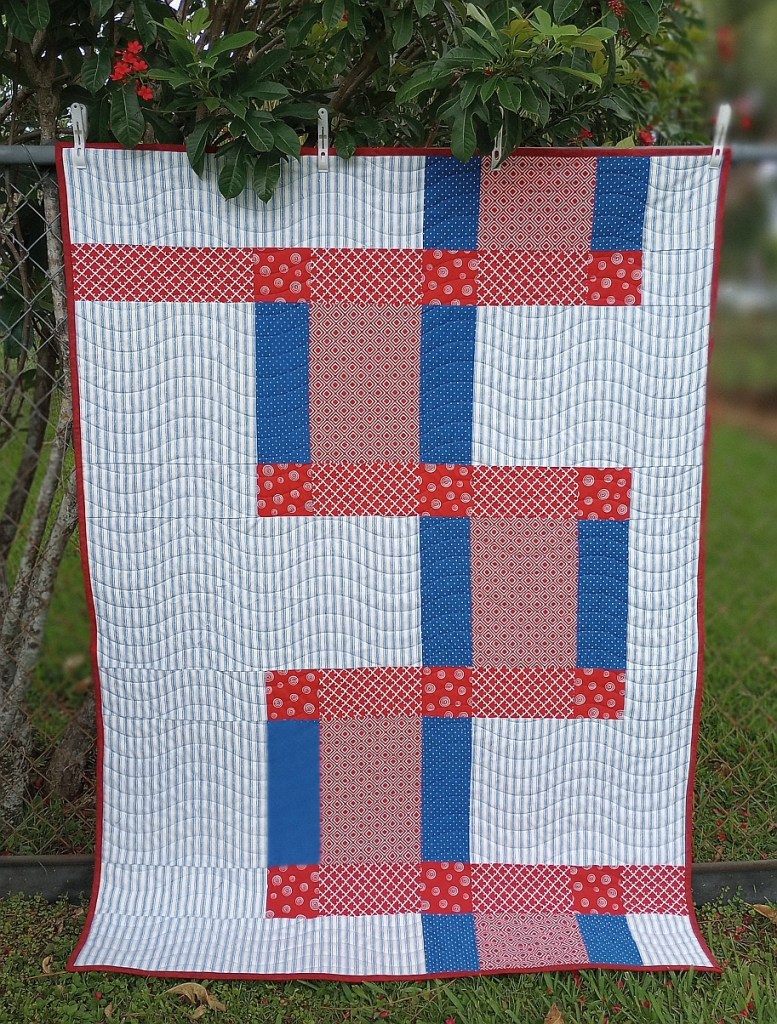
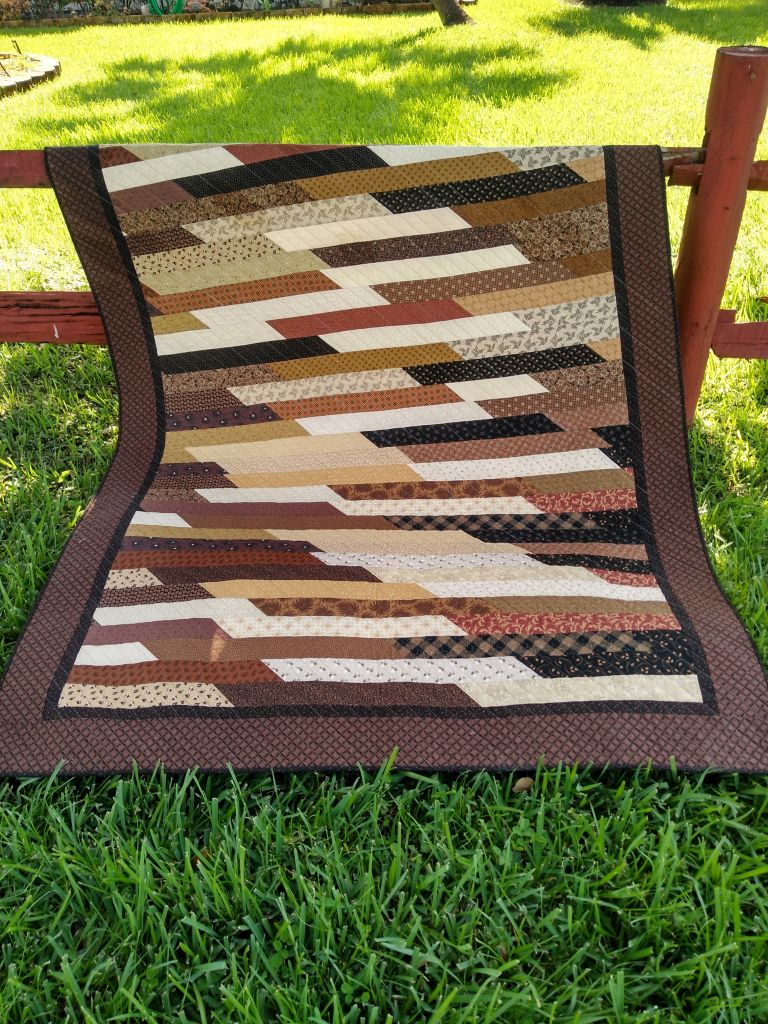
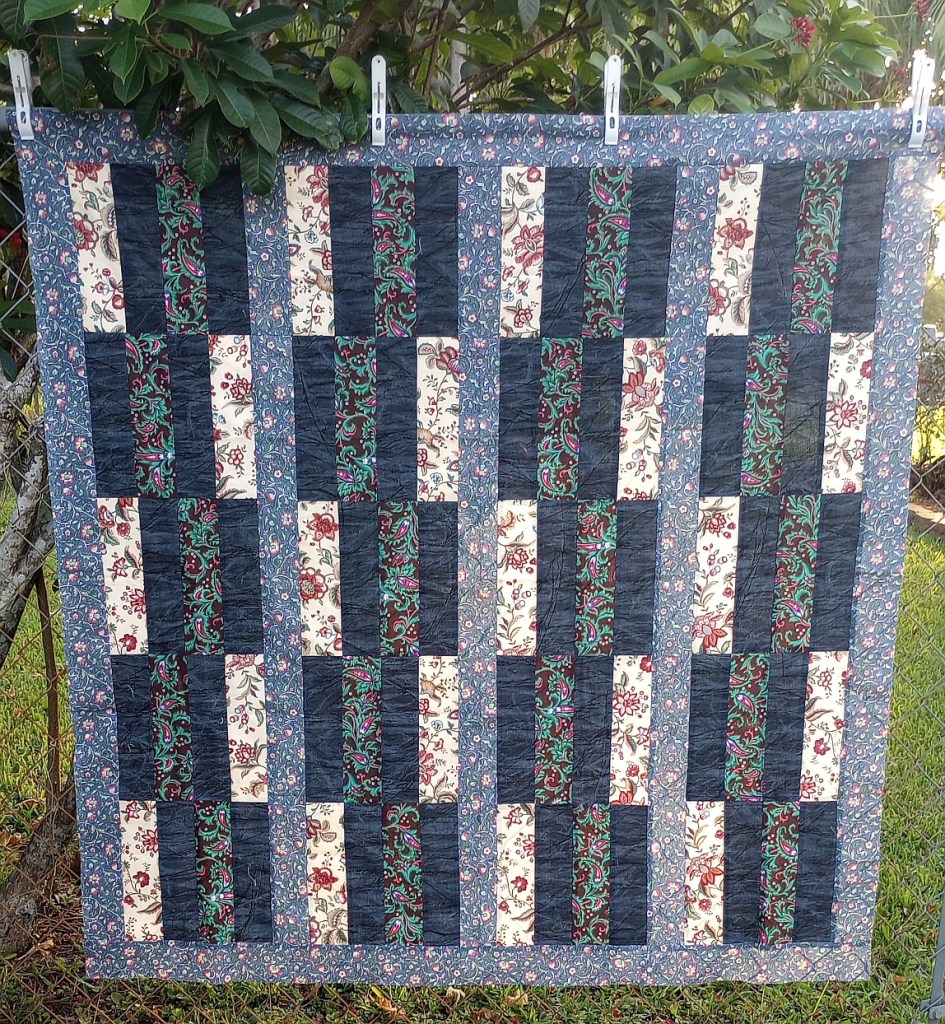
Here’s the before photo. It’s not unattractive, but at 49″x 50″, it may have been difficult to find the right recipient. The aim is to give it a second chance to provide comfort, not to remain in a closet.

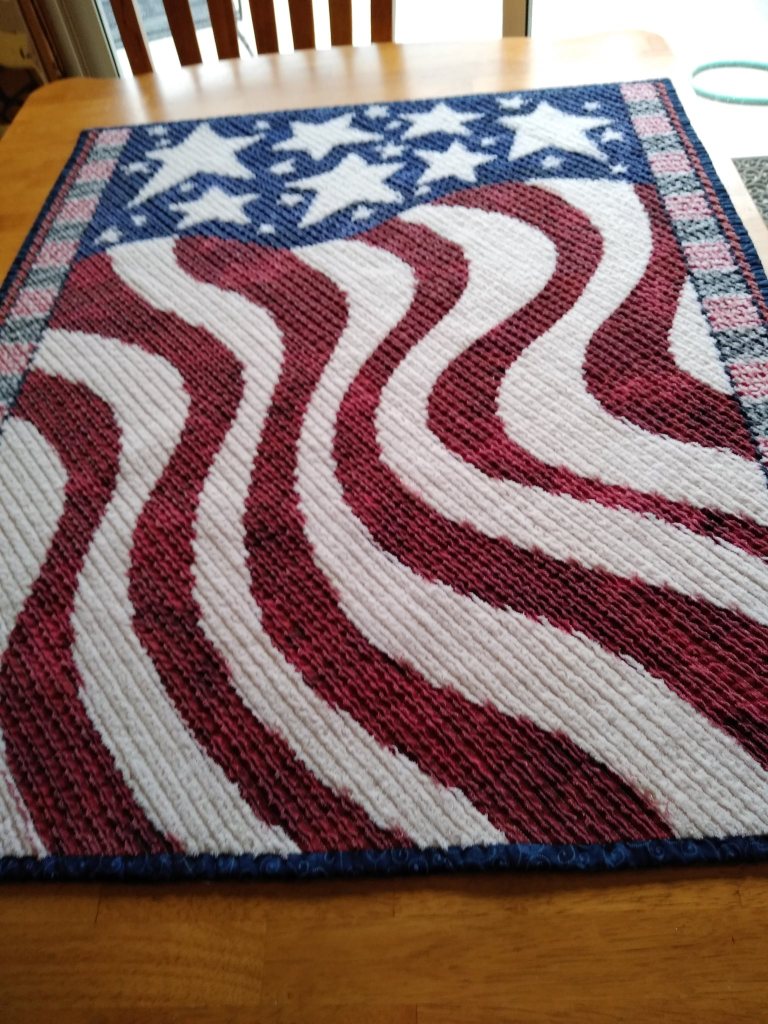
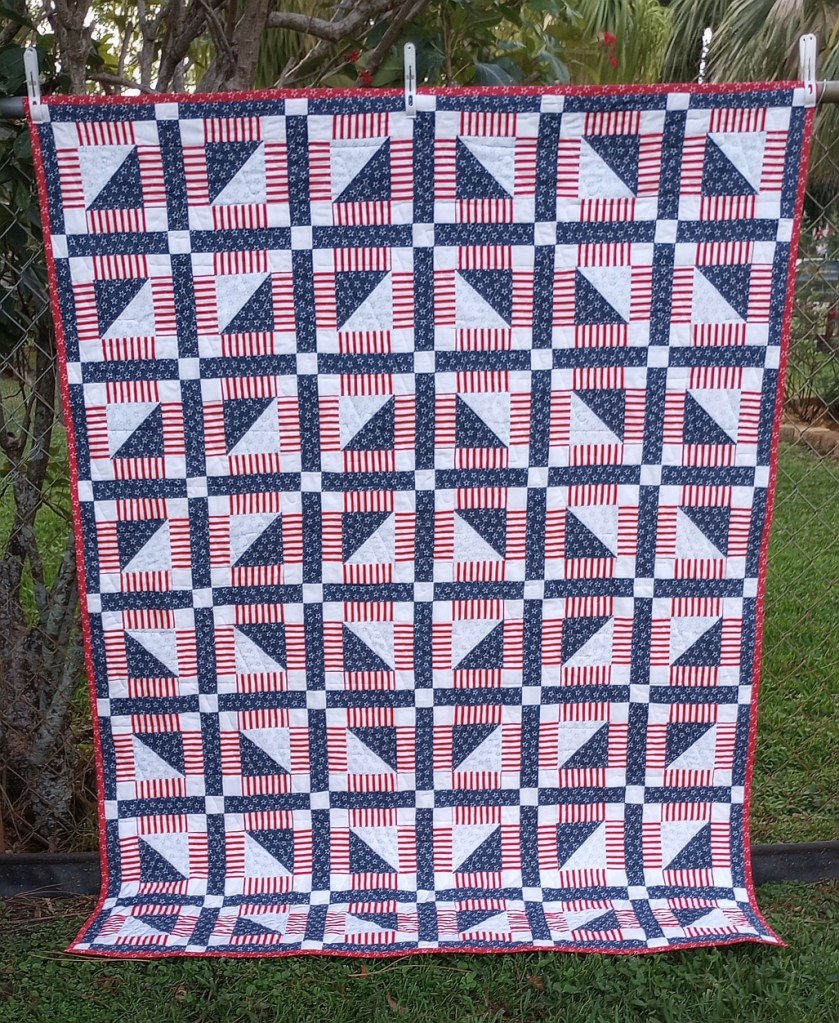
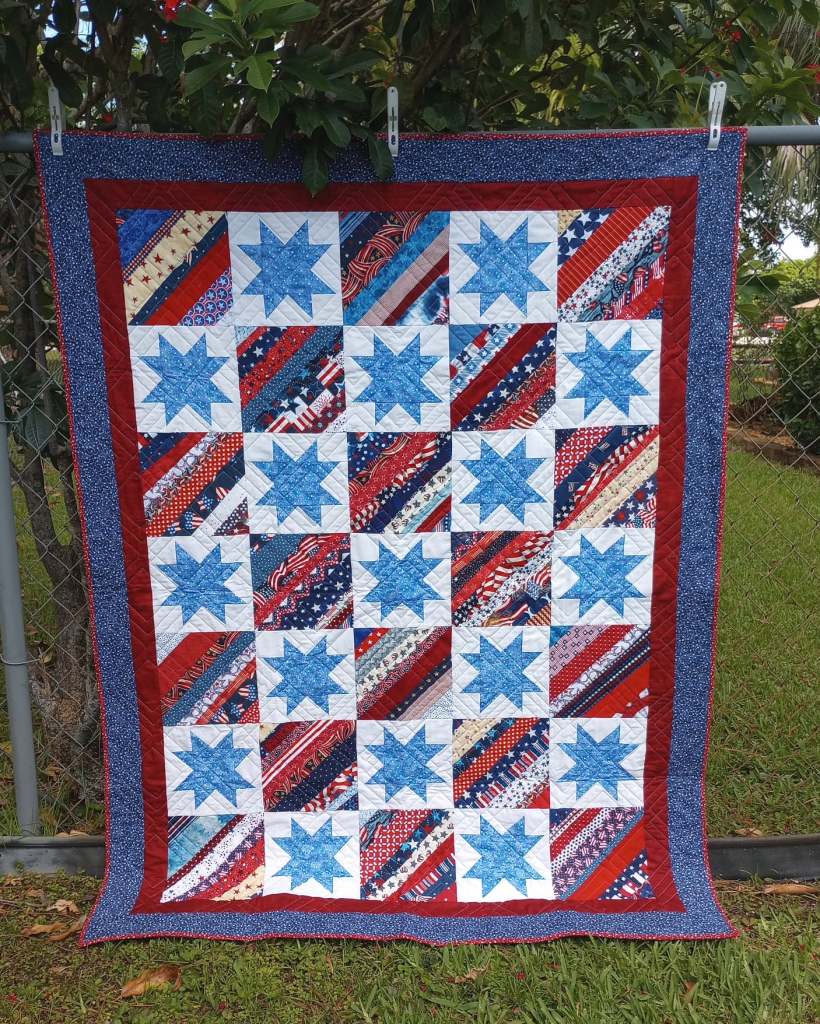
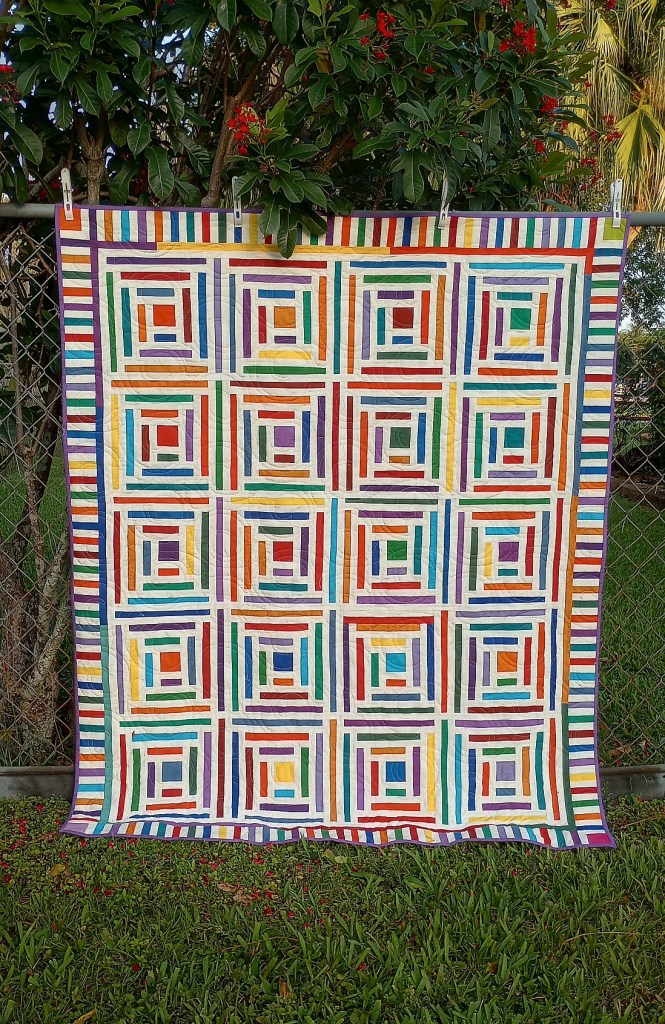
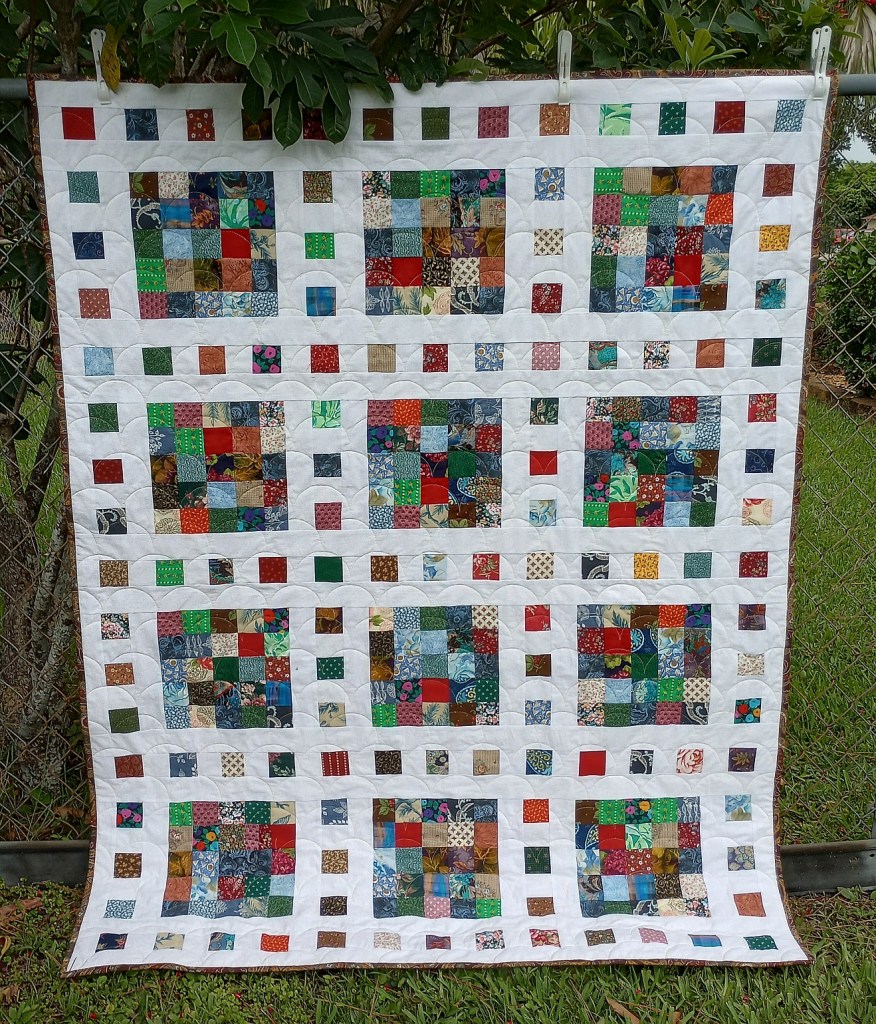
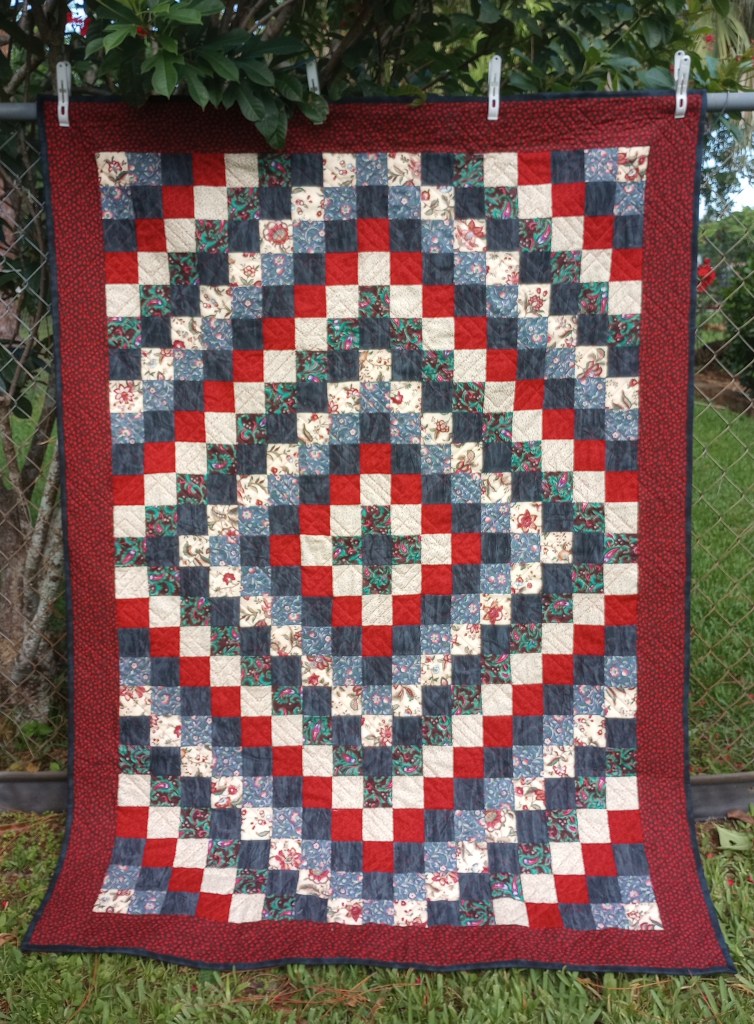
Pictured below is the finished quilt which now measures 50 1/2″ x 70 1/2″.

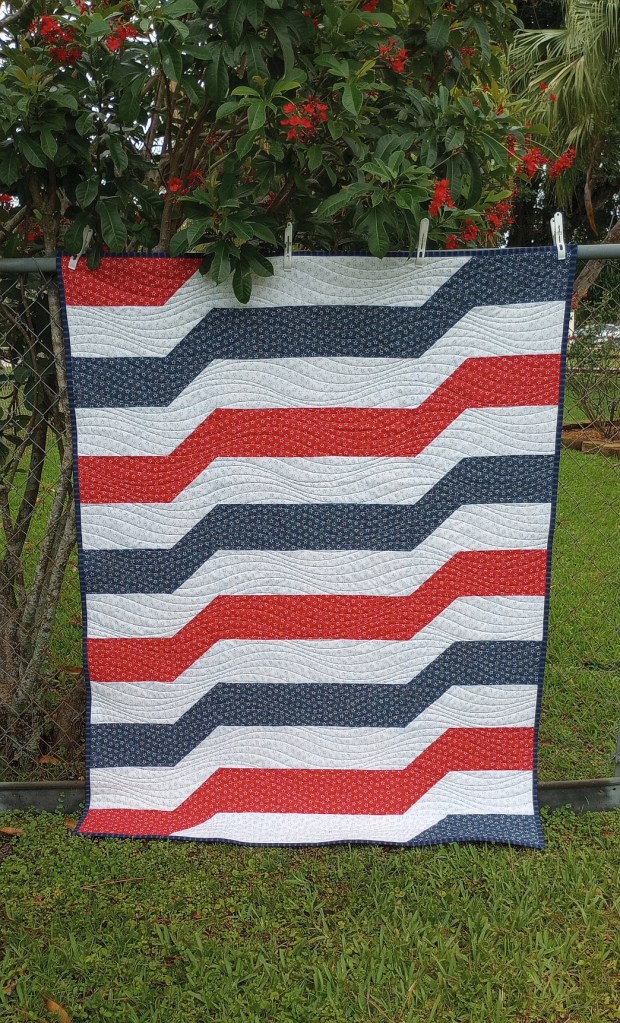
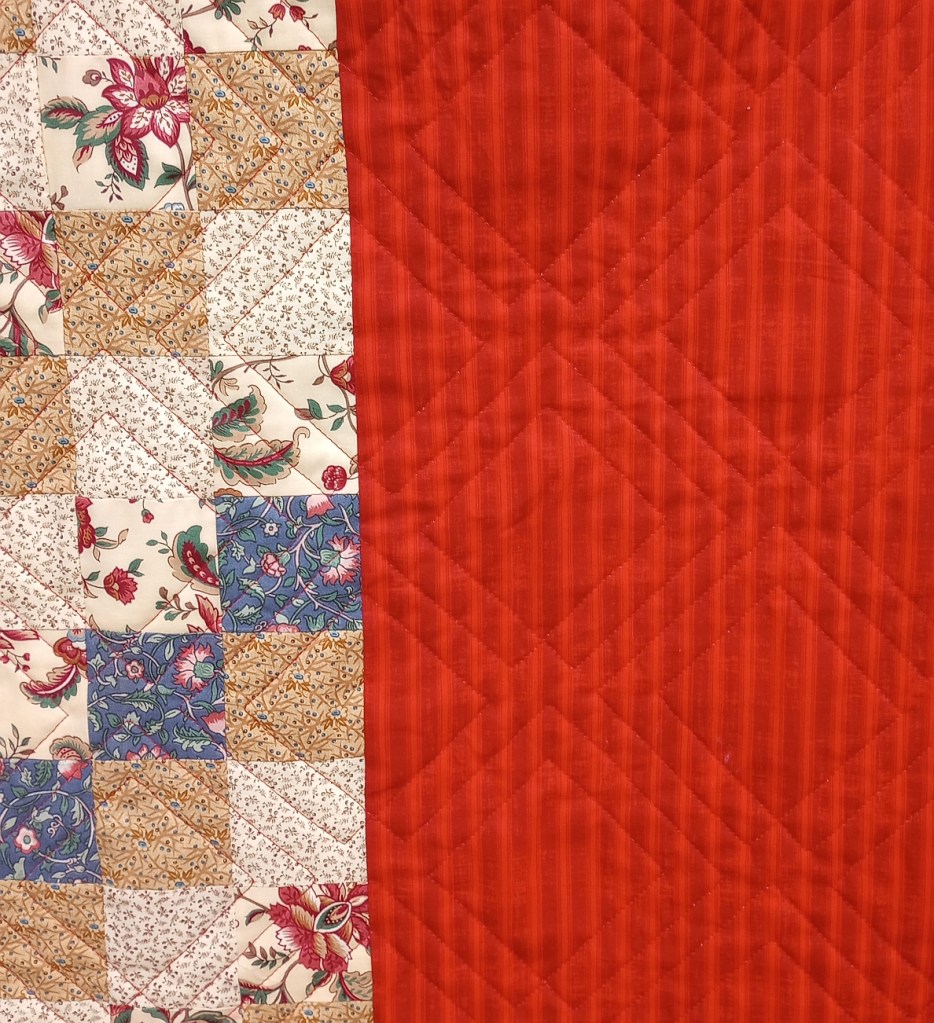
The backing fabric was a red stripe. I took the opportunity to be more creative to increase the width. I want to explore more pieced back ideas in the future.

Vivian, the guild outreach chairwoman, found some extra floral strips in cream that were used on the top that I was able to incorporate into the back. I tried to use a design I hoped would complement the Trip Around the World pattern on the front.

I quickly decided what to do with the first few tops in this group of ten. This one was more challenging, and I changed my mind several times while planning. I’ll just say there was a lot of mumbling going on and leave it at that. 😉

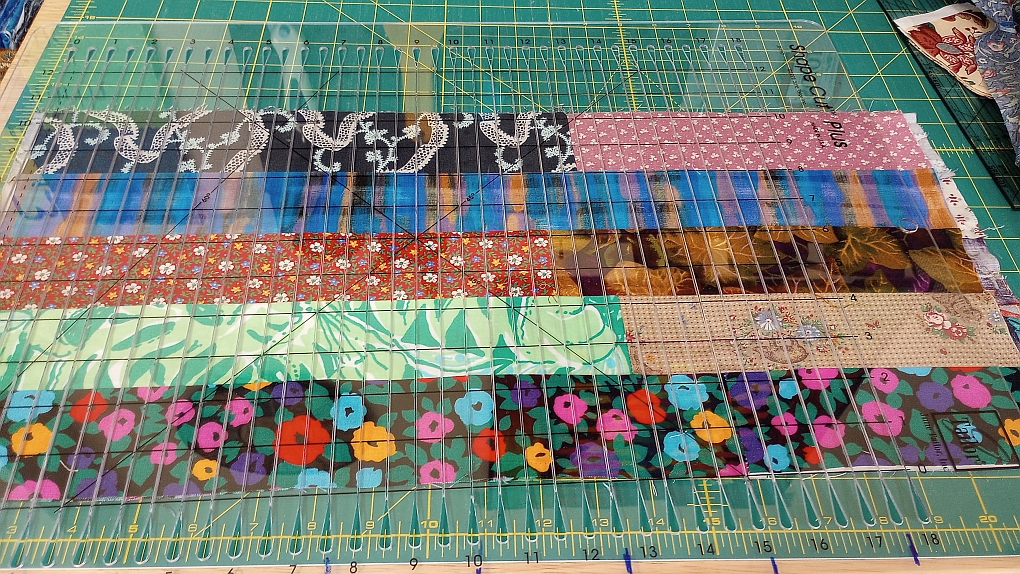
The original pieces were cut to 3″ x 10″. I didn’t want to reduce them to 2 1/2″ and waste fabric, but they also wouldn’t fit in a quilt block that required a 3 1/2″ piece.

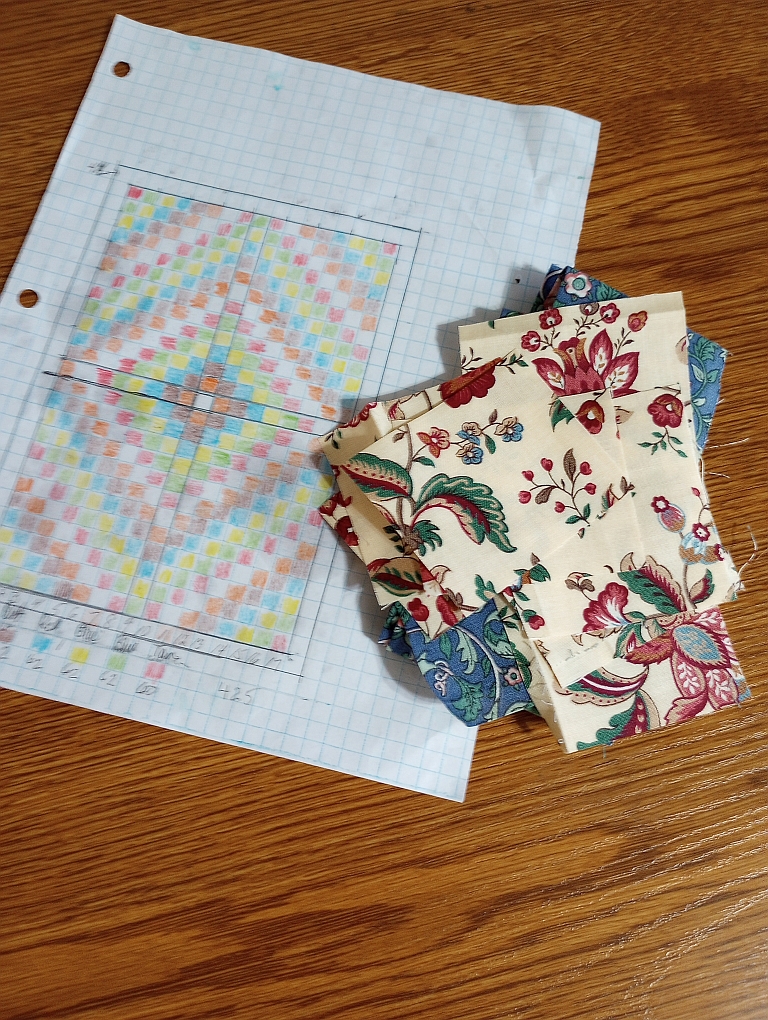
After disassembling the top, I counted the pieces by color and determined how many 3″ squares I could cut.

I took out my graph paper, set up a quadrant, and decided to add two fabrics for the squares and a border. I added a red fabric and a neutral (with a small black and red design) to the pieces I had to come up with the finished size I wanted.

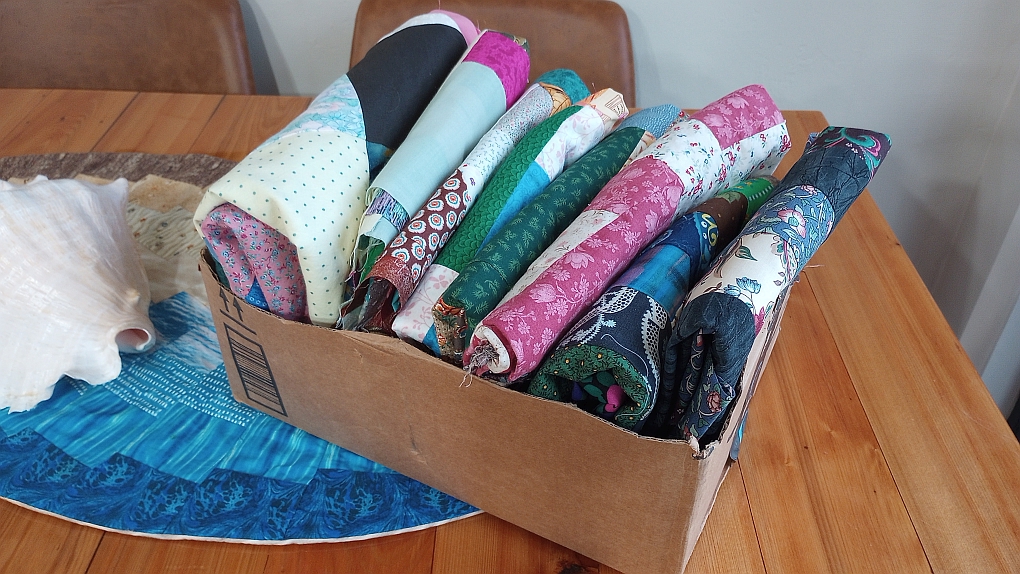
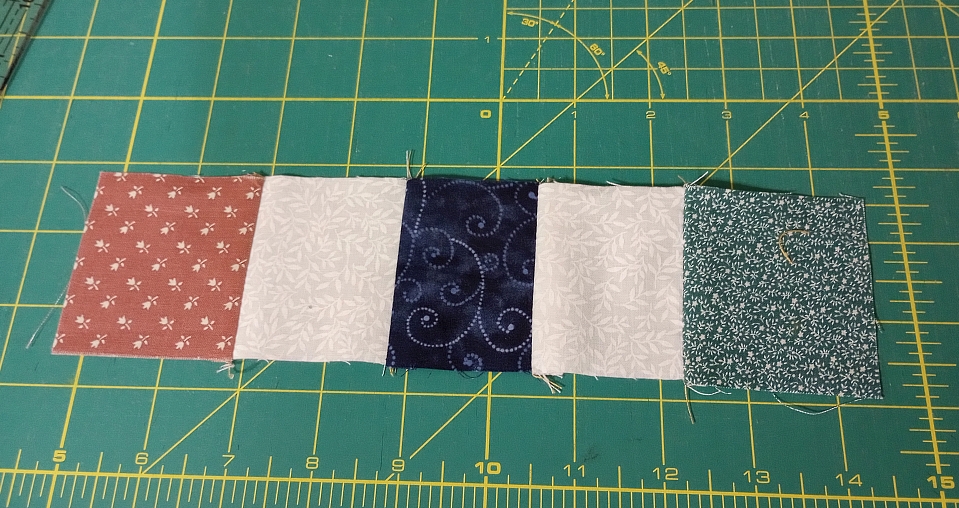
This small pile of leftover squares is all that remains of the original fabric in the top and that makes me pretty happy.

There’s only one top left! It’s small and just needs a different border, so I’m already planning my next quilt.

Strings and things

We’ve had frequent showers the past few days, but I did manage to get outside and take a photo of the string quilt I finished a couple of days ago.

I added some of my short strings, mostly kid bright print, to the pile of little solids left from the quilt I finished at the end of May.

It’s a contemporary take on an old favorite, the log cabin quilt block. This version was inspired by the pattern Stacked Logs from Quilted Sunshine.

My little drawers of strings are beginning to overflow so I need to spend a bit of time making a few quilts to get them back under control.

I keep my strings sorted by color in a little cart I purchased from Michaels. Well, I’ve actually expanded to two carts now. Not because I wanted to store more fabric, but I did want more separations so I could break out a few by type (patriotic, batik, bright kid, reproduction prints,low volume, etc) and also have a drawer for leftover binding to occasionally be able to make a scrappy binding.


My husband had an old street sign in the garage he’d found in the ditch while walking one morning. He loves up-cycling things and finding new uses for them. He riveted the sheet metal to the backs so they’re a lot more stable and don’t wobble when I wheel them around.

Thinking about some of the things he’s recycled, I can’t wait to share the turkey protest signs he made for his Thanksgiving yard decorations when he takes them out in a few months. They’re from abandoned political campaign yard signs he got tired of seeing at the corner of our street. 🙂

In the beginning

I didn’t take “before” photos of the rescued quilt tops when I started working on them. I planned to quilt and bind them, regardless of their appearance. There are people in need of quilts who don’t have anything to sleep under. Shelters have asked me to bring my least appealing quilts, explaining that those experiencing homelessness will choose a quilt they think is less likely to be stolen. This perspective opened my eyes! I knew I could find homes for the quilts no matter what they looked like when they were finished.

These quilts are turning out much better than I’d even hoped for and they’re being donated back to the guild for their organization partners.

I haven’t forgotten about the shelter and do plan to prioritize donations to them during the cold holiday season later in the year.

This top just needed minor adjustments, The side seams had to be restitched along the edges where they’d opened and stay-stitched before quilting. There’s a bit of pink fabric in the top but not much. I used a dark brown “tree bark” backing for this quilt in hopes it would make it more gender neutral..

This quilt top looked odd when I first saw it on the table. It was square, but the side fabrics were different widths, as if someone had stopped working on it partway through.

Our guild had request for patriotic quilts to honor veterans at an “Ignite the Night” 4th of July celebration. I took the top home hoping I could make it work. I split one block and moved half to the bottom for more interest. It finished at about 48″ x 68″.

After that quilt meeting, I texted Vivian, the Outreach committee chair, to ask if there were any quilt tops left after the meeting. She said she still had eight more, so I met her the next week at a local quilt bee and brought them home.

A makeover

This is quilt #8 in the Second Chance Quilt series. Not only am I borrowing Wedding Dress Blue‘s term for this group of quilts but this time, also her design idea, Film at Five Quilt.

I began with this Jelly Roll Race quilt top from my quilt guild’s de-stash table. I wasn’t crazy about it, and I’m guessing I’m not the only one which is probably why it was there to begin with, but I thought it had potential.

My goal is to never use the words “it’s just for charity” and instead, do the best I can with what I have, no matter where I think the quilt may end up. This quilt was no exception.


I used Deanna’s Wedding Dress Blue Film at Five Quilt free pattern and tutorial to turn the top into the quilt below. This version required half as many blocks and a lot less work since I began with strips already sewn together. 🙂

The finished quilt measures 52″ x 68″ and I quilted it with a traditional clamshell design.


I began by de-constructing the top in sections of 5 strips. Then I cross cut them into 2 1/2′ sections. I chose to cut them by hand rather than struggle to line them up just right for the Go! cutter.

Then came the problem. When I pieced 5 strip sections together to form the block I realized that the seam allowances in the original top had been inconsistent. The resulting blocks measured anywhere from 10″ to 10 1/2″. I had no choice but to trim all the blocks to 10″ squares.


Of course that threw the sashing off. I love that detail in design so I had to make it work!

I used leftover pieces and added a 2 1/2″ square of background to make two pieced units. Normally, I’d have sewn the two pieced units together and then added the last print square. Instead, I opted to sew them in the order you see in the left photo above.

I used a 3/8″ seam allowance on both sides of that print square in the middle losing a total of 4/8″ in the sashing strips (2/8″ on each side). This resulted in the unfinished strips measuring 10″, exactly what I needed. You’ll see a slight difference in the dark blue middle square in the photo on the right. It’s not very noticeable in the 31 sashing units unless you know to look for it. (And, you probably didn’t notice until you scrolled back up to check it out, right?)


I’ve only made one Jelly Roll Race quilt myself. It was this one, for my brother’s birthday in 2020. I used a lot of Thimbleberries fabrics, but I gave it a bit more contemporary style by sewing the fabric strips together on the diagonal. I also cut them into half width-of-fabric pieces to mix up the prints a little more. I still had some fall next to each other in the adjacent row. I hate when that happens so it’s the reason I probably won’t use the race quilt method again.


Wedding Dress Blue

Quilting and other things I love in this colorful world