I don’t have anything finished to show this week even though I have been busy. I like to bind my string quilts by hand, a little bit each night, so it takes several days to finish. That might be a good thing because I’ve been procrastinated about adding older post so expect to see a few more of those.
Originally posted October 22, 2023
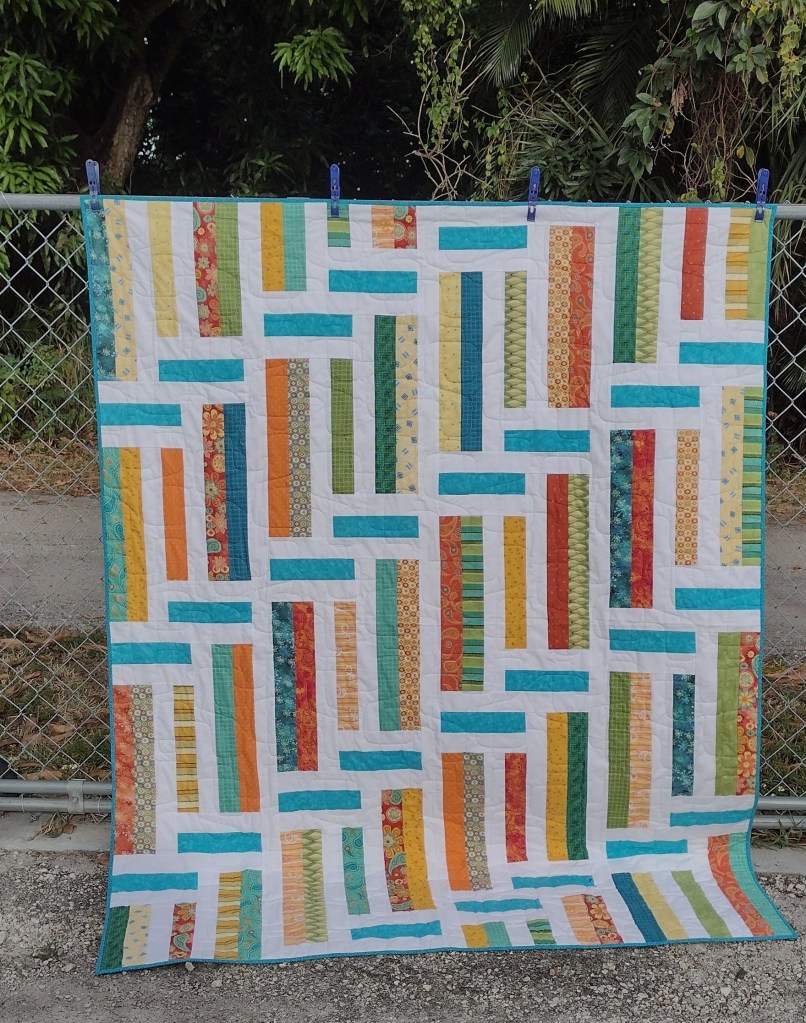
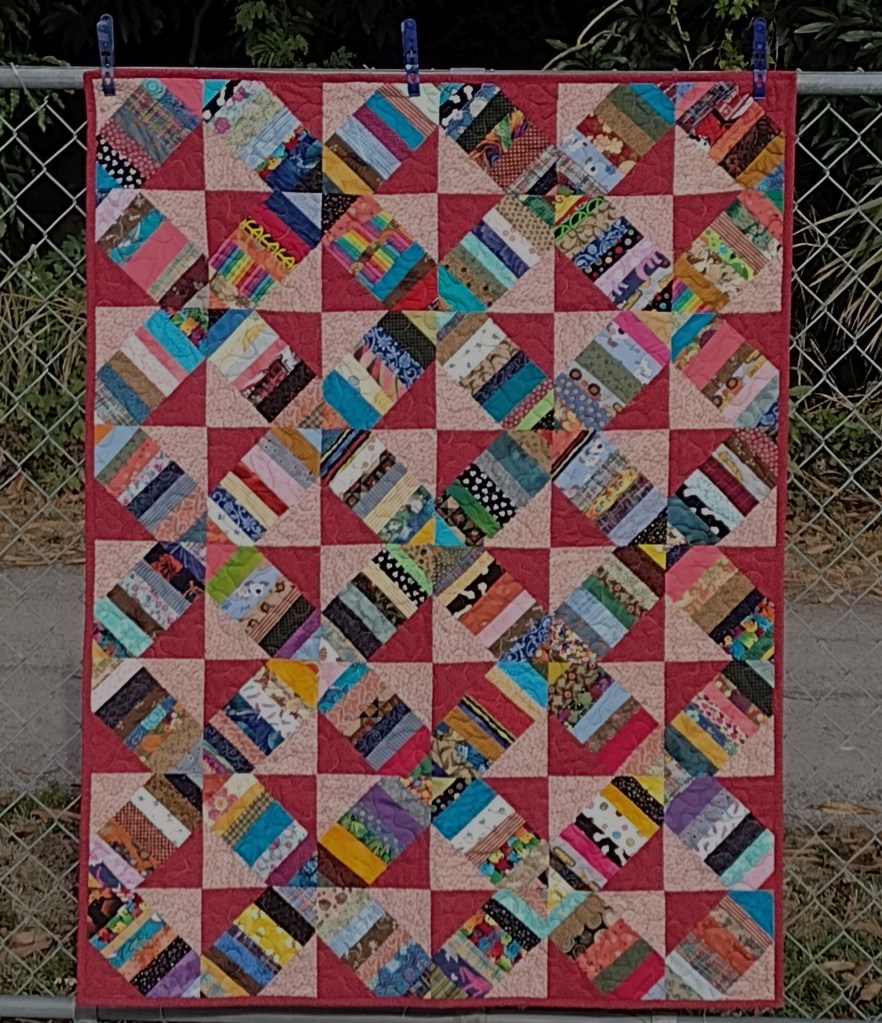
This week I finished a quilt from scraps using the Atkinson Designs pattern called Step Right Up.
The strips were leftovers from another Atkinson pattern I finished last year that had previously been a UFO.
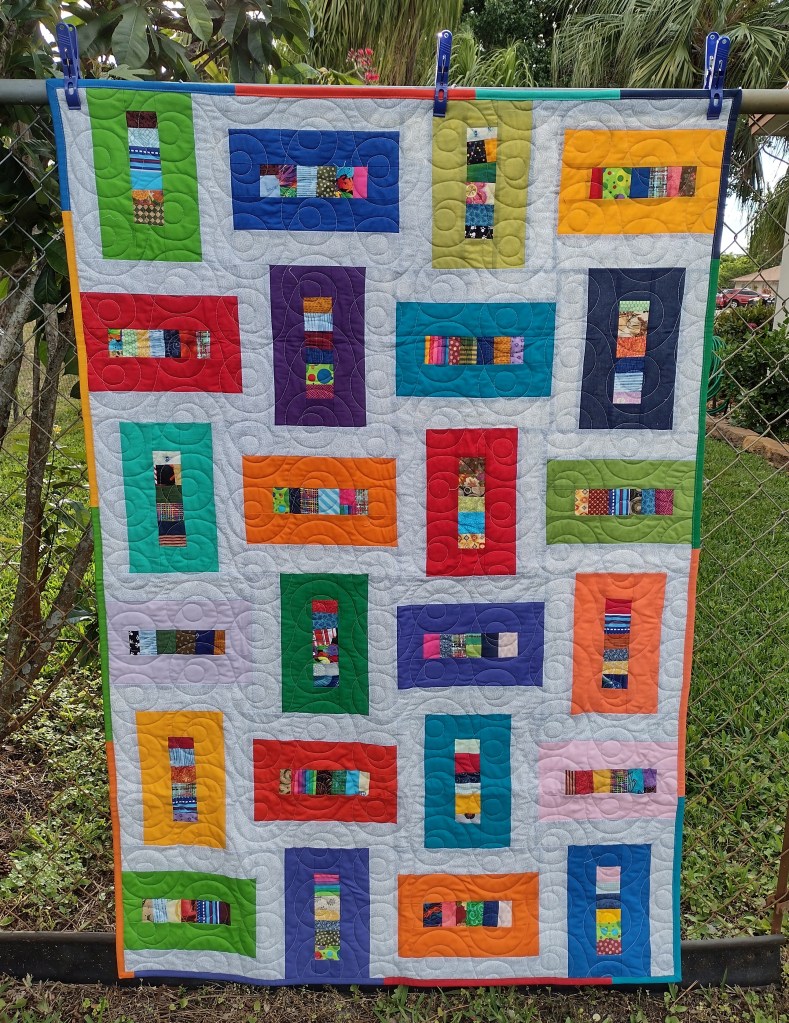
Two more tops were made with the left over strips but they still need to be quilted.
A lot of my scrap quilts have a lot of added background fabric. It’s not the most efficient way to use the leftovers but, it’s more important to me to enjoy making the quilt.
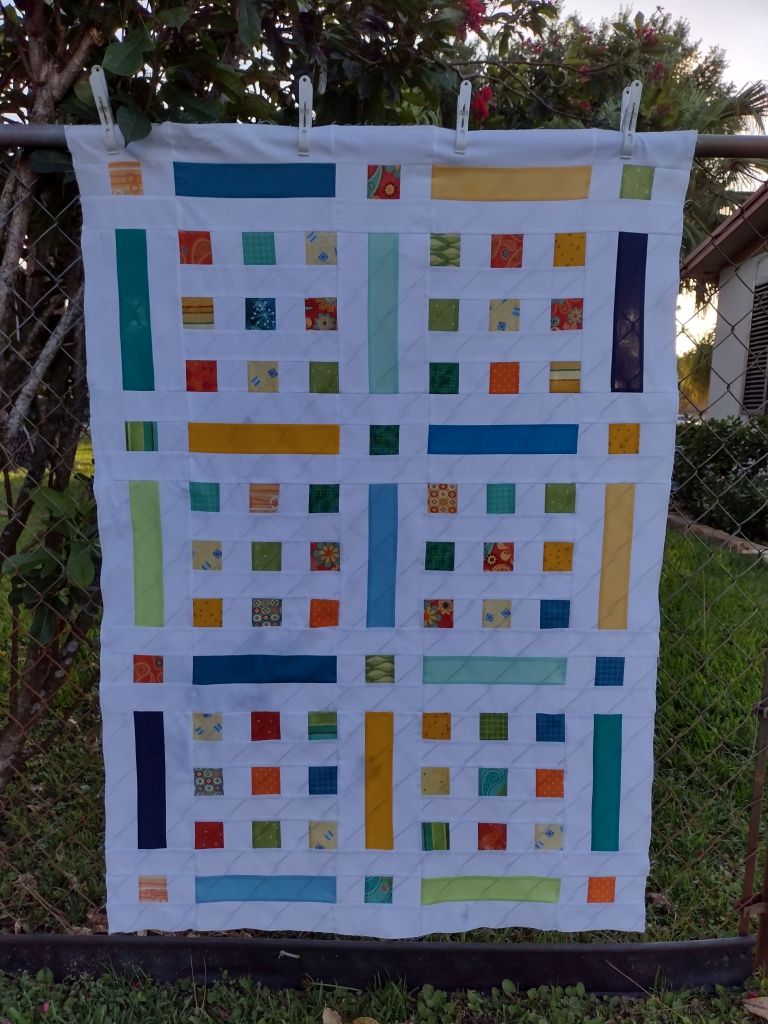
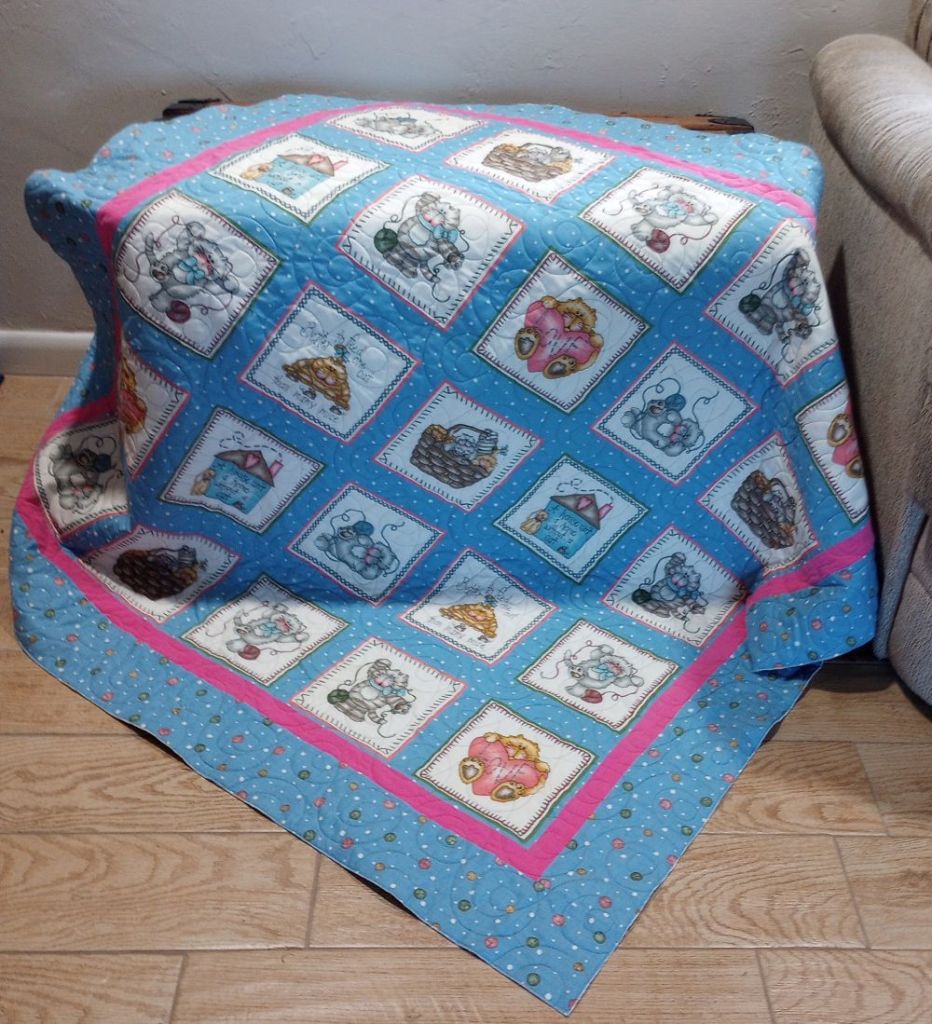
The next two finishes are string quilts. The first was made using Bonnie Hunter’s String X free pattern with paper telephone Yellow Book pages. I prefer paper foundations to keep the quilts lighter than using muslin or other lightweight fabrics.
The tiniest strings were stitched to adding machine paper to make the fun quilt below. I’d had the Crosswalk quilt pattern on my list to make for a while now. It was fun to take the original idea and substitute strings for the centers of the blocks.
A few partial solid strips left after making the blocks were used for the scrappy binding.
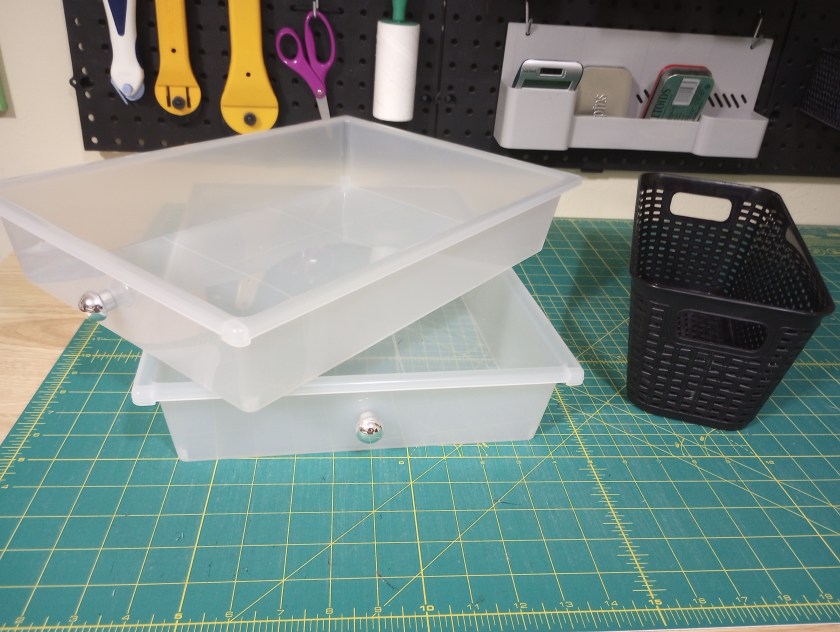
A switch on my long arm broke, so I’ve been organizing while waiting for the part. The room doesn’t really need it, but we expect our hurricane windows to be installed in 4 to 6 weeks. When we get the notice from the installer, I’ll have to quickly move everything to one corner. I’m using these couple of days to consolidate as much as I can. All the furniture is on casters, including the long arm frame, so moving things shouldn’t be too difficult.
The problem was the bobbin case and as soon as I saw the new one there was no doubt. Notice the clasp on top of the case on the right. I’m sure that happened when I dropped it. The screw that holds it in place was still tight but the metal thing was definitely not right.
I didn’t even want to try bending it back in place on the off chance that I might make things worse, like cause the machine to jump timing. I know from past experience that’s a $700 housecall and several weeks wait for the appointment.
I quilted a guild Community Outreach top and it worked just fine. I think the stitches even look better on the back now. I used a “Mod Dots” design board by Urban Elementz to quilt it (a PVC version of a pantograph used with a stylus). I think it mimics the balls of yarn the cats are playing with in the quilt top.
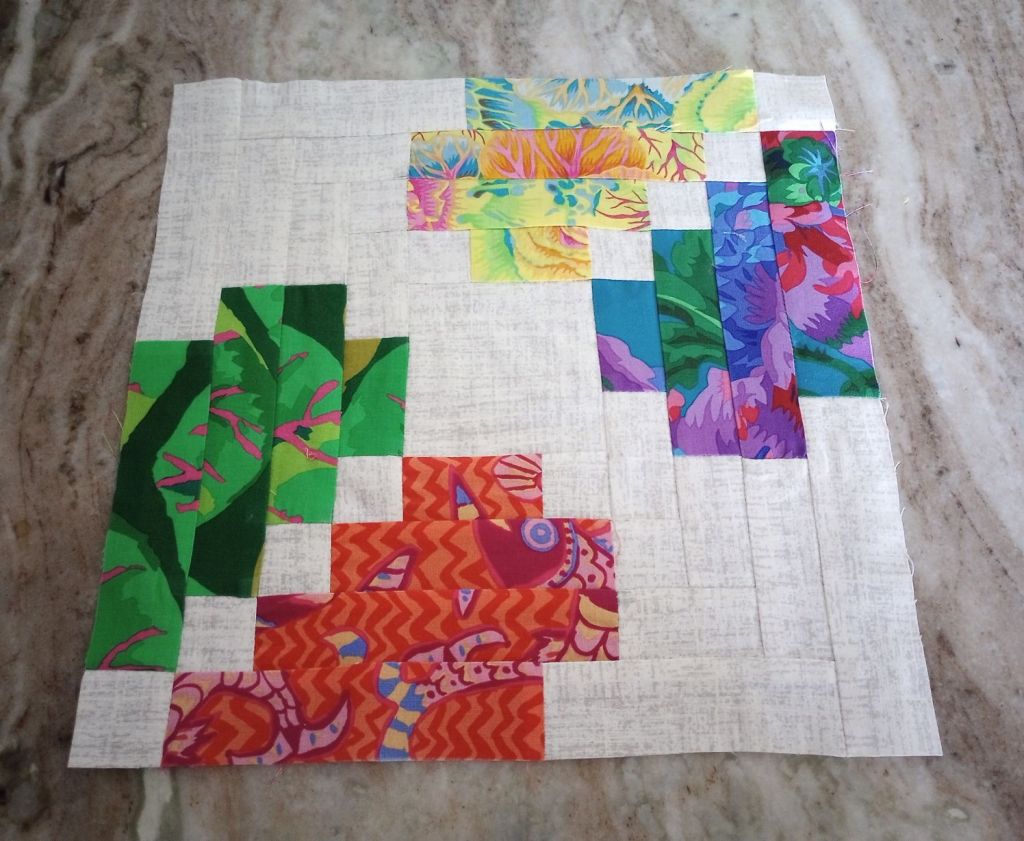
Thinking the lighting would be better in the kitchen, I took my block there to get a photo of it. Note to self: the countertop makes an awful background for taking pictures!
I also made a sample block with the Kaffe fabric scraps. I’m glad I did because I quickly realized I’m not going to be able to make one block a day like I’d planned.
There are 17 logs in each block (41 pieces). I like to press the log before I add the next one. I was constantly getting up and down. This one block took over an hour to make.
Plan B: Cut out all the blocks, label everything well, and sew one log on all 24 blocks each day. I’d much rather get up once to press 24 pieces, than to get up 17 times.
I really do like the block. I may just finish this quilt for the bed in our guest room/home office. It’ll make the room feel like a tropical getaway. 🙂
Have you ever begun with an idea and have it morph into something you didn’t quite expect? Here’s how this one began – late last night.
I’d seen a photo on Facebook of a pattern by a company that didn’t have the rights to it. The actual pattern is called Petal Pop and designed by Melissa Corry. I liked it and noticed it used jelly roll strips, which I thought might be perfect for our guild’s strip challenge program in the spring.
Last night, I considered buying the pattern but chose not to when I saw the quilt shown on the cover was 98″ x 98″. The 50″ square version only had one “flower” in the center and I didn’t like it nearly as much.
I considered cutting the strips in half, 1 1/4″ wide, but that would make them really narrow and involve a lot of extra math! 🙂
Instead, I stayed up late and graphed a block that would use 1 1/2″ wide pieces. The block is an usual one, but looking at where the sashing and cornerstones are located helped to define it.
A few months ago, I saw a picture of some quilt blocks in progress. The quilter didn’t mention the pattern, but I recognized immediately that it was this same block. Looking at that photo also helped me figure out how the block was probably pieced.
I went to bed wondering how the blocks would look using some of these scraps??? Most of them read as solids though and I didn’t think that was the look I wanted.
A honeybun of 1 1/2″ wide strips would be perfect for the finished size I hoped to make. Problem is, I already own plenty of fabric. Buying something new would be going in the opposite direction of my goal – that is to try and use scraps and strings as often as possible.
I went to bed and put the idea to rest too.
Remember seeing these photos? I received those Kaffe scraps back in July from an online friend with whom I had shared some Civil War-type background pieces of fabric. I made one quilt with the Kaffe prints and mentioned being a little disappointed with it in this post. I put the rest away in a box to use in the near future for string blocks.
This morning I remembered them and decided to layout what I had left to see if they might work for this quilt. Other than a handful of pieces that are 3″ and 4″ wide (not shown here), these are what’s left.
These strips are all shorter than 40″ and less than 2 1/2″wide.
I counted them and I have plenty to make the quilt top since they are all at least the 17″ I’ll need for the block size I drew. Yay!
Kaffe prints are usually too busy for my taste. There’s a lot of background fabric in this quilt so I’m hopeful that it will tone them down just a bit.
The quilt in the pattern reminds me of a Lori Holt farm/country style project. Mine is much more likely to look like a garden you’d see in the tropics.
For fun, I used artificial intelligence to create a picture of a typical south Florida garden. It sure ooks a lot like those Kaffe fabrics above, doesn’t it? The photo caption was AI generated too. I had to laugh when I read the “tranquil meadow scene” description. I don’t see a meadow, do you?😂
Vibrant flower blossom in tranquil meadow scene generated by artificial intelligence
The funny thing about how all this evolved is this .. I had jist texted my friend Robin a day or two earlier about wanting to try something different but I wasn’t sure what that “something” was. We discussed a sew along of a quilt a blogger was making but I tend to turn projects like that into UFOs that I have to deal with later, so I avoid them. I also mentioned a quilt shop class that looked interesting or maybe even a block swap with friends, but neither of those felt like what I really wanted to do either.
Maybe what I needed was in front of me all along, a project like this. One that was interesting and something I hadn’t done previously. A quilt that would take a while to complete but didn’t require me to put it aside to wait on some one or some thing.
I do still want to continue focusing on making scrap and string quilts because I enjoy making them. This will give me a needed break from focusing so much on those they start to get boring. I can work on cutting and piecing a block at a time and watch the quilt grow gradually.
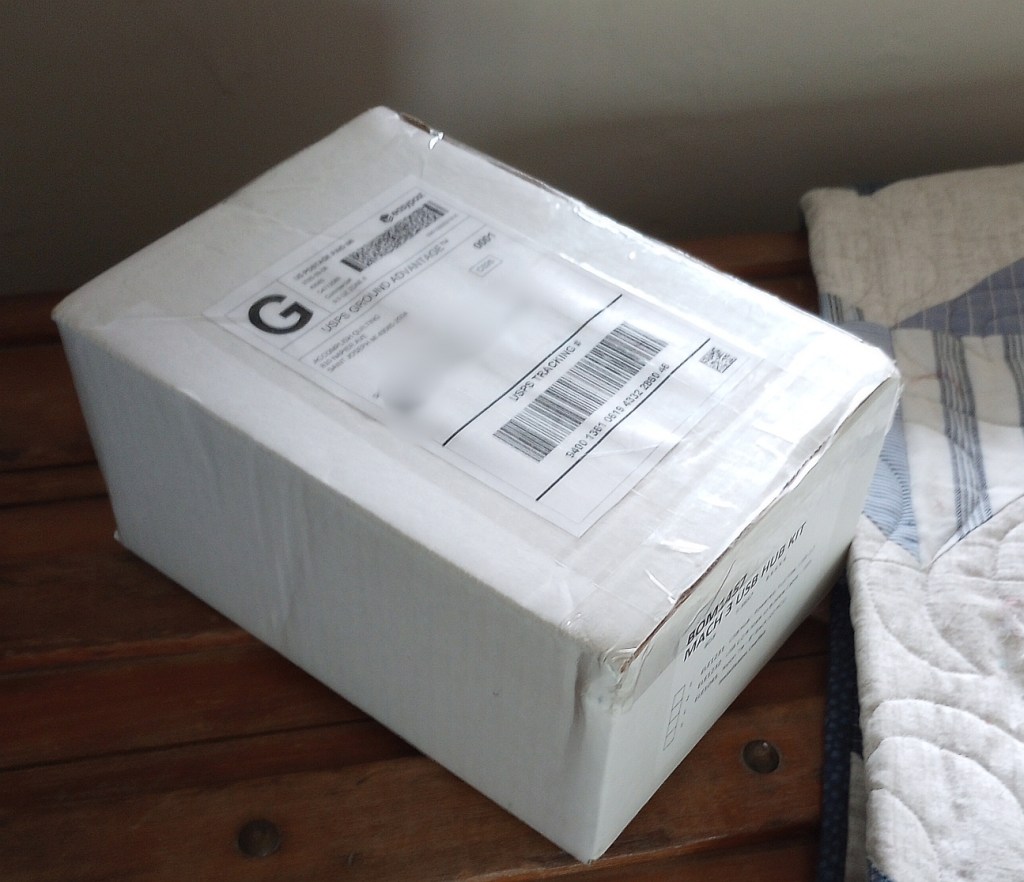
My new bobbin case just arrived while writing this post. I’m eager to try it but I need to do some housework first because if it works, I’ll want to start quilting the guild donation quilt I have loaded. If it doesn’t, well…that could also consume the rest of my day. Fingers crossed! &&
I’m trying to get better at using strings, scraps, and leftover parts & pieces as opposed to “saving” them. Not only does it help with organizing and keeping things neater, but it’s also easier to use them while I still have coordinating fabrics on hand.
I worked on piecing this little quilt as a leaders/enders project while I was sewing other things.
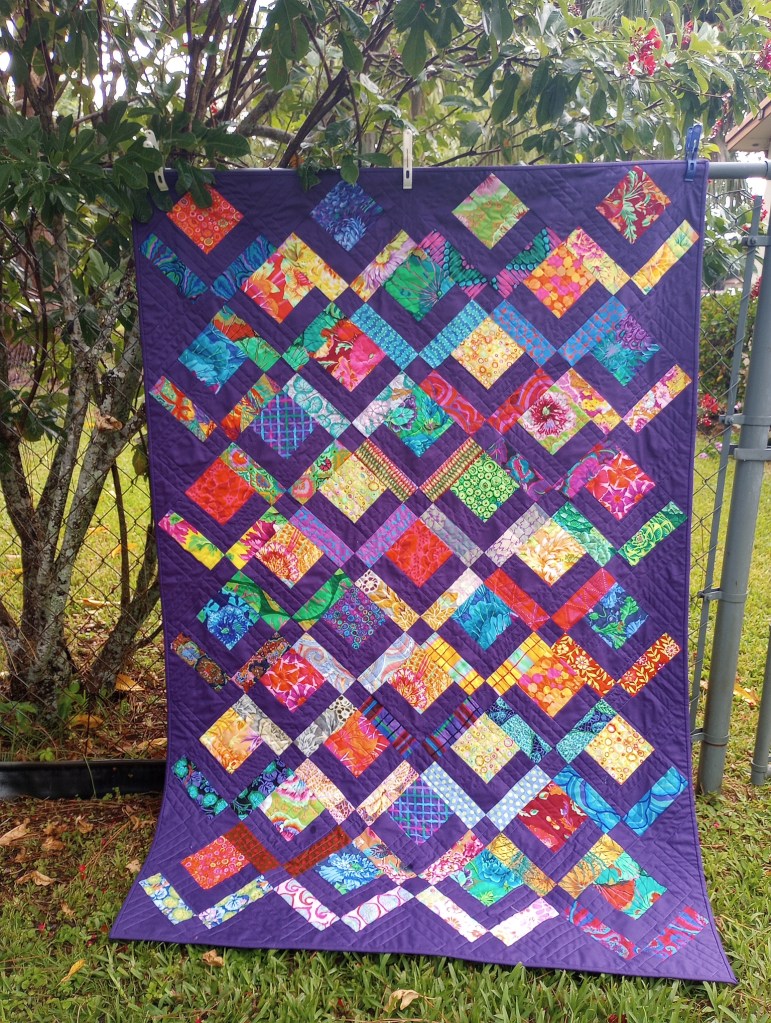
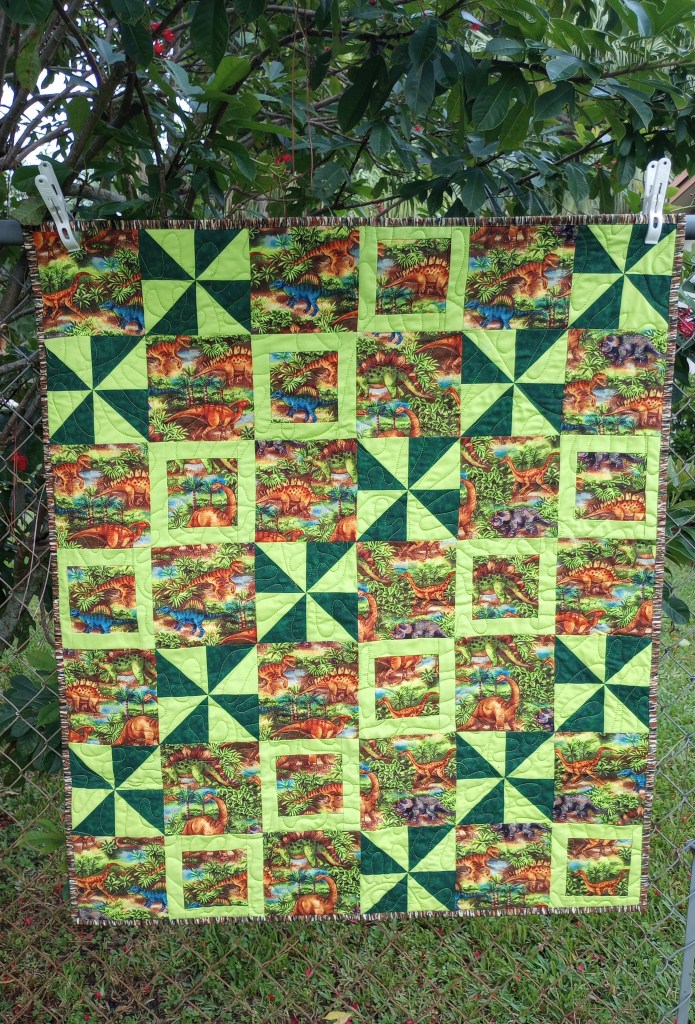
I was a little tired of the dinosaurs after finishing the quilt below in July and was ready for a break. Focusing on a new project made sewing a pair of fabric together at a time for this one a lot easier and it was finished in no time.
The second quilt began with the “waste” triangles from making the quilt above.
I know how much little boys love dinosaurs so I’m hoping they might make give a little one somewhere a reason to smile and be happy.
Other than that quilt at the beginning of the week, I didn’t get anything else quilted. My long arm is out of commission for a few days. It’s only a year old so I don’t think it’s a mechanical problem, but it won’t pick up the bobbin thread. My husband tried to fix the clasp on top of the case, but it broke. I dropped the case a few days ago, and now the thread isn’t coming out through the hole on top; it’s sliding off to the side instead.
I ordered two new cases at $99 each. Yikes! These machines aren’t for the faint of heart. I’d never suggest getting one unless you’re committed to using it often. It might actually be more cost effective to pay a professional quilter to do them for you. It’s not about cost for me. I enjoy being able to do my own. Just as some fishermen would rather have the expense of owning their own boat rather than pay to go deep sea fishing. If it’s something you really, really want, then by all means – save and buy one. I did. Just don’t do it thinking it will save you money because it may not in the long run.
Sam, my husband, suggested getting a back-up for potential future problems, so I’ll be able can replace it and see if an issue is with the bobbin or something else. I know he’s right. For now, I’m only guessing it’s the bobbin until the new one arrives. Keeping my fingers crossed that’s all it is. && He’s a retired auto mechanic, sewing machines aren’t his specialty, but I’m really lucky he can fix almost anything around the house I manage to break!
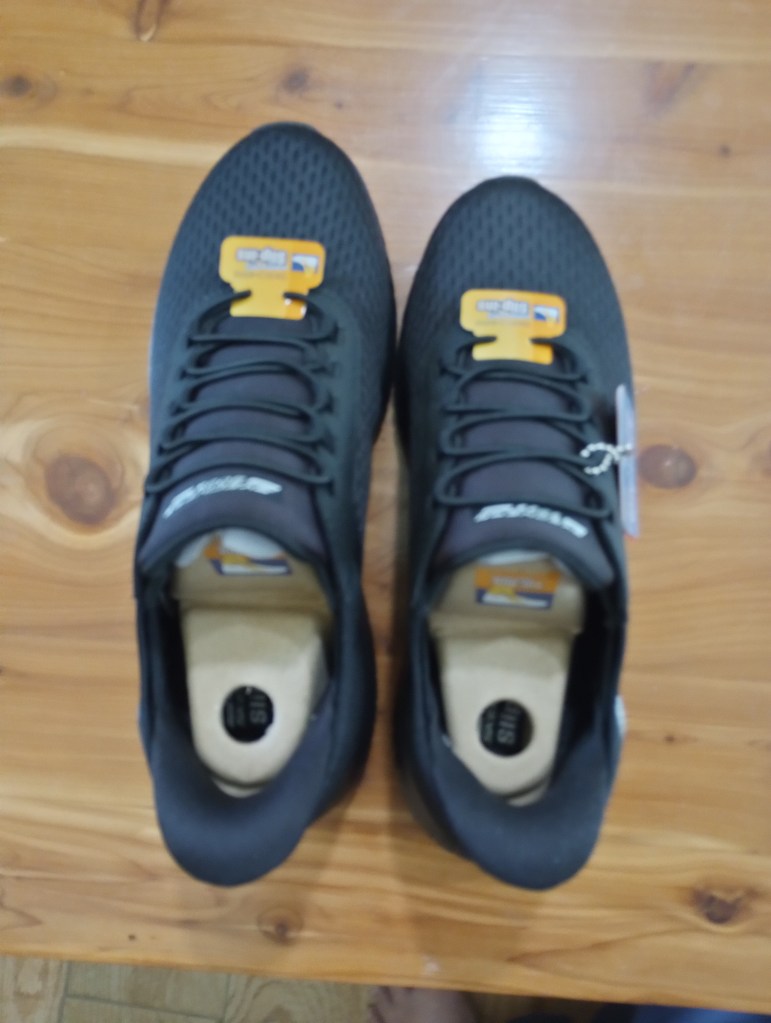
This week has been frustrating. I ordered a pair of Sketcher Slip-Ons for sewing without a shoe on when I’m at either the quilt bee or a guild workshop. I figured it’ll make it a little easier to put it back on when it’s time to pack up from a day of sewing and go home.
The price was good compared to the store, but they sent me mismatched shoes—one size 9 and one size 7.5. One shoe is clearly larger with more laces so I’m curious how they got together in a box but I’ll never know. (I’m picturing and episode of “I Love Lucy” where her and Ethel were working on the factory chocolate conveyor belts…LOL).
I returned the shoes and am still waiting for the replacement.
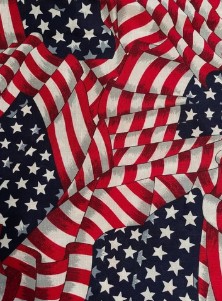
Since I can’t quilt the patriotic string top I finished this week, I began piecing the second one. That one will probably be done tomorrow and then it’s on to the third. In the evening, I’m starting to gather ideas for the bright mix print strings and scraps I’ll work on next.
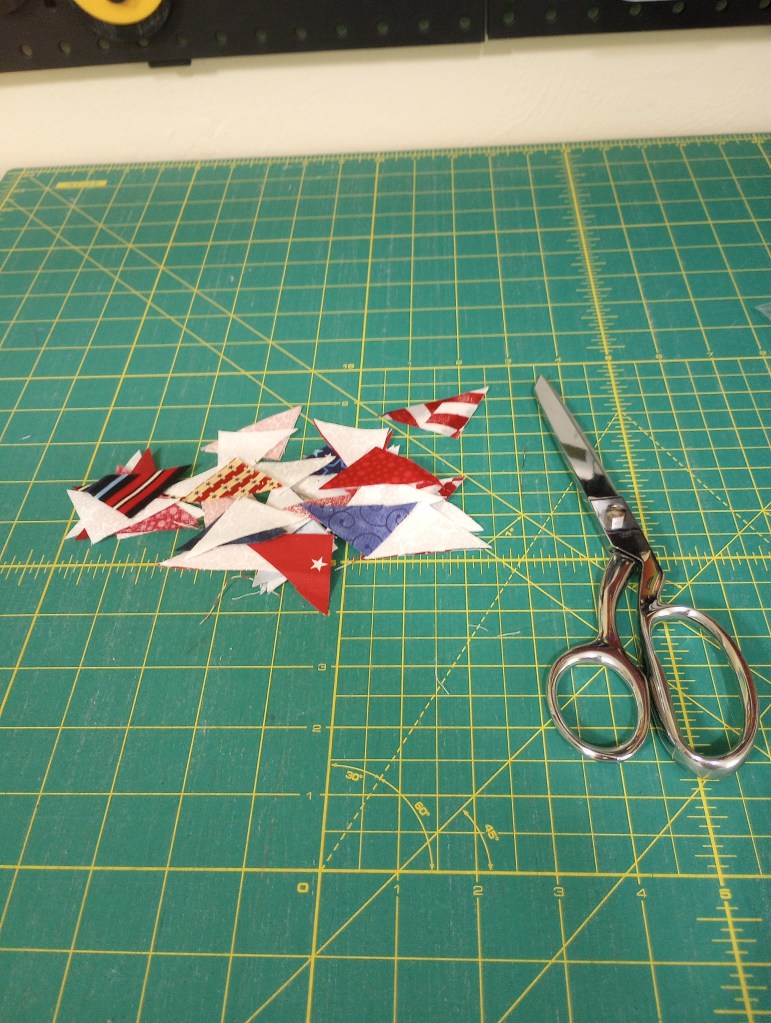
The little cut up pieces above are called “crumbs”. I don’t save these but I know a lot of quilters do. The bottom of my food chain ends with strings. 🙂
The plants are loving all the rain we’ve been getting. I’m not so sure the lawn maintenance guys are thrilled at how fast the grass and hedges are growing though!
I’m loving that it’s the peak of hurricane season and the ocean is quiet. Let’s hope it stays that way for the next month or two.
I realized a couple of weeks ago that I need to really focus on using my strings and scraps to make space for new ones as they accumulate. I know from experience that having a plan is essential for success so that’s what I’ve been busy doing.
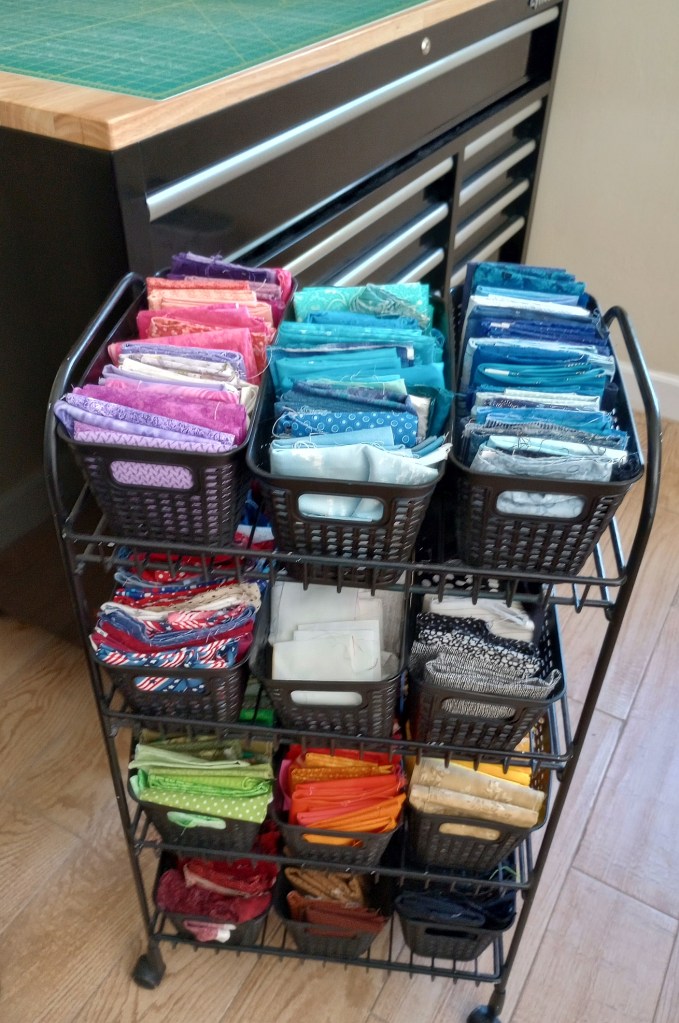
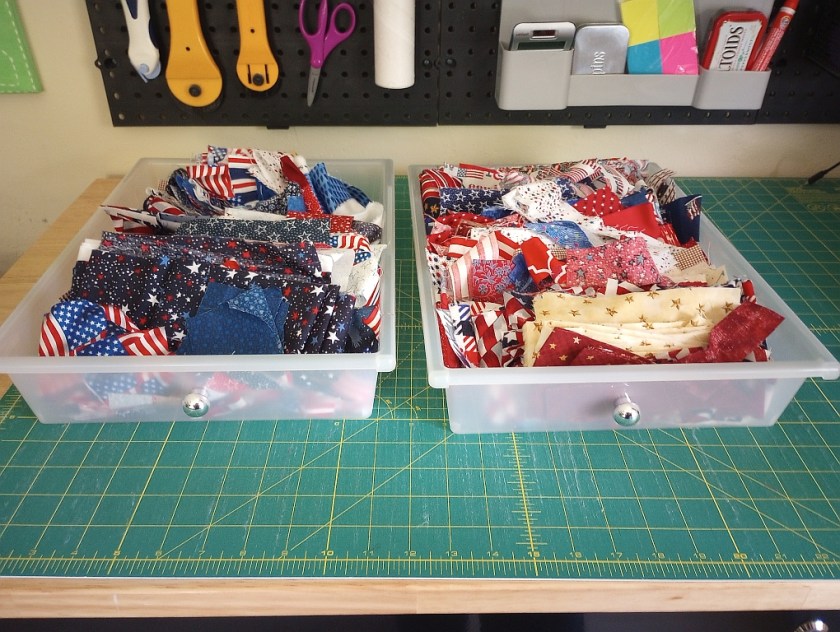
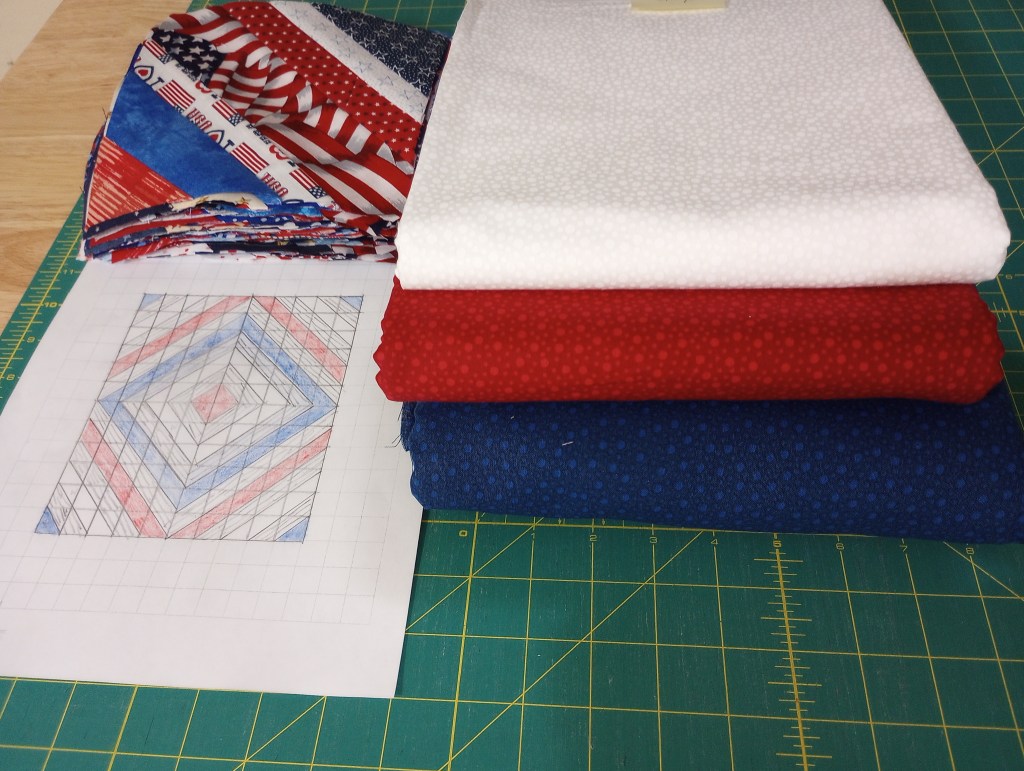
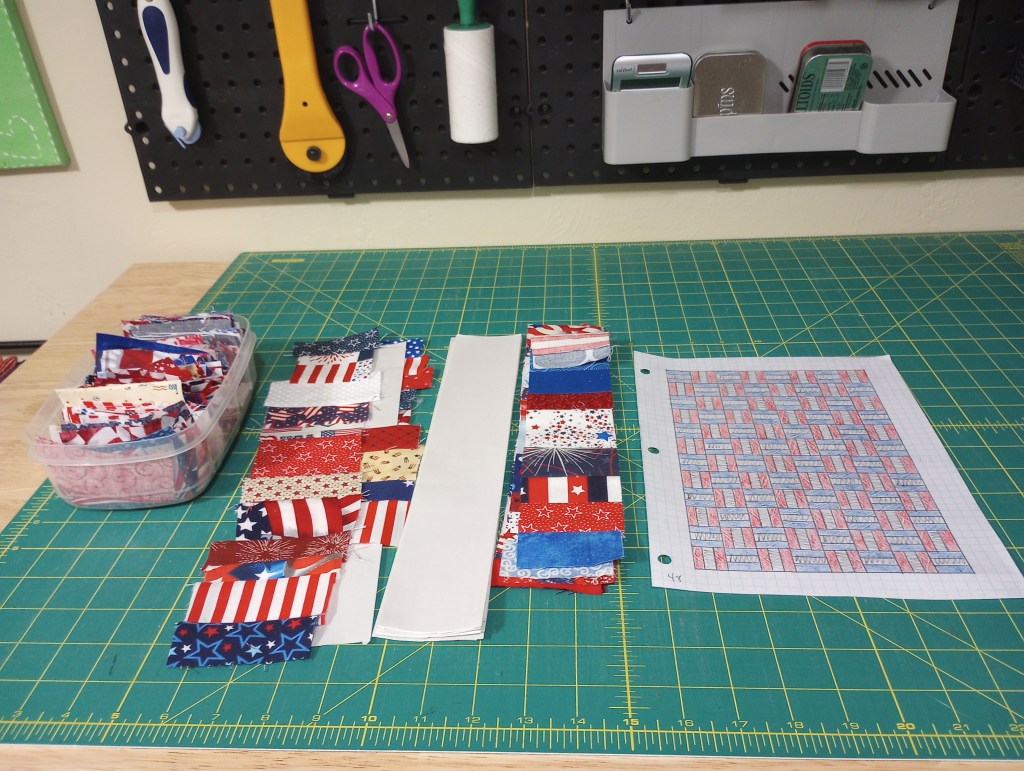
I decided patriotic fabrics would be my first target. In this post on August 18th, I wondered how many string blocks I could create from two small drawers. I decided to clear out a bin of patriotic scraps in my cart at the same time as that was also pretty full.
You can see the full little patriotic scrap bin in the cart, second shelf down – on the left.
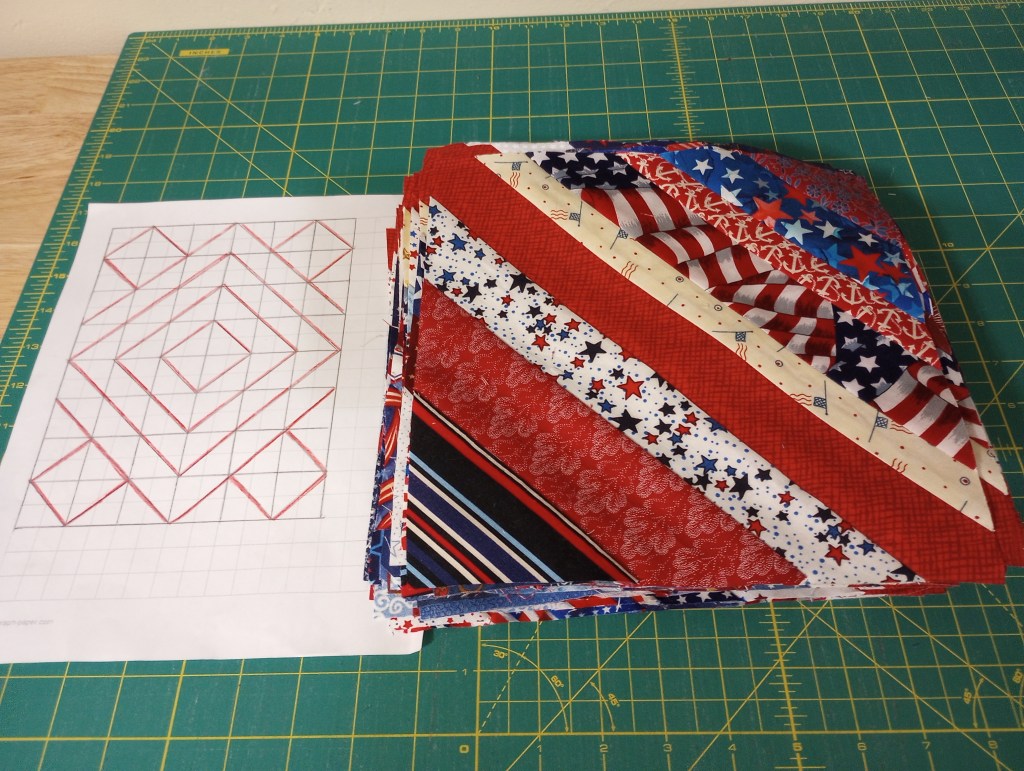
As of tonight, the patriotic strings and scraps are both empty. Yay!
It doesn’t mean the quilts are finished. Not yet anyway but, the hardest part is done, sorting, planning, and cutting up chunks and pieces.
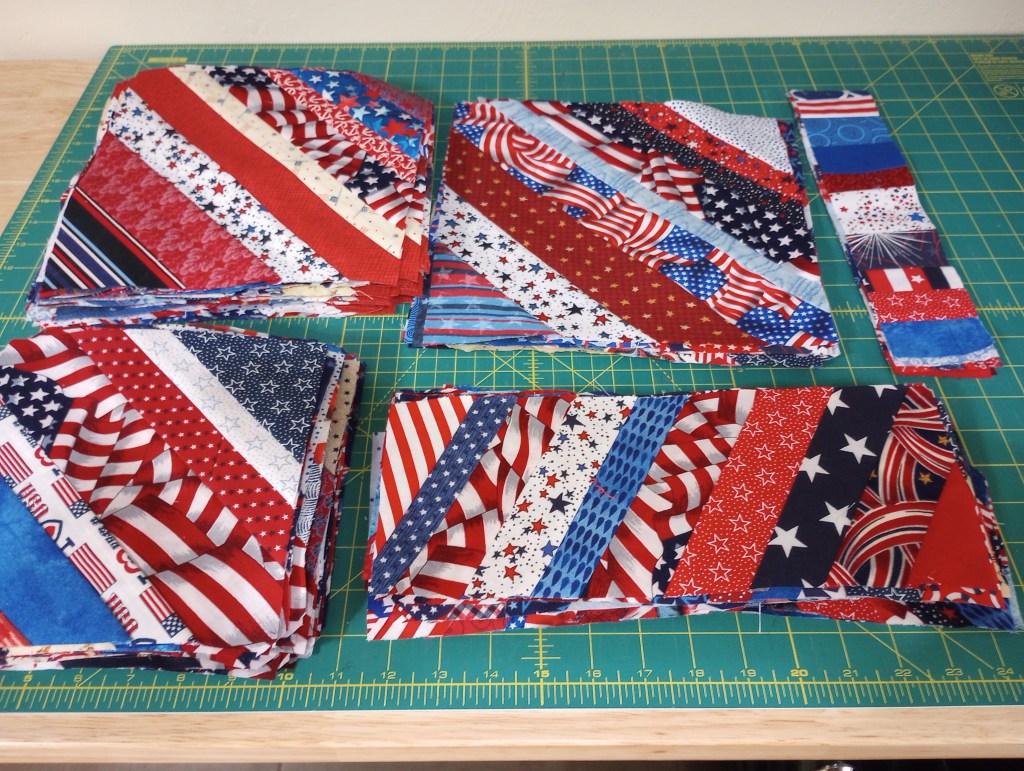
I feel good about the progress and I’m looking forward to putting these together so I can tackle the next group of fabrics. Here are the 130 string blocks I made from those two drawers with just a little added from the scrap bin as I was cutting those up.
I have more of the adding machine tape strings to stitch but the last remaining pieces have all been cut to width and are ready to go. I’ll be adding bits and pieces as I finish the other quilts so this one be the last of the group finished.
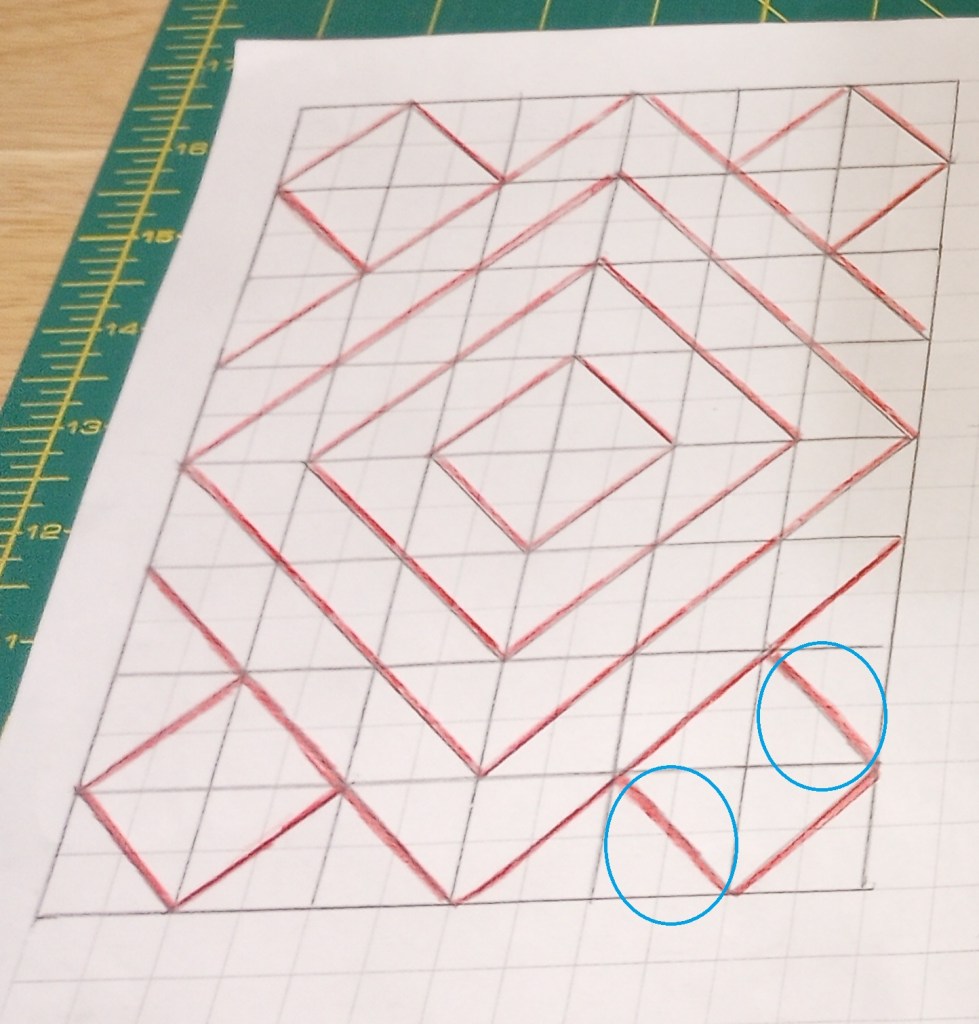
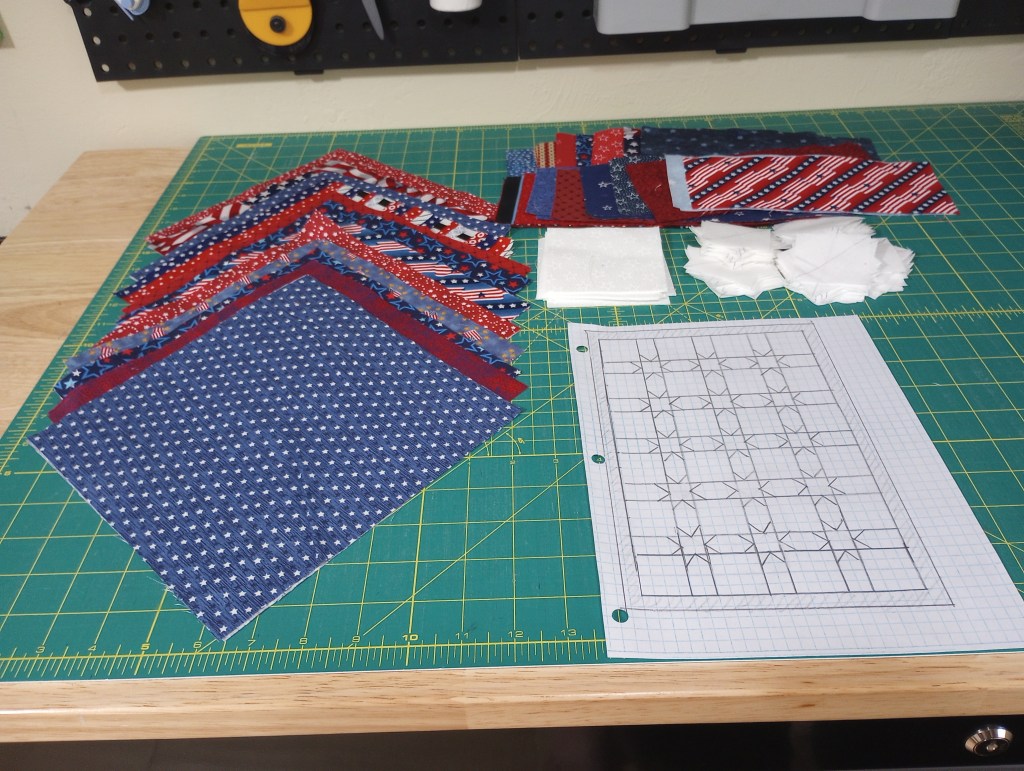
You can see the plans I made in the photos below. Each “kit” is bagged up minus the large pieces of fabric I’ll need to go with them. Those are labeled and in a separate pile on one of my fabric shelves. These photos will help me remember what I was planning too!
The string blocks for this layout are 12.5″. In the scrap bin were the 32 waste triangles leftover from the patriotic round robin I finished last month.I decided to set the blocks with a friendship star type sashing to use them. Most will end up in the outside border. I’ll need a few more than what I have but, I’ll use the sew & flip corners on the sashing pieces to make them rather than making separate HSTs.
These 60 string blocks measure 7.5″. They’ll be used to piece 120 large half square triangles for this setting. I made this quilt last year from thrifted men’s shirts using the same layout. I like how that quilt turned out so I decided to try it again with string blocks.
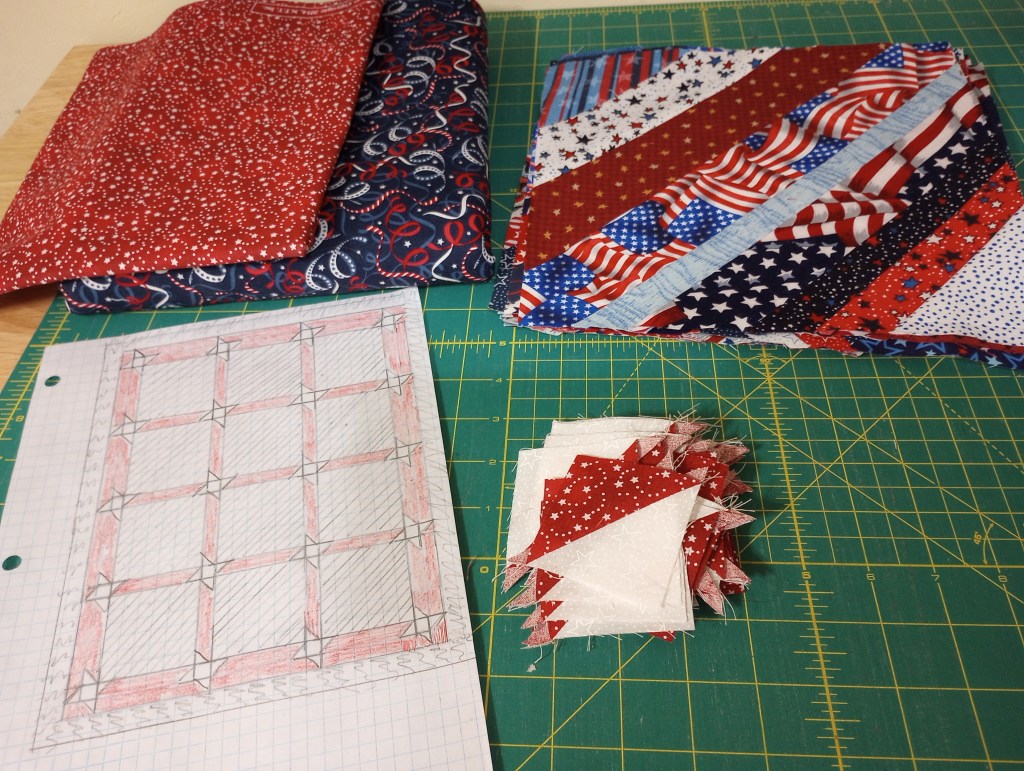
This set of 48 blocks measuring 9.5″. All of them were made with the same red center strip. When I was looking at the diagram I drew for the HST quilt above, I got an idea to try a similar layout for these blocks. I’ve probably seen it before but I don’t remember when or where.
The diagram was changed by rotating these two blocks in each corner.
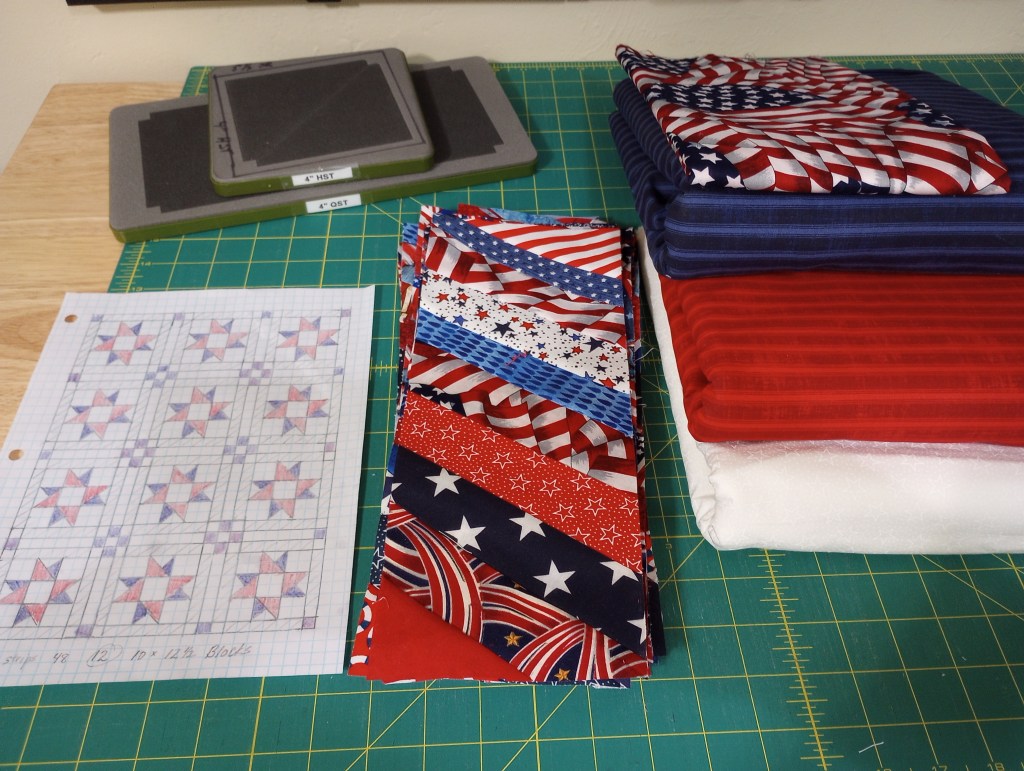
Stephanie (who lives in western Australia) is a member of one of the online groups I’m in. At the beginning of each month, she pulls a paper out of the hat to chose a type of fabric for us to target using that month. They’re usually things like strips, fQs, charms, scraps, strings, orphan blocks, etc. It’s meant to encourage us to use stash that may we may otherwise tend to overlook. I don’t always play along but this month is “shapes” so I decided I’ll use my Go Cutter to cut 3/4 square triangles. I’ll be making 12″ red /blue stars to use with my string pieced units. I can work on my string project and play along with the “shapes” suggestion this month. 🙂
These string units measure 5″ x 12.5″. I plan to cut them in half so they’ll be 2.5″ x 12.5″. I want to use them to frame my blocks.
I’ll then add white sashing with cornerstones so they’ll end up forming 9 patches between the columns and rows. I’m really anxious to see how this one turns out!
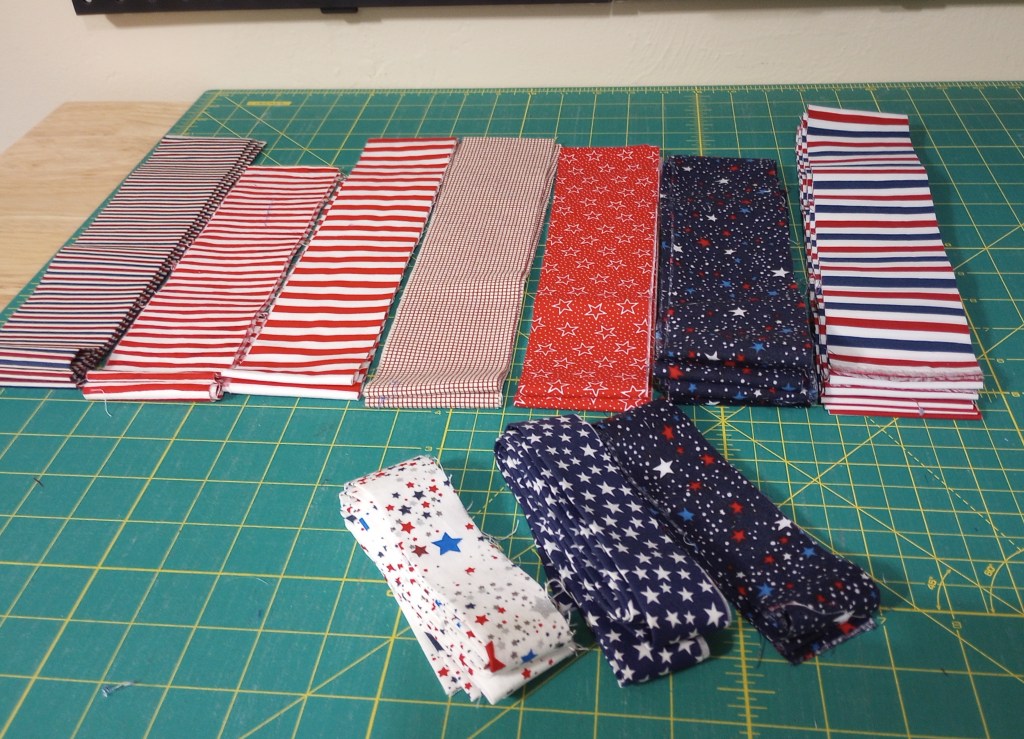
My final string quilt will use those adding machine tape units made with the tiniest strings. They measure 13″ long and 2.5″ wide.
I’ll cut them in half to 2.5″ x 6 .5″. I’m trying to use wide pieces in the center of the adding machine tape where I’ll have to cut the strip in half. It seemed it might be easier to make 48 long strips than 96 short ones!
The string units will be center strip in a rail fence block. Half will be flanked with blue strips for the horizontal blocks and the other half with red strips for vertical blocks. I want to use a consistent red and blue for the blocks to showcase the string units better. I have plenty of red and blue choices from that big Joann haul just for times like this.
This project will need a border to reach my preferred size, and I have several pieces of American flag fabric leftover from backing cutoffs to use.
I purchased a bolt of flag fabric on eBay last year. The seller asked me what my plans were for it and whether or not I might be able to use a second bolt. I told her I make quilts to donate and I definitely would be able to use it for backings, if the price was right. She didn’t want to be paid for it and even covered the extra postage. She said her father was killed in the Vietnam war and she wanted to donate it to honor him.
I paid $25 and ended up with 30 yards. I’ve used it to back all my patriotic quilts and I remember her kindness every time I use it.❤️
Once I decided to use the patriotic scraps up too, I put aside the pieces that were large enough for the Evening star quilt until I was ready to cut the fabrics for it. I did need to add a couple of pieces from the red and blue scrap bins but, not many.
The squares are cut 8.5″ and the sashing 3.5″x 8.5″. To bring it to size, I’ll add a border because not only did I not have enough pieces to make more blocks but, I didn’t need to increase the size by 11″ in length or width.
I know what I’ll be using for the border but forgot to add it to the photo, however; it is labeled on on the stack with the other fabrics I’ll be using to finish all these quilts.
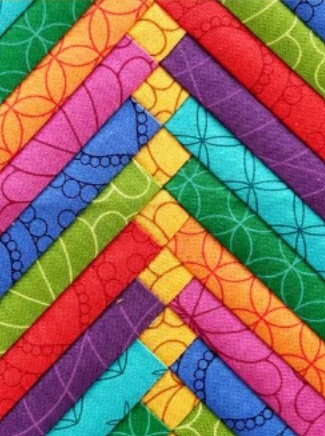
This will be the other scrap quilt. I was inspired by Robin Pickens’ Showering Stars pattern. I don’t own the pattern but I can tell from the description that the quilt would end up much larger than I wanted make. I didn’t see a viable way to downsize it and keep the original design elements so I decided to try something a bit different for the “showers” – French braid piecing.
I love the dark background in the pattern photo so I’m going to use a deep blue. My big 16″ stars will be red rather than white in order to use up several 4.5″ HSTs leftover from making the Transport pattern.
I have enough scrap pieces to extend the braid both over and below the star blocks. I’m not sure if I will make braid columns with the stars floating in them or, just use the braid either above some or below the stars. I’ll decide once I get the quilt the blocks on the design wall and see how it will look.
Photo from Kate Colleran Designs
The braids need to have white center squares (like the gold ones in the photo above). Most of the scrap pieces I had to use wouldn’t result in wide enough braid sections unless I use the squares to lengthen them. I hope it doesn’t ruin the effect.
At the end of the day, the only thing left of these scraps and strings were a few partial binding bits and some 2.5″ wide strips I’d set aside for scrappy bindings. I’ve added them to the bin of kits to bind one or two of the quilts.
If you were keeping count, that’s a total of 7 patriotic quilts. I’ll have to remember when a drawer is even half full, it’s probably enough fabric to make a quilt top!
I have a few other commitments to work on in the next couple of months but, I’ll work on fitting in time for these too. Until they’re all finished, the bin of kits will live on my long arm table so they’re not “out of sight, out of mind”. 😉