My Sewing Room

Finally! A new video showing how my sewing room looks today. I’m not good at this type of thing at all but, at least it’s done.

Now if I mention “my strings are out of control!” or “I need to empty the drawers that held my fat quarters” so I can use them for something else… you’ll know what I’m talking about.

Here’s the link to the video below if you prefer to watch it on YouTube.


My room isn’t magazine worthy. Not even close. It’s small but it works and I’m grateful for a space to call my own.

As you probably heard several times in the video, I do need to stay on top of my smaller pieces of fabric- strings, scraps, and fat quarters. If they grow out of their designated space I have only two choices, use them or give them away. You can expect to see more string and scrap quilts in the near future because I’m clearly to that point.

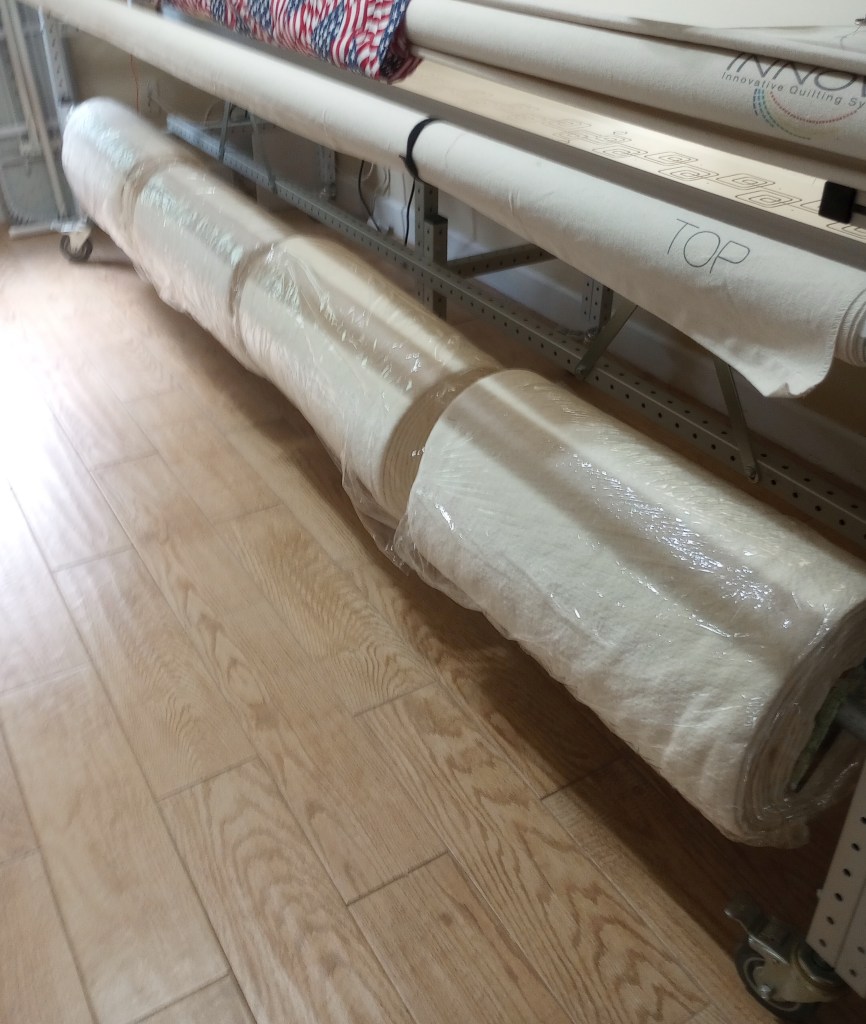
The room is 10′ x 14.5″ and my longarm is an Innova M20 on a 10′ frame. It’s not computerized.

Here are a the wall hangings you saw in the video with links to the patterns used if they’re still available. If you have questions about anything please don’t hesitate to ask.


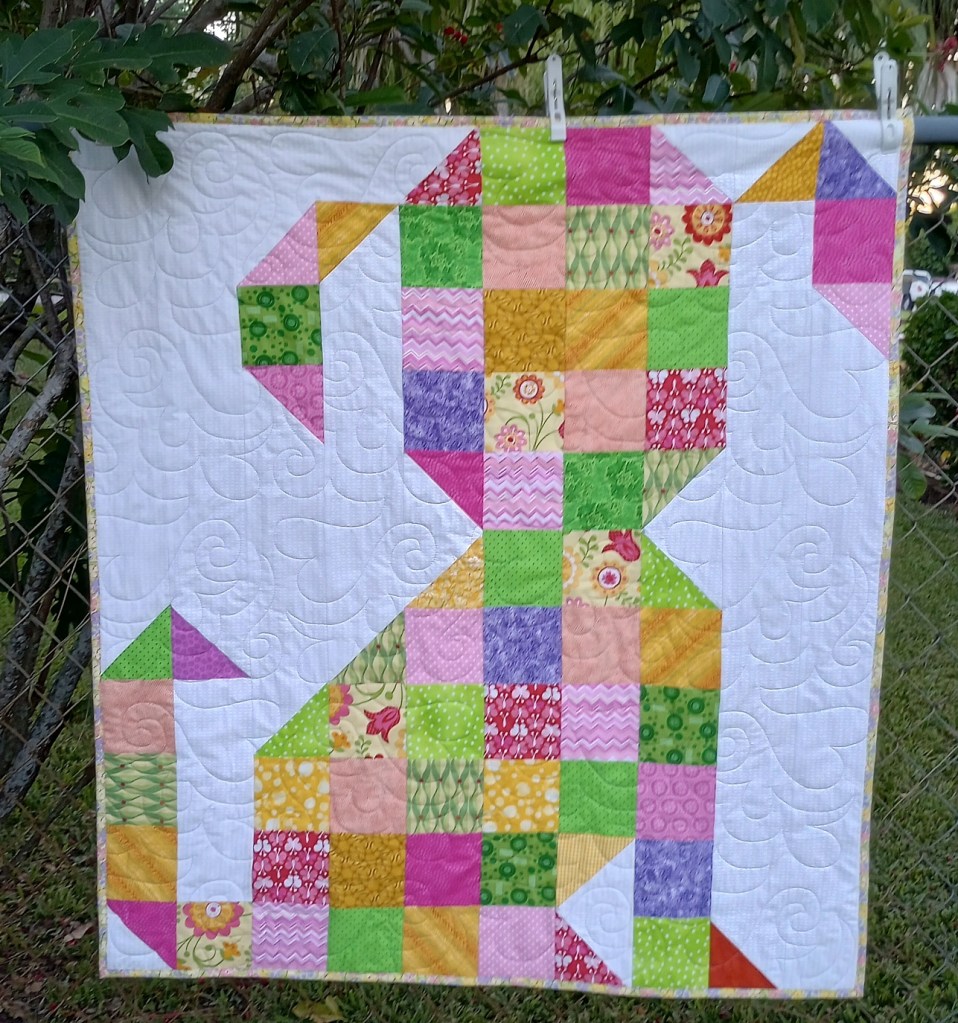
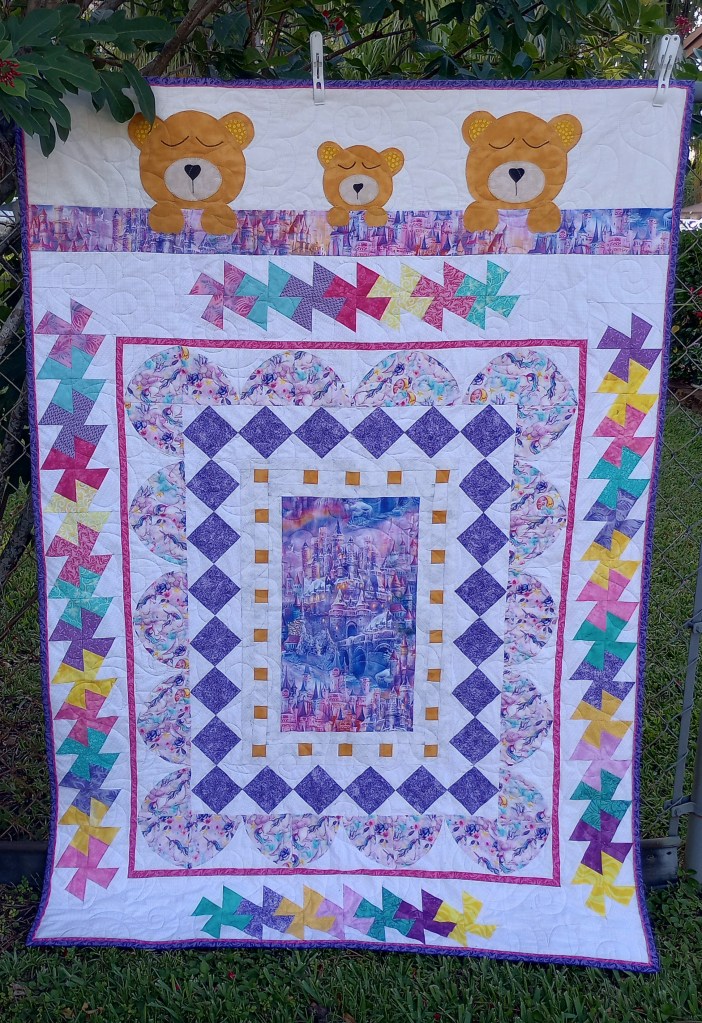
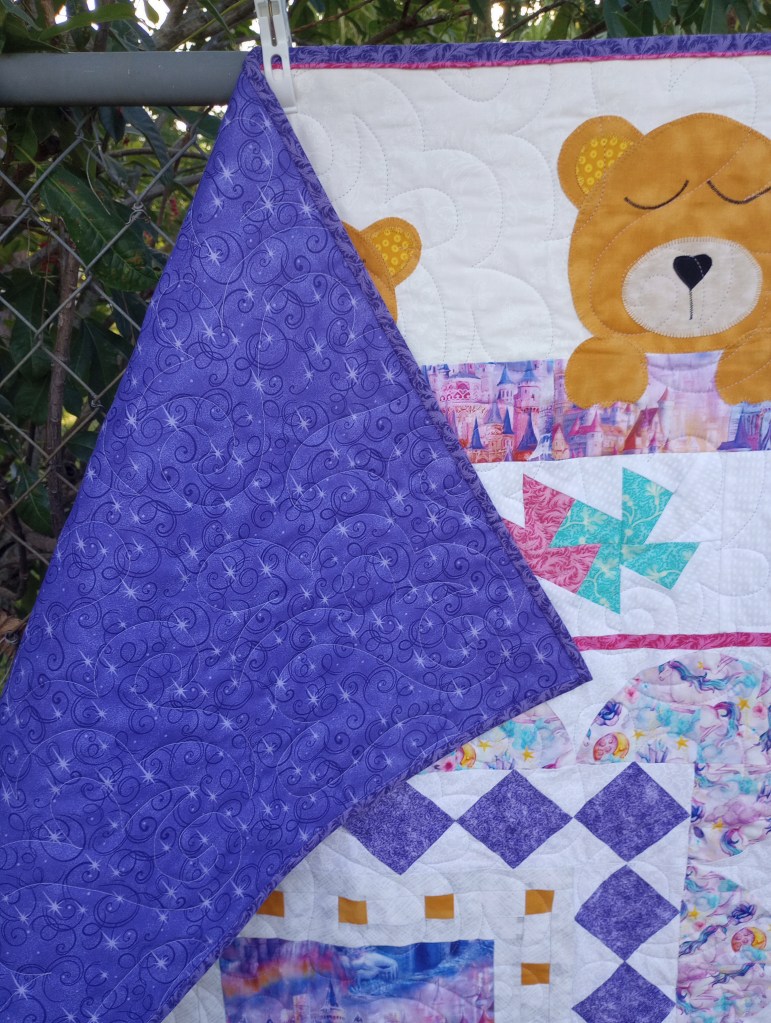
Pattern is Baby Love by Fabriculous using Confetti ombre by V & Co. I inserted the gold lame’ paper pieced paw print, free pattern by Paper Panache. This large paw print by Windham Fabrics made the perfect back. They even look like little hearts.  ♥

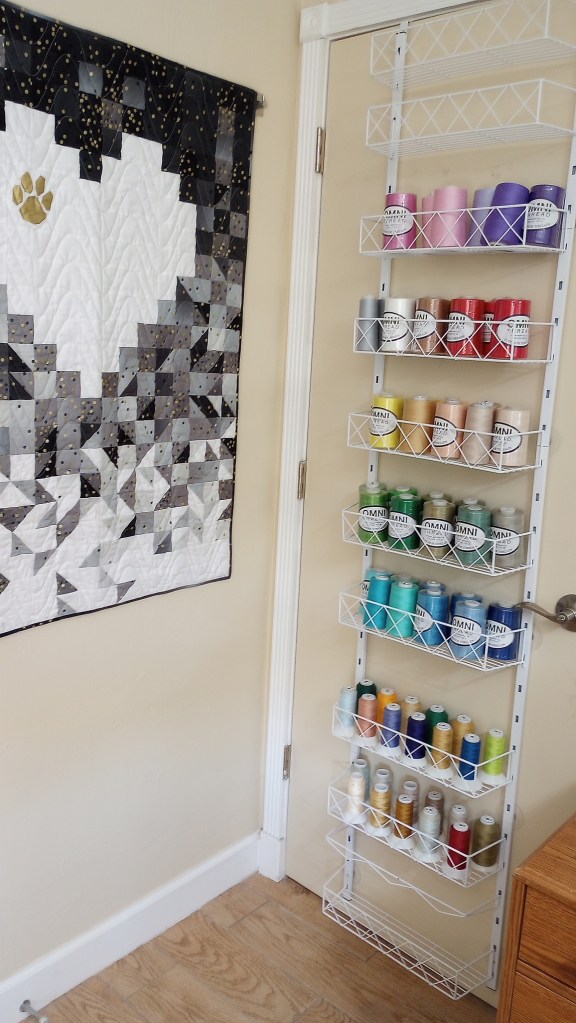
Over the door storage rack I use for thread was from Amazon.

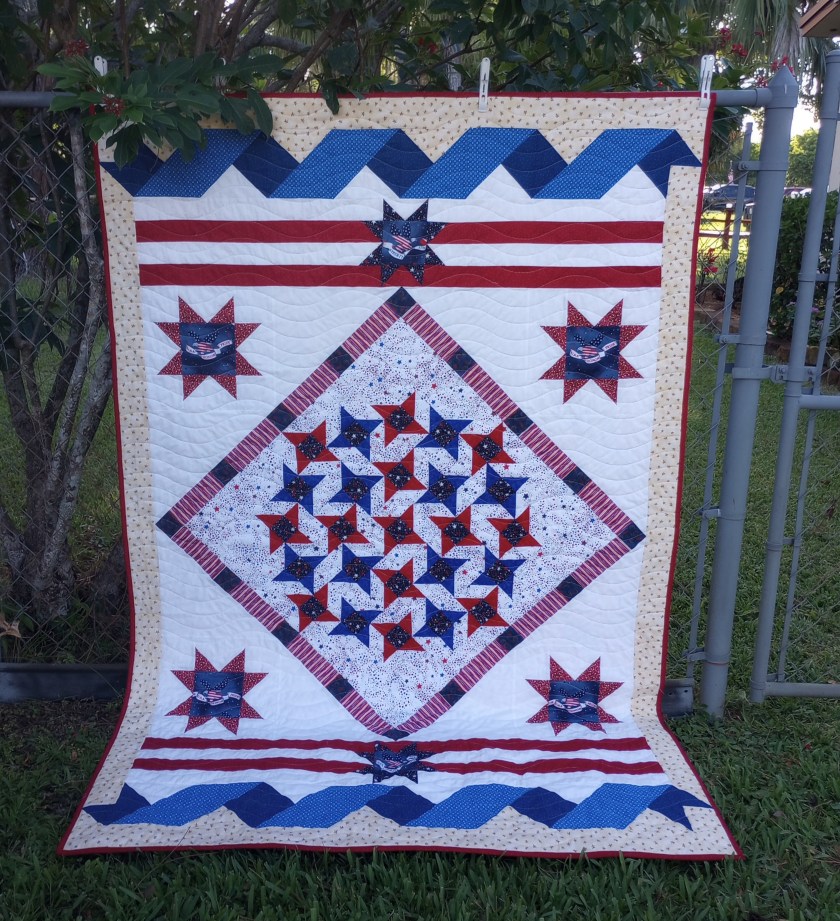
I call this one “we are all New York”
Made during covid when crowds cheered the doctors and nurses who were overworked and exhausted by the number of patients, but showed up every day to care for them. The pattern I used was Shenandoah by Creative Sewlutions. The panel is Blue Skylines by Hoffman. I purchased it from Quilted Twins and it’s now out of stock but I located it online at Beaverhead Treasures.

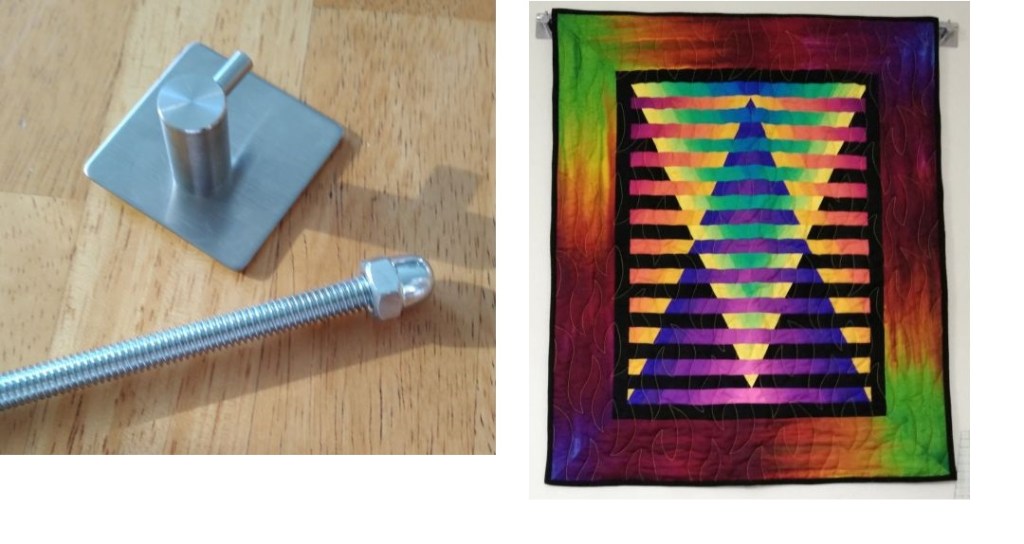
I hang all my wall hanging using a threaded rod with endcaps from Home Depot and these heavy duty hook made by 3M from Amazon. They don’t require drilling holes in the wall but the adhesive it much stronger than Command hooks and I expect they might leave some damage to the wall if you had to remove them.

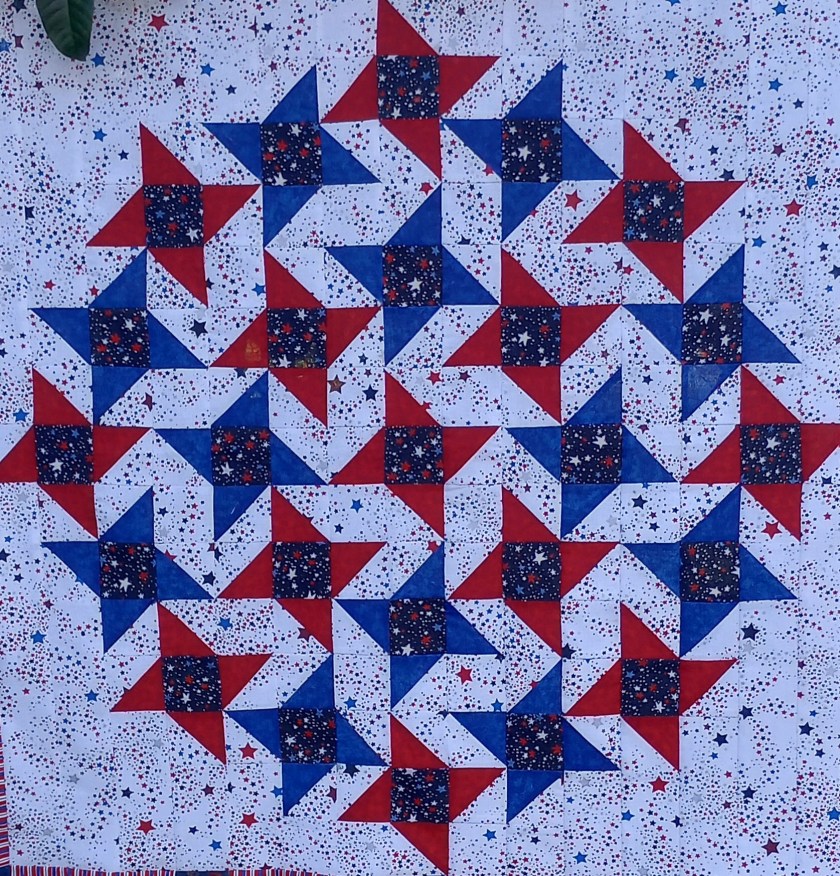
Illusion pattern by Caryl Breyer Fallert but her internet store has since gone out of business and I don’t see where it’s available.


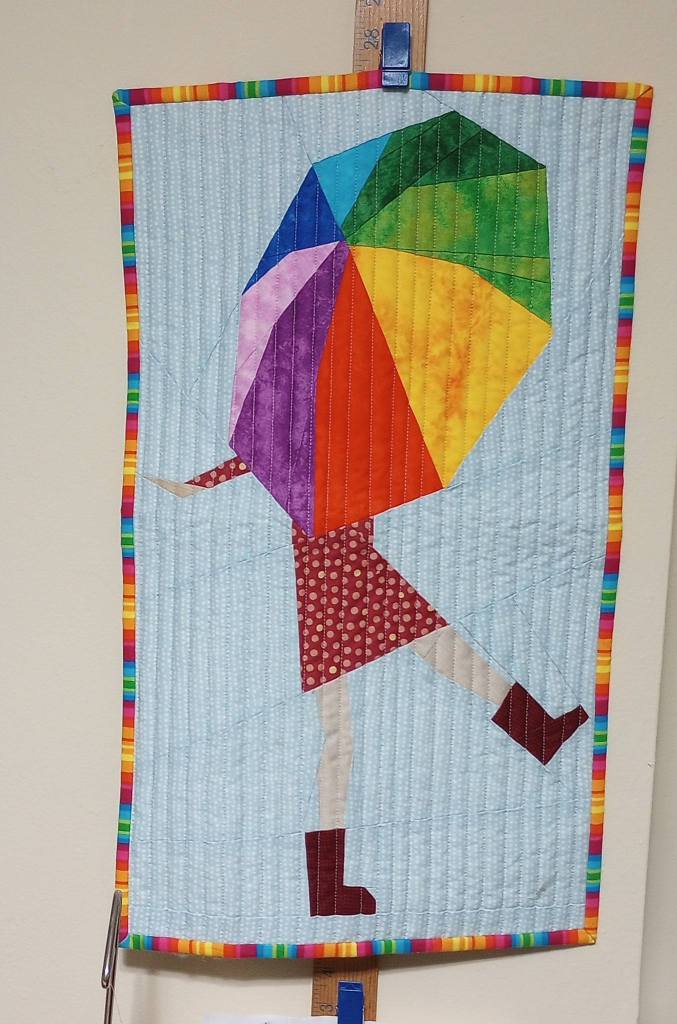
Made a 3 or 4 years ago for the Palm Beach County Quilters’ Guild small quilt challenge. The quilt had to represent a song title. Singing in the Rain paper-pieced pattern is from Etsy.

Pattern is Tighten the Tension by Chris Gilman but if it’s still available, I haven’t been able to find it. (If you locate it, please leave the link in the comments.)

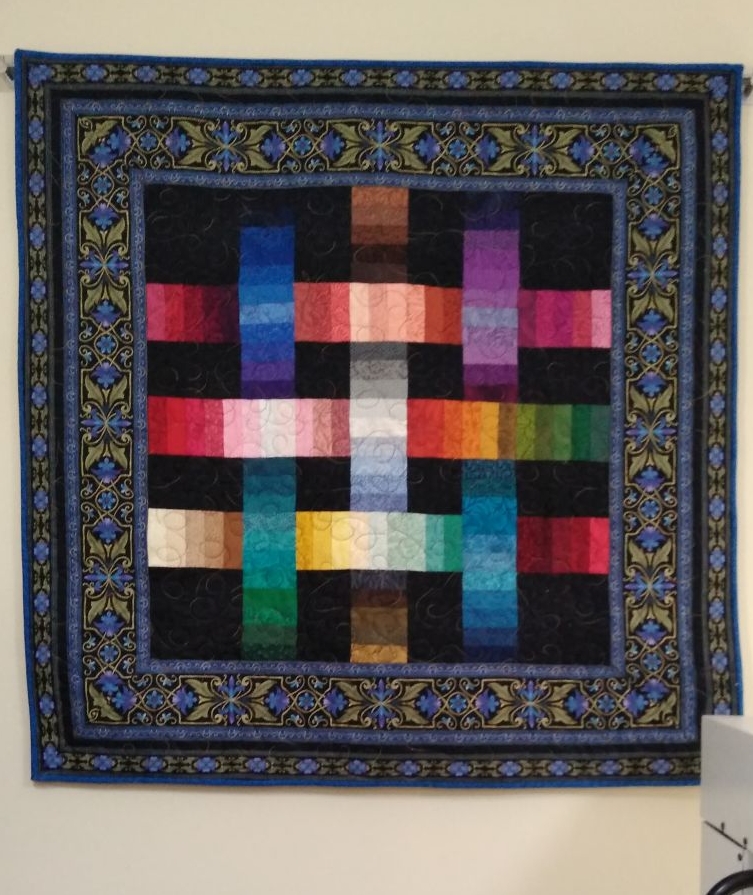
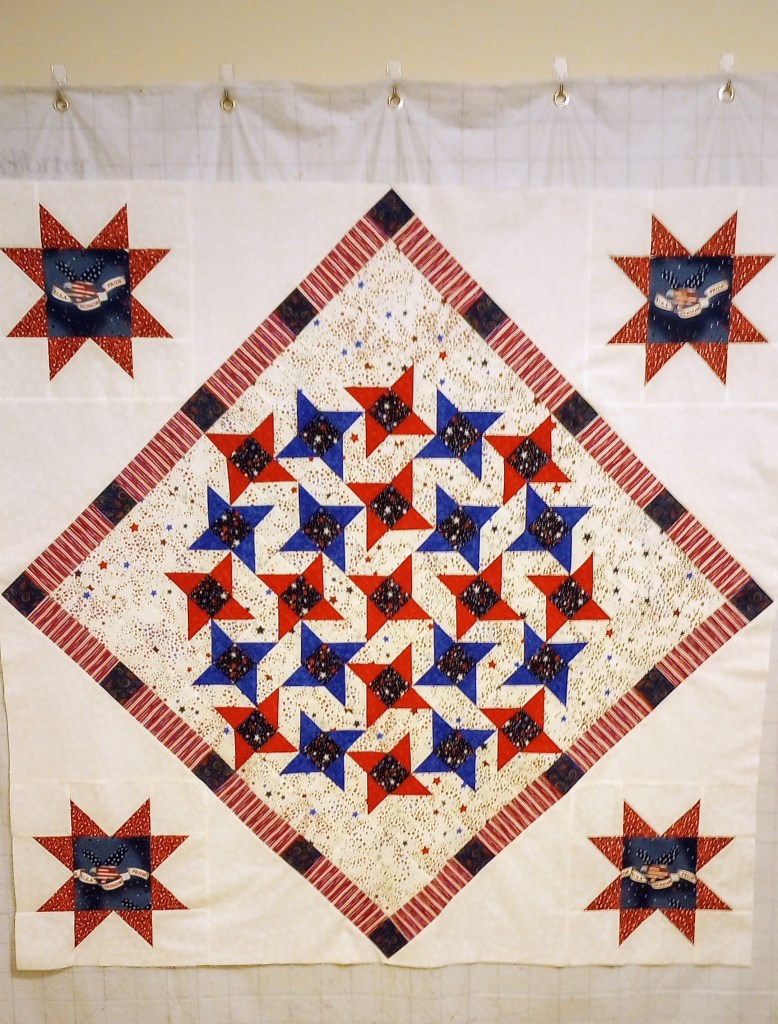
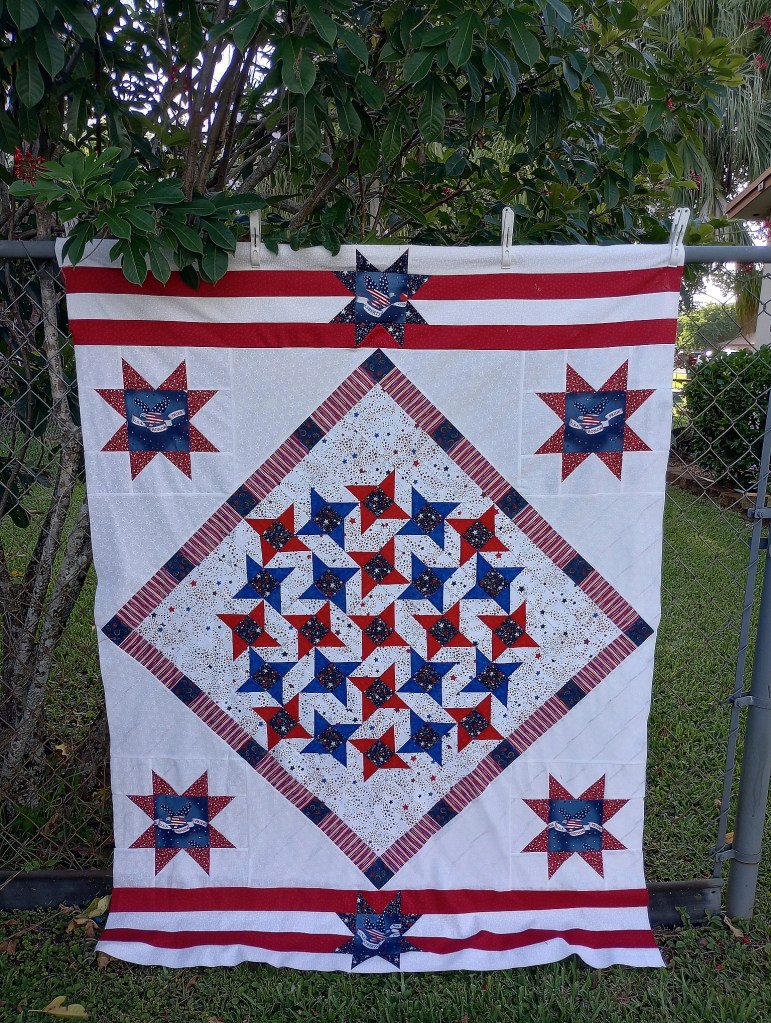
Woven Ribbons pattern by Jinny Beyer (not available online).

Made with the X-Block ruler by Cactus Queen Quilt Co.

I wish you a happy Sunday and hope you find some time to spend in your happy place too.

Puppy quilt

The 4 1/2″ squares for this quilt were free at the Palm Beach County Quilter’s Guild meeting about two months ago. I was surprised when no one picked them up by the end of the meeting, so I brought them home with me. ♥

I wasn’t quite sure what I’d make, but I took them up to use, not to store, so I laid them out Wednesday night, started piecing a top at my quilting bee on Thursday morning. I finished the last couple of rows later that night. When I woke up today, I figured I’d try to get it both quilted and bound if I could. My cutting table is a bit of a mess, so I have a lot to do on my Saturday reset day and I really didn’t want to put this away unfinished.

The quilting design is Hearts A Flutter by Urban Elementz. The pattern for the quilt top can be found at The Linus Connection. They’re a group from central Texas and they have a lot of free patterns available here. I’ve already decided on the one I’d like to make.

For being such a little quilt, 40″ x 45″, it managed to give me a few problems, like puppies tend to do!

I thought I had enough backing left from the quilt I finished on Wednesday to quilt this one too – I was wrong. Yikes! I had to remove the quilt, add about six more inches to the backing, reload it, then try to match up the quilting design. Luckily, I had a package of that made reattaching it a lot easier. They’re those pink things you see in the photo above. They were also free on the guild’s de-stash table recently.

The purple is the backing. I was happy to find I had just the right fabric for the binding to go with the colors in the top and match the back.

When I attached the binding, somehow I got the ends twisted when I joined them and had to stop, take out the seam, and restitch it. Grrrr… I haven’t made that mistake in years!

This little rascal is done though, and for all the trouble he gave me, I still love him. ♥

Two finished robins

These were “My Own Round Robin” projects with a final ending date this coming Saturday. (Yes, I procrastinated making this last round until I almost ran out of time!) It was a group project but instead of passing the top around, each person’s original selection of prompts was rotated. The prompts were a choice of three different colors or one type of fabric. You had to at least use one of the choices for that round. No one knew in advance what their next prompt would be, we found out monthly.

This month one of my choices was “dots” for the fabric type so that’s what I used for both quilts

All week I’ve reminded myself why I rarely enjoy making the type of quilt you have to put aside for several weeks at a time. I’m much happier going from start to finish. When I put something aside for several weeks, it’s just fun to pick up and work on again if you’re in the middle of a project you really want to make. If I’m not careful, I’ll turn it into a UFO. I know that and it’s why I normally avoid BOM’s, round robins, sew-alongs, and mystery quilts. 🙂 Oh, and did I mention I was crazy enough to attempt making two quilts? LOL Maybe I’ve finally learned my lesson. Maybe.

The finished patriotic quilt

The first four months rounds

The finished teddy bears’ quilt

The first four months rounds


These photos show the backing used on both quilts.

I decided to make a flange binding for the teddy bear quilt. I make mine a bit wider than some quilters do so I can topstitch on the binding part rather than in the ditch on the flange.

I cut the binding at 1.5″ and the flange at 1.75″ and press the seams toward the binding fabric.

I had planned to use the same pink as the narrow strip between the 3rd and 4th rounds but when I chose this purple backing it didn’t look great from the back. I used it for the flange instead. It’s hard to see in the photo of the finished quilt.

When I’m attaching my binding to the back of the quilt, I don’t sew off the end at a diagonal like some methods demonstrate. Instead, I stop 1/4″ from the end and backstitch.

When I’m pressing out the binding to get ready to top stitch, I use my embroidery scissors to cut of a little tiny bit of batting from the corner. (You have to be super careful NOT to cut into the fabrics though.) It really helps those corners to lie a lot flatter and avoids that big bump… especially when you have a flange and even more fabric in that miter.


I use the line in middle of my walking foot as a guide and shift my needle position one click to the right. It allows that line of stitching to fall very close the flange/binding seam.

Here’s a tip… Always fold the button of the binding up first – not the side. That keeps the diagonal folds going in the opposite directions on the top and back of the quilt which also helps the corner lie flatter.

I also stick a large head pin in the diagonal to hold the miter. When I approach the corner I use my needle up/down to take the last two or three stitches so I don’t accidentally run over that pin. Once I’m next to it, I lift the presser foot and pivot the quilt, pull the pin, and keep stitching down the next side. The pin really helps to temporarily hold the miter in place.

I hope this helps and, that it makes sense! It’s easier to do than it is to explain. 🙂


Batting

I’ve been purchasing Pellon 80/20 batting from Walmart for quite a while now. It’s been $40.99 for 9 yards by 96″ for at least the last year. The shipping is free with my Walmart account.

In the last month I’ve gone through a lot of batting. I placed an order on Friday night and it was delivered on Sunday morning via FedEx.

I usually keep 4 bolts (36 yards) on hand. I just split the cardboard bolt at the end and slide my arm in to spread the opening a bit so it’ll slide on the 2 inch pipe under my longarm.

I don’t like to wait until I run out as they’re occasionally out of stock.

The only place I keep batting cut-offs is at the end of the long arm table. They’re generally not in the way because I don’t quilt many large quilts. I know that if I designate a better, out of the way, place for them it’ll be easier to let them pile up. Once I have a few large pieces I go ahead and stitch together. I only need about 45″ x 55″ for a kid size quilt so I use them up pretty quickly.

This is actually more than I normally accumulate and it was enough to make 2 Frankenbatts. It’s been a busy week or two and I just haven’t had the energy to deal with them.

I need to start reading more books. I’ve gotten out of the habit lately for some reason. I read this one years ago but I remember how much I enjoyed it so beginning with this one.

And will move on to a few others by the same author.

Create!

I have several wall hangings in spectrum (rainbow) colors, except for one special black & white piece.

I found this older post today and since I’ve wanted to republish some that were archived, I decided to begin focusing on ones related to my sewing room.

After that, I’ll share photos of how the room looks now. It was always useful to have a reference when talking with a friend about our sewing rooms.

The post below was originally written on January 10, 2021.

I saw the idea in an old magazine by Angela Bowman. She’d made one with the word “MAKE”. I loved it and wanted to use the word “CREATE” for mine. She used an 1980’s font called “Edit Undo Line Break”.

I searched online and found a free font to download. I initially thought I’d need to graph each letter, but after printing several sizes, I was excited to see that an 800 font size worked perfectly. I just measured each piece and added a 1/2″ seam allowance.

All strips were cut 1″ wide to finish at 1/2″, including the strips between the letters and the outside border.

The first one was made with ombre letters and a white background.  I didn’t think it was going to look good on the wall color I had at that time so I remade it. The second time I used some leftover Kona jelly roll strips and a black background.  (Each letter took less than one jelly roll strip). 

When I first saw the photo from a distance, I liked both pieces! My husband suggested adding “Re-” to the second one for Create and Re-create. He’s a funny guy!

I haven’t checked my trunk of wall hangings in a while, but I think I gave the white one to another quilter. I probably should have kept it because I really liked ombre.

The wall hanging finishes at 8 1/2″ x 40″.  It took a skinny quarter yard of fabric for the backing.  I used 1/2 yard of fabric for the background and binding.  I chose to make a single fold binding with 1  1/4″ strips since it’s only a decorative piece.  

Here are the details in case anyone wants to save the idea.   I think it would be a cute method to use and insert a child’s name in the backing of one of their quilts.

  • Background, colored strips, spacing strips between letters, and border strips were all cut at 1″ wide (they finish at 1/2″)
  • The letter blocks are unfinished 8″ x 6 1/2″ so you may need to adjust your page margins to “0” before printing.
  • Each letter is made with 8 colored strips and 7 background strips.

I quilted it with a wavy serpentine stitch in the background rows.  Super easy!!

You can downloaded the free font from 1001fonts.com.  Just make sure to click the GREEN download button (the blue one is an ad that requires downloading an app).

Wedding Dress Blue

Quilting and other things I love in this colorful world