These were “My Own Round Robin” projects with a final ending date this coming Saturday. (Yes, I procrastinated making this last round until I almost ran out of time!) It was a group project but instead of passing the top around, each person’s original selection of prompts was rotated. The prompts were a choice of three different colors or one type of fabric. You had to at least use one of the choices for that round. No one knew in advance what their next prompt would be, we found out monthly.
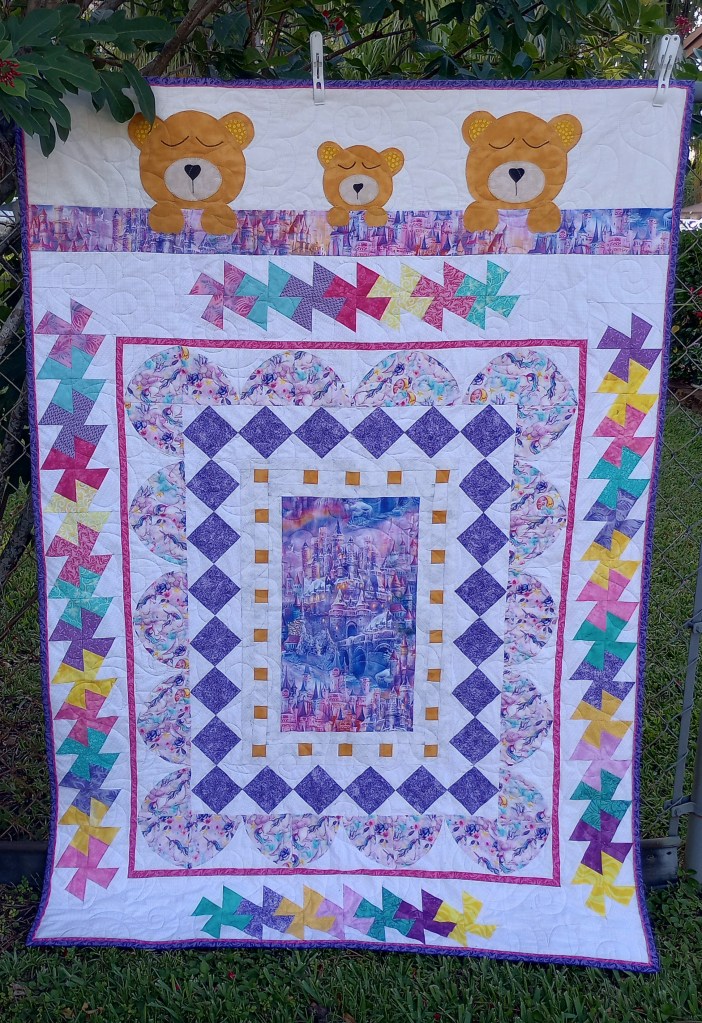
This month one of my choices was “dots” for the fabric type so that’s what I used for both quilts
All week I’ve reminded myself why I rarely enjoy making the type of quilt you have to put aside for several weeks at a time. I’m much happier going from start to finish. When I put something aside for several weeks, it’s just fun to pick up and work on again if you’re in the middle of a project you really want to make. If I’m not careful, I’ll turn it into a UFO. I know that and it’s why I normally avoid BOM’s, round robins, sew-alongs, and mystery quilts. 🙂 Oh, and did I mention I was crazy enough to attempt making two quilts? LOL Maybe I’ve finally learned my lesson. Maybe.
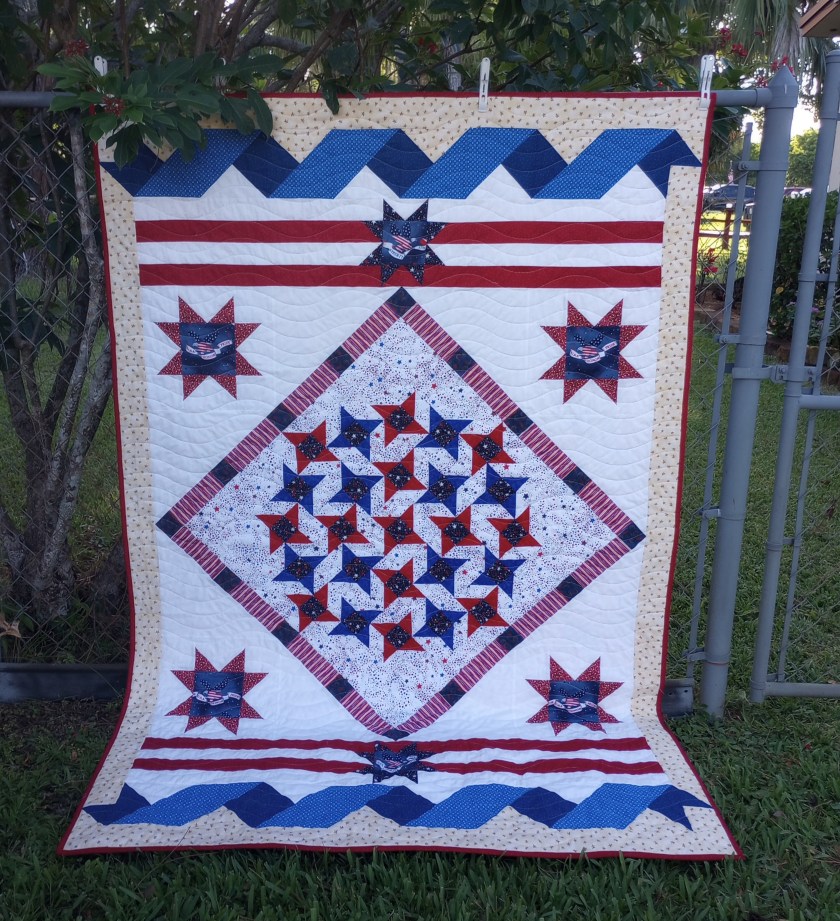
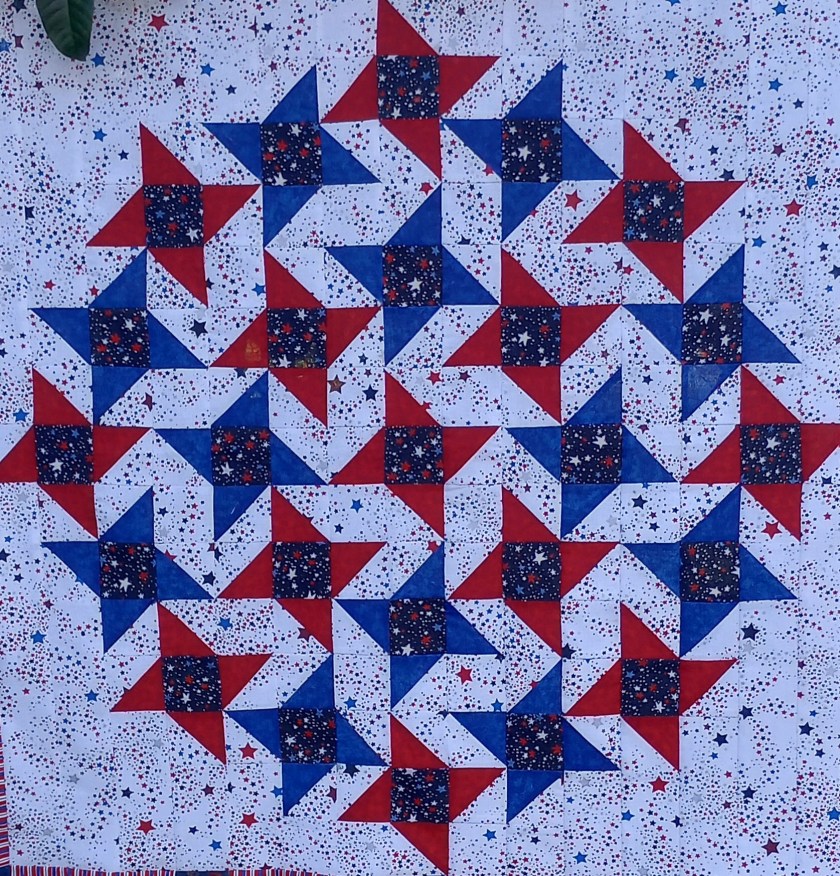
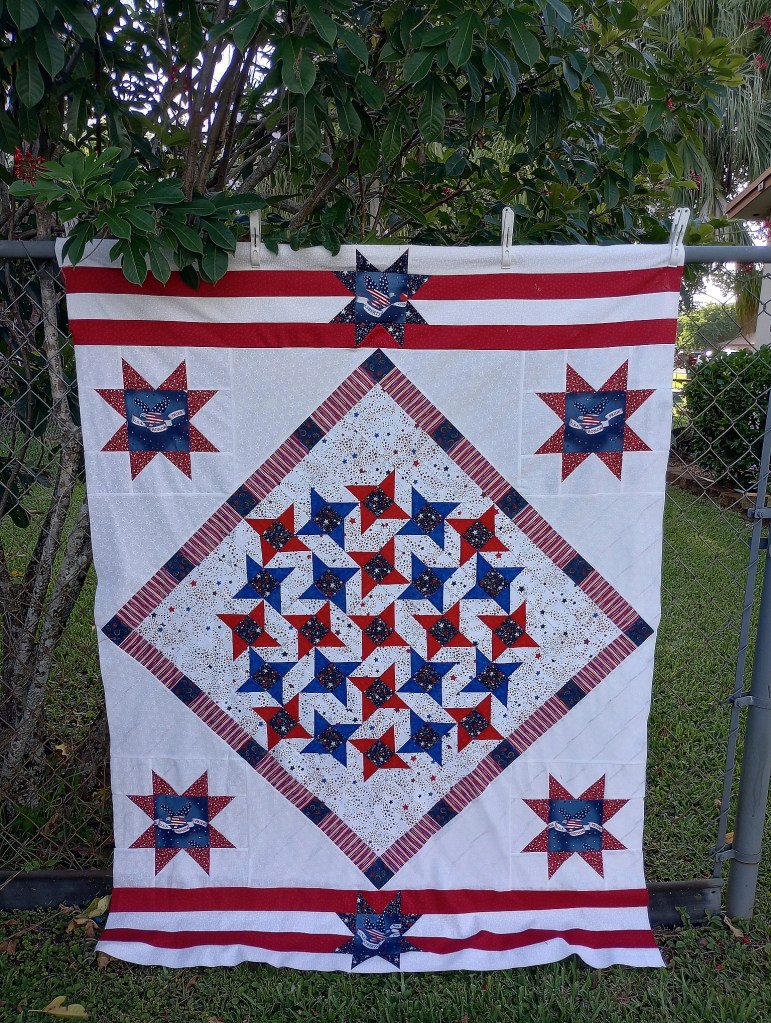
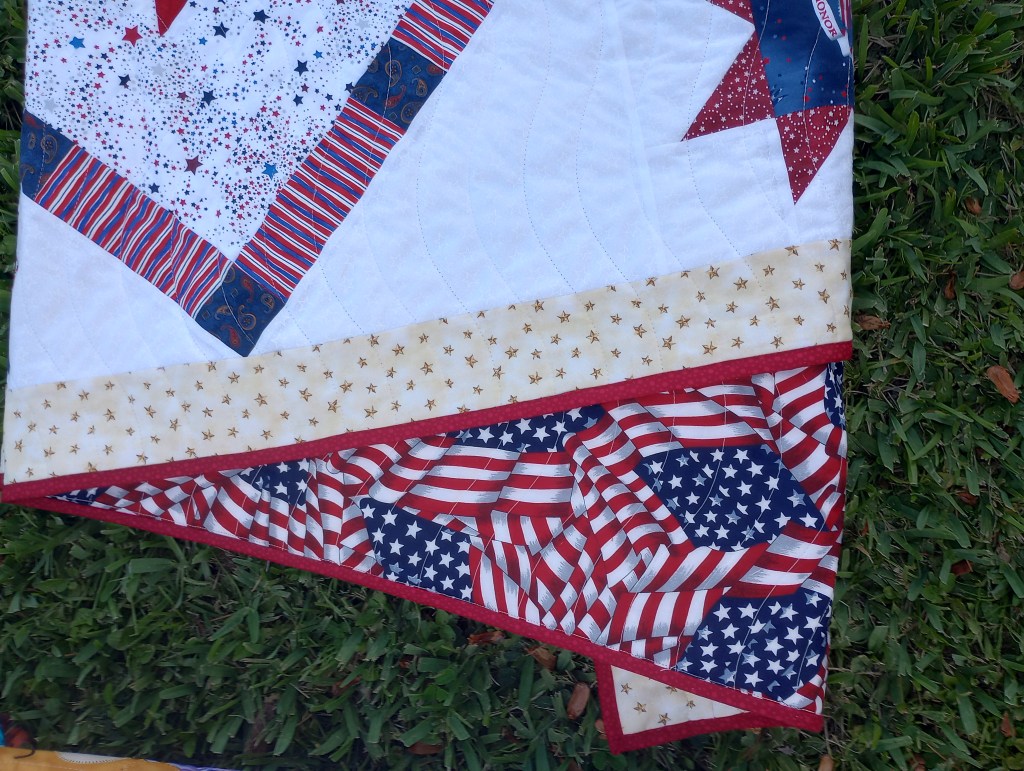
The finished patriotic quilt
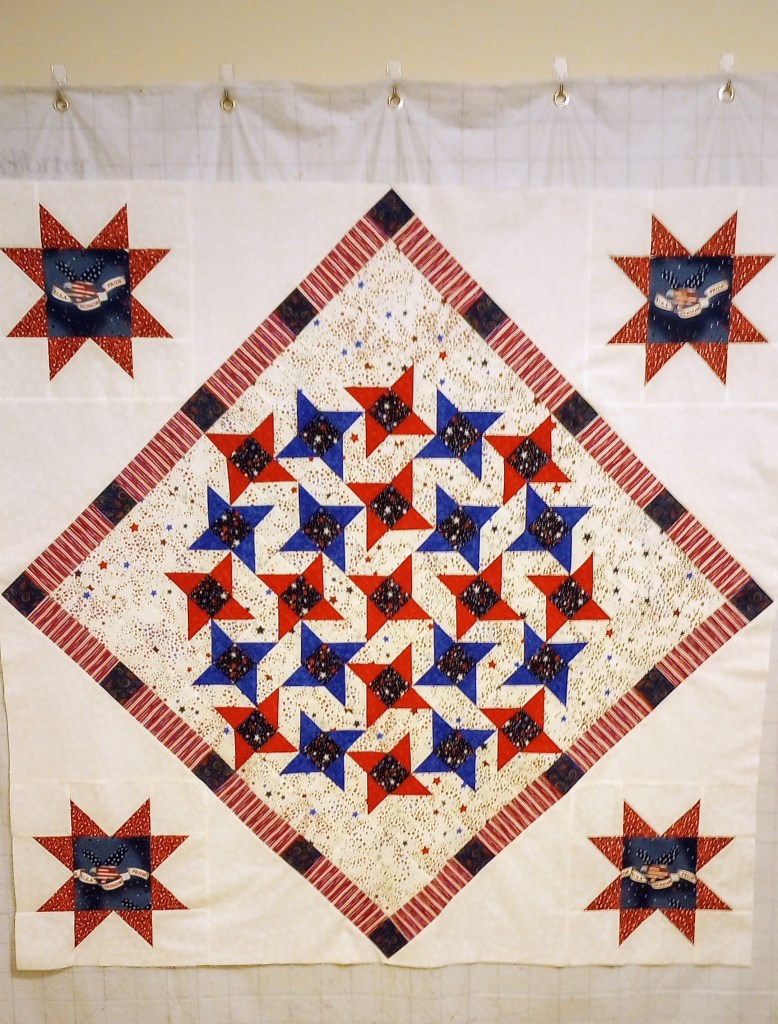
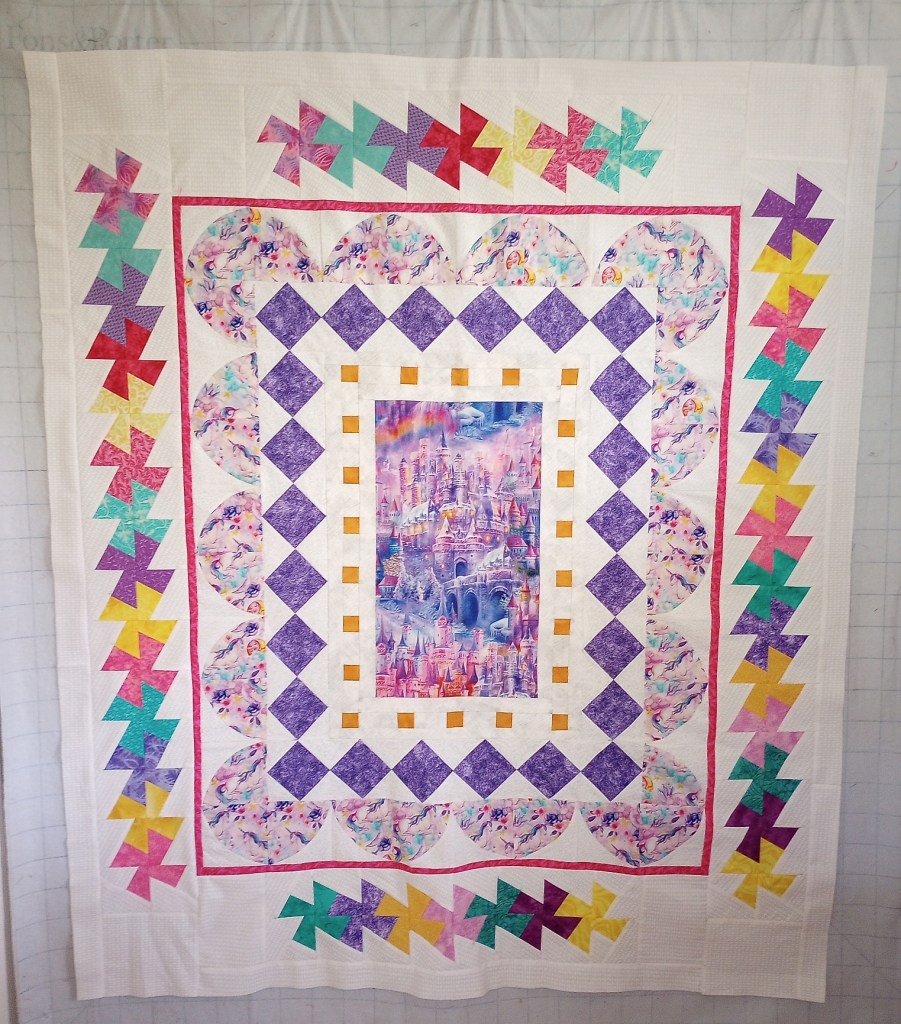
The first four months rounds

The finished teddy bears’ quilt
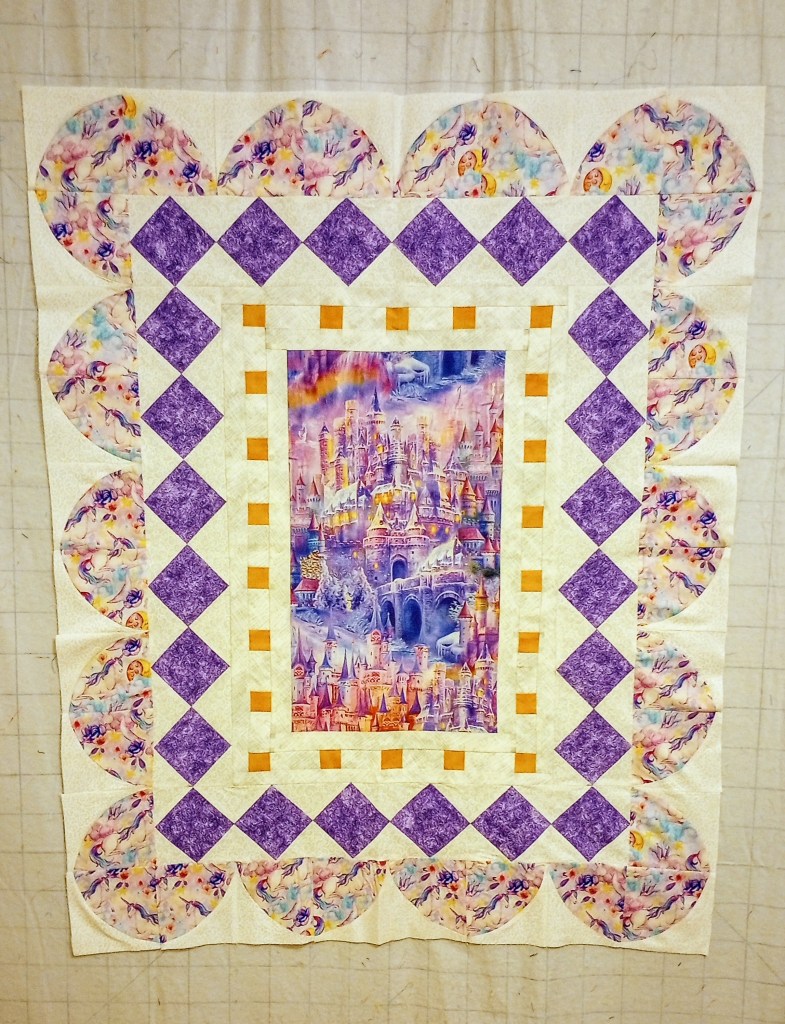
The first four months rounds


These photos show the backing used on both quilts.
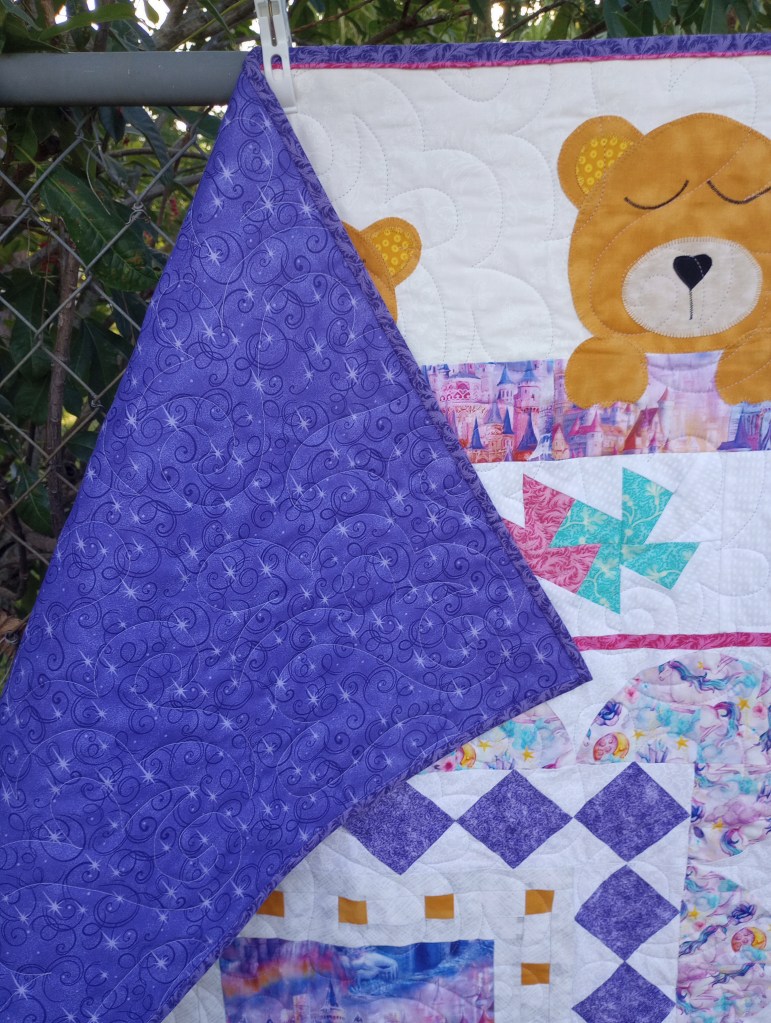
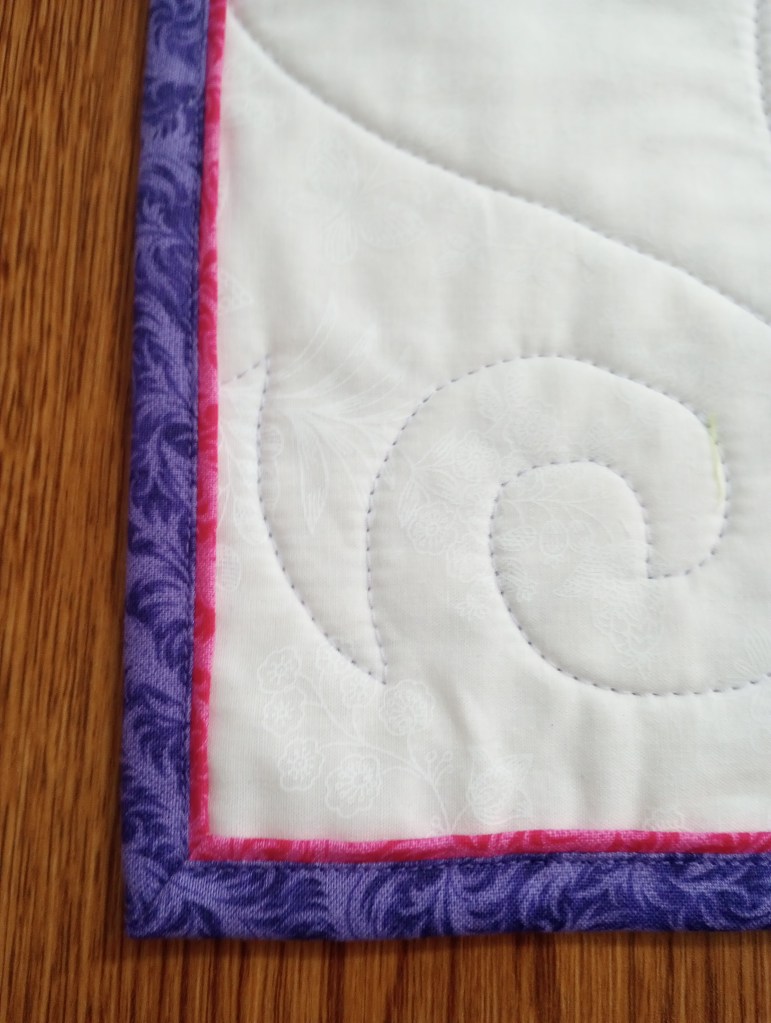
I decided to make a flange binding for the teddy bear quilt. I make mine a bit wider than some quilters do so I can topstitch on the binding part rather than in the ditch on the flange.
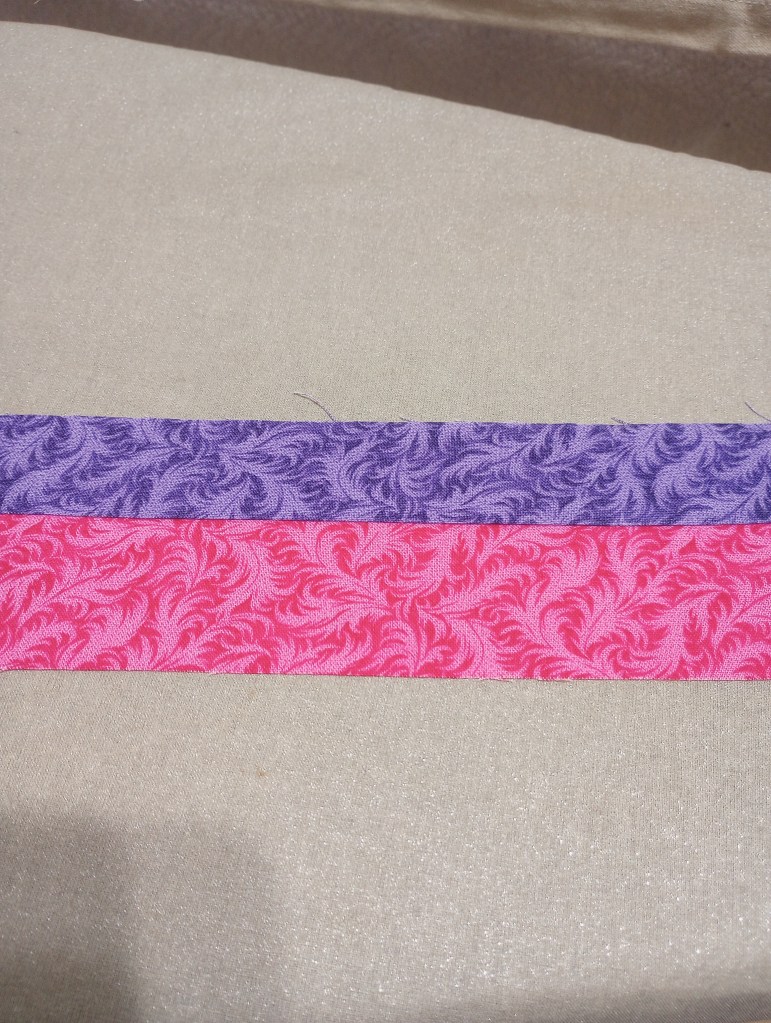
I cut the binding at 1.5″ and the flange at 1.75″ and press the seams toward the binding fabric.
I had planned to use the same pink as the narrow strip between the 3rd and 4th rounds but when I chose this purple backing it didn’t look great from the back. I used it for the flange instead. It’s hard to see in the photo of the finished quilt.
When I’m attaching my binding to the back of the quilt, I don’t sew off the end at a diagonal like some methods demonstrate. Instead, I stop 1/4″ from the end and backstitch.
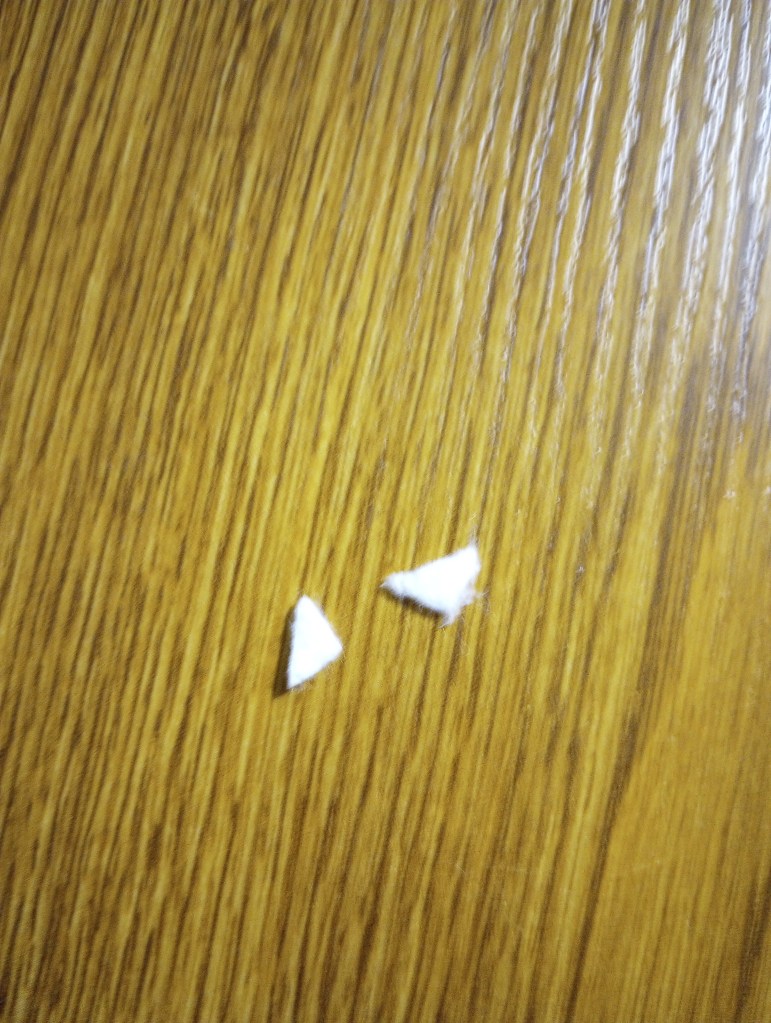
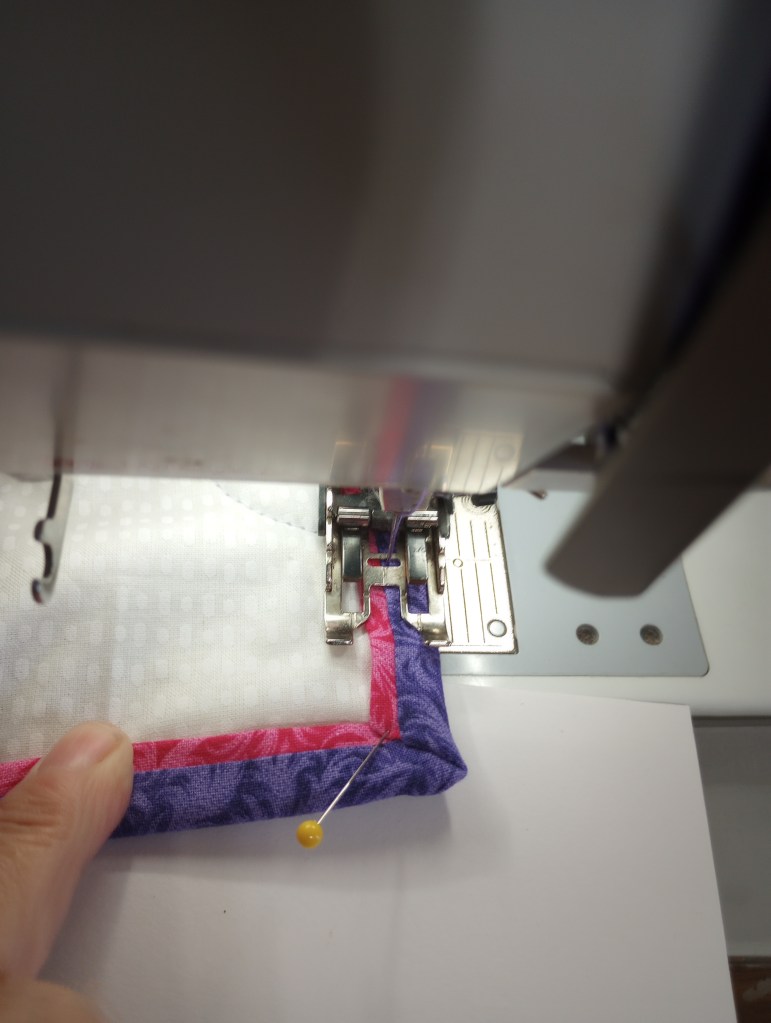
When I’m pressing out the binding to get ready to top stitch, I use my embroidery scissors to cut of a little tiny bit of batting from the corner. (You have to be super careful NOT to cut into the fabrics though.) It really helps those corners to lie a lot flatter and avoids that big bump… especially when you have a flange and even more fabric in that miter.
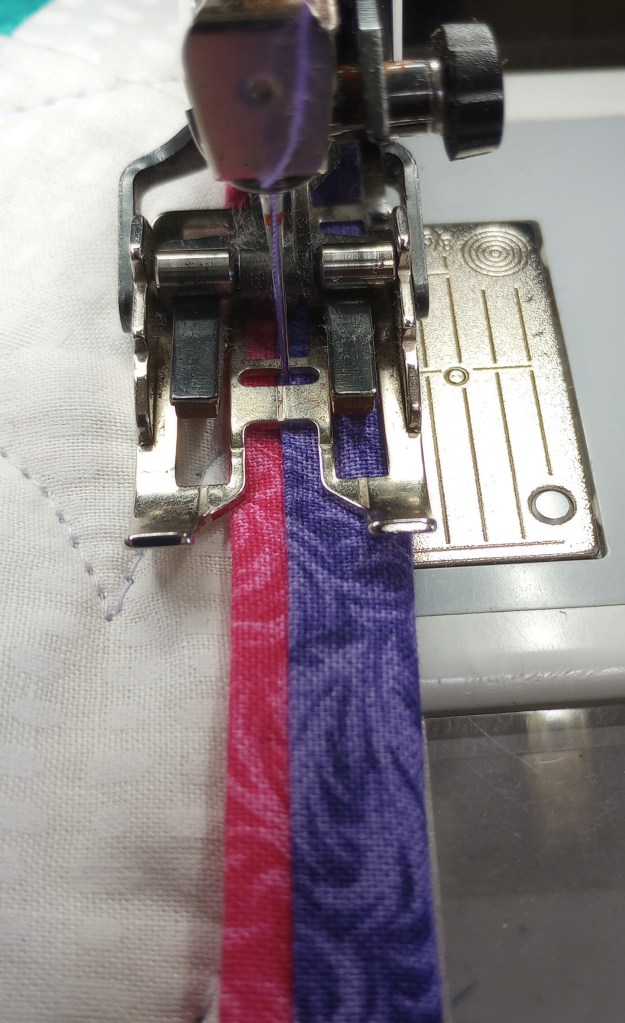
I use the line in middle of my walking foot as a guide and shift my needle position one click to the right. It allows that line of stitching to fall very close the flange/binding seam.
Here’s a tip… Always fold the button of the binding up first – not the side. That keeps the diagonal folds going in the opposite directions on the top and back of the quilt which also helps the corner lie flatter.
I also stick a large head pin in the diagonal to hold the miter. When I approach the corner I use my needle up/down to take the last two or three stitches so I don’t accidentally run over that pin. Once I’m next to it, I lift the presser foot and pivot the quilt, pull the pin, and keep stitching down the next side. The pin really helps to temporarily hold the miter in place.
I hope this helps and, that it makes sense! It’s easier to do than it is to explain. 🙂

One thought on “Two finished robins”